Working with epoxy resin can be incredibly rewarding, but getting that flawless, glass-like finish takes a bit of know-how. From choosing the right resin to mastering the curing process, small details make a big difference in your final results.
Whether you’re crafting jewelry, coating wood, or creating resin art, these epoxy resin tips will help you avoid common mistakes and achieve professional-quality results. Let’s go over the essential techniques that will make every pour smoother, clearer, and more durable.
Get the perfect resin for any project. Explore our epoxy and UV resin collection for crystal-clear finishes, strong bonds, and professional results.
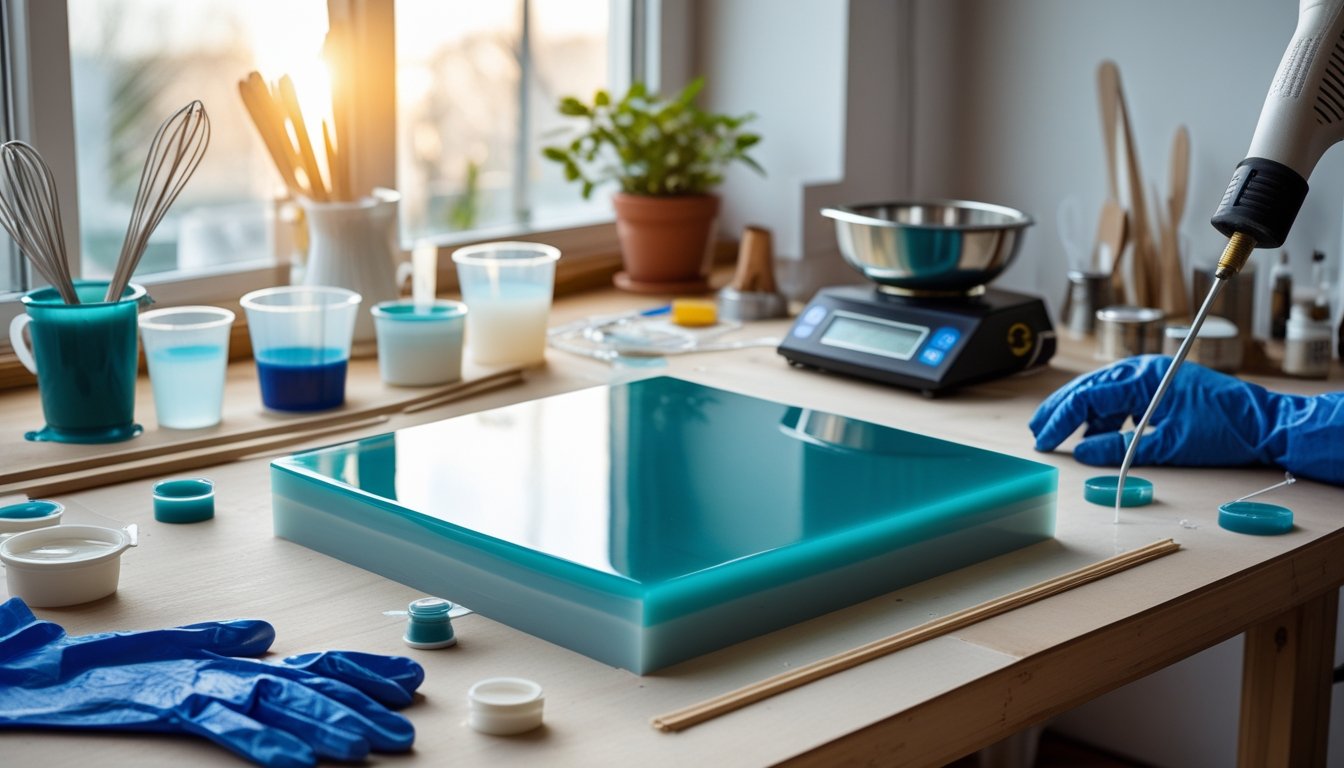
Preparing Your Workspace And Materials

Setting up your workspace and picking the right materials can mean the difference between a project you love and a sticky mess. The resin you pick, how you measure, and your room conditions all play a part.
1: Choose The Right Resin For Your Project
Not all resins work for every project. Deep pour resins are a must for thick stuff like river tables. They cure slow, so you don’t get a heat bomb on your hands.
Surface coating resins are what you want for thin layers on art or countertops. They self-level and leave things looking smooth.
Fast-cure resins are handy if you’re impatient, but you’ll have to move quickly—there’s not much time to fix mistakes.
Always check the mixing ratio first. Some resins are 1:1, others 2:1 or even 3:1. Read those labels, seriously.
Cure time matters too. Slow-cure gives you more time to chase bubbles. Fast-cure is better if you want to bang out a few layers in one day.
2: Measure And Mix Accurately
If you mess up the ratios, you’ll end up with a sticky surface that never cures. Use a digital scale for accuracy; measuring cups just aren’t precise enough.
Mixing epoxy resin is all about being exact. A 2:1 ratio? That’s two parts resin to one part hardener, by weight—not volume.
Pour in your resin first, then the hardener. Mix slowly for a few minutes—don’t whip it or you’ll trap air.
Scrape the sides and bottom as you mix. If you leave unmixed resin, you’ll get soft spots later.
Always use clean tools. Leftover resin from last time can mess up your new batch.
3: Control Temperature And Humidity
Temperature totally changes how resin behaves. Try to keep your workspace between 70-75°F if you can swing it.
If it’s cold, resin gets thick and stubborn. If it’s hot, it’ll cure too fast and might overheat.
Prepping surfaces works best when humidity’s low. Too much moisture can cloud things up or stop resin from bonding right.
Clean, dust-free conditions are a must. Cover your project after pouring so dust doesn’t land on it.
If your room’s chilly, warm up your resin bottles in a water bath. It’ll flow better and you’ll get fewer bubbles.
New to resin crafting? Our resin kits for adults include everything you need to start creating beautiful, bubble-free resin art with confidence.
Pouring And Curing Techniques

How you pour and cure your epoxy resin really sets apart pro results from, well, not-so-pro ones. Layering, bubble-busting, and letting things cure without interference all matter more than you’d think.
4: Pour In Layers For Better Results
Layering epoxy resin gives you way more control. Thick pours can overheat and crack or turn yellow—nobody wants that.
Start with a layer about 1/8 to 1/4 inch thick. Let it get tacky before you add more.
This usually takes 4-6 hours, depending on your resin. When it’s sticky to the touch but not hard, you’re good for the next layer.
Why layer?
- Prevents overheating
- Cuts down on bubbles
- Lets you embed stuff at different depths
- Makes a stronger bond between layers
Pour the next layer while the first is still tacky. That way, you get a chemical bond, not just a physical one.
Add pigments, glitter, whatever you want between layers. It’s how you get that cool depth effect.
Never pour more than the manufacturer says in one go. Check the data sheet for the max depth per pour.
5: Remove Bubbles The Right Way
Bubbles can wreck an otherwise great finish if you don’t get rid of them. You don’t have much time, so be ready.
Use a heat gun or torch to pop bubbles on the surface. Hold it 6-8 inches away—don’t get too close.
Keep the heat moving. If you stay in one spot, you’ll overheat and maybe ruin your mold.
Heat gun tips:
- Move in smooth, even passes
- Start about 30 seconds after pouring
- Keep checking for new bubbles as it settles
For stubborn bubbles, a toothpick works. Just poke and drag them out gently.
Wet materials or sloppy mixing can cause bubbles too. Always dry your additives well before tossing them in.
Warming your resin before mixing helps it flow and lets trapped air escape more easily.
6: Let It Cure Undisturbed
Resin needs peace and quiet to cure right. Any bump or dust can leave marks you really can’t fix later.
Stick to 70-75°F while curing. Cold slows things down; heat goes too fast and can mess up the finish.
Cover your project with a dome or box—dust loves to ruin wet resin.
Avoid these while curing:
- Moving your project
- Lifting the cover
- Touching the surface
- Changing the room temp
Most resins need 24-48 hours to fully cure. It might feel hard after 8 hours, but don’t trust it yet.
High humidity can cause cloudiness or soft spots, so keep that in mind.
Wait for the full cure before taking projects out of molds. Rushing can tear or damage the surface, and that’s game over for your piece.
Finishing And Maintenance Tips

Finishing your resin projects right and giving them a little regular TLC will keep them looking good for ages. These details help your work reach its full potential and avoid damage down the road.
7: Sand And Polish For A Smooth Surface
Once your resin feels totally cured, start sanding with 220-grit. Use small, circular motions and don’t press too hard.
Work up through finer grits: 400, 800, 1000, then 1500. Wet sanding with each grit helps prevent scratches and keeps dust down.
Wet Sanding:
- Keep the surface damp
- Use fresh water often
- Check for scratches as you go
- Dry off before moving to the next grit
After sanding, polish with a little compound on a clean cloth. Work it in with small circles.
Finish up with paste wax or a resin-safe polish. That’ll add shine and protect the surface.
8: Protect Resin From UV Damage
UV rays can yellow and weaken epoxy resin over time. Sunlight is the biggest culprit, honestly.
For outdoor projects or anything near windows, go for UV-resistant resin. It costs extra, but it’s worth it to keep colors true.
If you already finished a piece, slap on a UV-protective topcoat. Marine-grade polyurethane does a solid job.
Try to keep indoor pieces out of direct sunlight, too. Even some indoor lights can slowly yellow resin.
Store your finished work in covered spots or behind UV-filtering glass. It’s a small step that really helps them last.
Always check the manufacturer’s UV resistance info—not all resins offer the same level of protection.
9: Clean Tools And Surfaces Properly
Clean up your mixing cups and tools right after you finish. Dried resin is almost impossible to get off without destroying your stuff.
For wet resin, 91% isopropyl alcohol works best. Paper towels beat cloths for this cleanup.
Scrape off extra resin before it thickens. Metal scrapers come in handy here.
Cleanup Checklist:
- Wipe tools with alcohol
- Scrape out mixing containers
- Clean your work surfaces ASAP
- Dispose of anything contaminated safely
Acetone can remove cured resin, but it might damage some surfaces. Test it somewhere hidden first.
Store your clean tools somewhere dry. Moisture can mess up your next batch.
10: Store Leftover Resin Correctly
Keep unopened resin in a cool, dry spot—ideally 60-75°F. Extreme temps can mess with the chemistry.
Always store containers upright and check that the caps are tight.
If you’ve got leftover mixed resin, label it with the date. It’s usually only good for a few hours anyway.
Storage Tips:
- Keep it at 60-75°F
- Low humidity is best
- Upright, not sideways
- No direct sunlight
Don’t mix part A and part B until you’re ready. Once they’re together, there’s no going back.
Check expiration dates every so often. Old resin can cure weird or just end up weak.
Speed up your curing process and get flawless results. Check out our UV lights for curing epoxy resin to harden your projects quickly and evenly.
Conclusion: Epoxy Resin Tips
Mastering epoxy resin takes patience, practice, and attention to detail. With the right techniques—like proper mixing, pouring, and curing—you can achieve smooth, bubble-free, professional-quality results every time.
Whether you’re crafting jewelry, coating furniture, or experimenting with art, these epoxy resin tips will help you work more confidently and avoid common mistakes. Every pour is a chance to improve your skills and creativity.
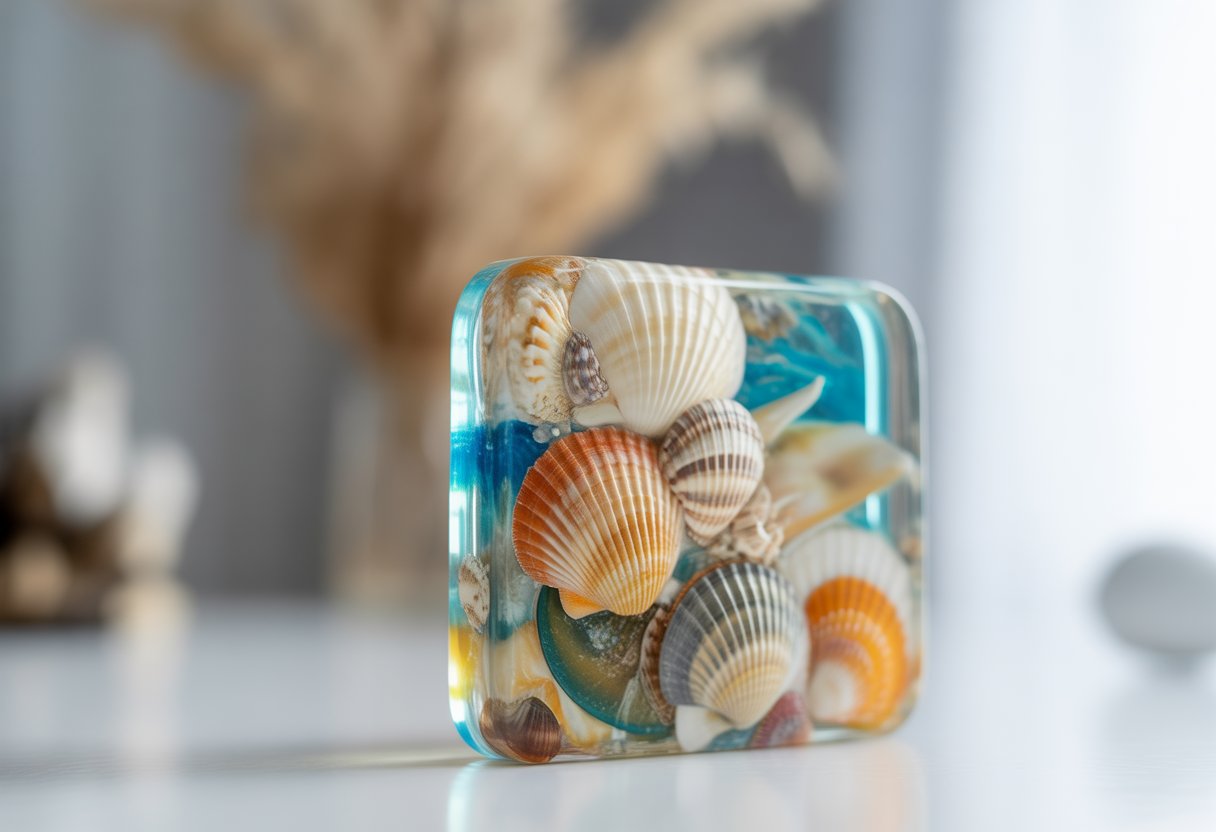
Ready to try something new? Explore our guide on resin wall art ideas for inspiration and start creating stunning statement pieces for your home or studio.
Frequently Asked Questions
Folks new to resin usually get stuck on pouring, smoothing it out, or making their finished pieces tougher. Here are some questions that come up all the time—maybe they’ll help you avoid a few headaches.
What are three important tips when pouring resin?
Keep your pour low—about 1–2 inches above the surface—to reduce bubbles and improve control. Work in a warm room around 70–75°F so the resin flows smoothly. Pour slowly in a thin stream to avoid mess and trapped air.
How to use epoxy resin for beginners step by step?
Prep your workspace with mats or paper and have all tools ready. Clean and dry surfaces completely before mixing. Measure accurately, mix slowly, pour evenly, pop bubbles, and cover your piece while it cures.
How to apply epoxy resin smoothly?
Warm your resin bottles before mixing so it flows better. Stir slowly and scrape the sides to avoid air bubbles. Use a plastic spreader or foam brush, and work steadily within your resin’s working time.
How to make epoxy resin stronger?
Add fiberglass cloth between layers to boost strength and prevent cracks. Apply several thin coats instead of one thick pour. Let each layer cure fully before adding the next, and choose a resin formulated for durability.


Hinterlasse einen Kommentar
Diese Website ist durch hCaptcha geschützt und es gelten die allgemeinen Geschäftsbedingungen und Datenschutzbestimmungen von hCaptcha.