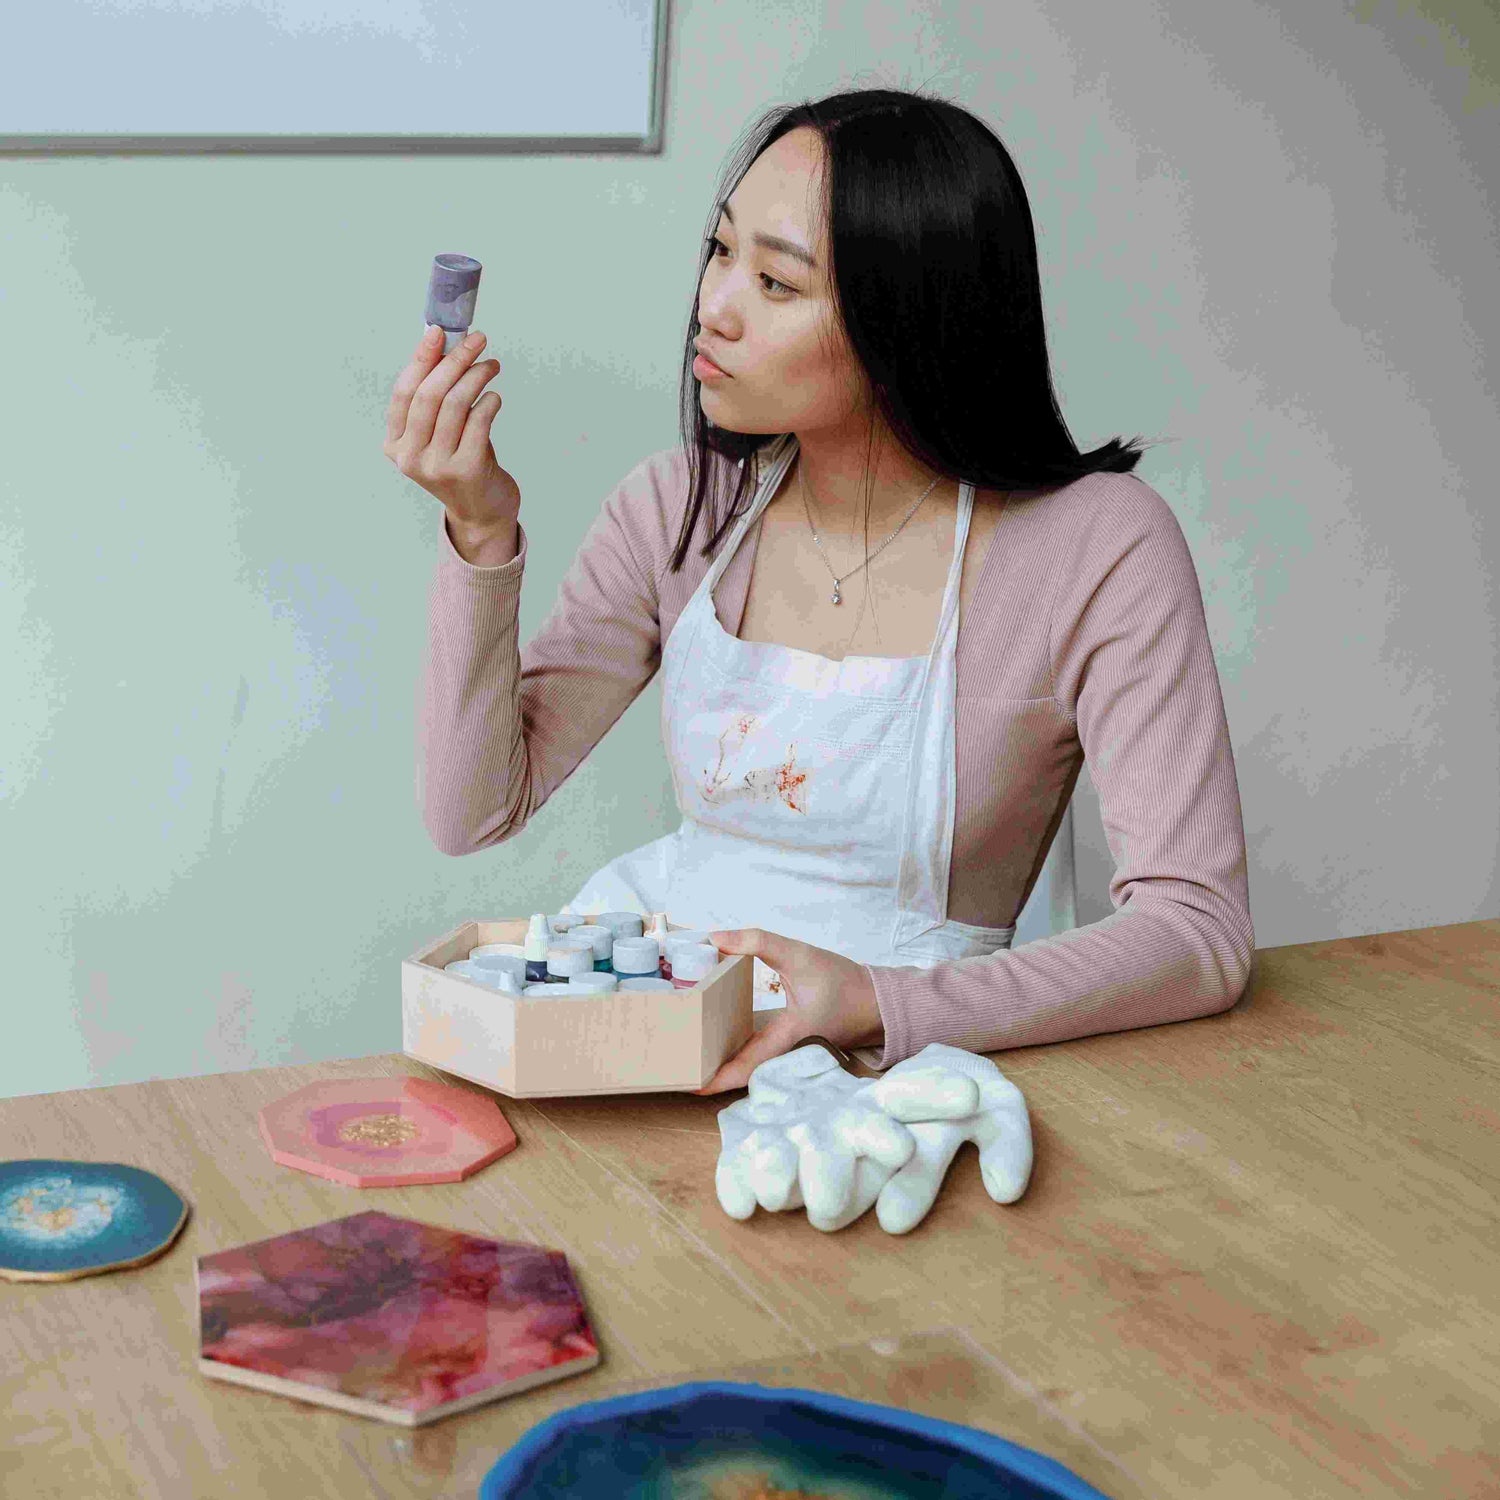
Dealing with epoxy resin problems can turn your exciting art project into a frustrating experience overnight. Whether you're a beginner just starting your resin journey or a seasoned artist, these issues can happen to anyone at any time.
The good news? Most resin disasters are completely fixable, and better yet—preventable with the right knowledge and tools. In this guide, we'll walk through the five most common epoxy resin headaches and share professional solutions that will save your projects and your sanity. Stick around to discover how simple adjustments and specialized equipment can transform your resin crafting experience!
Stop fighting with resin problems and let professional tools do the work! Explore our Resiners Machine Collection to transform your crafting experience.
Epoxy Resin Problem 1: Bubbles in Your Mixture
Bubbles can ruin the glass-like finish of your epoxy resin projects. These tiny air pockets create imperfections that distract from your work and compromise the professional look.
Why Bubbles Form
Bubbles appear in epoxy resin for several reasons. The most common cause is air trapped during mixing.
When you stir resin and hardener together, you introduce air. Temperature also plays a role—cold resin is thicker and holds bubbles more easily.
In cold environments, bubbles get trapped as the resin starts to cure before they can rise to the surface. The porosity of your base material matters too.
Wood, paper, and other porous materials release air when covered with resin, creating bubbles that rise through your pour.
Preventing Bubbles Before You Pour
Proper preparation helps you avoid bubbles. Warm your resin components in a water bath (not above 95°F) before mixing to reduce viscosity. This makes bubbles rise faster and pop more easily.
Mix slowly and use a flat mixing tool to minimize air incorporation. Stir in one direction and avoid whipping or creating a vortex.
For porous materials, apply a thin seal coat first. Let the seal coat cure completely before your main pour to prevent air escaping from the material.
A heat gun or torch held briefly over the surface will pop surface bubbles. Move it constantly to avoid overheating any area. Keep the flame 6-8 inches away from your work.
The Resiners Airless Pro Bubble Removal Machine: Your Bubble-Free Solution

The Airless Pro Bubble Removal Machine offers a professional way to eliminate bubbles. This device uses vacuum technology to draw bubbles out of your resin before you pour.
With universal voltage compatibility (110v-240v), you can use this machine anywhere. It removes microbubbles that even heat guns might miss, ensuring clear results.
The Airless Pro is valuable for deep pours and complex projects where traditional methods fall short. Place your mixed resin in the chamber, seal it, and let the machine work.
Epoxy Resin Problem 2: Sticky or Tacky Surfaces
Sticky or tacky resin surfaces can be frustrating in epoxy projects. This common problem happens for several reasons, but you can avoid or fix these issues with proper techniques and equipment.
Causes of Uncured Resin
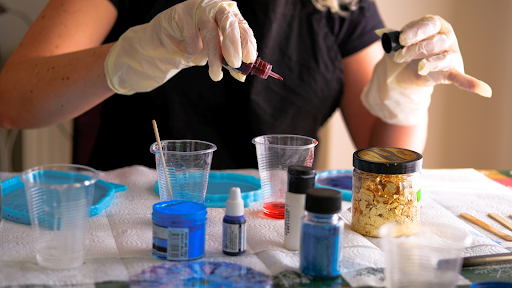
Improper mixing is the main reason for tacky resin surfaces. If you don't mix the resin and hardener thoroughly, some areas won't cure properly.
The mixing ratio is critical—too little hardener leaves the resin soft and sticky. Temperature also matters.
If your workspace is too cold (below 70°F), the resin won't cure completely. Humidity above 50% can interfere with curing by introducing moisture.
Some resins require longer cure times than others. Reading the manufacturer's instructions is essential since different brands have different requirements.
Expired products can also cause tacky surfaces, as chemicals break down over time. Make sure your work surface is clean before pouring.
Oils, dust, or moisture can prevent proper curing.
Prevention Tips for Future Pours
Always measure your resin and hardener precisely using proper tools. Digital scales work best for accuracy.
Mix thoroughly for at least 3-5 minutes, scraping the sides and bottom of your container. Work in a temperature-controlled environment between 70-75°F for best results.
Consider using a space heater or cooling fan to maintain consistent temperatures.
Quick prevention checklist:
- Use fresh, quality resin products
- Mix in clean, dry containers
- Stir slowly to minimize bubbles
- Follow the exact manufacturer's ratio
- Apply thin layers rather than thick pours
- Protect uncured resin from dust with a cover
If you work with resin often, invest in proper curing equipment like a curing chamber to save time. Clean all tools immediately after use to prevent contamination in future projects.
The Resiners Cure-Air Resin Curing Machine

The Cure-Air machine provides a controlled environment for resin curing. It reduces curing time from 24 hours to just 2 hours.
With its auto-curing feature, you don't need to set time or temperature manually. Press the power button, and the machine adjusts to the optimal temperature for even curing.
The transparent lid lets you watch the curing process while keeping dust and contaminants away. The upgraded tray measures 11.8" × 8.5" × 1.8", fitting most mold sizes.
The reinforced design prevents warping with heavier pours. For areas with different voltage requirements, use a voltage converter to prevent device damage.
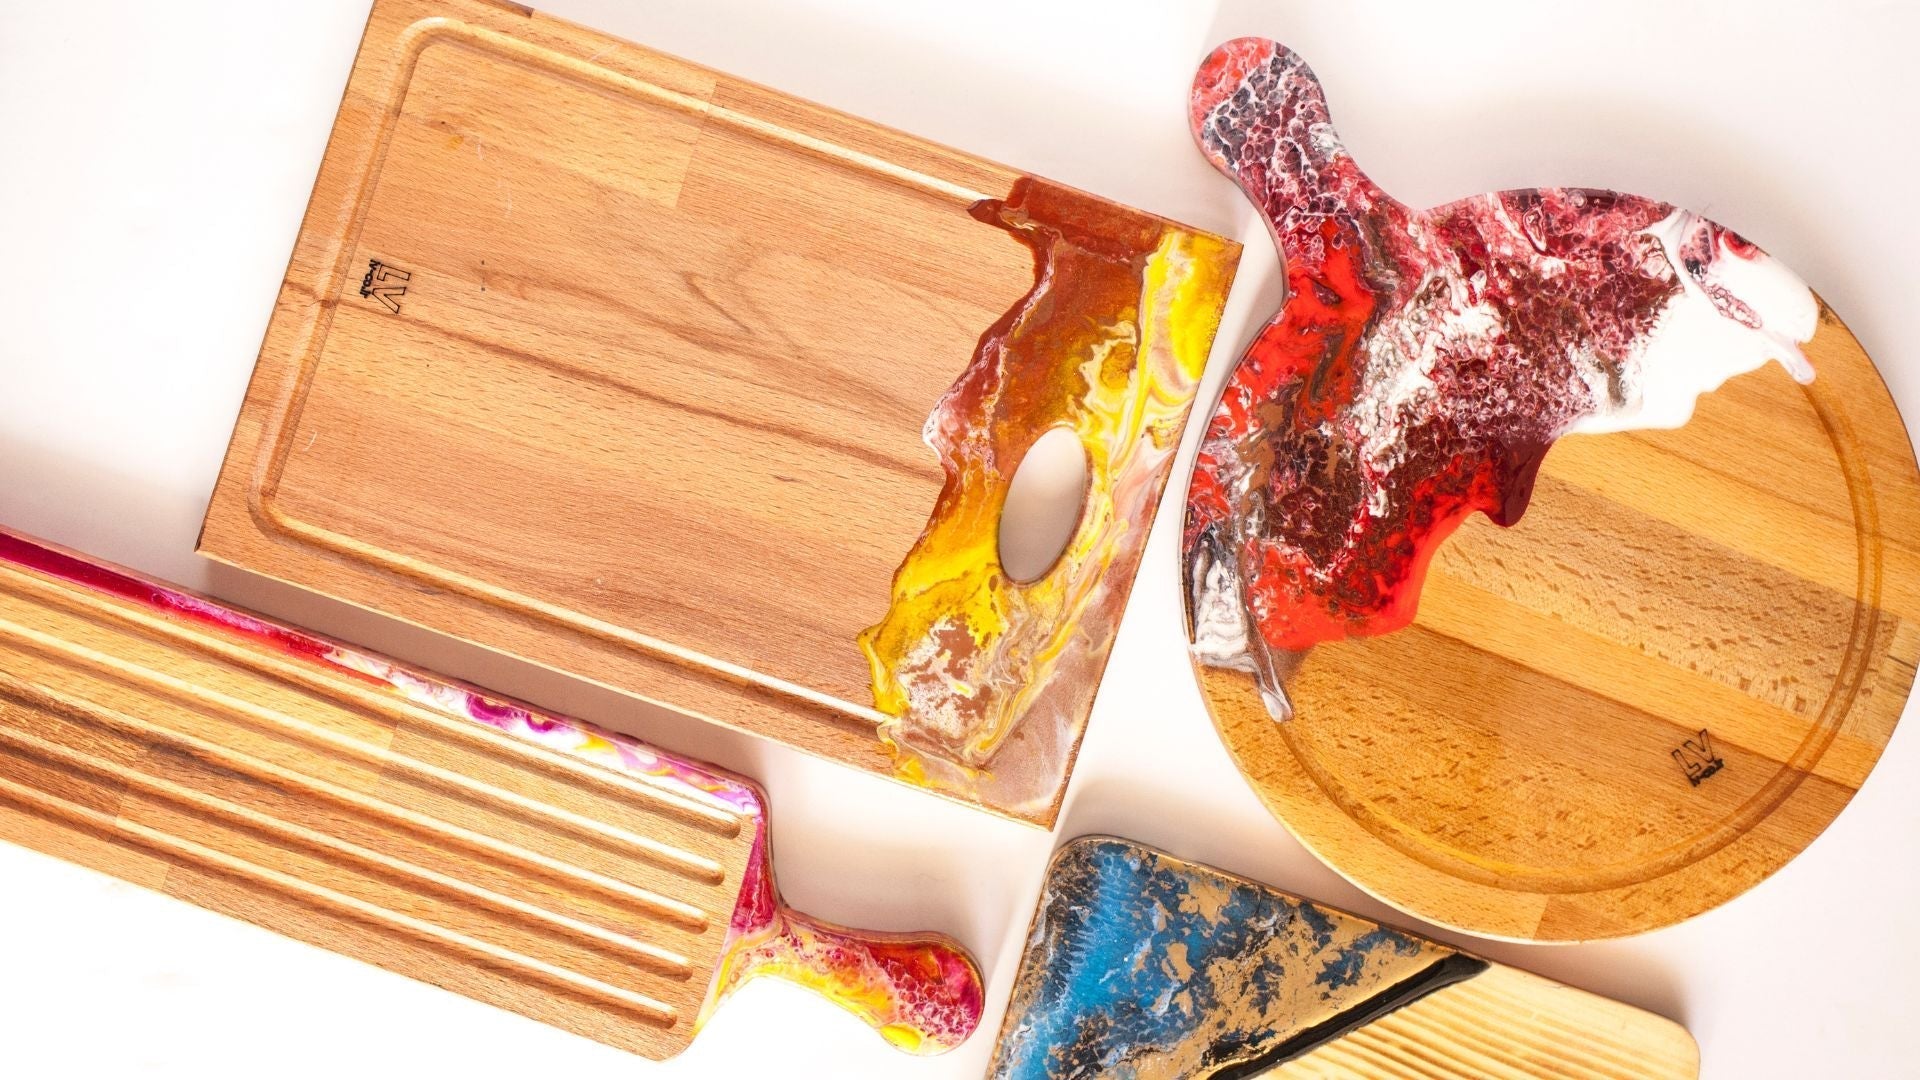
Epoxy Resin Problem 3: Cloudiness and Yellowing
Cloudiness and yellowing can ruin the appearance of your epoxy projects. These problems turn a clear finish into something dull and unappealing.
Why Does Resin Get Cloudy?
Cloudiness in epoxy resin often comes from moisture contamination during mixing or curing. Water particles trapped in the resin create a foggy appearance that's hard to fix after curing.
Keep all materials and tools completely dry before starting your project. Work in a low-humidity environment if possible.
Room temperature should be stable and within the manufacturer's recommended range. Improper mixing can also cause cloudiness.
If resin and hardener aren't thoroughly combined, some areas may cure differently, creating a cloudy effect. Always mix according to the manufacturer's instructions, usually for 3-5 minutes, scraping the sides and bottom.
Fixing Yellowed Projects
Once yellowing has occurred, complete reversal is difficult, but you have options to improve the appearance:
Light sanding and recoating: For mild yellowing, lightly sand the surface with fine-grit sandpaper (800+ grit) and apply a fresh, UV-resistant topcoat.
UV-blocking sprays: Apply a clear spray with UV inhibitors to slow further yellowing.
Prevention is best: Use epoxy with UV stabilizers for future projects. These resins cost more but keep clarity much longer.
If your project has severely yellowed, consider embracing the color change as part of the piece's character or use decorative techniques to mask the discoloration with tints or pigments.
Resiners 3-in-1 UV Light: Preventing and Treating Discoloration

UV exposure is a major factor in resin discoloration. The Resiners 3-in-1 UV Light serves multiple purposes in your resin work.
This device cures UV resin quickly and evenly, reducing the chance of cloudiness from uneven curing. The controlled UV environment is gentler than natural sunlight, which can cause yellowing, especially when working with uv resin.
Using a professional UV light ensures consistent results and extends the clarity of your finished pieces. It's especially useful for detailed work where precision curing matters.
Your projects deserve crystal-clear, bubble-free results every time. Shop our Clear Epoxy Resin Collection for professional-quality resin that won't let you down.
Epoxy Problem 4: Uneven Curing and Soft Spots
Uneven curing and soft spots can ruin your resin project. These problems often come from improper mixing, incorrect ratios, or temperature changes during curing.
Why Parts of Your Resin Won't Harden
When you notice areas of resin that stay tacky while other parts cure, several factors might be to blame. Inadequate mixing is the most common culprit—without thorough combination, the chemical reaction occurs unevenly.
Temperature significantly impacts curing. Workspaces below 70°F/21°C slow the process, leaving some areas hardened and others soft. Precise measurements are equally crucial, as most resins require exact ratios (typically 1:1 or 2:1). Even minor measuring errors can create permanently soft patches.
Common causes of soft spots:
- Incomplete mixing
- Incorrect resin-to-hardener ratio
- Low ambient temperature
- Expired or contaminated materials
Resiners Dual Head Resin Mixer: The Secret to Perfectly Mixed Resin

A dual-head resin mixer thoroughly blends your components, eliminating unmixed pockets that lead to soft spots.
These mixers use silicone paddles designed to reach all areas of your mixing container. This design helps incorporate both components completely.
When using a dual-head mixer, work slowly and methodically. Move the mixer around the container's edges and bottom where unmixed resin often hides.
A proper mix should have a consistent color and texture with no streaks or swirls. For high-viscosity resins, upgraded mixer models provide the torque needed to blend thick materials.
Achieving Even Cures with Proper Equipment
Beyond mixing tools, other equipment helps with even curing. A reliable digital scale ensures you measure components accurately every time.
Even small measurement errors can lead to curing problems. Temperature control is equally important.
Consider using a heating mat designed for resin work to maintain optimal curing conditions. These mats keep your project at an ideal temperature (75-85°F/24-29°C) throughout curing.
Essential equipment for even curing:
- Digital scale with 0.01g precision
- Infrared thermometer
- Heating mat
- Timer for tracking mixing duration
- Level work surface
For larger projects, a level indicator helps ensure even distribution of resin. Uneven pooling can cause resin to cure at different rates, creating soft areas.
A level workspace prevents this issue. If you discover soft spots after curing, you can often fix the problem by pouring a fresh, properly mixed layer over the affected area after cleaning and lightly sanding the surface.
Epoxy Resin Problem 5: Cracks and Fractures
Cracks in epoxy resin happen for several reasons but you can usually prevent them with proper techniques and fix them with the right tools.
Common Causes of Cracking
Epoxy cracks often result from temperature changes. When resin cures too quickly in warm environments, it can contract and crack.
Mixing incorrect ratios of resin and hardener is another major cause. If you don't measure precisely, the chemical reaction may not complete properly, leading to weak spots.
Too-thick pours cause problems as well. Epoxy generates heat while curing, and pouring layers thicker than recommended causes excessive heat buildup.
This can create internal stress that results in fractures. Improper substrate preparation also contributes to cracking.
If your base surface isn't clean or has moisture, the epoxy won't bond correctly. Always clean thoroughly and ensure surfaces are completely dry before application.
Preventing Stress Fractures with Proper Tools
Using the right tools helps prevent cracks. A good quality heat gun removes bubbles that might otherwise create weak points.
Work in a controlled environment with a stable temperature. Aim for 68-75°F for the best results.
Sudden temperature changes can cause cracks. Use a thermometer in your workspace to monitor conditions.
Proper mixing tools are essential. Use silicone or plastic mixing cups with clear measurements for accurate ratios.
A timer helps you track mixing duration. Mix for 3-5 minutes to ensure thorough blending.
For large projects, pour in multiple thin layers. Allow each layer to partially cure before adding the next to prevent heat buildup and stress.
Resiners Cordless Rotary Tool Kit: For Professional Repairs and Finishing

A precision rotary tool helps repair existing cracks. The Resiners Cordless Rotary Tool Kit offers professional-grade precision for fixing fractures in cured epoxy.
This tool lets you carefully widen cracks to create a better surface for repair resin. Start with a low speed setting for delicate areas.
The kit includes various bits for different repair needs. After widening the crack, clean the area thoroughly.
Apply a small amount of fresh epoxy with a precision tip. The cordless design gives you freedom of movement and helps you reach difficult areas.
Use the fine sanding attachments in the kit to smooth the repair area once cured. This creates a seamless finish that blends with the surrounding resin.
Turn your creative vision into reality with our specially curated project kits. Explore our Resin Kits complete with custom molds and all accessories needed for stunning art pieces.
Conclusion: Epoxy Resin Problems
Epoxy resin challenges are part of the creative journey, but they're easily conquered with the right approach. With proper techniques, temperature awareness, and quality materials, you'll achieve professional results every time.
The difference between amateur and professional-looking projects often comes down to having the right tools for the job. Equip yourself properly, and watch your resin crafting reach new levels of excellence!
New to resin crafting? Explore our Epoxy Resin for Beginners Guide to build a solid foundation of skills and techniques.
Frequently Asked Questions: Epoxy Resin Problems
What are the problems with epoxy?
Common epoxy problems include improper curing, bubbles, cloudiness, and yellowing. Incorrect mix ratios often cause tacky or soft surfaces. Temperature fluctuations can prevent proper hardening.
What destroys epoxy resin?
UV exposure causes yellowing and degradation of epoxy resin. Strong solvents like acetone and some alcohols break down epoxy bonds. Temperatures above 150°F can soften and warp cured projects.
Does epoxy resin break easily?
Properly cured epoxy creates a hard, impact-resistant surface. Using too much hardener makes epoxy brittle and prone to cracking. Specialty formulations for structural applications provide enhanced durability.
Why is my epoxy still sticky after 2 days?
Sticky epoxy typically results from incorrect mixing ratios or inadequate blending. Cold or humid environments significantly slow the curing process. Expired products or improper storage can prevent complete chemical reactions.


Laisser un commentaire
Ce site est protégé par hCaptcha, et la Politique de confidentialité et les Conditions de service de hCaptcha s’appliquent.