Preserving flowers in resin creates stunning keepsakes that capture nature's beauty forever. I've spent countless hours perfecting this craft, and I'm excited to share everything you need to know to get professional results. Let's transform your precious blooms into amazing resin art!
Why Preserve Flowers in Resin?
Resin preservation is the perfect way to immortalize special flowers from weddings, anniversaries, or your garden. Unlike pressing or drying alone, resin encapsulation maintains the three-dimensional beauty of your flowers while protecting them from decay, dust, and discoloration.
Materials Needed:
Before starting in, gather these essential supplies:
|
Materials Needed |
Description |
|
|
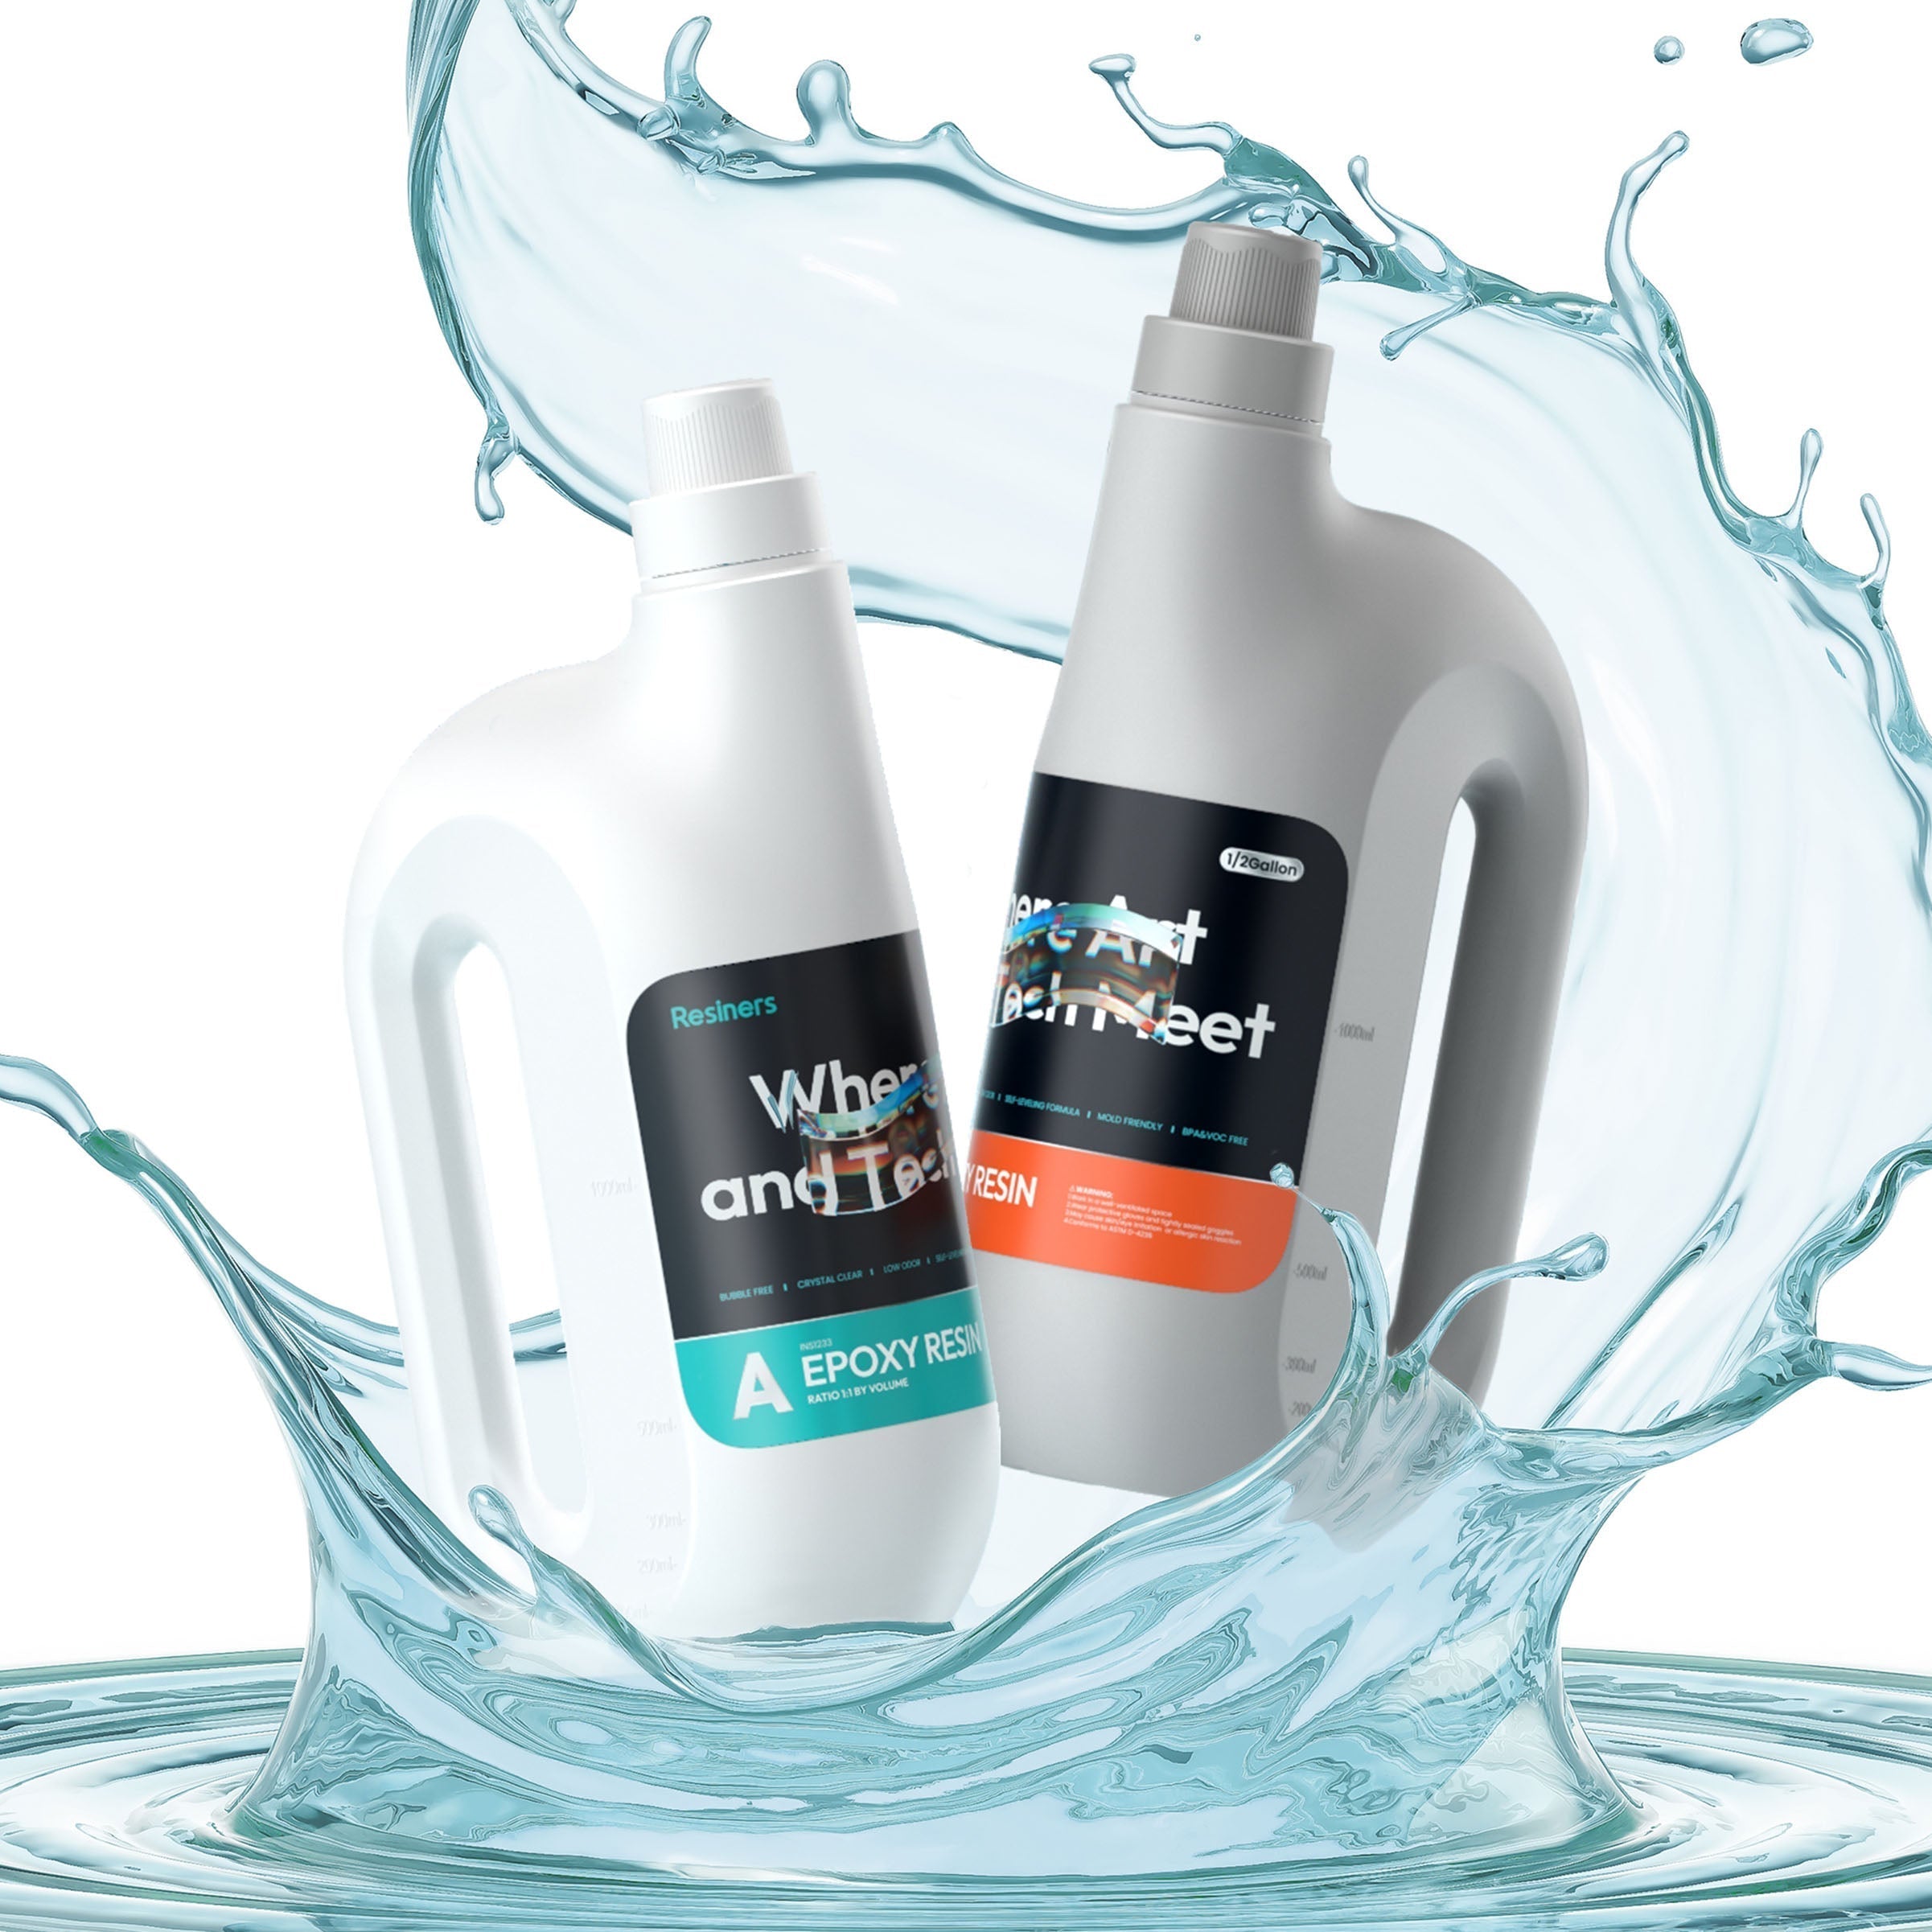
Choose a clear casting resin specifically designed for deep pours. Quality resin will ensure crystal-clear results with minimal yellowing over time. |
|
Silicone or plastic molds |
Select shapes that complement your flowers and match your design vision. Silicone molds provide more flexibility for removing your finished pieces. |
|
Mixing cups and stir sticks |
Disposable Epoxy Resin Plastic Measuring Mixing Cups with Wooden Stir Sticks. Using dedicated mixing tools prevents contamination that could affect curing. |
|
Digital scale |
For precise measurements that ensure proper resin-to-hardener ratio. Accuracy at this stage directly impacts the quality of your final product. |
|
Flowers |
Properly dried pressed flowers that have been completely dehydrated. Fresh or improperly dried flowers will discolor and deteriorate within your resin. |
|
Safety gear |
Nitrile gloves, respirator mask, and protective eyewear to protect yourself during the process. Working with resin requires proper protection to prevent skin irritation and inhalation of fumes. |
|
Heat gun or torch |
For removing bubbles that naturally form during the mixing and pouring process. A heat gun designed specifically for crafts provides the controlled temperature needed without damaging your delicate flowers. |


🛒Grab your resin art essential supplies here!
How Do You Dry Flowers to Preserve in Resin?
Step 1: Dry the Flowers

Air Drying
Hang flowers upside down in a dark, dry place for 2-3 weeks. This traditional method preserves the natural shape but takes patience.
Pro Tip: Bundle flowers with rubber bands or twine, leaving space between bunches for air circulation.
Using Parchment Paper
Place flowers between parchment paper sheets and press under heavy books for about a week. This creates beautiful flat specimens perfect for jewelry.
Pro Tip: Change the parchment paper every few days to absorb moisture and prevent mold growth.
Silica Gel Method
Cover flowers completely in silica gel beads in an airtight container for 3-7 days. This method preserves colors beautifully and maintains the natural shape.
Pro Tip: Use clear containers so you can monitor the drying process without disturbing the flowers.
Microwave Drying
Place flowers in silica gel in a microwave-safe container. Heat for 30-second intervals until dry (usually 2-3 minutes total). This is the fastest method but requires careful attention.
Pro Tip: Let flowers cool completely in the silica gel before removing to prevent warping.
Step 2: Measure the Mold

Calculating the right amount of resin prevents waste and ensures proper curing. Fill your mold with water, then pour into a measuring cup to determine volume.
Pro Tip: Add 10% extra resin to your calculation to account for inevitable waste in mixing cups and on tools.
Step 3: Prep the Mold

Clean your mold thoroughly with rubbing alcohol to remove dust or fingerprints. Apply a thin layer of mold release spray for easier demolding later.
Pro Tip: Place your mold on a perfectly level surface and check with a bubble level. Uneven curing can create lopsided pieces.
Step 4: Place the Flowers

Arrange your dried flowers in the mold with tweezers. Plan your design carefully—this step determines your final composition.
Pro Tip: For a floating effect, first pour a thin layer of resin, let it gel for an hour, then place flowers before pouring the remaining resin.
Step 5: Mix the Resin

Follow your resin's specific instructions for mixing ratios (typically 1:1 by volume or weight). Stir gently for 3-5 minutes, scraping the sides and bottom of your container.
You can warm resin bottles in warm water for 10 minutes before mixing—this reduces viscosity and makes bubble removal easier.
🌺 Pro Tip: Eliminate mixing errors with the Dual-Head Resin Mixer, engineered to deliver perfectly blended results consistently.
Step 6: Pour into the Mold

Pour slowly from one corner of the mold, allowing resin to naturally flow around your flowers. This technique minimizes bubble formation. For pieces thicker than 1/2 inch, pour in multiple layers (allowing each to partially cure) to prevent excess heat and bubbling.
🌺 Pro Tip: Achieve flawless, bubble-free finishes with the bubble removal machine, specifically designed for professional-quality results.
Step 7: Let Cure

Place your project in a dust-free environment to cure according to your resin's instructions—usually 24-48 hours for full hardening.
Pro Tip: Cover your project with a box or container to protect from dust while still allowing air circulation.
🛒 Get your Resin Curing Machine today and take your resin projects to the next level! Achieve flawless, professional results faster and with ease.
Step 8: Demold
Once fully cured, gently flex the mold's edges to break the vacuum seal. Pull back slowly from the corners for clean removal.
Pro Tip: If your piece sticks, place the mold in the freezer for 15 minutes—the resin will contract slightly, making removal easier.
Step 9: Finishing Touches

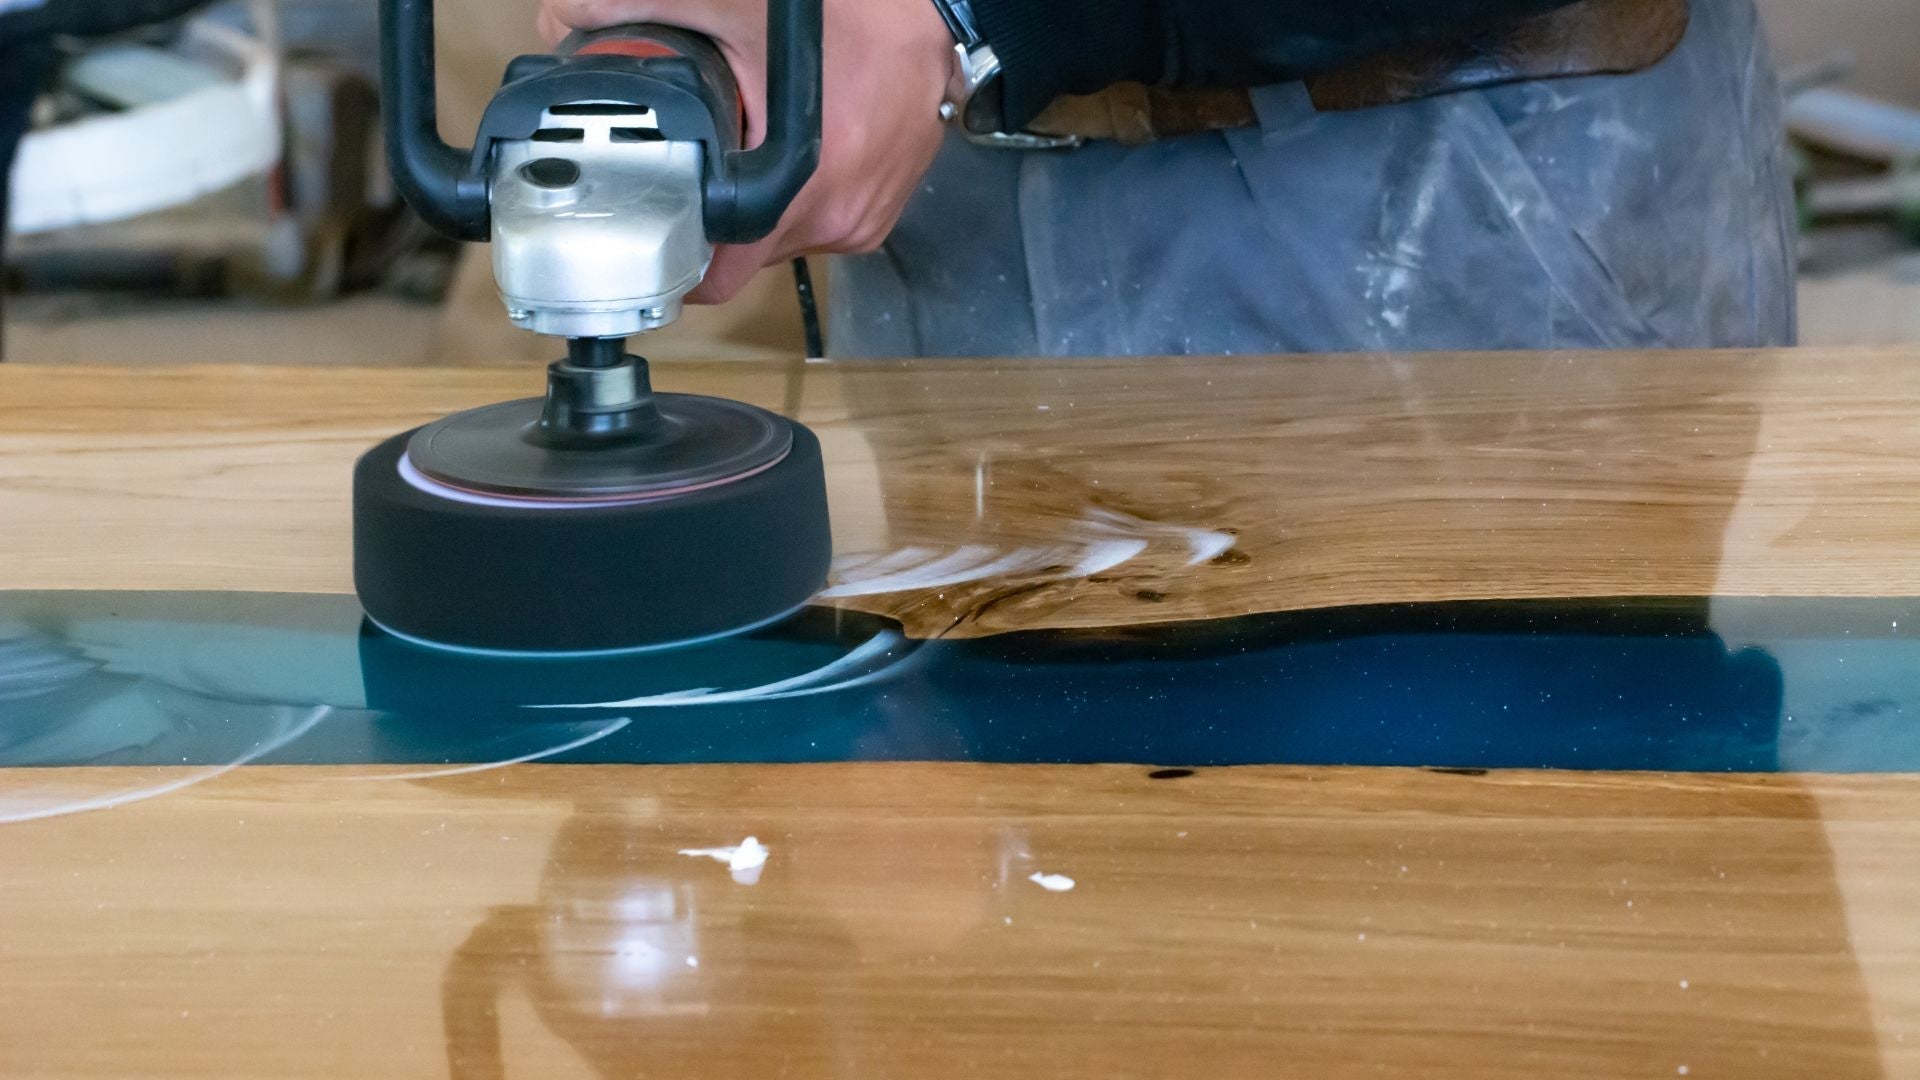
Sand any rough edges using progressively finer sandpaper (start with 400 grit, finish with 2000 grit). Polish with resin-specific polish for a glass-like finish. For a perfect edge, wet-sand under running water to prevent dust and achieve a smoother finish.
🌺 Pro Tip: To achieve flawless finishes on your resin projects try this Resiners Cordless Rotary Tool Kit that you can use anywhere, anytime!

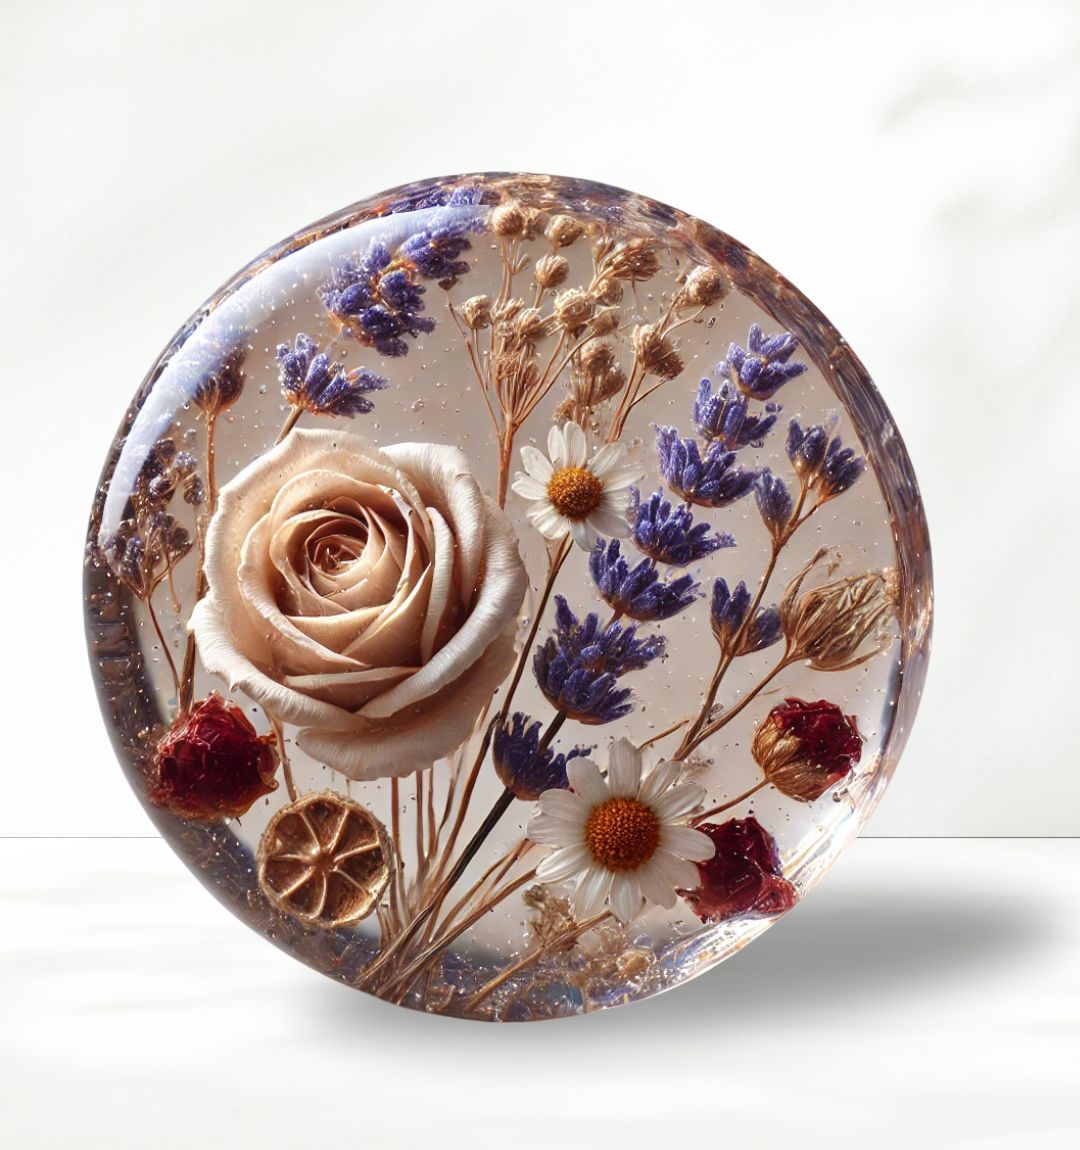
Here's the finished product. The delicate flower is now perfectly preserved in crystal-clear resin, with every petal and detail enhanced by the precision polishing. The smooth, bubble-free surface catches the light beautifully, creating an heirloom-quality piece that will last for forever.
Conclusion
Preserving flowers in resin creates meaningful keepsakes that maintain their beauty for years to come. With practice, patience, and these professional techniques, you'll soon be creating gallery-worthy pieces from your favorite blooms. Ready to start your flower preservation journey? Find all the premium supplies and additional expert guidance you need at Resiners today!
Frequently Asked Questions
Do flowers go moldy in resin?
Flowers can indeed go moldy in resin if they aren't properly dried before encapsulation. Any moisture trapped in the flowers will create cloudy spots, discoloration, and eventually mold inside your piece. This not only ruins the appearance but can't be fixed once cured. Always ensure your flowers are 100% dry, regardless of which drying method you choose.
How do you keep flowers from rising in resin?
Preventing flowers from floating or rising during curing requires a layered approach. First, pour a thin base layer of resin and let it partially set (until tacky). Then position your flowers and add a tiny drop of resin on top to "glue" them in place. Once this sets for about 30 minutes, carefully pour your final layer. For stubborn buoyant flowers, try dipping them in a small amount of resin before placement.
Can you preserve fresh flowers in resin?
Fresh flowers should never be preserved directly in resin without drying them first. The moisture in fresh flowers causes numerous problems: it prevents proper curing, creates bubbles, leads to discoloration, and eventually causes decomposition inside your piece. Even commercial "flower preservation" sprays don't eliminate these issues. Always properly dry flowers using one of the methods described in this guide.
How to dry flowers for resin without silica?
Several effective methods exist for drying flowers without silica gel. Air drying works well for sturdy flowers—hang them upside down in a dark, dry place for 2-3 weeks. The pressing method using parchment paper and heavy books creates flat specimens perfect for jewelry. You can also use cat litter (the non-clumping clay type) as an alternative to silica gel, or try microwave drying between paper towels for quick results.
Related Articles:
Epoxy Vs UV Resin: What’s the Difference?
How to Create a Beautiful Mini Salt Lake Diorama
Tips for Keeping Glitter Afloat in Your Epoxy Resin Projects!


Leave a comment
This site is protected by hCaptcha and the hCaptcha Privacy Policy and Terms of Service apply.