
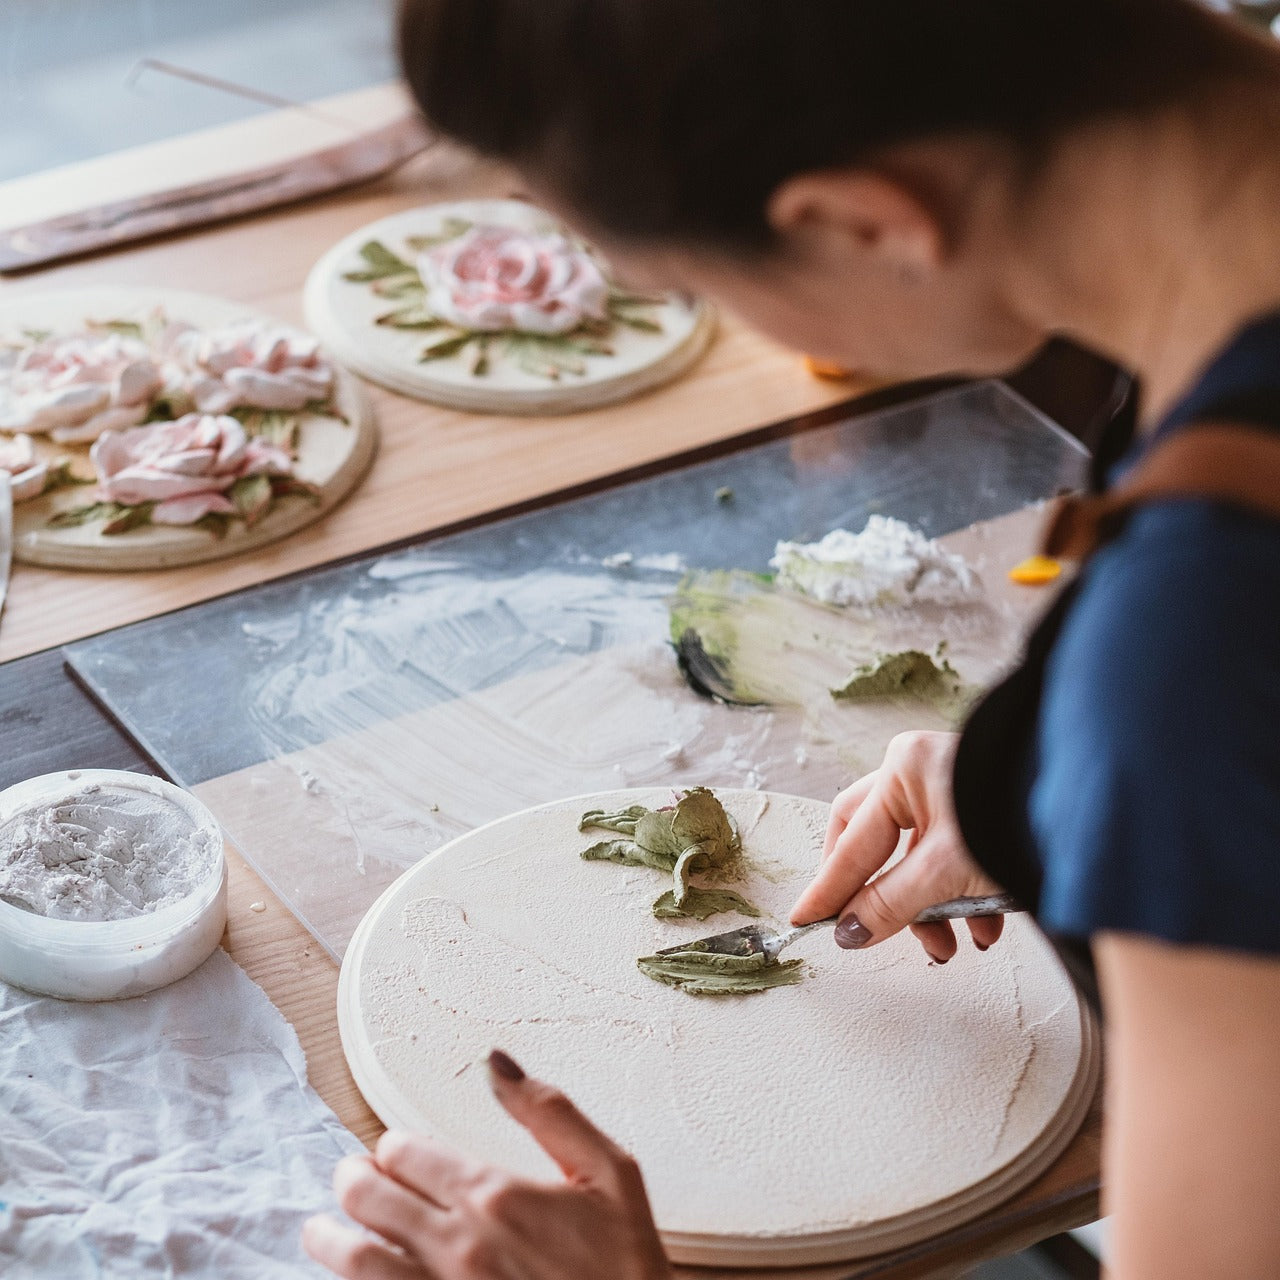
Resin flowers offer a magical way to preserve nature's beauty forever. By embedding dried blooms in crystal-clear epoxy, you can transform fleeting garden treasures or sentimental bouquets into lasting keepsakes.
The secret to stunning resin flower projects lies in proper preparation—drying your flowers correctly ensures their colors remain vibrant without browning or bubbling in the finished piece.
From delicate jewelry to eye-catching home décor, these botanical time capsules showcase your preserved blooms from every angle while protecting them in a durable medium.
Ready to create your own floral masterpieces? Read on to learn everything you need to know about creating perfect resin flowers.
What Are Resin Flowers?
Resin flowers are beautiful keepsakes that preserve real flowers in clear epoxy resin. This crafting technique lets you capture flowers at their peak beauty and transform them into lasting decorative items.
Definition And Types Of Resin Flower Projects
Resin flowers are real blooms that are dried and sealed within epoxy resin, a clear hardening substance. When cured, the resin creates a glass-like finish that protects and displays the flowers. You can make many different items with this technique!
Popular resin flower projects include:
- Jewelry: Pendants, earrings, and rings
- Decorative items: Paperweights, coasters, and ornaments
- Functional pieces: Trays, vases, and bookmarks
The process involves drying flowers completely first. This step is super important! Fresh flowers will turn brown in resin because of the heat during curing.
You can dry flowers using silica gel, air-drying, or pressing techniques before adding them to your resin mix.
Benefits Of Preserving Flowers In Resin
Preserving flowers in resin offers many advantages over other methods. First, it creates a totally clear view of your blooms from all angles. Your special flowers can last for years instead of days or weeks!
Resin-preserved flowers make perfect keepsakes from:
- Wedding bouquets
- Anniversary gifts
- Memorial flowers
- Garden blooms you love
The UV-resistant properties of quality resin help protect your flowers from fading over time. This means your preserved flowers stay looking fresh much longer than those in frames or shadow boxes.
Resin crafting is also very flexible. You can add colors, glitter, or other elements to make your project unique.
The final products make wonderful gifts that friends and family will treasure. Plus, learning this skill opens up a whole world of crafting possibilities!
Best Resins And Supplies For Flower Preservation

Working with the right materials makes all the difference when preserving your beautiful flowers in resin. Here's what you need to create stunning, long-lasting flower displays that will help you treasure your memories.
Choosing The Right Resin (Epoxy, UV, Casting)
Different resins work better for different flower projects. Epoxy resin is popular for beginners because it's easier to use.
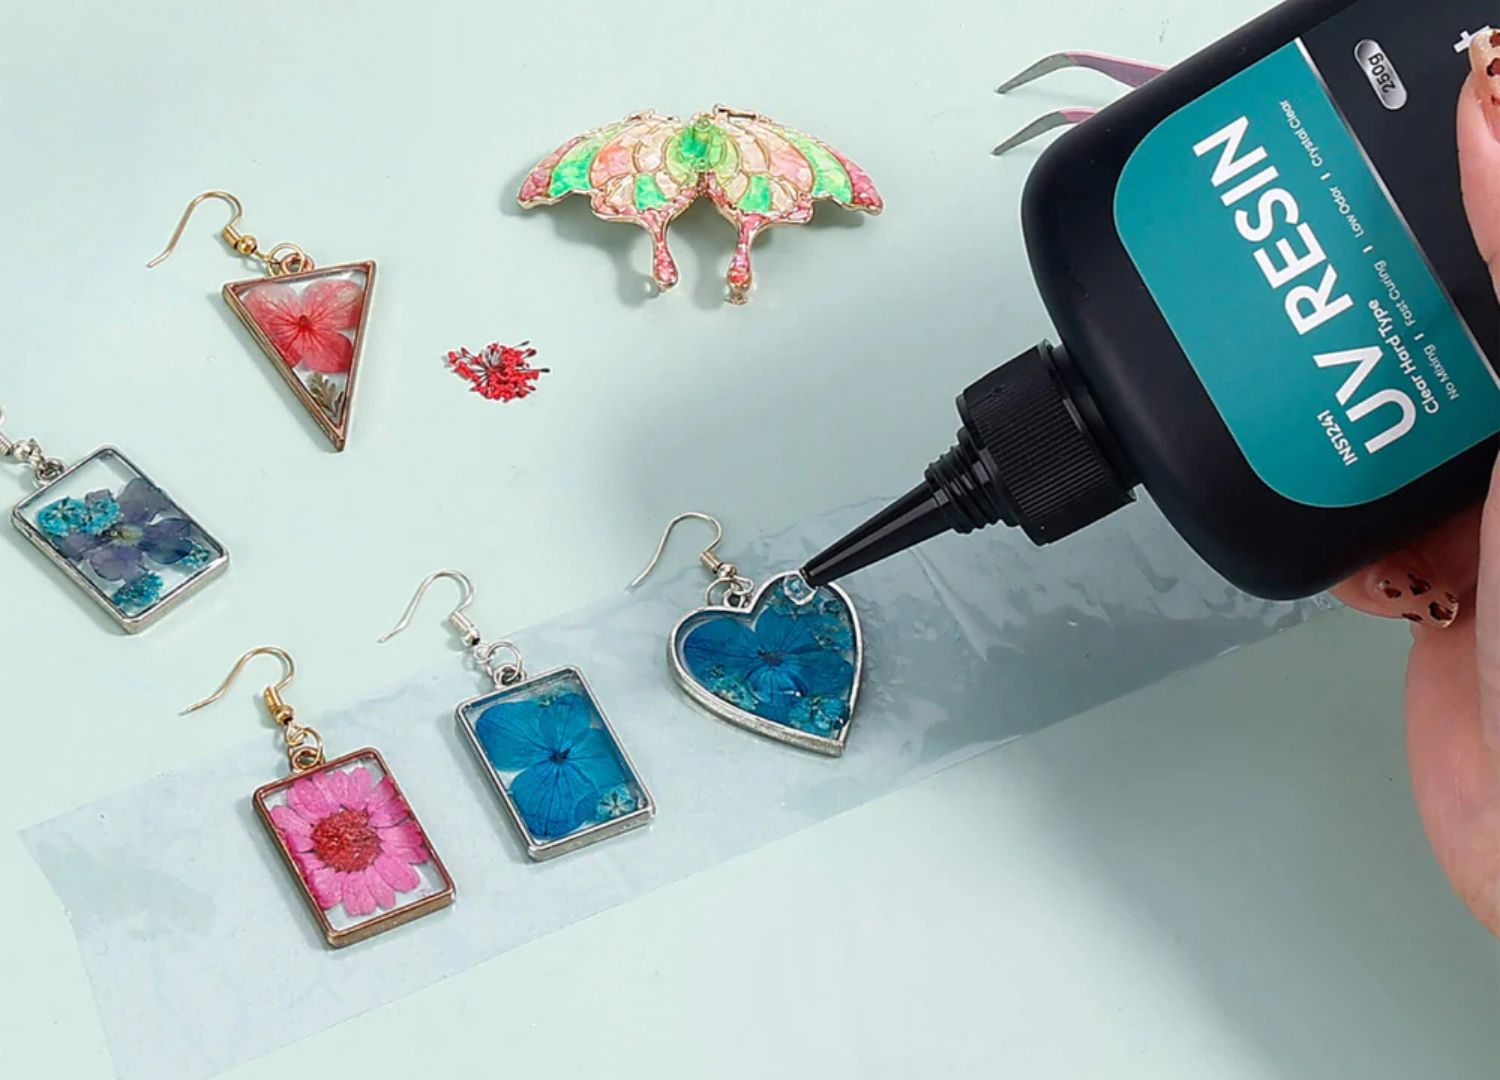
You can pour it all at once without bubbles or cracks. This is perfect for paperweights or larger flower displays. UV resin cures quickly under a UV lamp or sunlight. It's good for small projects or adding details.
Casting resin flows well around delicate flowers. Alumilite is a decent option, while Pudou works too but some crafters find it thick.
When picking resin, consider:
- How thick your pour will be
- Curing time needs
- If you want a hard or flexible finish
- UV resistance (to prevent yellowing)
Essential Tools And Safety Equipment
Safety comes first when working with resin! Always wear nitrile gloves to protect your skin from irritation. A respirator mask with the right filters helps you avoid breathing harmful fumes.
Your basic toolkit should include:
- Measuring cups with clear markings
- Silicone or plastic mixing tools
- Craft sticks for stirring
- Heat gun or torch for removing bubbles
- Sandpaper (various grits) for finishing
- Level surface for curing
Don't forget plastic sheeting or silicone mats to protect your work area. Resin spills are very hard to clean up once they cure!
A small kitchen scale helps you measure parts accurately. Proper measurements make your resin cure correctly.
Timer apps on your phone help track mixing times and cure schedules. This is super important for good results!
Molds For Different Resin Flower Projects
Silicone molds are your best friends for resin flower projects. They're flexible, making it easy to pop out your finished pieces without damage.
For beginners, try simple shapes like:
- Round coaster molds
- Square paperweight molds
- Jewelry pendants
- Bookmarks
Silicone molds come in many designs. You can find them shaped like trays, spheres, or even custom shapes for special projects.
If you want to try larger projects, look for deeper molds made specifically for resin. These work well for making things like bookends or display pieces where you can see your flowers from all angles.
Making your own custom silicone molds is an option too! This lets you create exactly the shape you want for special flowers or bouquets.
Clear molds help you see how your flowers are positioned before the resin sets. This helps avoid disappointment when you unmold your creation.
Preparing Flowers For Resin

Before creating beautiful resin art with flowers, you need to properly prepare your blooms. The right preparation prevents browning, bubbling, and decay that can ruin your finished piece.
Drying Methods (Air-Drying, Silica Gel, Pressing)
Air-drying is the simplest method to prepare flowers. Hang small bunches upside down in a dry, dark place for 1-2 weeks. This works well for sturdy flowers like roses and lavender.
Silica gel gives you better color preservation. Place your flowers in a container and cover them completely with silica gel. Seal the container and wait 3-7 days. This method is perfect for delicate blooms like daisies and pansies.
Pressing flowers creates flat specimens ideal for pendants or bookmarks. Put flowers between absorbent paper, then place under heavy books for 2-3 weeks. You can also use a flower press or microwave press for faster results.
Quick Tip: Test a few flowers with each method to see which gives you the results you like best!
Selecting And Treating Flowers For Resin Casting
Choose flowers with vibrant colors and interesting shapes. Small, thin flowers work better than thick, bulky ones. Avoid flowers with high moisture content like succulents, as they can turn brown.
Before casting, make sure your dried flowers are completely dry. Any moisture left will cause bubbling and discoloration in your resin. Give them a gentle tap - they should feel papery and crisp.
Apply a thin layer of resin as a sealant before the main pour. This "pre-coat" helps prevent air bubbles and discoloration. Dip your dried flowers in resin or brush it on with a small paintbrush.
For best results, arrange your flowers on a flat surface first. Take a photo of your design before you start placing them in resin. This gives you a reference to follow during the actual casting process.
Step-By-Step Guide To Creating Resin Flowers

Creating your own resin flowers is fun and rewarding. With the right tools and techniques, you can make beautiful pieces that last for years.
Workspace Setup And Resin Mixing
Start by setting up a clean, flat workspace covered with a silicone mat or wax paper. Put on gloves and safety glasses to protect yourself. Work in a well-ventilated area.
Gather these supplies:
- Epoxy resin and hardener
- Silicone molds (flower shapes)
- Dried or preserved flowers
- Measuring cups
- Mixing stick
- Colorants (optional)
- Heat gun or torch
Measure equal parts of resin and hardener (or follow your product's instructions).
Pour both into a cup and stir slowly with your mixing stick for about 3-5 minutes. Don't stir too fast or you'll create bubbles!
If you want colored flowers, add a tiny drop of colorant and mix well. Remember that a little goes a long way.
Flower Placement Techniques
If using real flowers, they must be completely dry. Fresh flowers contain moisture that will ruin your resin project.
Pour a thin layer of resin into your mold first. This creates a base for your flowers. Let it get a bit tacky (about 15-30 minutes).
Place your dried flowers carefully on this tacky layer using tweezers. Arrange them how you want them to look. You can also add small embellishments like glitter or tiny beads now.
Once you're happy with the placement, slowly pour more resin over the flowers. Pour from low height to minimize bubbles. Use your mixing stick to gently push down any floating elements.
Preventing And Removing Bubbles
Bubbles are the enemy of clear resin projects! To prevent them, mix your resin slowly and let it sit for 5 minutes before pouring.
Pour in a thin stream rather than a thick one. This helps bubbles escape naturally.
After pouring, check for bubbles trapped under or around your flowers. Use a toothpick to gently move them to the surface.
Use a heat gun or small torch to pop bubbles on the surface.
Wave it quickly about 2 inches above the resin. Don't hold it in one spot too long or you might burn the resin or flowers.
For stubborn bubbles, blow through a straw to direct your breath precisely at the bubble.
Curing And Finishing Your Projects
Resin needs time to cure properly. Most resins take 24-48 hours to harden completely. Check your resin's instructions for exact timing.
Keep your project in a dust-free area while it cures. Cover it with a box or container without touching the resin.
Once cured, pop your flowers out of the mold carefully.
If edges are rough, sand them gently with fine sandpaper (start with 400 grit, then move to 600).
For extra shine, apply a thin coat of resin on top or use resin polish. This gives your flowers a beautiful glossy finish.
Fixing Common Resin Flower Problems
Even the most careful crafters run into issues with resin flowers. These problems can be frustrating, but most have simple solutions that will get your projects back on track.
Fixing Discoloration And Floating Issues
Dried flowers often lose their vibrant colors in resin. This happens because the heat from curing resin speeds up the natural fading process.
To prevent this, try sealing your flowers with a thin layer of clear sealant before embedding them. Some flowers may float or move during pouring. This is super annoying!
To keep them in place, try the following:
- Pouring in thin layers and letting each layer partially set
- Using a toothpick to gently position flowers
- Adding a drop of resin to "glue" flowers in place before the main pour
For flowers that have already discolored, you might need to start fresh or add small amounts of alcohol ink to restore some color.
Addressing Curing And Clarity Problems
Bubbles can ruin the clear beauty of your resin flowers. Mix your resin slowly to avoid trapping air.
If bubbles appear anyway, use a heat gun or torch to pop them by quickly passing it over the surface.
When your resin doesn't cure properly, check these things:
- Mixing ratio - measure exactly as directed
- Temperature - most resins need at least 70°F to cure
- Humidity - high moisture can affect curing
For cloudy results, make sure your work area is dust-free. Cover your piece while it cures to keep dust out.
If you pour too deep at once, the resin might overheat and yellow. Instead, work in layers about 1/4 inch thick, allowing each to partially set before adding more.
Conclusion
Creating resin flowers captures nature's fleeting beauty permanently. With proper techniques and quality materials, you can preserve special blooms as wearable art or decorative keepsakes. For optimal results, check out Resiners' colored epoxy resin for crystal-clear preservation.
Patience is essential when creating resin flowers. For professional results, consider a resin curing machine to eliminate bubbles and speed curing. Beginners can start with the all-inclusive Resiners jewelry kit for beautiful floral pendants and earrings. Begin preserving your precious botanical memories today!
Frequently Asked Questions
Here are answers to some common questions about working with flowers and resin. These tips will help you create beautiful preserved flower projects that last.
What is the best method to quickly dry flowers for encapsulating in resin?
You can dry flowers quickly using silica gel. Just bury your flowers in a container of silica gel for 2-7 days depending on the flower type and thickness. This method preserves color better than air drying.
Another option is to use a microwave with silica gel. Place flowers in silica gel in a microwave-safe container, then heat on low for 1-3 minutes. Check them often to avoid over-drying.
For tiny blooms, you might try pressing them between absorbent paper in a heavy book for 1-2 weeks. This works well for flat flowers and leaves.
Which type of resin should I use to make flower jewelry?
For jewelry, epoxy resin is your best bet. Look for a jewelry-grade epoxy that's UV resistant to prevent yellowing over time.
Two-part epoxy resin provides the clearest finish and strongest durability for jewelry pieces. Make sure to choose a non-toxic, low-odor formula if you're working indoors.
For pendants and small pieces, UV resin can be easier to handle. It cures quickly with a UV resin light and doesn't require mixing two components together.
Could you guide me on how long flowers preserved in resin typically last?
Properly preserved flowers in resin can last for many years or even decades! The resin creates an airtight seal that prevents decay and preserves color.
Some color fading might occur over time, especially with vibrant red or purple flowers. To minimize this, keep your resin pieces away from direct sunlight and extreme temperatures.
The quality of your initial preservation process affects longevity too. Flowers must be completely dry before encasing in resin to prevent brownish discoloration over time.
What are the essential supplies needed for a DIY resin flowers project?
You'll need epoxy resin (with hardener), measuring cups, stirring sticks, and molds in your preferred shapes. Silicone molds work best for easy release.
For safety, gather nitrile gloves, a breathing mask, and protective eyewear. Work in a well-ventilated area on a surface covered with plastic or silicone mat.
Don't forget your flowers! You'll want fully dried blooms, plus tweezers for positioning them precisely in the resin. A heat tool like a mini torch helps remove bubbles.
For someone just starting out, what's the easiest resin to work with for flower preservation?
Clear casting epoxy resin with a longer working time (30-40 minutes) is most beginner-friendly. This gives you plenty of time to position your flowers and remove bubbles.
Look for resin labeled as "easy" or "for beginners" with a 1:1 mixing ratio. These are more forgiving if your measurements aren't perfect.
Brands like EasyCast are great for first-timers.
Consider starting with small projects like coasters or simple pendants. These require less resin and are easier to manage while you're learning the technique.


Leave a comment
This site is protected by hCaptcha and the hCaptcha Privacy Policy and Terms of Service apply.