
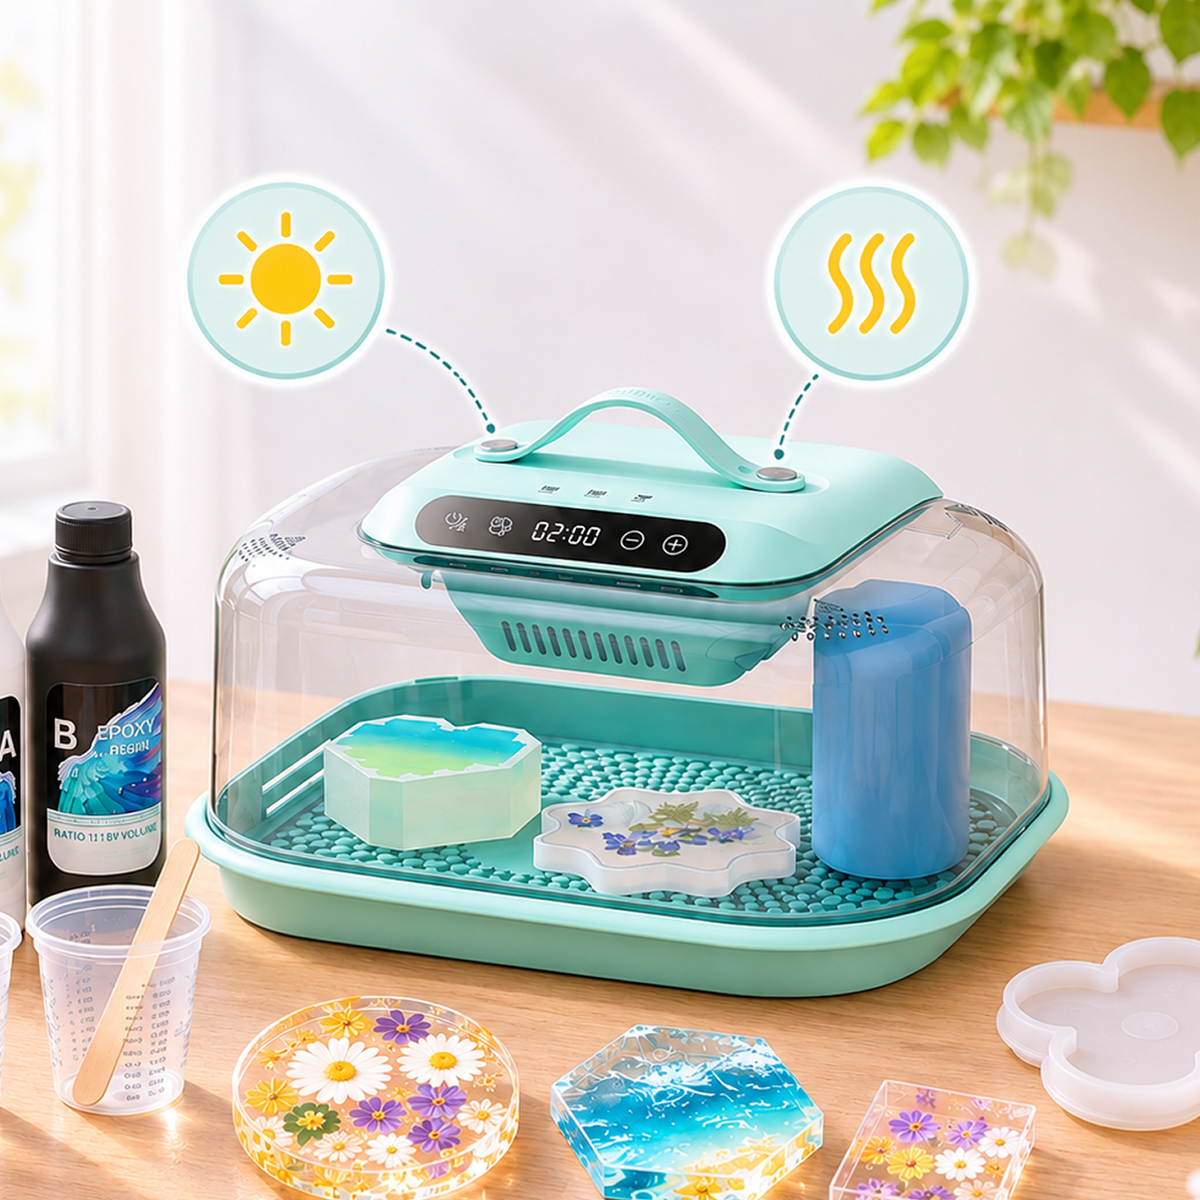

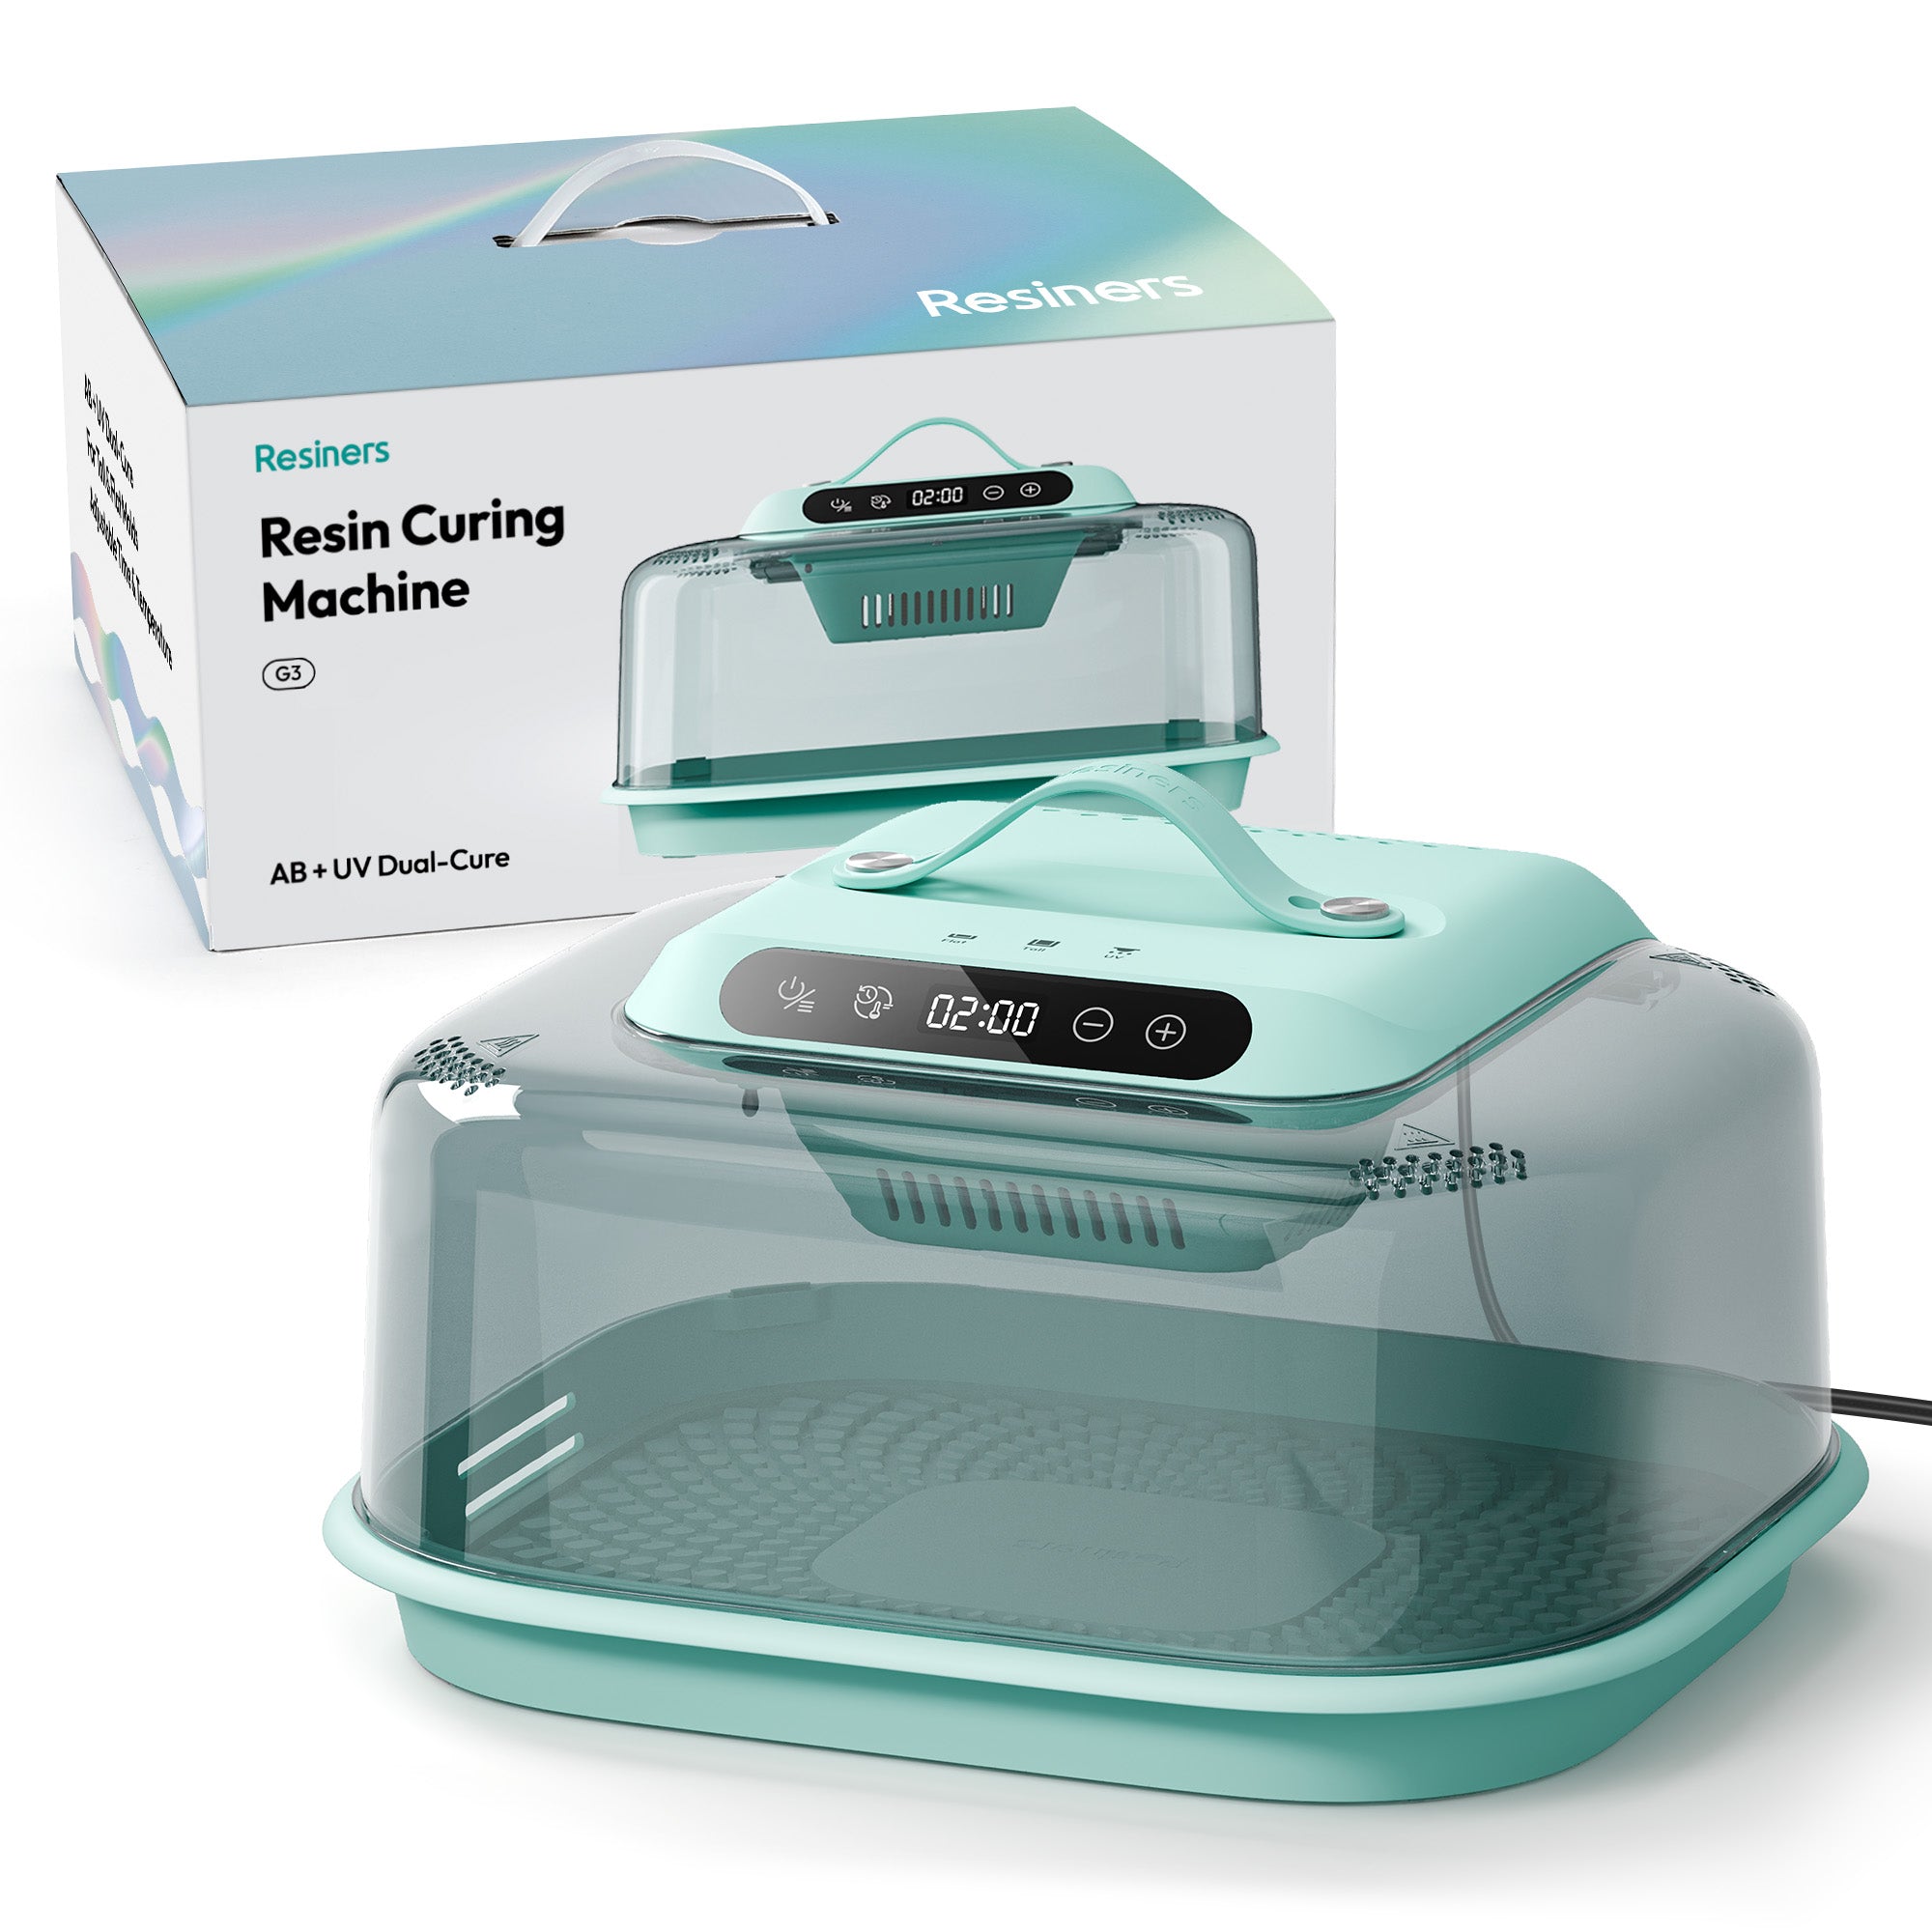
Not sure which G3 setting to use? Start with the mold height, then adjust for the resin formula and curing result.
Flat Mode is designed for shallow molds, while Tall Mode uses staged heating for taller projects. Use Custom Mode when your resin needs a lower temperature or longer curing time.
Quick G3 Setting Guide
| Project | Mode | Starting Setting |
|---|---|---|
| Mold height up to 1.5 in | Flat | 60°C / 140°F for 2 hours |
| Mold height from 1.5 to 5 in | Tall | Default staged heating for 2 hours |
| Flat and tall molds together | Tall | Start with the preset and add about 1 hour |
| Bubble-prone projects, especially pours under 0.4 in / 1 cm | Custom | 45°C / 113°F or below for 3–4 hours |
Use these as starting points and follow the temperature and casting-depth guidance from your resin manufacturer.

1. Check the Resin
Before choosing a setting, confirm the mixing ratio, recommended casting depth and temperature range. Heat cannot correct an inaccurate ratio or poorly mixed resin.
2. Choose the Mode by Mold Height

Flat Mode
For mold heights up to about 1.5 inches, start with Flat Mode at 60°C / 140°F for two hours. If you notice extra bubbles or yellowing, lower the temperature in Custom Mode.
Tall Mode
For mold heights between about 1.5 and 5 inches, start with Tall Mode. Its staged heating is better suited to projects containing more resin. When using the extender for taller molds, start with Tall Mode and add about one hour to the default cycle.
3. Adjust Gradually
If a preset does not suit your resin, use Custom Mode. Change only one factor per test—about 5°C for temperature or 30 minutes for time—and note the result.
What If More Bubbles Appear?
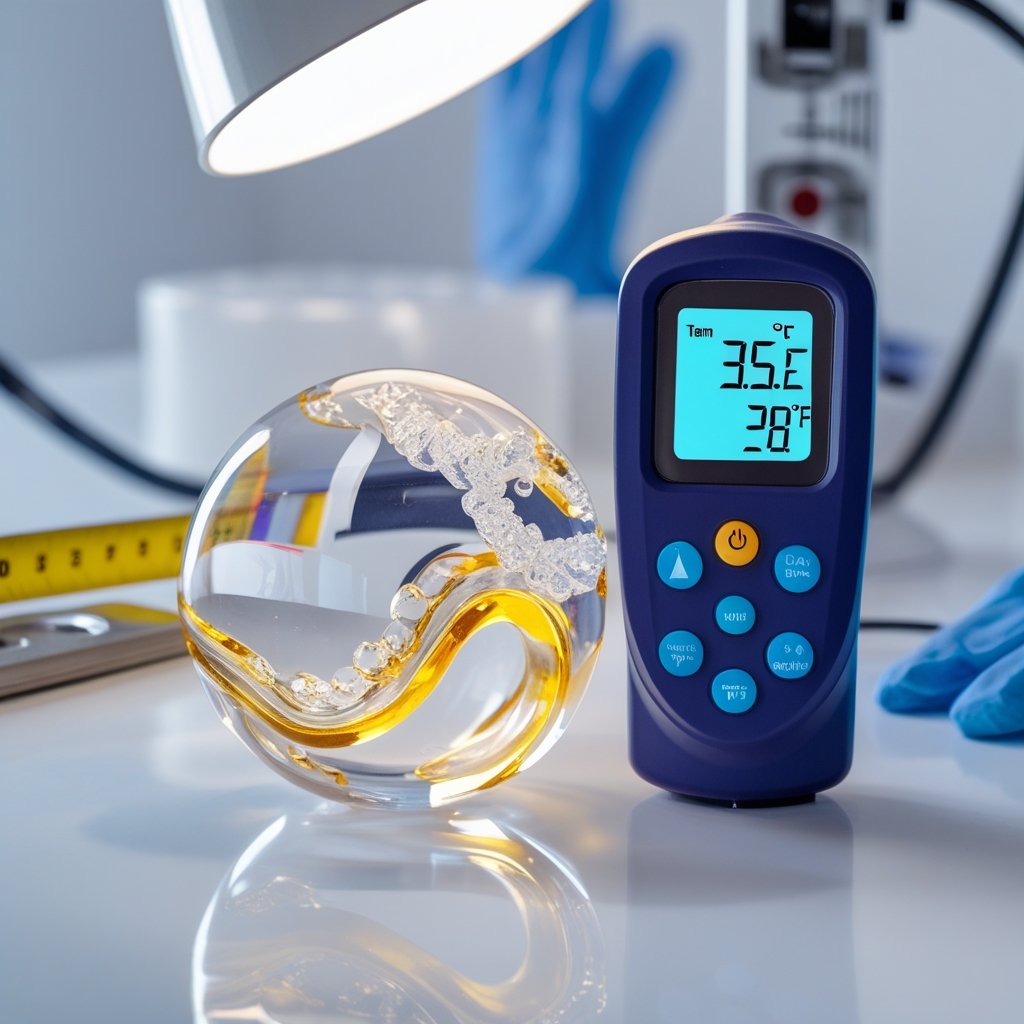
G3 does not actively remove bubbles. Heat may help some trapped air move, but faster curing can also make bubbles more visible.
- Mix slowly and let the poured resin rest for 10–15 minutes.
- For bubble-prone projects, try 45°C / 113°F or below for 3–4 hours.
- Remove significant trapped air before curing when possible.

What If the Resin Is Still Soft?
Two hours is a starting point for many standard 1:1 epoxy resins. If the ratio and mixing are correct, the resin may need more time because of its formula, project thickness or room temperature. An incorrect ratio usually cannot be fixed with additional heat.
Why Is the G3 Blowing Air but Not Heating?
If the selected temperature is lower than the room temperature, the heater may not activate. Test the appropriate preset or a setting of at least 50°C / 122°F. If the machine still does not heat after one hour, contact Resiners Support.
Keep G3 on a flat, open and well-ventilated surface, and prevent resin from entering the upper vent. G3 accelerates curing but does not filter fumes, so continue following the resin manufacturer’s ventilation and personal-protection guidance.
Frequently Asked Questions
Is 60°C too hot for epoxy resin?
It is the default Flat Mode setting, but heat-sensitive or bubble-prone formulas may need a lower temperature.
Can I cure flat and tall molds together?
Yes. Use Tall Mode and add about one hour, checking smaller pieces separately when possible.
Does higher heat always cure resin better?
No. Too much heat may increase bubbles, yellowing or overheating. Use the lowest effective setting for your resin and project.





Dejar un comentario
Este sitio está protegido por hCaptcha y se aplican la Política de privacidad de hCaptcha y los Términos del servicio.