
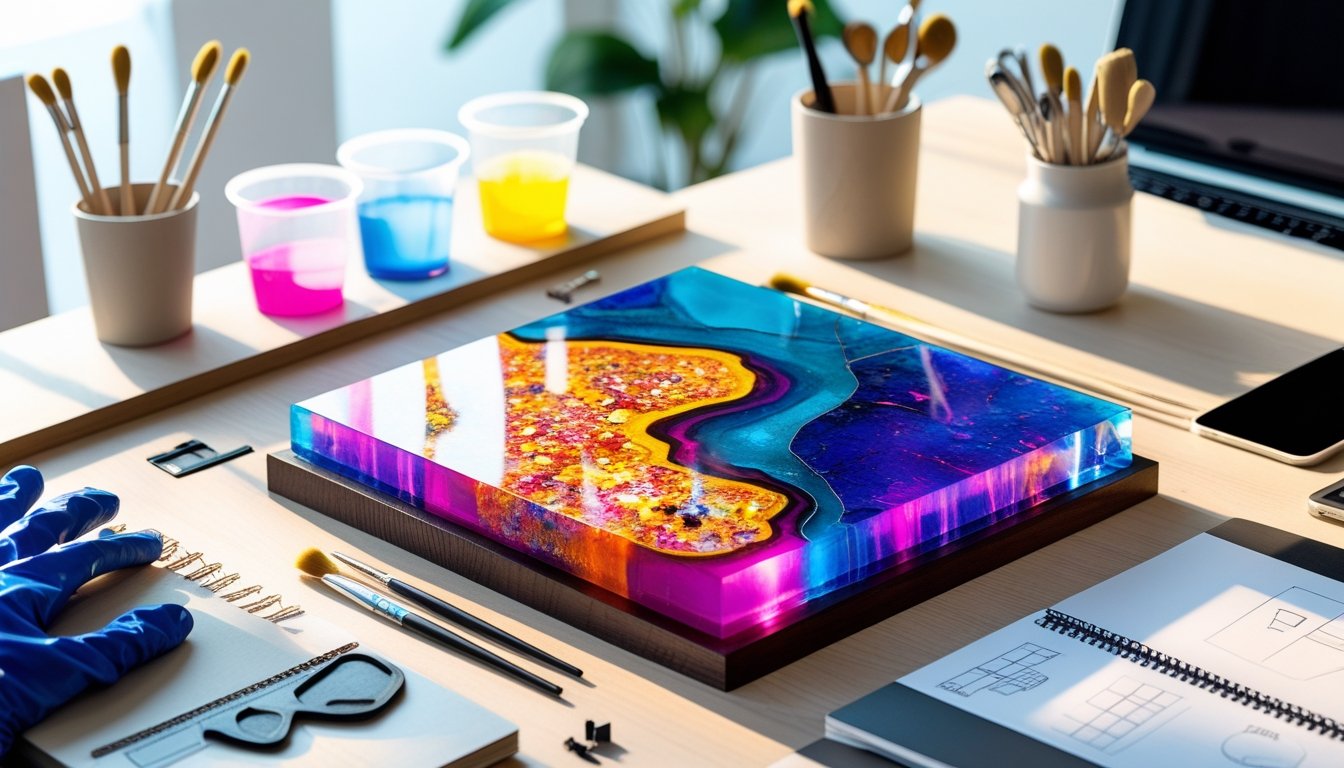
Making your own resin buttons adds a personal touch to sewing or craft projects. You get to pick the colors, shapes, and designs exactly how you want them. DIY resin buttons turn simple projects into custom pieces that really show off your style.
With just a few basic supplies—think silicone molds, resin, and button shanks—you can create buttons that look polished and sturdy. Try embedding fabric scraps, glitter, or tiny charms to make every button a little different.
This guide covers how to pick materials, experiment with designs, and finish your buttons for use. Whether you want to refresh old clothes, decorate accessories, or just try something new, resin buttons open up a ton of creative possibilities.
Ready to start crafting your own resin buttons? Explore our range of pourable epoxy resins for smooth, bubble-free results every time.
Choosing Materials For Resin Buttons

Picking the right materials matters if you want buttons that are tough, smooth, and look good. The resin type, mold quality, and decorative extras all affect the clarity, strength, and finish.
Best Types Of Resin For Button Making
Most folks use either epoxy or UV resin. Epoxy resin cures slowly, so you have extra time to get bubbles out and blend in pigments. UV resin sets fast under a UV lamp, which is handy for small batches or when you want crisp details.
Look for a resin labeled non-toxic and low-odor if you’re working indoors. Brands like Let’s Resin or ArtResin are popular since they resist yellowing and polish up nicely.
Keep isopropyl alcohol (IPA) on hand for cleaning tools and popping surface bubbles. A quick mist of IPA can help release trapped air before curing.
|
Resin Type |
Cure Time |
Best For |
Finish |
|
Epoxy Resin |
12–24 hrs |
Larger batches |
Glossy, strong |
|
UV Resin |
1–5 mins (under UV) |
Small projects |
Clear, smooth |
Mix resin and hardener in the ratio the manufacturer gives. Stir slowly—rushing just adds air bubbles that can weaken or cloud your buttons.
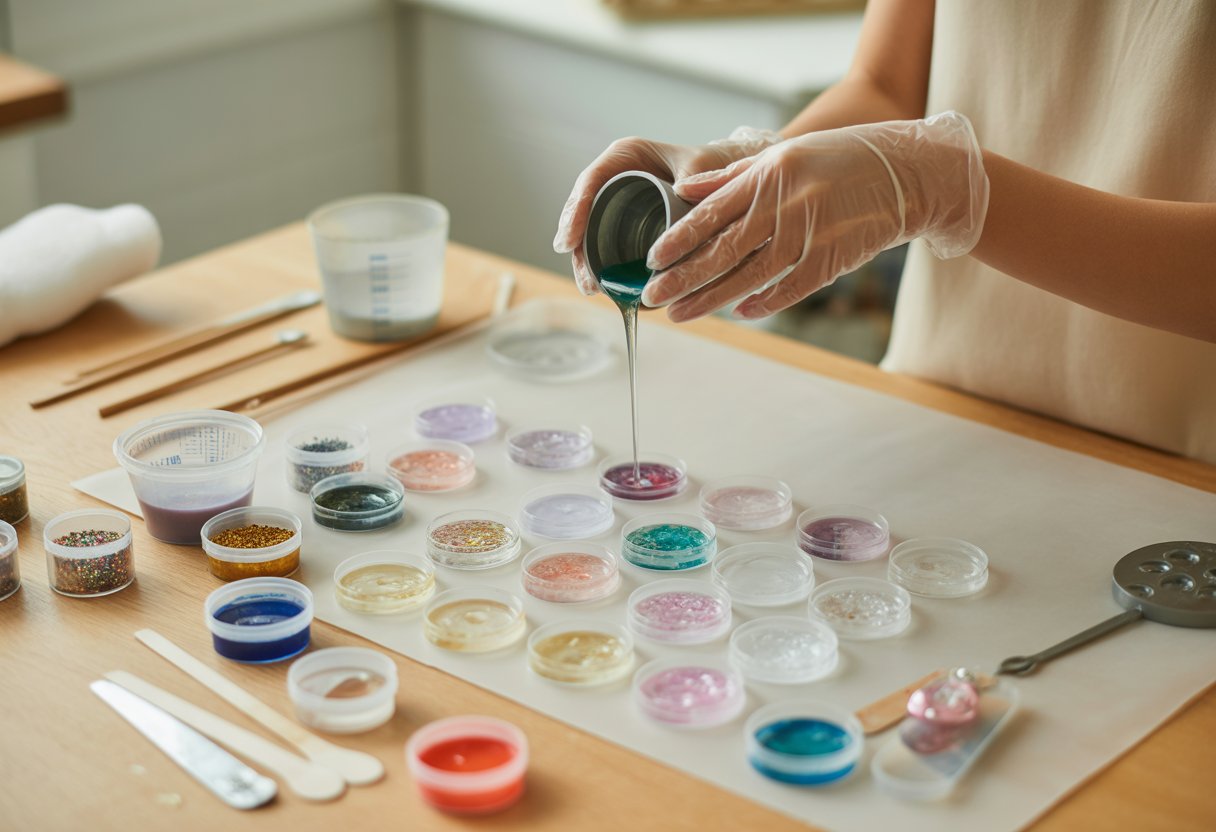
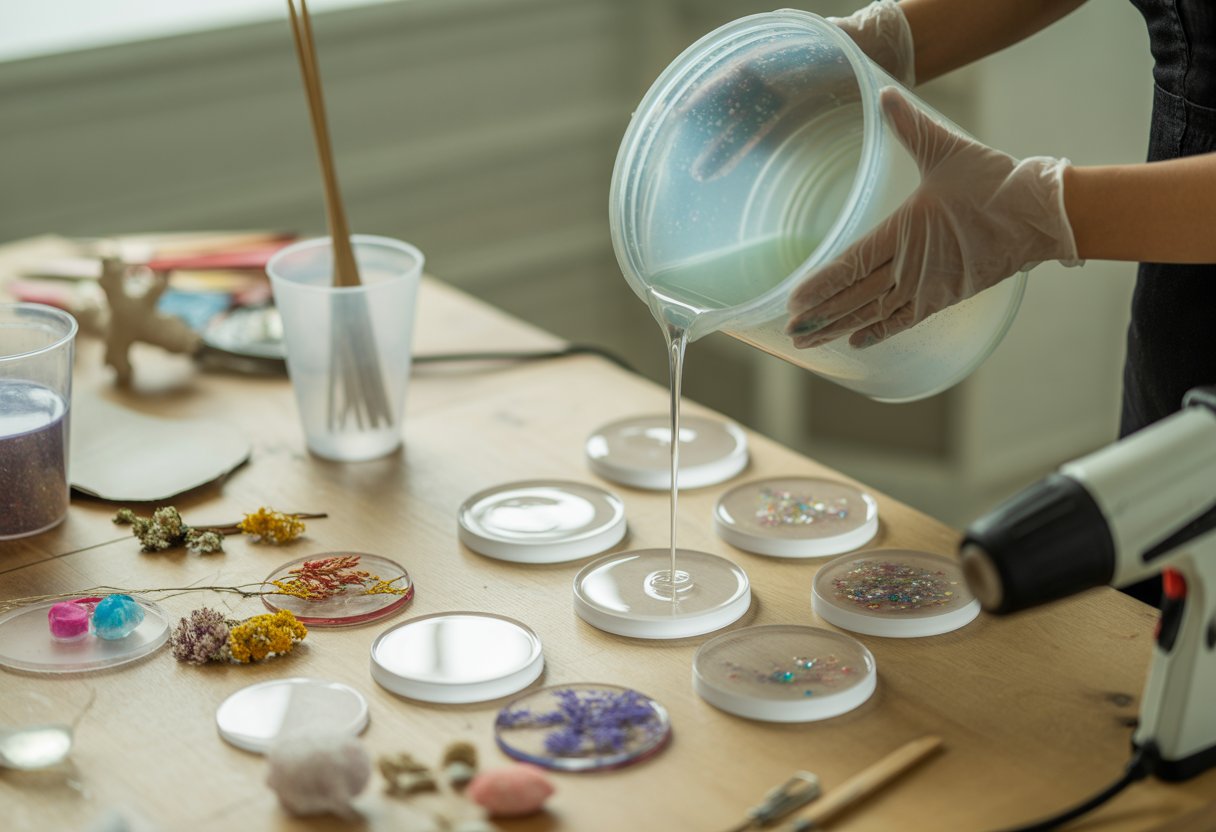
Molds, Dyes, And Decorative Add-Ins
Silicone molds are the way to go. They flex, so you can pop out finished buttons without breaking them. You’ll find molds in all kinds of shapes—circles, hearts, flowers, you name it.
Add color with resin pigment, mica powder, or alcohol ink. Go easy and test the color before pouring. Too much pigment can mess with curing and make the buttons brittle.
Try glitter, fabric bits, sequins, or tiny charms for decoration. Press them in gently before the resin sets.
Wipe molds with IPA before each use to remove dust or oils. Clean them after curing to keep edges smooth for next time.
Need molds, pigments, or glitter for your next project? Stock up on everything you need from our resin craft supplies collection.
Fun Design Ideas For Resin Buttons
You can make resin buttons look truly unique by playing with color, texture, and small details. Using different molds, pigments, and inclusions, you’ll end up with buttons that fit your projects and your personality.
Floral And Nature-Inspired Buttons
Nature-inspired resin buttons just have something special. Try embedding small dried flowers, leaves, or petals into the resin before it cures. Pressed daisies, ferns, or tiny blossoms work well since they keep their shape and color.
Use clear resin to show off the natural elements. Pour a thin layer of tinted resin under the flowers to make them pop. A little pearl powder adds a subtle shimmer.
Try petal- or leaf-shaped molds for variety. These look great on linen shirts, tote bags, or handmade cards. I’d keep the design simple so the natural materials really stand out.
|
Material |
Effect |
Best For |
|
Dried flowers |
Soft, organic look |
Clothing, accessories |
|
Green leaves |
Natural contrast |
Home décor |
|
Pearl powder |
Gentle shine |
Decorative crafts |
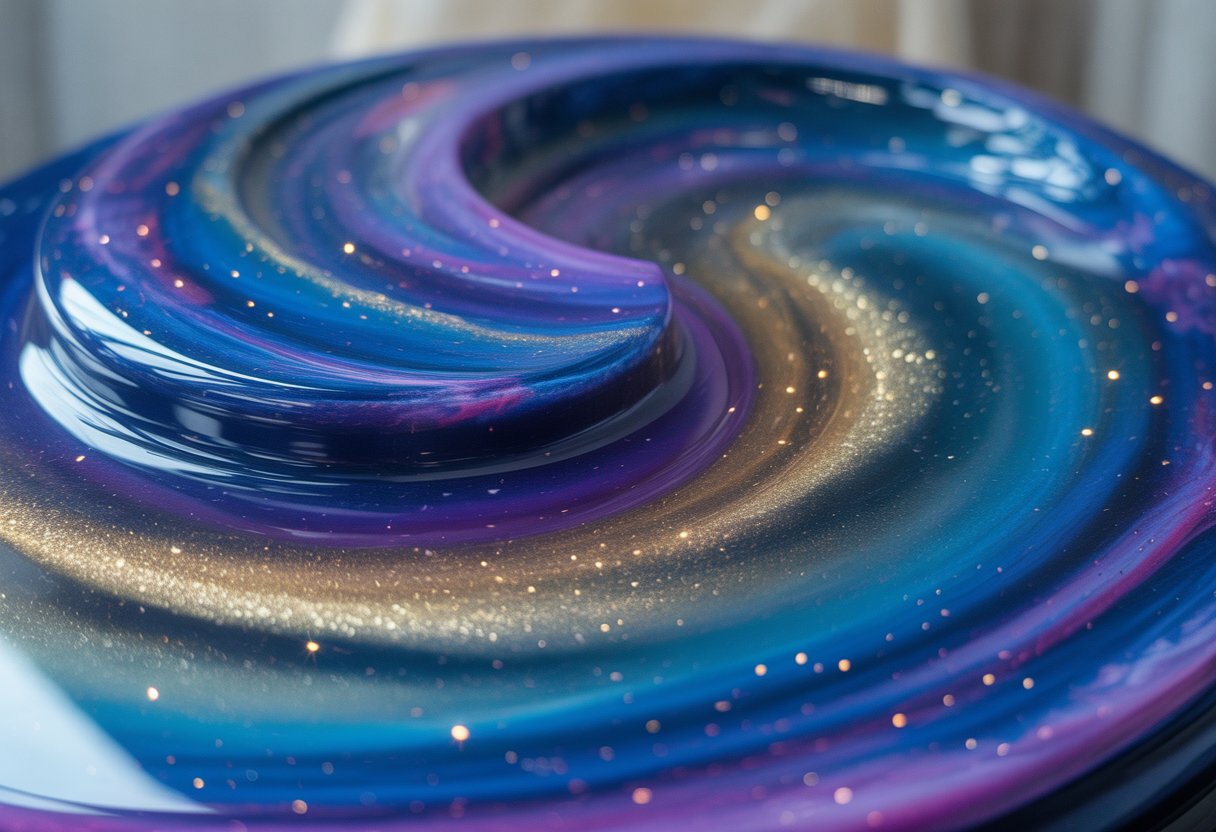
Glitter, Metallic, And Color-Swirl Effects
Glitter, metallic flakes, and color swirls give resin buttons a flashy, modern vibe. Fine glitter gives you a smooth look, while chunky glitter goes bold. Metallic pigments—think gold, silver, copper—make buttons that really pop on jackets or bags.
For color swirls, pour a couple of resin colors into the mold and swirl them gently with a toothpick. Don’t overmix or you’ll lose the effect. Mixing opaque and transparent resins can create cool layers.
Mica powders add a soft sheen, and alcohol inks can make marbled patterns. These styles really shine when you pair them with simple fabrics that let the buttons stand out.
Personalized And Themed Button Designs
Want something more personal? Embed small charms, beads, or printed symbols in the resin. Maybe add a letter charm for monogrammed buttons, or mini icons for a themed set.
Use opaque resin if you want a solid background that highlights details. For a see-through look, keep the inclusions small and spaced out.
Themed buttons work for holidays, hobbies, or special events. Try star-shaped buttons in blue and silver for winter, or pastel hearts for spring. Sticking to simple molds and matching colors helps keep things looking tidy.
Finishing And Using Your Resin Buttons

Smooth edges, clean holes, and a glossy surface make your resin buttons look sharp and last longer. Once you’re done, you can sew or glue them onto clothing, jewelry, or crafts for a custom finish.
Sanding, Drilling, And Polishing Tips
After you pop the buttons out of the mold, check for rough spots. Use fine-grit sandpaper (400–1000 grit) to smooth them out. Wet sanding keeps scratches down and helps with resin dust.
If you need to add holes, grab a hand drill or spring drill—not a power tool. Go slow and support the button on something soft so you don’t crack it.
For a glossy finish, rub on a bit of plastic polish or resin finishing compound with a soft cloth. Buff in circles until it shines. You can also brush on a UV resin topcoat for extra gloss and strength.
Keep your space tidy and wear gloves to avoid fingerprints or smudges while you polish.
Creative Ways To Use Resin Buttons In Crafts
Resin buttons work in all sorts of button crafts and DIY projects. Stick them on hair clips or headbands by gluing them to metal or fabric bases.
For home décor, try adding them to coasters, picture frames, or jars for a splash of color. In sewing, they’re perfect for bags, scarves, or jackets—just sew or glue them on as an accent.
Decorate scrapbooks, keychains, or jewelry with clear or tinted resin buttons. Matching sets can make sweet handmade gifts, too.
Mix in fabric, glitter, or dried flowers to create totally unique pieces that match your style.
Love making resin buttons and want to try more? Discover our resin jewelry kits and create stunning, wearable art pieces at home.
Conclusion: Resin Buttons
Creating your own resin buttons is a fun and rewarding way to personalize your craft projects. With endless design possibilities—from floral inclusions to shimmering metallics—you can match any style or theme you imagine.
Once you’ve mastered the basics, experiment with new colors, shapes, and finishes to make each button uniquely yours. Handmade resin buttons also make great gifts or additions to clothing, bags, and home décor.
Ready to keep crafting with resin? Check out our next guide on what to do with leftover resin for more creative ways to make the most of your materials.
Frequently Asked Questions: Resin Buttons
Can you make buttons with resin?
Absolutely. You can make buttons with resin and silicone molds or a doming tray. Just pour mixed resin into the molds, add your colors or decorations, and let it cure. Once it’s hard, drill holes or attach shanks and you’ve got real buttons.
Are resin buttons strong?
They’re pretty sturdy and don’t crack easily with normal use. They hold up on clothes, bags, or crafts that don’t see rough treatment. Still, if you drop them on something hard or hit them, they might chip.
Are resin buttons washable?
Yep, you can wash resin buttons by hand or on a gentle machine cycle. Use mild soap and skip the extra-hot water—that can soften or dull them. Towel dry instead of using high heat.
Are resin buttons sustainable?
Most resin buttons come from synthetic stuff that just doesn't break down. If you want to make them a bit greener, you could use leftover resin from other projects or pick molds that help cut down on waste. Lately, a few bio-based resins have popped up too, and honestly, they seem to have a smaller impact on the environment.


Dejar un comentario
Este sitio está protegido por hCaptcha y se aplican la Política de privacidad de hCaptcha y los Términos del servicio.