Curious about how to make resin molds and start crafting your own unique resin pieces? Whether you want custom jewelry, coasters, or creative art, making your own resin molds is easier than you think.
With just a few supplies, you can unlock endless DIY possibilities and save money on store-bought molds.
Ready to learn everything you need to get started? Read on for a complete, beginner-friendly guide to making resin molds at home!
What You Need Before Making Resin Molds
Before you jump in, gather your supplies. Here’s what you’ll need:
Resin: Epoxy resin is the most common for crafts. It’s clear, strong, and easy to use.
Mold Material: Silicone is the best for most projects, but you can also use plastic, tape, or even household containers. Always check the type of plastic—some, like polystyrene, may bond with resin, so test a small amount or use a release agent.
Mixing Tools: Plastic cups, wooden sticks, and measuring spoons.
Safety Gear: Gloves, apron, and a well-ventilated workspace. For larger projects or enclosed areas, consider using a respirator mask.
Release Agent (optional): Helps get your finished piece out of the mold easily, especially when using non-silicone molds.
💡Pro Tip: Always read the instructions on your resin and mold material before starting.
Choosing the Right Material for Your Resin Mold

Not all molds are created equal! Here’s a quick look at your options:
- Silicone Molds: Flexible, reusable, and perfect for resin. They capture details really well.
- Plastic Containers: Great for simple shapes, but always check the type of plastic. Some plastics, like polypropylene and polyethylene, are non-stick, but others (like polystyrene) can bond with resin. Testing or using a release agent is a smart move.
- Household Items: Try Tupperware, plastic cups, or even food containers for budget-friendly molds, but always do a small test first.
- Homemade Barriers: Tape, clay, or hot glue can help you build custom shapes.
Wondering what works best for your project? Don’t forget to browse this collection of epoxy molds for inspiration and ready-to-use options!
Step-by-Step: How to Make Silicone Resin Molds
Want to make your own silicone mold for resin? Here’s how:
1. Prep Your Workspace and Object
Cover your work area with plastic. Choose the item you want to copy—like a figurine, pendant, or even a key.
2. Mix Your Silicone
Most silicone mold kits come with two parts. Mix them together as the package says. Stir slowly to avoid bubbles.
3. Build a Mold Box
If your item is small, use a plastic cup or food container. For bigger items, make a box using cardboard and tape.
4. Place Your Item
Stick your object to the bottom with a little glue or clay so it doesn’t float.
5. Pour the Silicone
Slowly pour the silicone over your item. Tap the sides to help bubbles rise and pop.
6. Let It Cure
Wait the recommended time—usually a few hours. Don’t rush it!
7. Remove and Clean
Gently peel away the mold. Wash it with soap and water before using.
Here’s a video tutorial from Edna Resin Tutorial.
Want more ideas for unique shapes?
Check out the best resin molds guide for tips on choosing and making molds.
How to Use Household Items as Resin Molds

Plastic Cups: Great for small projects. Just pour in the resin and let it cure. Always check the type of plastic first, and consider testing with a small amount of resin to make sure it won’t bond.
Food Containers: Line with tape if you’re worried about sticking, and test first if you’re not sure about the plastic type.
Tape and Clay: Build walls on a flat surface to create custom shapes.
💡Quick Tips:
✅ Resin won’t stick to most plastics like polypropylene or silicone.
✅ If using glass or metal, always use a release spray or line with plastic wrap to prevent sticking.
✅ If you’re unsure about the plastic, do a small test pour first or use a release agent.
Looking for more tools and mold ideas? Don’t forget to check out resin tools and accessories for everything you need.
How to Create Custom Shapes for Resin Molds

Want to make something totally unique? Here’s how:
Sculpt Your Own: Use clay or wax to make a shape, then create a silicone mold from it.
3D Printing: Print a custom object and use it as your mold master.
Found Objects: Try leaves, shells, or small toys for nature-inspired or fun molds.
For detailed textures, press your object into soft clay, then pour silicone over it to capture every line.

Resiners® Togetherness Hand in Hand Silicone Mold DIY Kit
How to Use Your Resin Molds
Now that you have your mold, it’s time to pour resin!
1. Mix Your Resin
Follow the instructions for your resin. Usually, it’s equal parts resin and hardener.
2. Add Color or Embeds
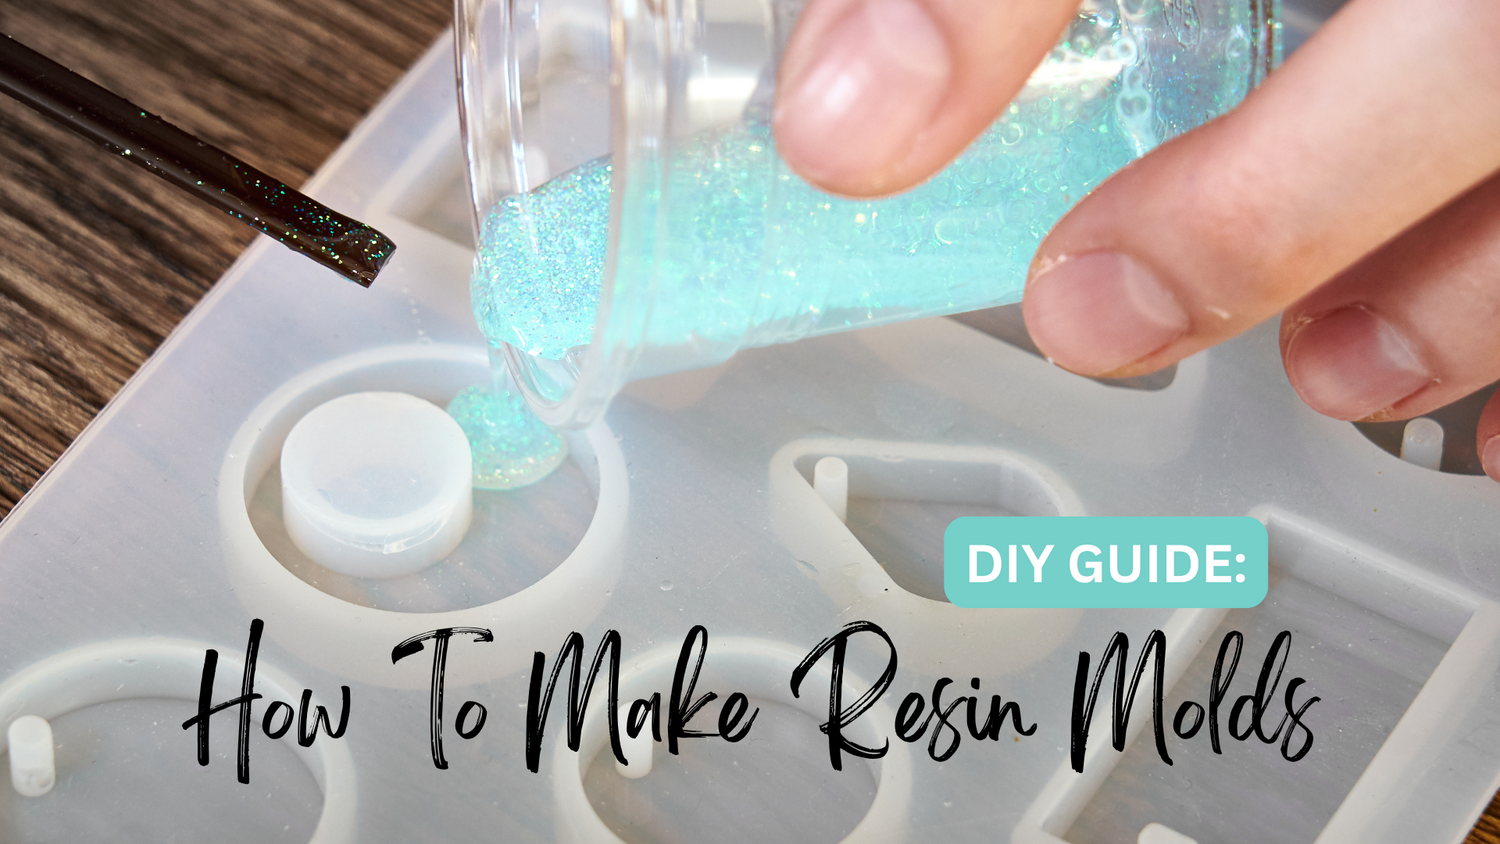
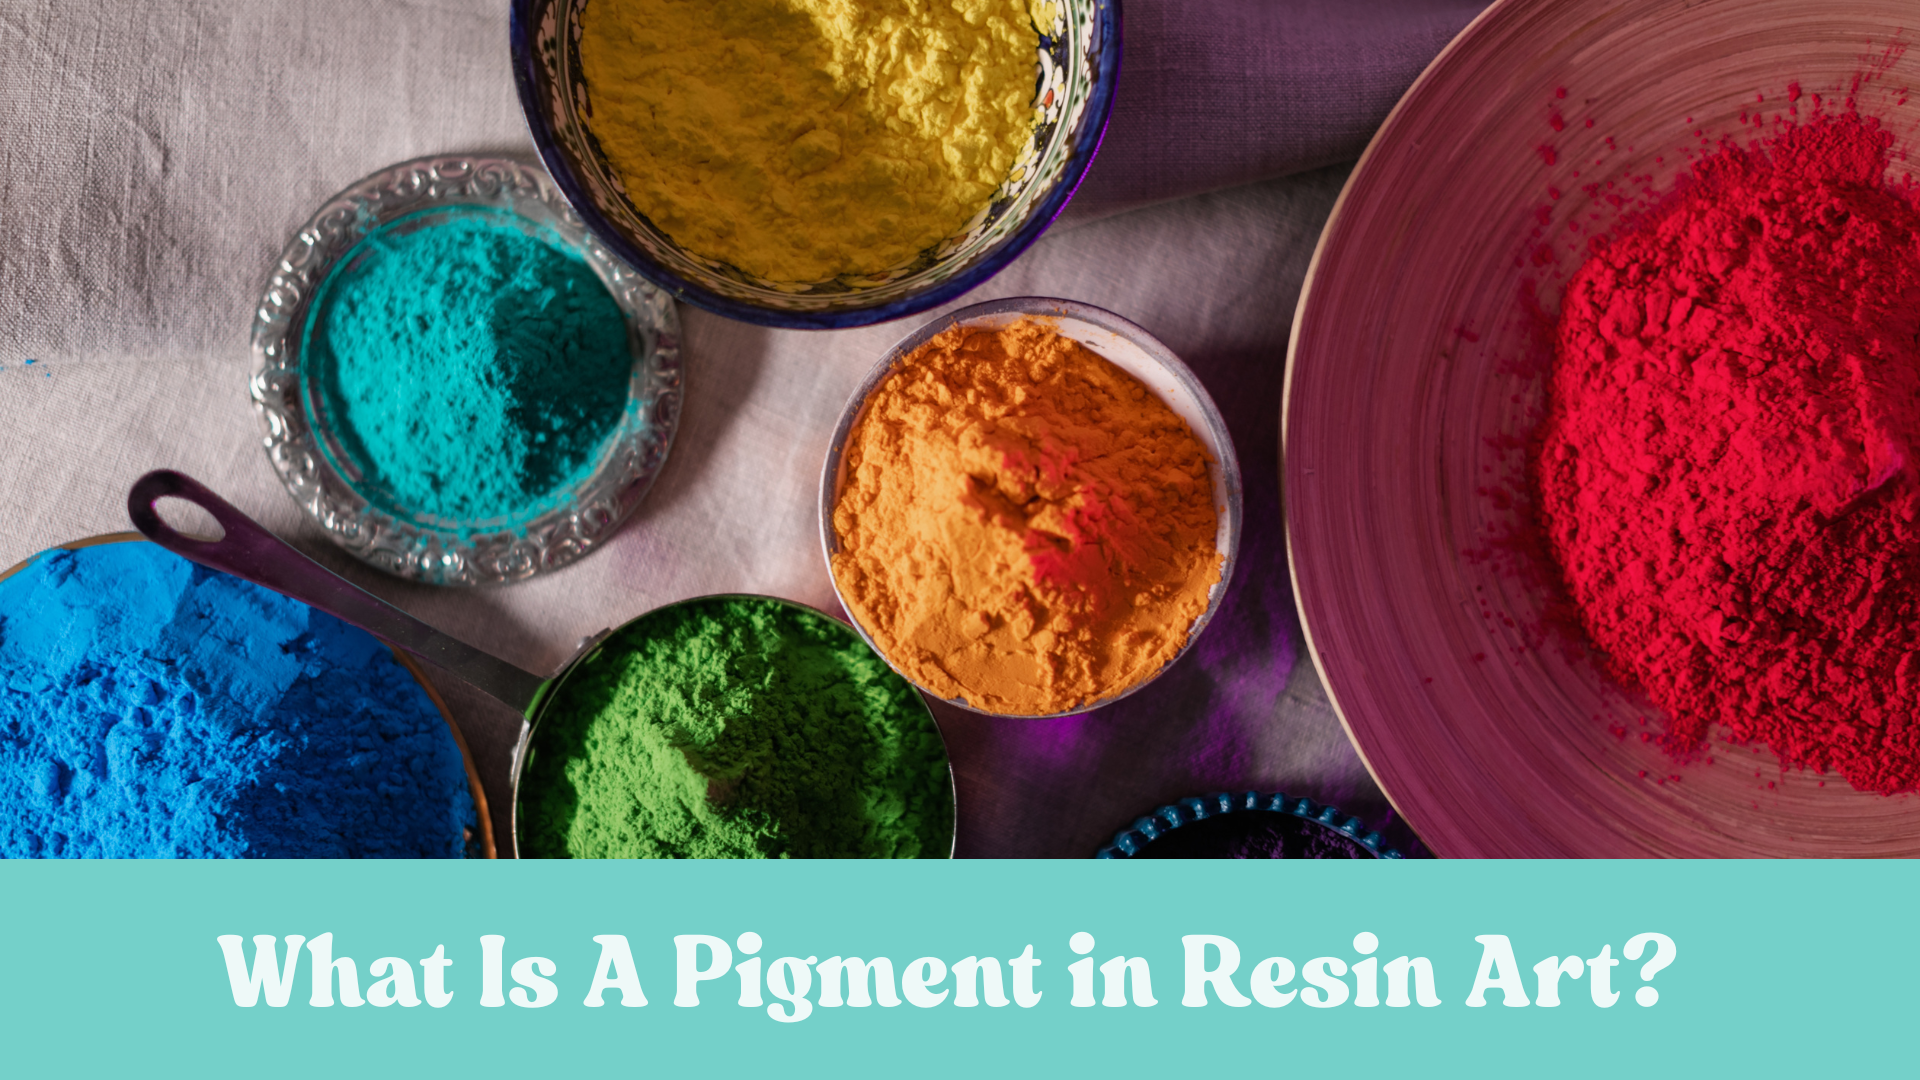
Mix in glitter, dried flowers, or color powders if you want.
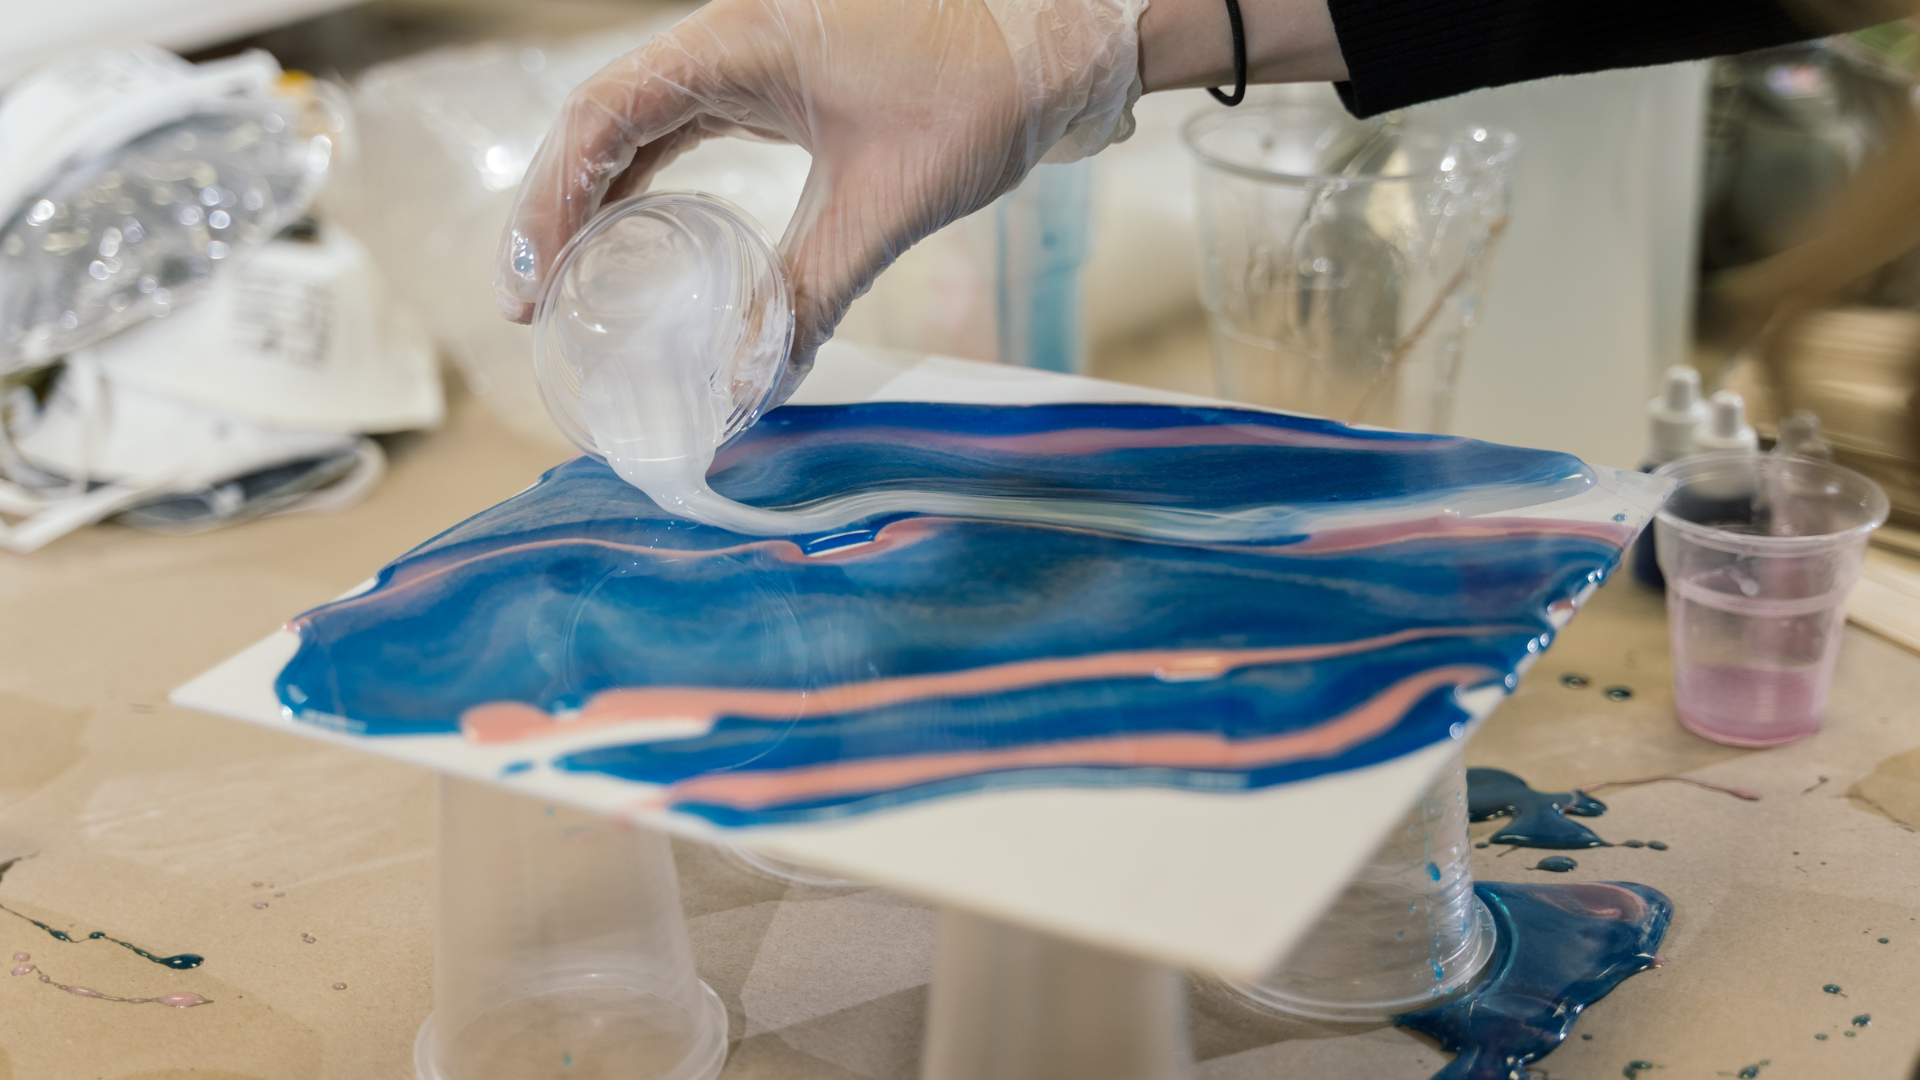
3. Pour Slowly
Pour resin into your mold in a thin stream to avoid bubbles.
4. Remove Bubbles
Use a heat gun or blow on the surface to pop bubbles.
5. Let It Cure
Leave your piece undisturbed for the recommended time—usually 24 hours.
6. Demold Carefully
Gently peel the mold away. If it’s sticky, let it cure longer.
7. Clean and Store
Wash molds with soap and water. Store flat to keep their shape.
Troubleshooting Resin Mold Problems
Even pros run into issues! Here’s how to fix common problems:
Cloudy or Sticky Resin: Usually means it wasn’t mixed well, the room was too cold, or you used too much colorant.
Bubbles: Mix slowly, pour in thin layers, and use a heat gun to pop them.
Resin Stuck in Mold: Use a release agent next time, or put the mold in the freezer for a few minutes before trying again.
Uneven Surfaces: Make sure your work surface is level.
If your mold is damaged or torn, you may need to make a new one. Silicone molds usually last for many uses if you care for them.

Resiners® Mini Heat Gun for Crafts
Creative Ideas for DIY Resin Mold Projects
Resin molds let you make almost anything! Some ideas to try:
✨ Jewelry: Pendants, rings, earrings, and beads.
✨ Coasters: Add flowers, glitter, or photos for a personal touch.
✨ Keychains: Fun shapes like hearts, stars, or animals.
✨ Art Pieces: Try making a resin pyramid or abstract shapes.
✨ Home Décor: Trays, candle holders, and magnets.
Want more project inspiration? Browse epoxy molds and creative tools to get started on your next masterpiece.
How to Care for Your Resin Molds
To keep your molds in top shape:
Clean after every use: Wash with mild soap and water.
Store flat: Avoid folding or bending silicone molds.
Keep away from heat: Don’t leave in direct sunlight or near heaters.
Don’t use sharp tools: This can tear or scratch your molds.
With good care, silicone molds can last for dozens of projects!
Conclusion
Making resin molds at home is fun, budget-friendly, and lets you create one-of-a-kind pieces for any project. With a little practice, you’ll be crafting custom molds and stunning resin art in no time.
For more tips, inspiration, and step-by-step guides, visit Resiners. Don’t forget to read more guides and shop our full range of resin products to kickstart your next creative adventure!
Frequently Asked Questions About How to Make Resin Molds
What is needed for resin molds?
You need resin (like epoxy), a mold (silicone is best), mixing cups, stir sticks, gloves, and a safe workspace. A release agent can help, but isn’t always required. Always check your resin and mold instructions before starting.
Can I use a plastic cup as a resin mold?
Yes! Plastic cups work well for simple shapes and small projects. Just make sure to check the type of plastic first, as some plastics may bond with resin—test a small amount or use a release spray if you’re unsure.
What can you use for resin molds?
You can use silicone molds, plastic containers (after testing), food storage boxes, tape, or clay to make molds. Silicone is the most popular because it’s flexible and reusable. Household items make great budget-friendly molds for beginners, but always test first.
How to store and maintain resin molds?
Wash your molds with mild soap and water after each use. Store them flat in a cool, dry place away from sunlight. Well-cared-for silicone molds can last for many projects, often dozens of uses, before wearing out.


Dejar un comentario
Este sitio está protegido por hCaptcha y se aplican la Política de privacidad de hCaptcha y los Términos del servicio.