Learning how to do epoxy countertops is one of the best ways to transform old surfaces into sleek, durable, and glossy statement pieces. Whether you’re updating your kitchen, bathroom, or workspace, epoxy offers a professional finish that’s surprisingly achievable for DIYers.
With the right tools, preparation, and technique, you can create countertops that mimic granite, marble, or even custom designs. The process is straightforward but requires attention to detail.
In this guide, we’ll break down each step so you can confidently pour, level, and polish your own epoxy countertops like a pro.
Want a flawless, glass-like finish for your project? Explore our premium Clear Coat Epoxy Collection for professional results every time.
Materials And Tools You’ll Need for Epoxy Countertops

Having the right materials makes mixing, pouring, and finishing epoxy countertops a lot easier. The right tools and some basic safety gear help you get a smooth, sturdy surface—and help you avoid mistakes along the way.
Essential Supplies For Epoxy Countertops
Get all your supplies together before you start. You’ll need epoxy resin and hardener—these are your main ingredients. Use a mixing bucket, paddle mixer, and measuring cups to keep ratios accurate.
If you want color or patterns, grab pigments or metallic powders. A foam roller, paintbrush, and plastic spreader help you apply and smooth the epoxy.
Protect nearby surfaces with painter’s tape, plastic sheeting, and cardboard. For prepping and smoothing, have sandpaper in 80- and 220-grit handy.
|
Tool/Material |
Purpose |
|
Epoxy resin & hardener |
Main coating components |
|
Pigments or metallic powders |
Add color or effects |
|
Mixing tools |
Combine resin and hardener evenly |
|
Rollers & brushes |
Spread epoxy smoothly |
|
Sandpaper |
Smooth surface before and after coating |
Safety Gear And Workspace Preparation
Work somewhere clean, well-ventilated, and with steady temperature and low humidity—epoxy hates dust and drafts.
Wear an apron, nitrile gloves, safety glasses, and a respirator mask to keep fumes and sticky resin off your skin. Long sleeves and old clothes are smart too—epoxy does not come out in the wash.
Cover floors, cabinets, and walls with plastic sheeting or drop cloths. Keep a trash bin close for used tools and mixing cups.
Good lighting is key. It helps you spot bubbles or missed spots while pouring and spreading the epoxy.
Add depth and creativity to your countertops with vibrant pigments. Browse our Resin Color Pigment Collection to find your perfect shade.
Surface Preparation And Priming

Getting the surface ready is crucial—epoxy needs something clean and slightly rough to stick to. If you skip or rush this part, you might end up with peeling or bubbles later.
Cleaning And Sanding The Countertop
First, clear your workspace. Move everything off the counters and cover anything nearby with plastic or tape to catch stray epoxy or dust.
Wash the countertop with soap and warm water, then hit it with a degreaser. Any grime left behind will get trapped under the epoxy and show through.
Look for chips, cracks, or holes—fill them with a suitable filler and let it dry all the way.
Sand the surface with medium-grit sandpaper (120–150 grit). Sanding helps the primer and epoxy stick better, especially if your counter is glossy—laminate, for example, really needs the shine knocked down.
After sanding, vacuum and wipe the dust with a damp cloth. The surface should feel smooth but just a bit textured. Try not to touch it with bare hands—you don’t want oils messing up the bond.
|
Step |
Task |
Purpose |
|
1 |
Clean thoroughly |
Remove grease and debris |
|
2 |
Fill imperfections |
Create a level surface |
|
3 |
Sand evenly |
Improve adhesion |
|
4 |
Remove dust |
Ensure a clean base |
Applying Primer Or Base Coat
Use a primer or base coat to seal the countertop and help the epoxy spread smoothly. It also cuts down on air bubbles while you pour.
Pick a primer that matches your countertop—laminate, wood, or concrete. Roll or brush on a thin, even coat; foam tools work best to avoid streaks and bubbles.
Let the primer dry all the way. Depending on the product, this can take anywhere from 4 to 24 hours. Always check the label.
If you want a certain color underneath, tint your primer or use a base paint that matches your design. This layer will show through the epoxy, so try to keep it even.
Once the primer’s dry, sand any rough spots and wipe away dust. A smooth, sealed surface gives your epoxy the best shot at curing evenly and lasting longer.
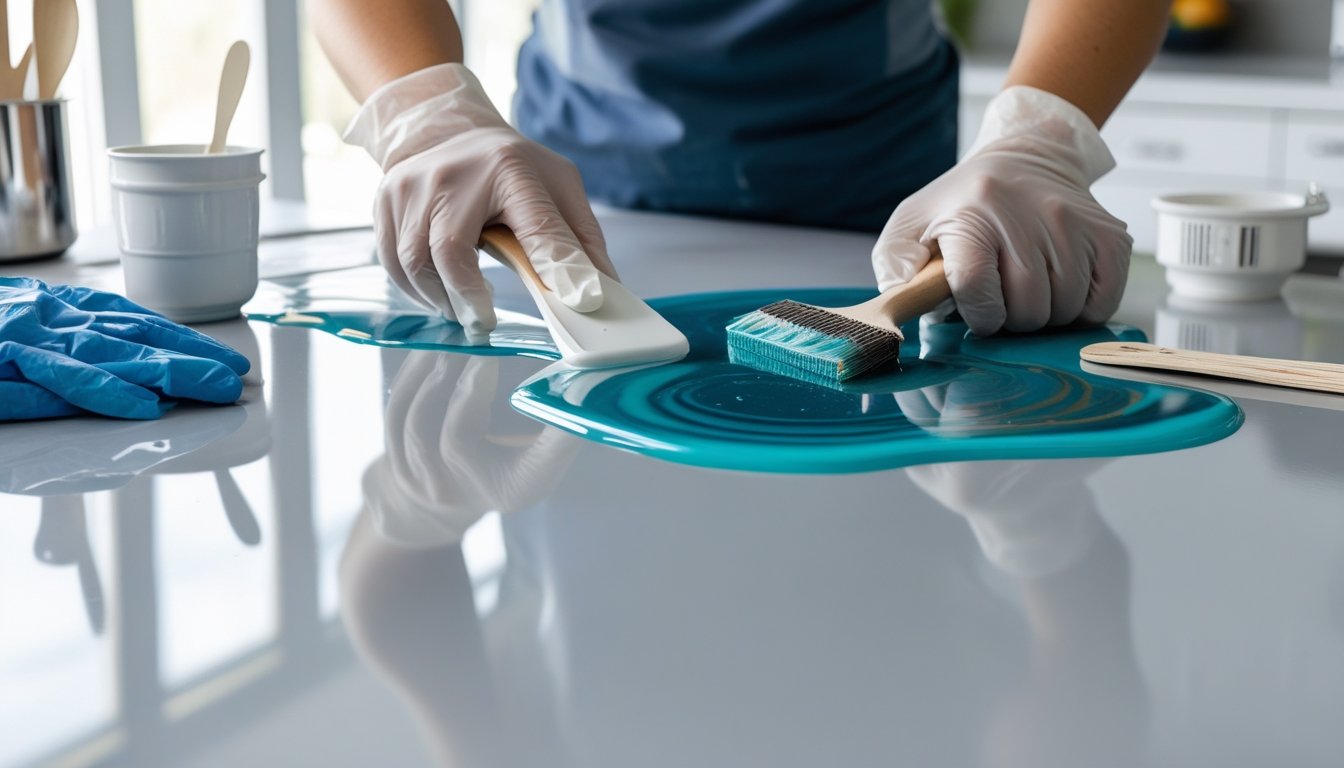
Pouring And Finishing The Epoxy
Applying epoxy takes a bit of focus and organization. Mixing, pouring, and curing all play a part in how smooth and tough your countertop turns out. Watch for bubbles and dips, and don’t rush the topcoat.
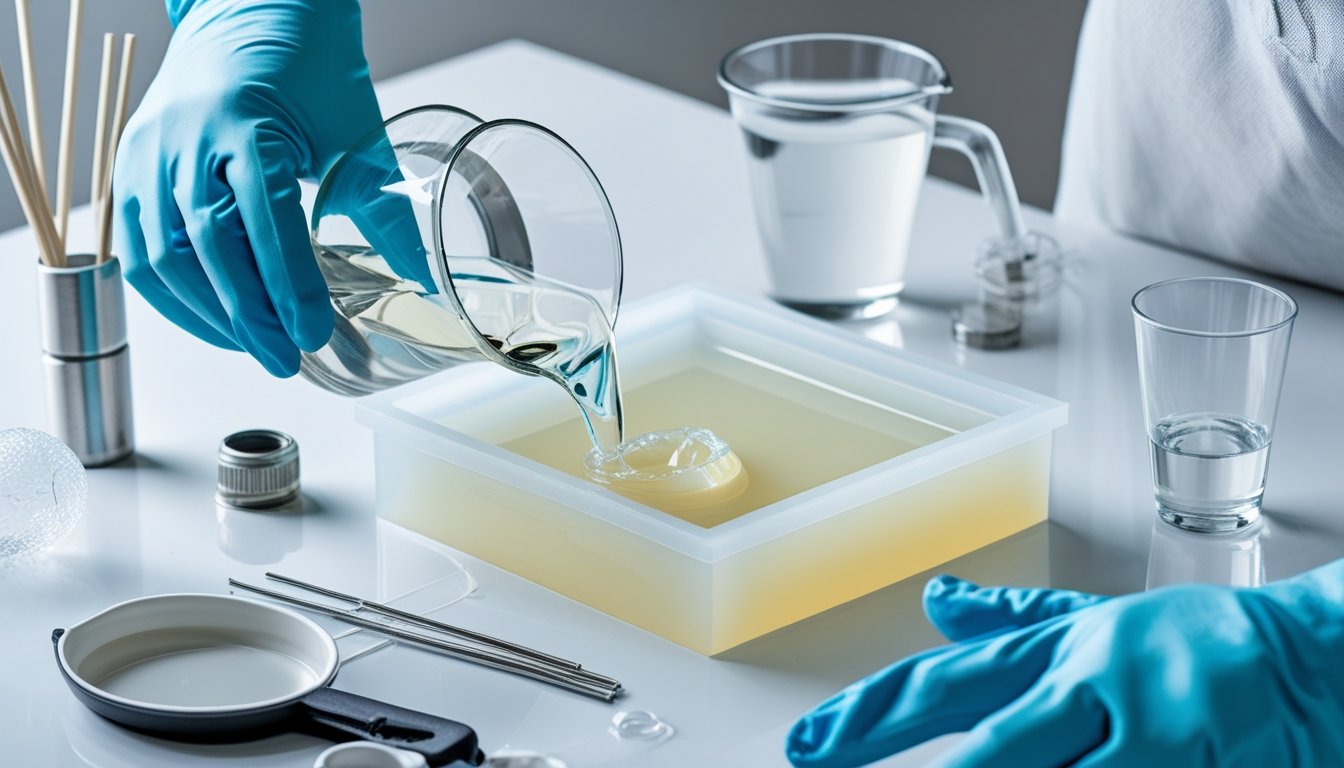
Mixing And Pouring The Epoxy Resin
Measure the resin and hardener exactly as the manufacturer says—usually 1:1 by volume. Use two clean buckets and a paddle mixer. Stir slowly for two or three minutes, scraping the sides and bottom. Then pour it into a second bucket and mix again—this helps prevent soft spots.
Pour the epoxy onto the countertop in small sections. Use a roller or notched trowel to spread it at about ⅛ inch thick. Work quickly; epoxy starts setting in 15–20 minutes. Try to keep a steady pace so you don’t get dry edges or uneven spots.
Check corners and edges as you go. If you miss a spot, pour a thin line along the edge and roll it over for a seamless finish.
Removing Bubbles And Leveling The Surface
Bubbles will pop up within minutes of pouring. Use a heat gun or propane torch a few inches above the surface, moving it in slow sweeps to pop bubbles without burning the epoxy.
Don’t overdo it with the heat or you might get ripples or dull areas. If bubbles keep coming back, give it a few minutes and repeat.
Guide the epoxy toward low spots with a roller or spreader. The material is self-leveling, but it never hurts to check for dips. Keep dust away until the epoxy starts to set up.
Curing, Sanding, And Final Polishing
Let the epoxy cure for at least 24 hours before touching it, and up to seven days for full hardness. Keep the area at a steady 70–75°F, and avoid drafts or moisture.
Once it’s cured, check for rough patches or drips. Sand lightly with 220-grit sandpaper to knock down any imperfections. Wipe it clean with isopropyl or denatured alcohol before rolling on the topcoat.
Apply the topcoat in one direction for a smooth, protective finish. This layer boosts scratch resistance and gloss. Once it’s cured, polish with a fine abrasive pad or compound for that glassy shine.
Get everything you need for a smooth epoxy pour. Shop our Resin Tools Collection for mixers, trowels, and more essentials.
Conclusion: How to Do Epoxy Countertops
Creating epoxy countertops is a rewarding project that combines creativity with functionality. With the right preparation and patience, you can achieve a smooth, glossy finish that transforms any space into something truly unique.
From mixing and pouring to curing and polishing, each step brings you closer to a professional-looking result. Once you’ve mastered the basics, you can experiment with colors, patterns, and textures to make your countertops one of a kind.
Ready for your next resin project? Check out our guide on resin wall art ideas for more inspiration and creative ways to use epoxy resin.
Frequently Asked Questions: How to Do Epoxy Countertops
What are the steps to epoxy countertops?
Clean and sand the surface, then fill cracks and apply a base coat. Mix the resin and hardener as directed. Pour, spread evenly, remove bubbles with heat, and let it cure fully.
How to use epoxy resin for beginners step by step?
Wear gloves and work in a well-ventilated area. Measure and mix the resin and hardener thoroughly. Pour slowly, pop bubbles with heat, and let it cure for at least 24 hours.
What tools do I need for epoxy countertops?
Use a paint mixer, roller, notched trowel, squeegee, heat gun, and sandpaper. A level keeps the surface even as it cures. Gloves, tape, and plastic sheeting help control mess.
How thick should epoxy be on a countertop?
Apply epoxy about 1/8 inch thick per layer. This gives strong coverage and durability. Add another coat after curing if you want extra depth or shine.


Dejar un comentario
Este sitio está protegido por hCaptcha y se aplican la Política de privacidad de hCaptcha y los Términos del servicio.