Creating your own silicone earring molds lets you design pieces that match your exact style and vision.
With just a few tools and some quality silicone, you can shape unique molds for resin, clay, or other materials without needing special equipment.
You can make durable, flexible silicone earring molds at home using simple materials and easy steps.
You’ll learn how to mix, pour, and form silicone so each mold turns out clean and detailed. This process gives you control over the size, shape, and texture of your earrings.
Whether you want to copy a favorite shape or experiment with new designs, making custom molds opens up endless creative possibilities.
You’ll also find useful tips for demolding, finishing, and applying silicone molds to other craft projects.
To start making silicone earring molds, browse our silicone molds for resin collection for inspiration and quality supplies.
Essential Materials and Tools

Creating your own silicone earring molds requires choosing the right silicone rubber, preparing safe materials, and setting up a clean workspace.
Good planning helps you make shapely, long-lasting molds that hold fine details without wasting supplies.
Choosing the Right Silicone Rubber
Use platinum-cure silicone rubber for most custom silicone molds. It offers high tear strength, low shrinkage, and captures small patterns well.
Tin-cure silicone is cheaper but less durable, making it better for short-term projects or practice.
Look for products labeled food-grade or non-toxic if you plan to use the same workspace for kitchen projects.
Check the curing time listed on the label—some mixtures harden in under 30 minutes, while others need several hours.
Have these basic materials ready:
- Mixing cups or containers
- Stir sticks or spatulas
- Mold release spray
- Measuring scale for accurate ratios
Mix the silicone slowly to reduce air bubbles.
Once poured, let it cure on a flat surface to keep it even and strong.
Selecting Objects for Earring Molds
Pick small, lightweight objects that fit your preferred earring style. You can use charms, buttons, clay shapes, or original sculpted designs.
Avoid objects with deep undercuts, since they make removing the cured mold harder and may cause tearing.
Before casting, coat your item with a mold release agent to prevent sticking. Wipe dust or oils off the surface first so the silicone captures every detail cleanly.
Smooth, textured, or carved items all work if they’re dry and free of loose bits.
Place the object in a container that leaves at least ¼ inch of space around it. This buffer gives your mold strength and keeps it from tearing during use.
Safety and Workspace Preparation
Work on a non-porous surface such as glass or plastic. Cover your area with disposable paper or silicone mats for easy cleanup.
Keep windows open or use a small fan to maintain airflow while mixing silicone rubber, especially if it produces light fumes.
Wear nitrile gloves, eye protection, and old clothing. Avoid touching your face during mixing since uncured silicone can cling to skin.
Store curing molds away from heat and moisture to prevent warping. Keep tools organized.
Dedicate separate containers for silicone and resin so you don’t ruin future mixes with residue. A tidy setup helps you focus on accuracy and enjoy each step of the mold-making process.
Our resin craft supplies collection has all the materials you need to create durable silicone molds for earrings.
Step-by-Step Guide to Making Silicone Earring Molds

You’ll build a simple mold box, mix and pour silicone, then let the mold cure until it’s firm and ready to use.
Each step needs care and patience so the final silicone mold captures your earring design cleanly and without bubbles.
Creating the Mold Box
Start by choosing a small, flat container that fits your earring masters with about ½ inch of space around each piece.
You can build your own mold box from MDF, acrylic sheets, or plastic trays sealed tightly with hot glue or tape to prevent leaks.
Apply a thin layer of mold release spray or petroleum jelly on the inside walls. This step keeps the silicone mold from sticking to the mold box once it cures.
Place your earring masters face up on the bottom using a bit of adhesive putty to hold them in place.
Make sure the surface is level so the silicone spreads evenly. Double-check spacing to ensure each piece has enough room for clean edges.
A simple checklist:
|
Task |
Description |
|
Seal mold box |
Prevent silicone leaks |
|
Add release agent |
Make demolding easier |
|
Secure masters |
Keep pieces stable during pour |
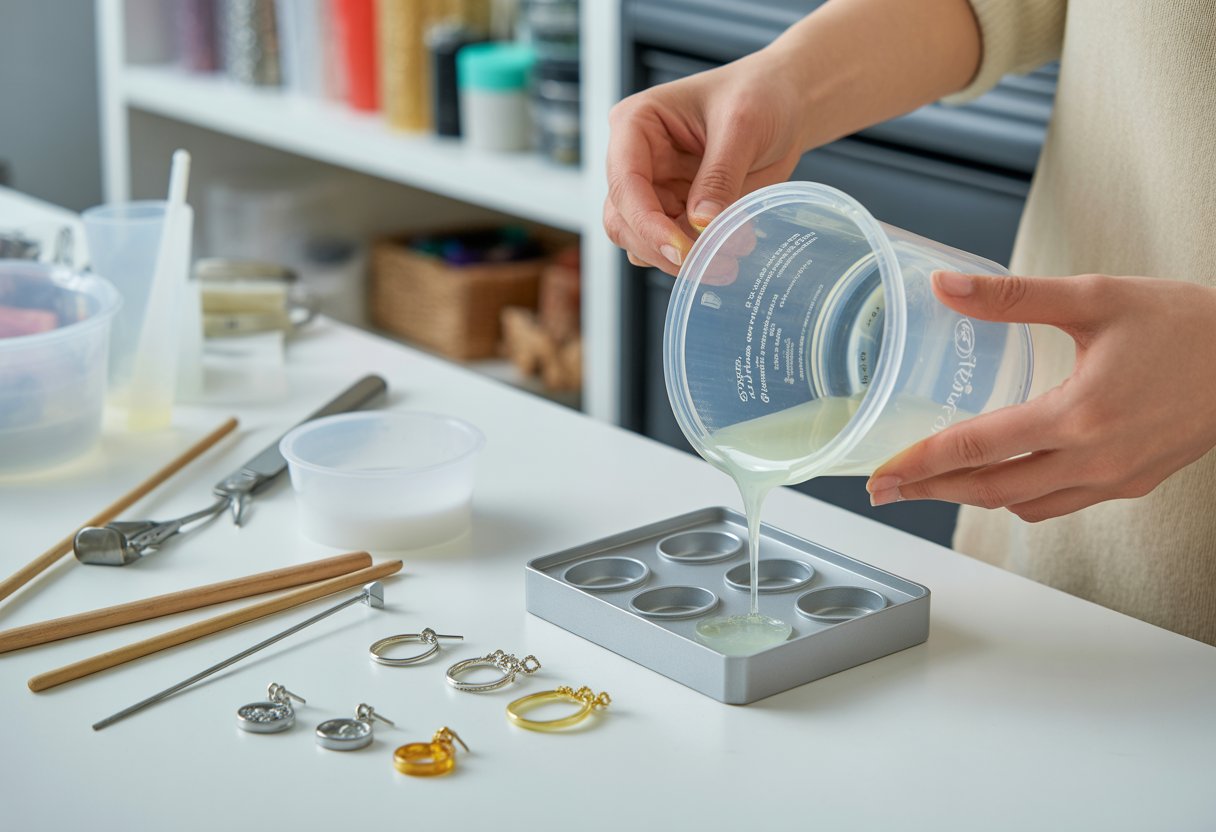
Mixing and Pouring Silicone
Use a two-part silicone rubber designed for mold making, following the manufacturer’s mixing ratio—often 100 parts base to 5 parts catalyst.
Measure accurately using disposable cups and a kitchen scale. Stir the mixture slowly to avoid trapping air bubbles.
Once combined, pour the silicone in a thin stream from one corner of the mold box. This helps push air out and fill small details.
Tap the sides gently or use a vibrating surface to release trapped bubbles.
If your design has fine patterns or crevices, you can brush a small amount of silicone over those areas before pouring the rest. That thin layer improves detail capture and prevents air gaps around delicate shapes.
Curing and Setting the Mold
Let the silicone mold cure on a flat surface away from dust and heat.
Curing time depends on the product—some silicones harden in 4–6 hours, while others take a full day. Avoid moving the mold box during this stage.
When the silicone feels firm and no longer tacky, gently separate the mold box walls and remove the mold. Pull the earring masters out slowly to avoid tearing thin sections.
If you used a release agent, the pieces should come out smoothly. Inspect the finished mold for air pockets or weak edges.
Trim away excess silicone with scissors, and your mold is ready for casting resin or polymer clay earrings. Store the mold flat to maintain its shape.
By reading Best Way to Clean Silicone Molds Quickly and Easily, you’ll learn essential tips to maintain your molds in perfect condition.
Demolding and Finishing Touches

Handle your custom silicone molds with patience to keep them durable and detailed. You’ll remove the cured silicone, clean off any residue, trim rough edges, and store the molds properly to extend their life.
Safely Removing the Mold
Wait until the silicone has fully cured before demolding. Most silicone products list a curing time—typically between 6 and 24 hours.
Trying to remove the piece too early can stretch or tear the mold. Begin by gently peeling back the edges to loosen the mold from the model. Avoid pulling quickly or using sharp tools, as this can damage fine details.
If needed, flex the sides slightly to release the suction.
For deeper or intricate shapes, a few drops of mold release spray on the edges can help the mold slide out more easily.
When working with custom silicone molds that have delicate features, hold the mold by its thickest area for better control. Inspect for bubbles or weak spots before setting the mold aside.
Cleaning and Trimming Edges
Once the mold is free, you’ll often find thin overflows of silicone called flash lines. Trim these using a small craft knife or fine scissors. Cut in short, steady strokes rather than long pulls to avoid tearing.
Next, wash the mold with mild dish soap and warm water to remove any oils or residue. Rinse thoroughly, then allow it to air dry completely.
Avoid paper towels, as they can leave lint that transfers into future resin pours. If the surface looks cloudy or dusty, a quick wipe with a soft lint-free cloth restores clarity.
Clean molds yield smoother resin surfaces and reduce the chance of trapped debris.
Storing and Caring for Your Silicone Molds
Keep your molds flat or upright to prevent bending. Storing them folded or under weight can cause permanent warping.
Dedicated plastic containers or resealable bags work well to protect from dust and moisture. Avoid direct sunlight or high temperatures, which can cause the silicone to degrade over time.
Keep your workspace around room temperature. For long-term care, dust molds lightly with cornstarch before storage. This helps prevent surfaces from sticking together.
Label each mold so you can easily find the right shape for your next earring project.
Read How To Make Dried Flowers for Crafts and Decor to enhance your earring molds with natural pressed flowers for a unique look.
Creative Applications and Tips

You can use your silicone molds to shape detailed earrings, custom resin pieces, and small polymer clay items.
Paying attention to mixing ratios, surface preparation, and curing time will help your molds last longer and produce cleaner results.
Polymer Clay and Resin Casting
Working with polymer clay and resin gives you many creative options.
You can press clay into your silicone molds to form charm bases or earring shapes, then bake them according to the clay’s instructions.
Once cooled, paint or glaze them for a finished look. For resin casting, make sure your silicone mold is clean and dry.
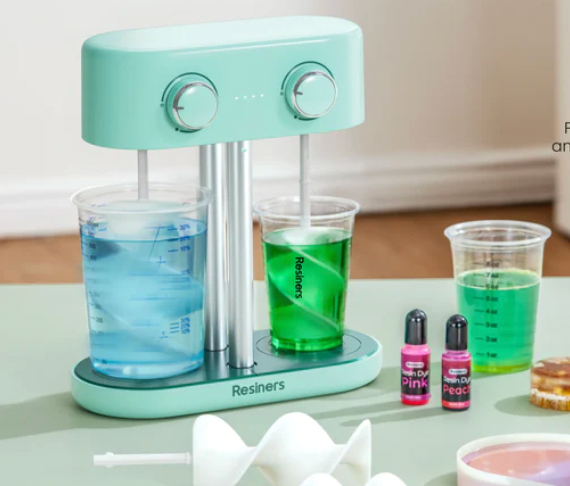
Mix resin and hardener slowly to reduce bubbles, then pour it into the mold in thin layers. Add pigments, small dried flowers, or glitter before it cures to personalize each piece.
Here’s a quick reference:
|
Material |
Key Step |
Tip |
|
Polymer Clay |
Press and bake |
Use cornstarch to prevent sticking |
|
Resin |
Mix and pour |
Work in a dust-free area |
Use soft silicone molds for intricate designs and firmer molds for simple earring shapes. A smooth mold surface will reduce the need for sanding finished pieces.
Troubleshooting Common Issues
Air bubbles, tearing, or uneven curing can affect your results. To prevent bubbles, stir resin gently and tap the mold lightly to release trapped air.
For mold tears, apply a thin coat of petroleum jelly or mold release before each use. This protects delicate details and helps your work release cleanly.
If resin stays tacky, double-check your mixing ratio and ensure the temperature in your workspace is around 70–75°F.
Avoid adding too much pigment since it can interfere with curing. When polymer clay sticks or cracks, check that your mold is not oily or dusty.
Simple adjustments like proper cleaning, correct mixing, and careful handling will make your silicone mold projects smoother and more consistent.
If you want to add beautiful effects to your silicone molds, our mica powder collection offers stunning color options.
Wrap Up
Learning how to make silicone earring molds opens up endless creative possibilities for jewelry makers. By using high-quality silicone and precise molding techniques, you can replicate intricate earring designs with ease.
The process involves mixing silicone components accurately, pouring into a mold box, and curing to achieve flexible, durable molds perfect for resin or metal casting.
Mastering this skill means you can create custom molds tailored to your unique designs, saving money and enhancing your craftsmanship.
With patience and attention to detail, making silicone earring molds at home is accessible and rewarding.
Check out our resin jewelry kit collection for all-in-one sets that simplify making silicone earring molds and resin jewelry.
Frequently Asked Questions
You’ll get the best results when you know which silicone to choose, how to shape it, and how long to let it set.
Paying attention to simple safety steps, material needs, and proper mold care helps your projects last longer and look more polished.
What's the best type of silicone for DIY earring molds?
Use platinum-cure silicone for detailed, strong, and flexible molds.
It captures fine designs without tearing and stays durable after many uses. Tin-cure silicone works too but can shrink slightly over time.
Can I use household items to create unique mold shapes for my earrings?
Yes, common objects like small lids, bottle caps, or silicone ice trays can help you shape custom molds.
Make sure each surface is clean and smooth so the silicone sets evenly. Avoid porous materials that might stick or warp.
How long does it take for silicone molds to cure before I can use them?
Curing usually takes 12 to 24 hours, depending on the brand and room temperature.
Always check the product label for exact curing times. Touch the surface gently—if it’s firm and not tacky, it’s ready.
Are there any safety tips I should follow when working with silicone?
Work in a well-ventilated area to avoid breathing fumes from uncured silicone.
Wear gloves to protect your skin from irritation, and cover your work surface to prevent spills from sticking. Follow the manufacturer’s directions for safe handling.
What materials do I need to start making my own silicone earring molds at home?
You’ll need liquid silicone, measuring tools, a small mixing cup, and a stir stick.
Pick an earring blank or shape to mold, and use a disposable container to hold the silicone while it sets. Keep paper towels nearby for quick cleanup.
How do I properly care for and store my handmade silicone molds?
Wash molds gently with mild soap and warm water after each use. Let them air dry completely before storing. Keep molds flat in a cool, dry place away from direct sun so they keep their shape.


Dejar un comentario
Este sitio está protegido por hCaptcha y se aplican la Política de privacidad de hCaptcha y los Términos del servicio.