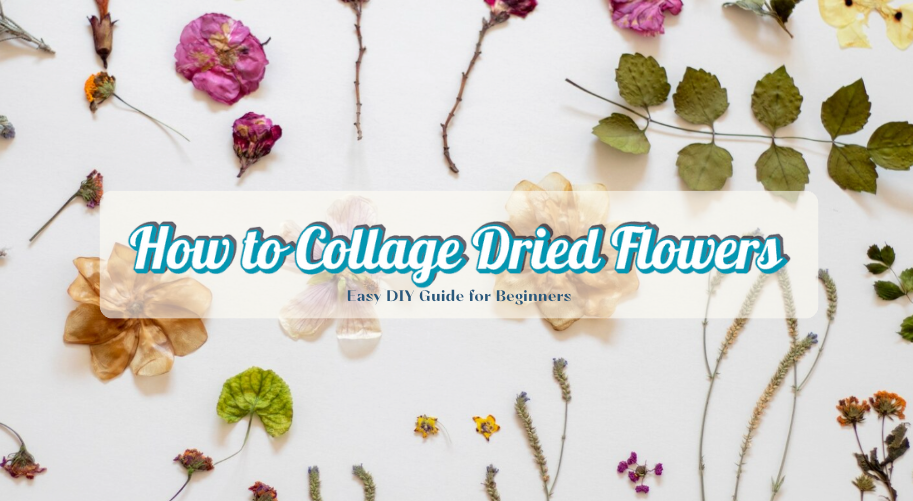
Love flowers but hate watching them lose their beauty? You can give them a second life by turning them into art.
To collage dried flowers, arrange pressed blooms on paper or fabric, secure them with glue, and create a design that showcases their colors and shapes.
This simple process allows you to preserve flowers from special moments while creating something new.
You can choose bold color mixes, soft matching tones, or even add leaves and stems for texture. With the right tools and a few easy steps, your dried flower collage can last for years.
Quick Insights:
- Gather pressed and dried flowers
- Choose a sturdy background (canvas, paper, or wood)
- Arrange petals before gluing
- Use clear glue for sticking
- Seal with varnish or resin for long-lasting results
- Preserve dried flowers in a frame with epoxy resin and display your collage
❝Explore our collection of dried pressed flowers today and turn simple projects into timeless works of art.❞
How to Collage Dried Flowers – Step-by-Step Guide
You can create a dried flower collage that lasts by preparing the flowers properly, selecting a sturdy background, and sealing the final piece.
Careful planning and the right materials will keep the petals secure and help your collage stay vibrant over time.
Step 1 – Gather and Press Your Dried Flowers
Start by choosing flowers that press well, such as pansies, daisies, violets, and ferns. Thin petals and flat leaves usually dry better than thick or bulky blooms. Avoid flowers with excessive moisture, as they can mold or lose their shape.
To press flowers, place them between sheets of parchment paper inside a heavy book. Add extra weight on top for better results. Store them in a dry place for 1 to 2 weeks.
If you want to preserve more color, dry flowers quickly using a microwave press or silica gel. Keep them out of direct sunlight while drying, as light can cause fading of the petals.
Store finished pressed flowers in envelopes or tissue paper to protect them until you are ready to use them.
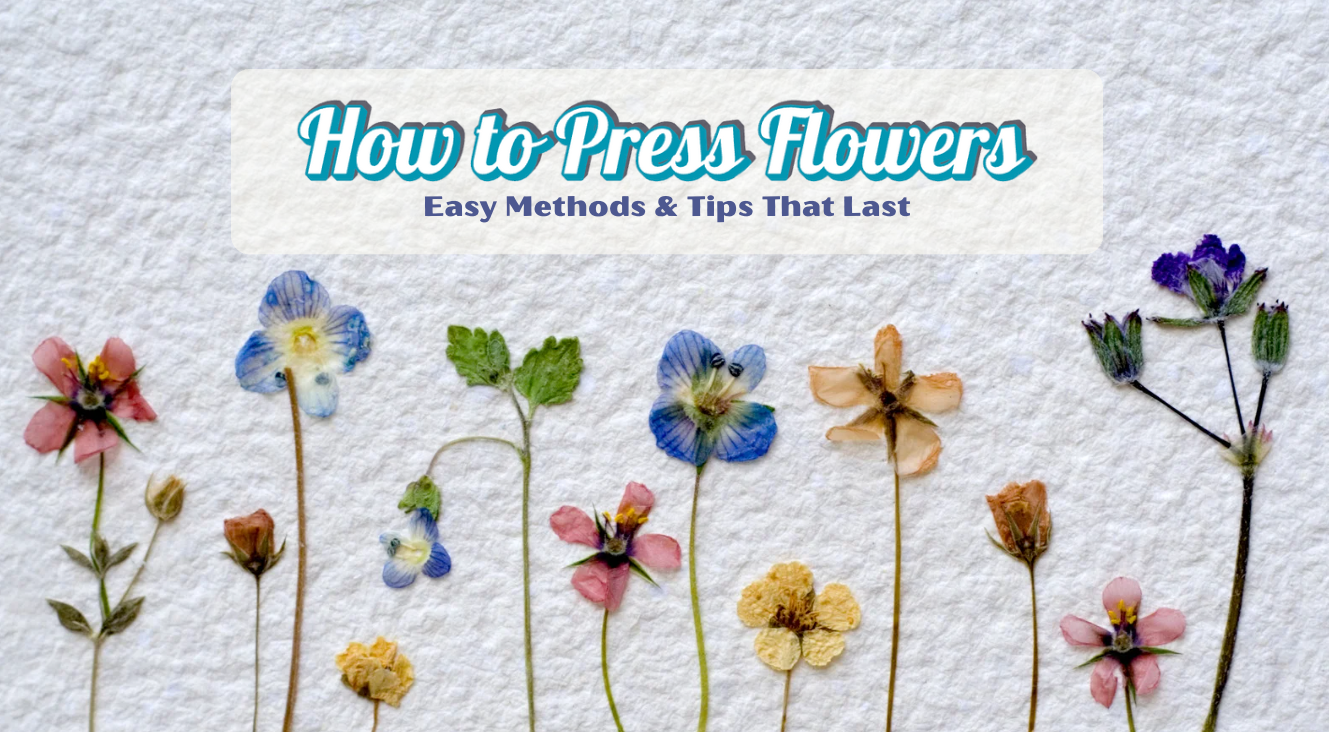
❝Read our guide on How to Preserve Pressed Flowers Without Losing Color❞
Step 2 – Pick the Right Background
Your background should be sturdy enough to hold glue and flowers without warping.
Common choices include:
- Canvas
- heavy cardstock
- wood panels
Avoid thin paper, as it may wrinkle or tear once adhesive is applied.
- Light backgrounds, such as white or cream, highlight darker flowers and make colors pop.
- Dark backgrounds, such as black or navy, work well for pale blooms and give a bold contrast.
If you want a rustic look, wood panels add texture and warmth. For a cleaner look, smooth cardstock or canvas keeps the focus on the flowers.
Ensure the surface is clean and free of dust before you start.
Step 3 – Plan Your Floral Design
Arrange your flowers loosely on the background before gluing anything down. This allows you to adjust the layout without causing damage.
Try simple designs, such as a border of petals or a central bouquet, if you are just starting out.
For more complex collages, experiment with layering petals and mixing different textures. Balance large blooms with smaller accents, such as leaves or sprigs of herbs.
If you want extra guidance, lightly sketch an outline or use stencils to mark placement. This helps you maintain even spacing and prevents overcrowding.
Take a photo of your arrangement before gluing so you can remember the layout.
❝Read our guide on Creative Pressed Flower Art Ideas for Kids & Adults❞
Step 4 – Attach Flowers with Care
Use a transparent adhesive that dries flat and does not stain. Good options include Mod Podge, PVA glue, or clear craft adhesive. Avoid hot glue, as the heat can damage delicate petals.
Apply a thin layer of glue with a small brush or cotton swab. Place the flower gently and press it down with tweezers or a clean sheet of paper. This prevents fingerprints or smudges.
Work slowly and glue one piece at a time. Too much glue can cause clumps or seep through petals. Allow each section to dry completely before moving on to the next one to prevent the flowers from shifting.
Step 5 – Seal and Protect Your Collage
Once the flowers are attached, seal the surface to protect against dust and moisture. You can use a spray sealant for an even coat or a brush-on varnish for thicker protection.
Spray sealants are easier to apply, but they may require several layers. Brush-on varnish gives stronger coverage but can sometimes darken colors if applied too heavily.
Choose a product labeled as non-yellowing to keep your collage looking fresh. Apply in a well-ventilated area and allow each coat to dry completely. A sealed collage is less likely to crumble or fade over time.
Step 6 – Preserve Dried Flowers in a Frame with Epoxy Resin
For a long-lasting finish, you can embed your collage in epoxy resin. Place your arranged flowers in a deep frame, tray, or mold that can hold liquid. Ensure the flowers are secure before pouring.

Mix clear epoxy resin according to the instructions. Pour it slowly in thin layers over the flowers. Use a heat gun or small torch to remove air bubbles that rise to the surface.
Let the resin cure fully, which may take 24 to 72 hours, depending on the product. The finished surface will have a glass-like appearance and protect the flowers from fading, breaking, or moisture damage.
This method works well for keepsake frames, decorative wall art, or even tabletops. It creates a durable display that keeps your dried flowers safe for years to come.
Creative Ideas for Collaging Dried Flowers
You can use dried flowers to make art that is both personal and decorative. These projects let you combine natural textures with everyday items, turning simple objects into meaningful keepsakes or unique décor.
1. DIY Wall Art

Framed dried flower collages work well for rustic or boho-style décor. You can arrange flowers on sturdy paper or fabric, then place them inside a frame with glass to protect them from dust.
Try mixing flowers of different colors and sizes to create balance. A large bloom in the center with smaller petals around it often makes a strong focal point.
For a more organized look, you can line up flowers in rows or patterns. If you prefer a natural style, let the flowers overlap or scatter across the background.
Tips for wall art:
- Use acid-free paper to prevent yellowing.
- Choose a frame with UV-protective glass.
- Keep the collage away from direct sunlight.
2. Handmade Greeting Cards
Pressed flowers make greeting cards more personal. You can glue small blooms or leaves onto folded cardstock and write a message inside.
This works well for birthdays, weddings, and thank-you cards. A single flower in the corner adds a simple touch, while a cluster of petals across the front creates a fuller design.
You can also pair flowers with hand lettering or stamps. Using neutral colors for the card base helps the flowers stand out.
Ideas for card designs:
- A daisy or pansy for spring birthdays.
- White petals with gold ink for weddings.
- Autumn leaves with warm-toned paper for fall greetings.
3. Decorative Book Covers or Journals

Covering notebooks with dried flower collages gives them a personal touch. Start with a plain hardback journal or sketchbook. Use a layer of craft glue or decoupage medium to attach flowers to the cover.
Seal the surface with a clear finish to prevent the flowers from flaking off. Matte finishes give a soft look, while glossy finishes make colors appear brighter.
You can design covers by arranging flowers in borders, clusters, or simple single-flower placements. Adding a name or initials with paint or stickers makes the journal feel even more custom.
Best choices for covers:
- Flat flowers like violets or ferns.
- Small petals that do not stick out too much.
- A strong sealant to protect from wear.
4. Shadow Box Collages
Shadow boxes allow you to mix dried flowers with keepsakes. You can add photos, ticket stubs, or small objects alongside pressed petals.
This style works well for memory art, such as preserving flowers from a wedding or a trip. The depth of the box keeps the flowers safe while giving space for layered designs.
Arrange heavier items at the back and lighter flowers near the front. Use pins, glue dots, or foam spacers to hold everything in place.
Good items to pair with flowers:
- A wedding photo with matching bouquet petals.
- A postcard with pressed wildflowers from the same trip.
- A baby photo with small dried blossoms.
5. Seasonal Décor
You can make dried flower collages that reflect the seasons. For autumn, combine orange and brown leaves with dried sunflowers. For spring, consider using pastel petals, such as pink roses or lavender.

These collages can be framed, hung as garlands, or placed on shelves. Rotating them through the year keeps your space fresh without the need for new décor.
Try grouping flowers by color to match the season. Adding small extras like ribbons, twine, or painted backgrounds helps tie the theme together.
Seasonal examples:
- Autumn: maple leaves, marigolds, wheat stalks.
- Winter: white petals, pine needles, silver paper.
- Spring: wildflowers, blossoms, soft greens.
- Summer: bright daisies, sunflowers, bold colors.
Essential Materials and Tools
You need the right base, strong adhesives, and safe handling tools to make a dried flower collage that lasts. Protective coatings like sealants or epoxy resin also help preserve the natural colors and keep petals from breaking apart.
Backing Boards and Surfaces
Your choice of surface affects both the look and durability of your collage. Common options include canvas, wood panels, thick watercolor paper, and cardboard. Each has different strengths.
- Canvas gives a lightweight and flexible base.
- Wood panels offer sturdiness and prevent warping.
- Thick paper or cardboard works well for small projects or scrapbooking.
If you want a layered or 3D effect, try shadow boxes or glass frames. These allow you to build depth and protect the flowers behind a cover. Transparent surfaces like acrylic sheets can also create a modern design where light passes through the petals.
Choose a surface that matches the size of your project. A coaster or bookmark needs a solid backing like wood or thick board. A wall collage can use stretched canvas or framed glass.
Adhesives and Sealants
Adhesives keep the flowers in place, but not all glues work well with delicate petals. The most reliable choices are clear-drying craft glue, PVA glue, or a hot glue gun.
- Clear-drying glue is best for flat petals and leaves.
- Hot glue works for thicker stems or textured surfaces.
- Double-sided tape can help with precise placement.
Once your flowers are attached, you need to protect them. A spray sealant or mod podge can lock in color and prevent crumbling. Use light coats to avoid soaking the petals. If you want a glossy finish, brush on a thin layer of sealant or use epoxy resin for a stronger coating.
Always test your adhesive on a small piece first to see how it reacts with the flower. Some glues may darken or wrinkle thin petals.
Epoxy Resin
Epoxy resin creates a hard, transparent surface that seals your collage. It is especially useful for projects that require durability, such as coasters, trays, or tabletops.
When you pour resin over dried flowers, it:
- Protects petals from moisture and fading
- Strengthens fragile stems and leaves
- Adds a glossy, glass-like finish
Mix resin according to the instructions, then pour slowly to avoid bubbles. Work on a level surface and allow enough curing time, usually 24 to 48 hours.

🛒 Resiners® 1 gallon/2 gallon Crystal Clear Epoxy Resin
You can also use resin in molds to make small decorative pieces. For example, embed petals in resin to create jewelry or keychains. Always wear gloves and work in a ventilated space, since resin can release strong fumes.
Tools for Handling Dried Flowers
Dried flowers are fragile, so the right tools help you handle them without damage. Tweezers are essential for placing small petals or leaves. They let you adjust details without crushing the material.
Small scissors or craft knives help trim stems and shape petals. A soft brush can remove dust or loose fragments before sealing.
Keep your work area clean and organized. Store flowers in flat containers or between sheets of paper to prevent bending. If you press your own flowers, use blotting paper and heavy books to keep them flat until ready.
For resin projects, you may also need mixing cups, stir sticks, and protective gloves. These tools keep your work neat and your hands safe.
Tips for Making Your Dried Flower Collage Last Longer
You can keep your dried flower collage looking good for a long time if you take a few simple steps. Small choices in storage and display make a big difference.
- Keep it out of direct sunlight. Sunlight can fade the colors of dried flowers and paper. Place your collage in a shaded spot.
- Use acid-free paper. Regular paper may yellow and damage flowers over time. Acid-free paper helps preserve both the background and the flowers.
- Frame with glass. A frame protects the collage from dust and accidental damage. Glass also keeps the flowers flat and secure.
- Avoid humid areas. Moisture can cause mold or make flowers brittle. Keep your collage in a dry room with stable air flow.
By following these care steps, your collage will stay bright, clean, and sturdy for years.
Conclusion: Preserve Your Memories in Art
You can use dried flowers to keep special moments close. Each petal and leaf becomes part of a story that you choose to tell through your collage.
This craft lets you combine simple materials with your own style. You decide the layout, the colors, and the meaning behind each piece.
Try adding personal items like photos or notes to make your collage more unique.
When you finish, you have more than just a decoration. You have a piece of art that preserves your memories in a lasting way.
Frequently Asked Questions
When working with dried flowers, consider preparation, attachment, and preservation. The way you handle each step will affect the sturdiness of your collage and its ability to maintain its appearance over time.
How to make a collage with dried flowers?
Start with a sturdy base such as cardstock, canvas, or wood. Arrange your flowers in a layout you like before gluing them down. Use tweezers for small petals and leaves to keep them from breaking.
How to make dried flowers stay together?
Apply a clear-drying craft glue or decoupage medium with a small brush. Press the flowers gently into place and let them dry fully. For extra protection, add a thin top coat of glue or spray sealant.
Do I need to press flowers before making a collage?
Pressing flowers helps them lie flat, which makes them easier to attach. You don’t always need to press thicker flowers, but flatter pieces generally work better in collages. A flower press or heavy book works well for this.
How do I keep the colors from fading?
Keep your collage out of direct sunlight, since UV light causes fading. Store it in a cool, dry place and consider using UV-protective spray or glass if you plan to frame it.
How long will a dried flower collage last?
A well-made collage can last for years if you protect it from moisture and sunlight. The flowers may naturally darken or lose brightness over time, but sealing and proper storage slow this process.


Laisser un commentaire
Ce site est protégé par hCaptcha, et la Politique de confidentialité et les Conditions de service de hCaptcha s’appliquent.