Behind every resin piece is more than just materials—it’s a combination of experience, experimentation, and personal expression.
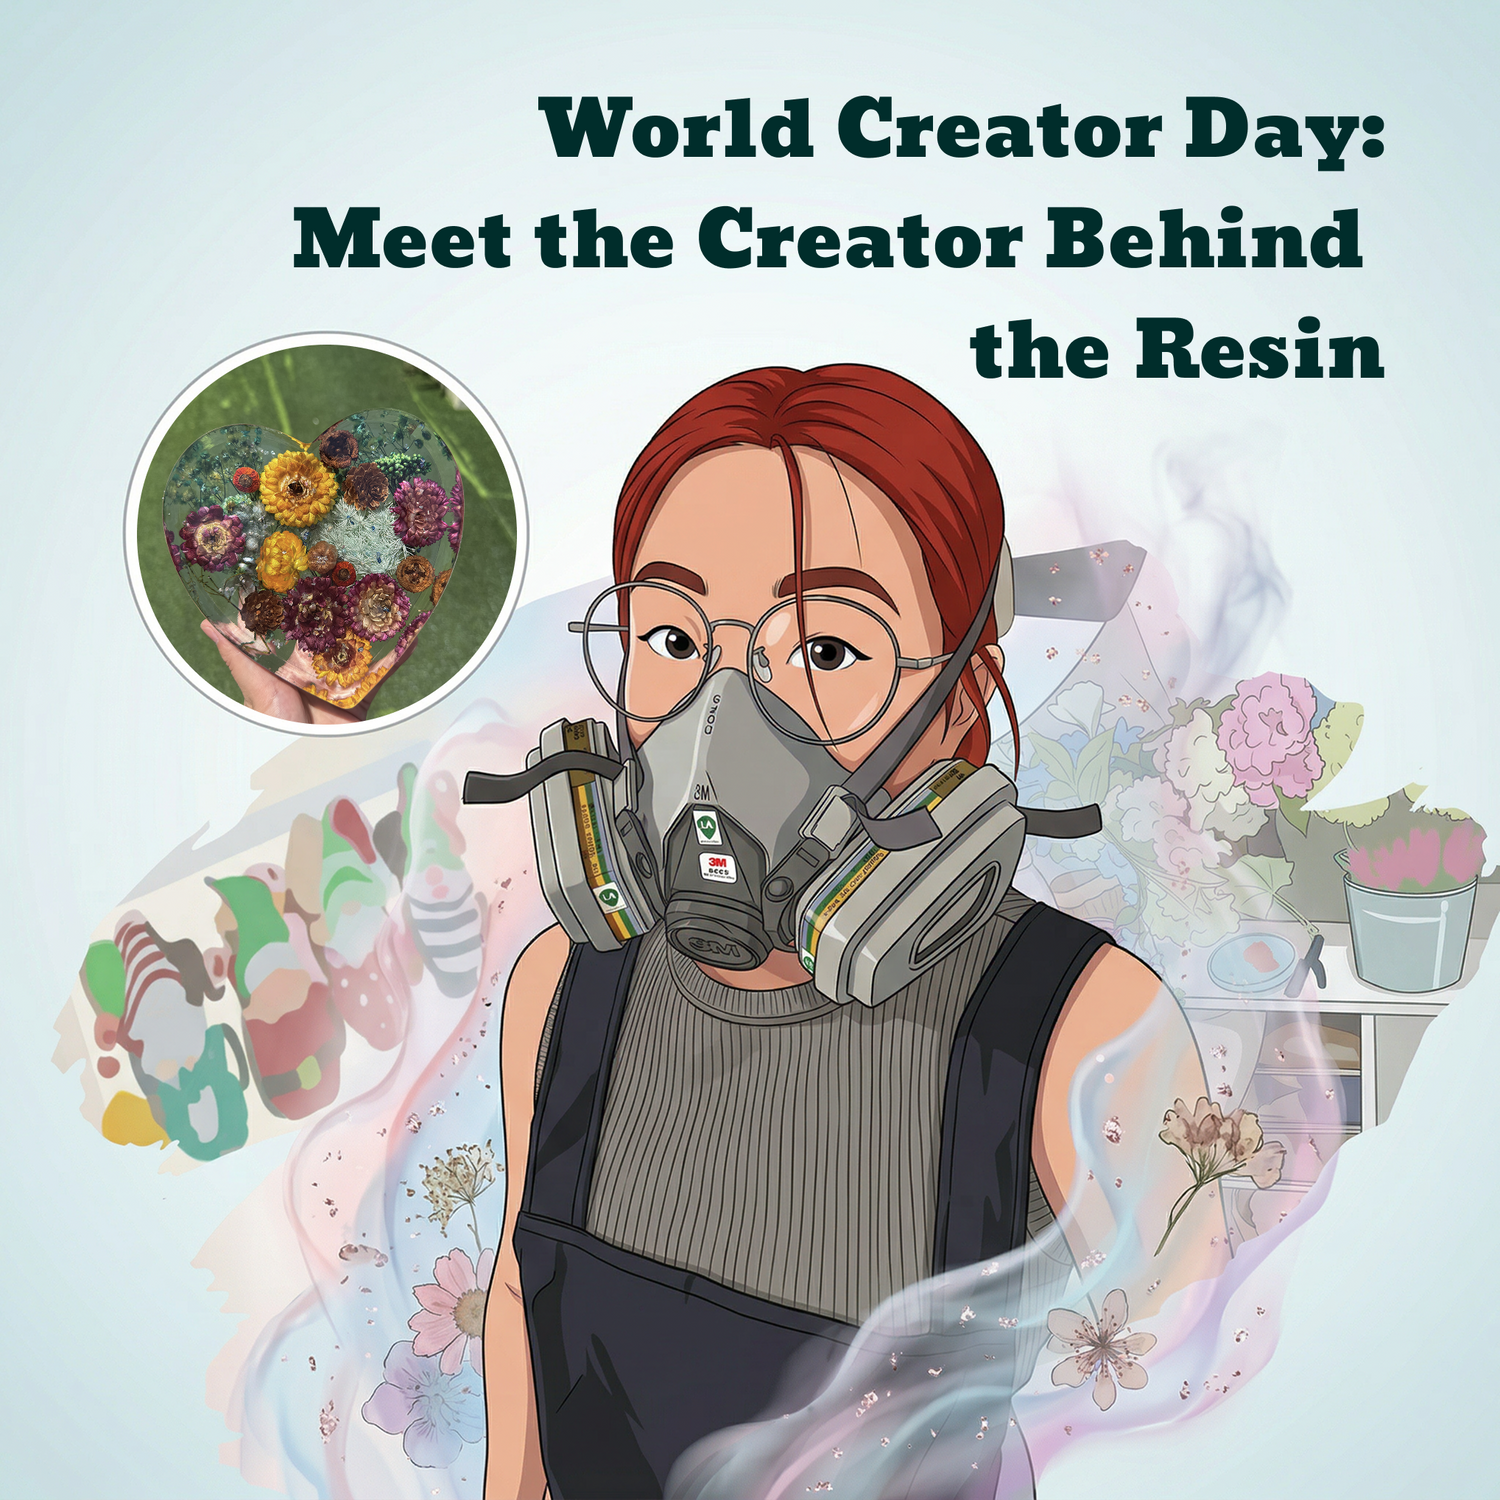
Today, we’re sharing the story of a 24-year-old creator—Amazing from the Resiners team, who has spent over 10 years exploring handmade crafts. From paper art to resin, her journey reflects how creativity evolves—and how the right tools can transform the making process.
Interview
Q: What inspired you to start resin art?
A: I’ve always loved handmade crafts. From paper cutting and origami as a child, to flower making, ceramics, and design studies later on, I’ve been exploring different creative forms for years. Resin felt like a natural continuation of that journey. It allows me to turn ideas in my mind into something tangible. I started with UV resin and gradually moved into epoxy—what fascinates me most is how it can be combined with so many different materials to create endless possibilities.
 The handmade pieces Amazing created before
Q: What’s the most challenging part of resin crafting?
A: Temperature control and bubble management are the biggest challenges. If the temperature is too high, resin can overheat or ‘flash cure.’ And bubbles, especially in thicker pieces, can be very difficult to remove completely. It takes experience to find the right balance.
Q: What’s the most difficult piece you’ve ever made?
A: A dried flower heart piece. It involved multiple steps—layering, bubble control, and polishing. Because dried flowers tend to trap air, I had to redo parts several times. It took me around three to four days to finally complete it.
 The dried flower heart piece
Q: Where do your ideas come from? What about creative blocks?
A: My inspiration mostly comes from daily exposure—craft videos, clay art, children’s creativity, even environmental design. When I feel stuck, I try exploring new materials or techniques. Sometimes even a ‘failed’ piece gives me a new direction. Over time, these small experiments build into new styles.
Q: What do you do with leftover resin or failed pieces?
A: I try not to waste anything. Leftover resin can be poured into containers over time, creating layered color effects that turn into unique pieces. Sometimes I pour resin onto surfaces—once cured, it can peel off and even help remove dust or residue from tables and molds.
 Amazing's daily crafts
Q: What makes a “good” resin piece?
A: A good piece should balance practicality, aesthetics, creativity, and technique. It’s not just about how it looks, but also whether it brings something new—either in design or in the process.
Q: How do you ensure safety while working with resin?
A: I always work in a well-ventilated space and use the air purifier. Also, I wear protective gear when needed. Air quality is something many beginners underestimate, but it’s actually very important.
Q: How have tools changed your workflow?
A: The right tools make everything smoother and more controlled. For example, easy-pour resin bottles reduce mess, graduated mixing cups eliminate the need for weighing, and different mixers help adapt to different batch sizes. Using a bubble remover significantly reduces bubbles, and a curing machine helps speed up the process—so I can focus more on the creative side instead of fixing problems.
Practical Tips
Q: How do you keep dried flowers in place?
A: Pour a base layer of resin first, then wait until it reaches a slightly sticky stage. At that point, place the dried flowers carefully. Once it cures, you can pour the next layer to seal everything in place. This helps avoid floating or shifting.
Q: How do you avoid curing failure?
A: The key is accurate ratio and thorough mixing. If the resin isn’t mixed evenly, it may stay soft or not cure properly. Temperature also matters—too high or too low can affect the result.
Q: How do you know how much resin to prepare?
A: A simple trick is to fill the mold with water first, then pour it into a measuring cup. The volume you get is roughly how much resin you’ll need—this helps avoid waste.
Q: Any tips for removing bubbles?
A: For larger batches, I use a bubble remover to remove deep bubbles.For surface bubbles, a heat gun works well. You can also use a dropper to manually remove stubborn bubbles in deeper layers.
Q: What would you like to say to all creators?
A: Have fun. That’s the most important part. Creativity should feel free.
 A corner of the studio
Closing
Resin art is a journey of creativity and exploration. With the right tools and mindset, every step—from mistakes to finished pieces—becomes part of the process. In the end, just enjoy creating and bring your ideas to life.
Start your next piece today—and enjoy every moment of creating.


Deixar comentário
Este site é protegido por hCaptcha e a Política de privacidade e os Termos de serviço do hCaptcha se aplicam.