
Turning ashes into resin keepsakes is a way to hold onto cherished memories. Whether you want a pendant, paperweight, or decorative piece, ash-in-resin ideas can offer creative ways to preserve a loved one or pet close to you.
Resin captures the ashes in a crystal-clear material, creating something you can see, touch, and treasure for years.
This guide explains safe handling, design approaches, bubble control, and finishing steps. You’ll also find project ideas, expert tips, and tools that make the process easier.
Quick Guide 💡:
- Cremation ashes are mineral-based and stay suspended in resin. Use only small amounts.
- Plan designs before mixing; many people use capsules, swirls, or bezels.
- Work with thin resin layers to prevent bubbles and haze.
- Keep your space ventilated and use an air purifier with activated carbon to capture fumes.
- Popular projects include jewelry, ornaments, paperweights, and sun-catchers.
- Once resin cures, ashes cannot be removed, so work with care and consent.
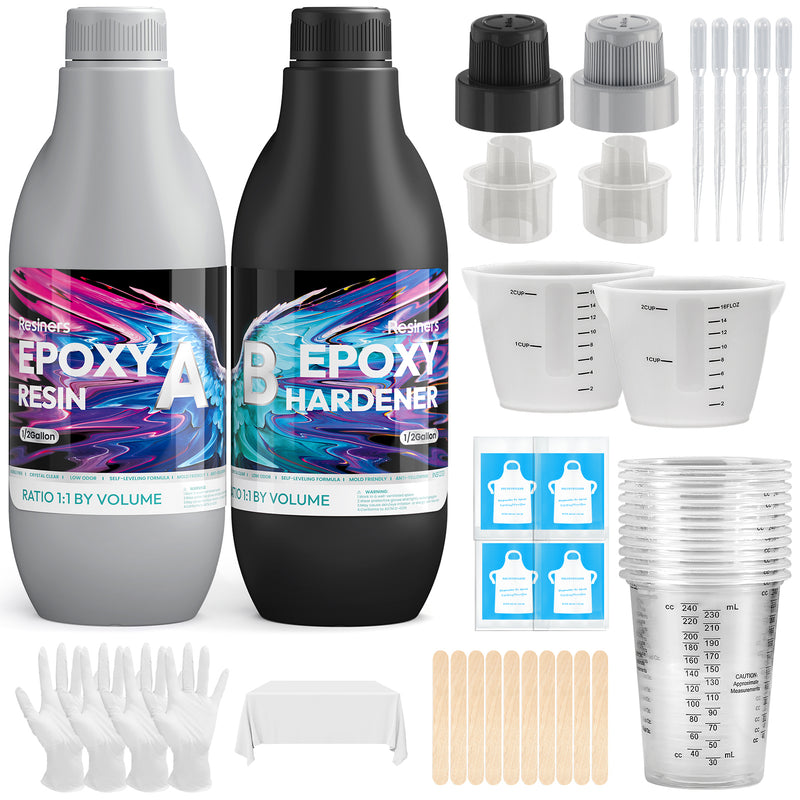
Shop Related Products
 |
 |
 |
What Cremation Ashes Are
Cremation “ash” is not ash like from a fire. It’s bone fragments ground into a fine, sand-like powder. These particles are mostly calcium phosphate and trace minerals. They do not dissolve in resin, which means they remain visible as specks, swirls, or dust clouds.
Handling Ashes Respectfully
- Use a clean, organized workspace.
- Label containers so nothing is confused.
- Only take a pinch at a time, leaving the rest safely sealed.
- If making keepsakes for family or clients, get written consent.
Choosing the Types of Resin for Memorial Projects
- Epoxy resin: The most common choice. Great for pendants, paperweights, keychains, and ornaments. It cures slowly, giving you time to work.
- UV resin: Works for very small jewelry pieces like rings or earrings. It cures quickly under UV light but may yellow faster outdoors.
Safety and Air Quality
Epoxy resins release fumes and VOCs during mixing and curing. Always:
- Work in a ventilated space.
-
Wear nitrile gloves and protective glasses.
Use a VOC air purifier with activated carbon to reduce odors and improve safety.
👉 Try the Resiners Resin Air Purifier for small studios and workshops.
Popular Ashes in Resin Ideas
Here are some thoughtful ways to design memorials:
Ashes in Resin Jewelry Ideas

Memorial Pendants, Lockets, & Necklaces
Pendants and lockets are timeless and wearable. Try hearts, teardrops, or circles. Use a small pinch of ash in clear or tinted resin for a subdued or dramatic effect.
How-to:
- Mix resin and hardener to manufacturer ratio; stir slowly
- Add ashes near the end, mixing gently to avoid swirling too much
- Pour into a bezel or silicone mold in thin layers; let each layer set before adding more
- Finish with jewelry hardware after curing
Resin Rings, Beads, Orbs, and Charms
Ashes can be formed into beads for bracelets, flatback stones for rings, or tiny spheres. Orbs can hold color layers or textured ash for unique looks.
How-to:
- Use small, deep molds for beads or orbs
- Let bubbles rise for 10-15 minutes, then pop with a torch/light heat
- Cure slowly, polish or sand as needed
- Thread onto bracelets, chains, or accessory hooks
👉 Also Read: Popular Resin Memorial Ideas to Cherish Loved Ones
Home Decor & Larger Memorial Ash Art

Paperweights, Figurines, and Sculptures
Use larger silicone molds—cubes, pyramids, domes—for decorative keepsakes. Swirl in flowers or foil to highlight ashes.
Tips:
- Mix in small increments to prevent too many bubbles
- Pour in multiple layers if embedding photos or objects
- Cure under a dust cover to avoid pitting on the surface
Sun Catchers or Window Art
Thin, flat molds let you create sun catchers or hanging art. Add color for stained glass effects.
What to do:
- Pour one thin layer first, then carefully add ashes to middle layer
- Top with clear resin so ashes “float” in the light after curing
👉 Also Read: Unique Resin Art Ideas
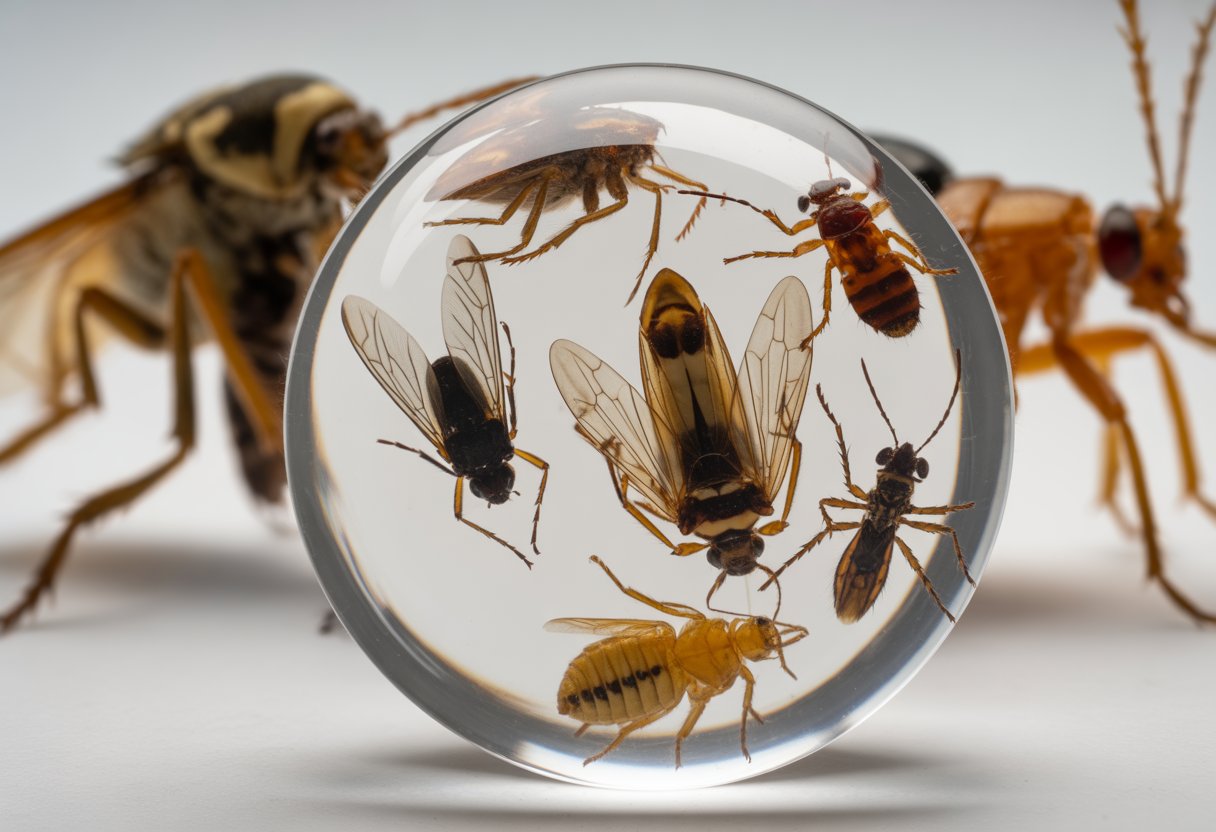
Artistic Ashes in Resin Ideas

Symbolic Scenes and Storytelling Art
Try scenes that hold meaning for you or the person honored—beach scenes, pet silhouettes, or mountain views. Add symbolic items (e.g. sand, fur, tiny photos) sealed within.
Pet Memorials
Paw print-shaped molds, animal figurines, or collar ID tags make special pet memorials. Combine ashes with a clipped piece of fur or favorite bead.
👉 Also Read: Top Resin Ideas to Sell
Safety, Cleanliness, and Respectful Handling
- Wear gloves and never use kitchen utensils for resin or ashes—keep tools craft-only
- Mask up and use strong airflow or air purifiers for chemical safety
- Store any unused ashes in a labeled, secure container
- Clean up spills with baby wipes and avoid direct hand contact
- Never let resin run down drains—cure leftovers and toss properly
How to Avoid Bubbles, Sinking, and Cloudy Resin
- Use slow, careful mixing—let resin sit 10 minutes to let bubbles rise
- Pop surface bubbles with a quick pass of heat
- Layer ashes rather than dumping all at once; this prevents pieces from sinking
- Dust covers prevent surface imperfections during long cures
- If using deep molds, try an airless bubble removal machine for perfect clarity (Bubble removal machines)
How To Get the Look You Want
- Swirl effect: Add ashes, then move lightly with a toothpick—avoid overmixing.
- Suspended effect: Let the first layer gel, then add ashes and cover with more resin.
- Glitter or colored background: Mix ashes with clear resin, pour over cured color or add decorative elements on the bottom of mold.
- Polished finish: Wet sand after cure, use polishing compound for jewelry-level shine.
👉 Also Read: Resin Pyramid Ideas to Try
Step-by-Step Guide to Making Memorial Resin Jewelry with Ashes
Creating memorial resin jewelry is a touching way to keep loved ones close. Follow these steps carefully to ensure a beautiful, safe, and lasting keepsake.
Prepare your workspace.
Choose a clean, well-ventilated area free of dust. Lay down a drop cloth or silicone mat to protect surfaces. Wear nitrile gloves and a mask to prevent skin contact and inhalation of fine ash or resin fumes.
Gather all materials.
Have your resin kit, hardener, mixing cups, stir sticks, measuring tools, bezel or silicone mold, tweezers, and protective gear ready before mixing. Preparation helps prevent rushed steps.
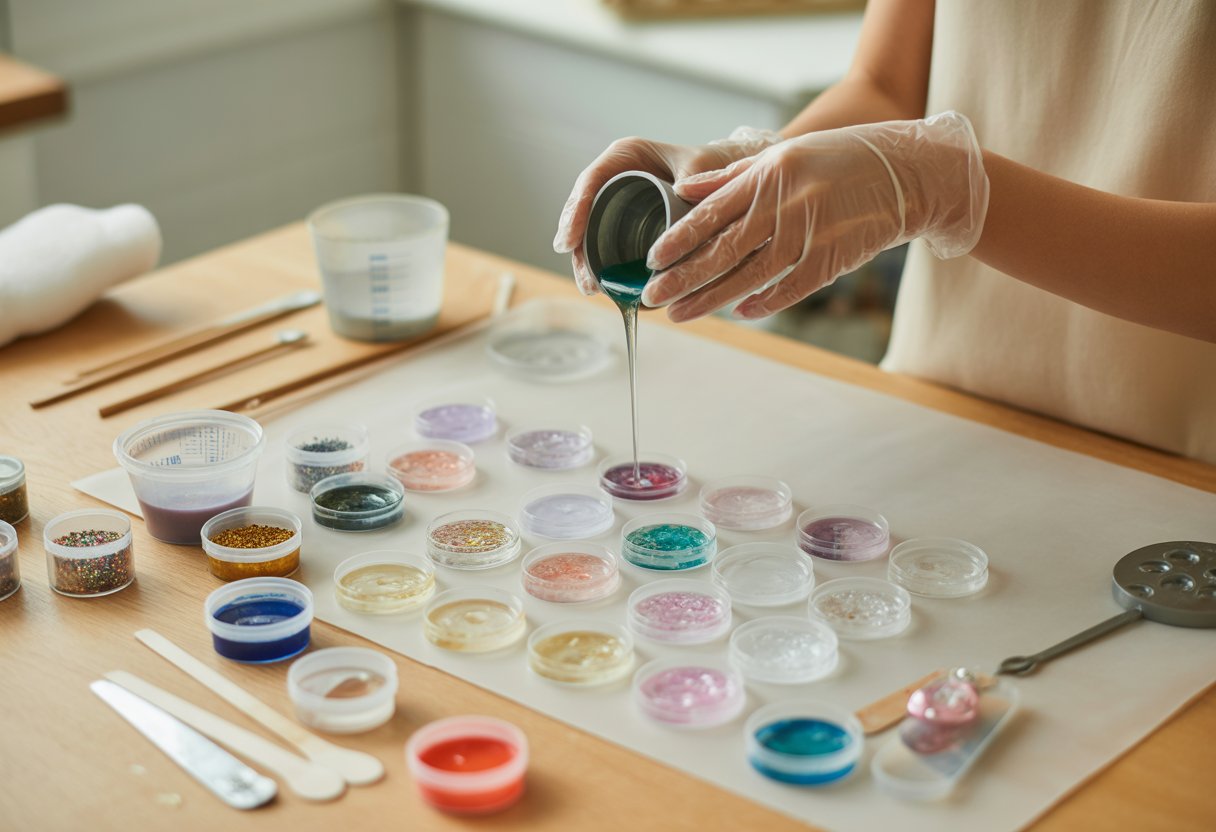
Measure and mix the resin.
Follow the resin manufacturer’s ratio precisely, typically a 1:1 or 2:1 mix. Stir slowly for at least two minutes, scraping the sides and bottom to blend thoroughly. Avoid fast stirring to reduce air bubbles.
Prepare the ashes.
In a separate small cup, measure only a pinch of ashes. A minimal amount is enough for small jewelry pieces such as pendants, rings, or charms. Too much ash can cloud the resin and affect curing.
Combine resin and ashes.
Add the ashes gently into your mixed resin and stir slowly until evenly distributed. It’s important to handle this step with care to preserve clarity and prevent trapped air.
Pour the resin mixture.
Slowly pour the resin into your chosen jewelry mold or bezel setting. For deeper molds, pour in layers, allowing each layer to partially cure before adding the next to avoid excessive heat buildup or trapped bubbles.
Remove surface bubbles.
Use a heat gun or small handheld torch on a low setting to lightly pass over the surface. This helps release any remaining air bubbles without overheating or scorching the resin.
Protect the curing resin.
Cover your mold with a clean plastic box or lid to prevent dust or hair from settling on the surface. Keep the curing area undisturbed for best results.
Cure completely.
Allow the resin to cure for the full recommended time: usually 24–48 hours for epoxy resin or a few minutes per layer under UV light resin. Always refer to your specific brand’s curing guide.
Demold and refine.
Once hardened, gently remove the cured piece from its mold. If there are rough edges, sand lightly with fine-grit sandpaper and polish with a soft cloth for a smooth finish.
Assemble your jewelry.
Attach your chosen findings such as chains, earring hooks, or ring bases using jewelry pliers or quality adhesive. Ensure all connections are secure and clean before wearing or gifting.
This process not only preserves precious memories but also results in a meaningful, durable piece of art you can treasure for years. Always work with patience, proper safety precautions, and attention to detail for the best outcome.
Conclusion
Crafting ashes in resin keepsakes is a loving, creative act that brings comfort and beauty to remembrance.
From simple jewelry to home accents and symbolic art, you can design a piece that truly honors a loved one, a friend, or a cherished animal companion.
Respect your materials, work thoughtfully, and use the best tools for results that will hold up for years to come.
FAQ: Ashes in Resin Ideas
How much ash do I need for a piece of jewelry?
Only a very small amount of ash is needed for resin jewelry. A pinch is usually enough for rings, pendants, or charms. Using less helps keep the piece clear and prevents clumping. Most jewelers recommend saving the rest for future keepsakes.
Can I use pet ashes in resin?
Yes, pet ashes can be safely added to resin to create lasting memorial keepsakes. Many people also include fur, whiskers, or even a small tag in the design. Embedding these items in resin preserves them while keeping them protected from damage. This is a meaningful way to honor a beloved pet.
How do I keep ashes from sinking?
To keep ashes in place, pour resin in layers. Start with a thin clear layer and let it partially cure, then sprinkle in the ashes before adding another layer of resin. This method suspends the ashes evenly instead of letting them sink. It also makes the design look cleaner and more professional.
Is it safe to do ashes in resin at home?
Yes, but you should take proper safety steps. Wear gloves and a mask, and work in a well-ventilated area or with an air purifier. Resin is safe to handle once fully cured, but liquid resin can cause irritation if not handled carefully. Following the product’s safety instructions is important.
What kind of resin is best?
A high-quality epoxy or UV resin made specifically for jewelry works best. Look for formulas that are UV-resistant and non-yellowing to keep the piece clear over time. Jewelry-grade resins cure with a smooth, glossy finish that highlights the ashes beautifully. Always buy from trusted brands for durability.
How long do ashes in resin keepsakes last?
With the right resin and proper technique, these keepsakes can last for decades. Epoxy and UV resins that resist yellowing and cracking hold up well over time. Keeping the jewelry away from direct sunlight and harsh chemicals will also extend its life. When cared for properly, the piece can be passed down as a family heirloom.


Deixar comentário
Este site é protegido por hCaptcha e a Política de privacidade e os Termos de serviço do hCaptcha se aplicam.