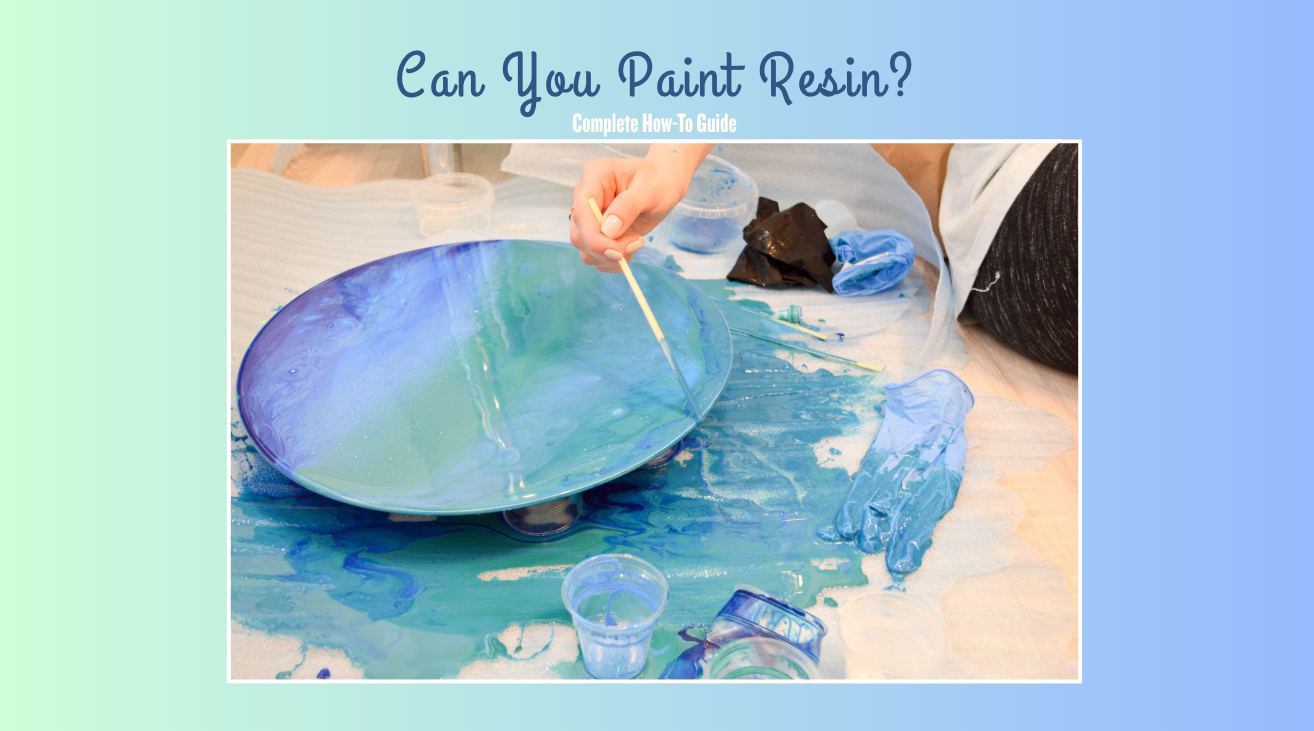
Can you paint resin? Yes, and it can look stunning when you follow the right steps. Resin has a glossy and slick surface that makes paint slide off if you skip proper prep.
But when you sand, clean, prime, and seal it correctly, you get smooth color, sharp details, and a finish that lasts.
Whether you make resin art, jewelry, coasters, figurines, or custom pieces for sale, this guide gives you a simple, expert-backed method for painting resin without cracking, peeling, or tacky surfaces.
Quick Takeaways:
- Yes, you can paint resin, but prep is the most important step.
- Sanding, cleaning, and priming make the paint stick better.
- Acrylics, spray paints, and resin-safe pigments give the best results.
- Seal your work with a clear coat or epoxy for long-term durability.
- Great for resin art, jewelry, figurines, coasters, and home decor.
Resiners Machines You May Want to Shop
Explore More


Can You Paint Resin? The Complete Answer
Resin can be painted as long as the surface is prepared correctly. The challenge comes from its shiny finish. Resin cures into a non-porous, glossy layer that does not absorb paint.
This is why many beginners see streaks, slipping, or peeling. Once you sand it to create tiny scratches, paint has something to grip.
After that, primer creates a base that holds color evenly. When done right, the finish stays smooth and stable even on small pieces like jewelry or figurines.
Painting with epoxy resin and UV resin follows the same general steps, but UV resin reacts faster to paint because it cures more quickly.
Epoxy resins often take longer to fully harden, which affects drying and sealing times.
✨ Also Read: What is Resin Paint?
The Best Types of Paint for Resin (Pros & Cons)

Not all paints are created equal. Because resin is a plastic surface, you need paints that are flexible enough to bond but durable enough to withstand touch. Here is a breakdown of the best options for your project.
1. Acrylic Paints (The All-Rounder)
Acrylic paint is the most popular choice for crafting. It is water-based, dries fast, and comes in thousands of colors.
- Best For: Hand-painting fine details, miniatures, jewelry, and adding patterns.
- Pros: It is cheap, easy to find, and non-toxic. It cleans up with water.
- Cons: It can leave brush strokes if you are not careful. It scratches easily if not sealed.
- Expert Tip: Use "heavy body" acrylics for solid coverage, or "fluid acrylics" if you want a smooth, flat finish without brush marks.
2. Spray Paint (The Smooth Operator)
If you are painting a large item or want a solid base color without any texture, spray paint is your best friend.
- Best For: Large surfaces, base coating 3D prints, and achieving a completely smooth finish.
- Pros: It is fast and provides even coverage. Many modern spray paints are formulated specifically to bond to plastic.
- Cons: You need a well-ventilated area (outdoors is best). It is hard to do detailed work.
- Expert Tip: Look for cans that specifically say "Bonds to Plastic" or "2x Coverage" on the label. Brands like Krylon Fusion or Rust-Oleum are industry standards for this.
3. Enamel Paints (The Heavy Duty Option)
Enamel paints are oil-based or solvent-based. They are what you typically see used on model cars or outdoor furniture.
- Best For: Items that will be handled a lot, like keychains or game pieces.
- Pros: They dry extremely hard and are very resistant to chipping and scratching. The finish is usually glossy and professional.
- Cons: They take a long time to dry (sometimes 24 hours or more). They have strong fumes and require solvents like paint thinner for cleanup.
4. What to Avoid: Oil Paints
While artists use oil paints on canvas, you should generally avoid using traditional oil paints on resin. Oil paints take weeks or months to cure.
Furthermore, the oils can sometimes react with the surface of the resin, leaving it perpetually sticky or tacky. Stick to acrylics or enamels for the best results.
✨ Also Read: Epoxy Resin for Beginners
Step-by-Step Guide: How to Paint Resin Like a Pro
Now that your piece is clean, sanded, and primed, you are ready to apply color. Here is the best method to ensure a smooth finish.
Tools You Will Need
- Your prepared resin piece
- Paint (Acrylic or Enamel)
- Soft synthetic brushes (taklon brushes are great for minimal brush strokes)
- A palette or paper plate
- A cup of water and paper towels
The Painting Process
1. Thin Your Paint One of the biggest mistakes people make is using thick paint straight out of the tube. This leads to clumps and visible brush strokes.
Put some paint on your palette and add a tiny drop of water (for acrylics). Mix it until it is the consistency of milk.
2. The "Two Thin Coats" Rule Apply your first coat of paint. It might look streaky or transparent.
Do not panic. This is normal. Let it dry completely. Once it is dry, apply a second thin coat. Two thin layers will always look smoother and more professional than one thick, gloopy layer.
3. Watch for Bubbles As you paint, watch out for tiny bubbles, especially if you shook the paint bottle recently. If you see a bubble, pop it gently with the tip of your brush before the paint dries.
4. Let it Dry Fully Acrylic paint dries to the touch in about 20 minutes, but it takes about 24 hours to "cure" fully. Be patient. If you handle it too much while it is soft, you might leave fingerprints in the paint.
✨ Also Read: Can You Sand Epoxy?
How to Seal Painted Resin (Stop the Chipping)

You have spent hours painting. The last thing you want is for that paint to scratch off when you put the keychain in your pocket. You must seal your work.
Option 1: Spray Sealant (Easiest)
Buy a clear coat spray. You can choose between:
- Matte: Removes shine, makes it look natural. Good for figures.
- Gloss: Makes it look wet and shiny. Good for jewelry.
- Satin: Somewhere in the middle.
Spray 2-3 thin coats, waiting 15 minutes between each coat.
Option 2: Doming (The Pro Finish)
This is the most durable method and looks incredible.
- Take your painted resin piece.
- Mix a small amount of clear epoxy resin or use clear UV resin.
- Pour a clear layer over your paint.
- Use a toothpick to guide the resin to the edges (surface tension will stop it from spilling over if you are careful).
- Cure it. This encases your paint under a layer of clear plastic, effectively making it scratch-proof and giving it a high-end 3D look.
✨Also Read: Best Methods on How to Seal Pictures for Resin Project
Troubleshooting Common Problems
Even experts run into issues. Here is how to fix them.
Problem: The paint is separating into little islands (Fish-eyes).
- Cause: The surface still has oil or mold release on it.
- Fix: Wipe the wet paint off immediately. Wash the piece again with dish soap, dry it, and wipe it down with Isopropyl Alcohol. Then prime it.
Problem: The paint feels sticky even after drying.
- Cause: You might have used a paint that reacts with the resin, or you live in a very humid climate.
- Fix: seal it with a water-based spray sealer (like Polycrylic). If that doesn't work, you may need to strip the paint and start over with acrylics.
Problem: The paint peels off like a skin.
- Cause: You didn't sand the resin. There was no "tooth" for the grip.
- Fix: There is no saving this layer. Peel it all off, sand the resin with 400 grit sandpaper, prime, and repaint.
Conclusion
Painting resin opens up a world of possibilities for your crafts. It allows you to save "failed" pours, add intricate details that molds can't capture, and create custom colors that pigments alone can't achieve.
Remember the golden rule of painting resin: Clean, Sand, Prime.
If you respect the prep work, you can turn a simple piece of plastic into a work of art that looks like metal, stone, or hand-painted porcelain.
Do not be afraid to experiment with different brushes, sponges, and layering techniques. The worst-case scenario is that you simply sand it off and try again!
Ready to start your next project? You cannot paint a masterpiece without the right canvas. Make sure you have the best quality resin and tools for your workshop:
- Upgrade your workspace: Check out the precise tools in the Resiners Machine Collections.
- Get the clearest pour: Stock up on high-quality Epoxy Resin.
- Create fast jewelry: Grab a UV Resin Kit for quick, paintable charms.
FAQs Section
Here are the most common questions people ask about painting resin.
Can I use nail polish to paint resin?
Yes! Nail polish is one of the best ways to paint small resin items. It is durable, comes in many colors, and bonds well to the smooth surface. Gel nail polish is especially good because it cures hard under a UV light, making it very scratch-resistant.
Do I really need to sand resin before painting?
Ideally, yes. If you are painting a decorative piece that will sit on a shelf and never be touched, you might get away with just using a good primer. But for anything that will be handled (like a keychain, coaster, or tray), sanding is mandatory. Without sanding, the paint will eventually chip off.
Can I paint resin while it is still wet?
Generally, no. You should not paint on top of wet resin. However, you can mix acrylic paint into the wet resin to color it, but be careful: if you add too much water-based paint to the resin, it will mess up the chemical reaction and the resin will settle soft or bendy. It is better to use resin dyes for coloring liquid resin.
How long should I wait for resin to cure before painting?
You should wait until the resin has reached a "hard cure." This usually takes 24 to 72 hours depending on the brand of resin you used. If the resin is soft enough that you can make a dent in it with your fingernail, it is too early to paint.


Leave a comment
This site is protected by hCaptcha and the hCaptcha Privacy Policy and Terms of Service apply.