Epoxy resin trays open the door to endless creative designs, ranging from decorative serving pieces to practical storage trays.
Popular styles include using pressed flowers, crafting ocean-inspired waves, adding shimmering gold flakes, or finishing with stylish handles. Other fun options include geode-like patterns, custom coasters, or blending resin with wood for a natural touch.
These trays aren’t just pretty—they’re practical too, making them perfect for serving, decorating, or gifting. If you’ve been looking for a craft that’s both easy and exciting, resin trays might be your next obsession. Ready for inspiration? Read on!
Key Takeaways
- Learn the basics of making trays with epoxy resin
- Explore different design styles and creative ideas
- Use simple techniques to achieve polished results
The right tools make crafting easier. By checking out our article: Best Heat Gun for Crafts: Every Crafter’s Must-Have Tool, you’ll know which one to choose.
Essential Materials and Tools for Epoxy Resin Trays

You’ll need the right resin, sturdy molds, and a handful of tools for mixing, pouring, and finishing safely. Each material shapes how smooth and polished your tray turns out.
Choosing the Right Epoxy Resin
Pick a resin made for crafting, not industrial use. Craft resins are low-viscosity, so they flow evenly and cure with a clear finish.
Look for UV-resistant formulas to keep yellowing at bay, especially if your tray will sit near sunlight. Heat-resistant resins handle mugs or warm dishes better.
Pay attention to cure time. Fast-curing resins finish projects quickly but give you less time to play with pigments or decorations. Slow-curing resins take longer but help reduce bubbles and let you create more detailed designs.
Selecting Silicone Molds and Trays
Silicone molds work best since they’re flexible and non-stick. You can pop out your finished tray without any struggle.
Choose food-grade silicone if you want extra safety for trays that might hold snacks or drinks. The shape of the mold decides your final design.
Shallow molds are perfect for coasters or small trays. Deep molds let you layer flowers, glitter, or stones for more dimension.
Look for molds with smooth edges—rough ones leave marks on your resin. If you want patterns, line a plain silicone tray with vinyl cutouts or stencils before pouring. Always make sure your mold is clean and dust-free.
Must-Have Tools and Safety Gear
Basic tools make everything easier. Use mixing cups with clear marks to keep resin ratios on point.
Stir with wooden sticks or silicone spatulas to avoid uneven curing. A heat gun or small torch helps pop bubbles after pouring.
Wear nitrile gloves because resin can irritate your skin. If you’re working in a small area, put on a respirator mask—the fumes sneak up on you fast.
Lay down plastic drop cloths or parchment paper to catch drips. For finishing, keep sandpaper or a rotary tool handy to smooth out rough edges.
If you want a glossy finish, add a thin topcoat of resin after sanding. These steps really make your trays look sharp.
For a dose of seasonal creativity, check out our guide: 12+ Creative Summer Resin Craft Ideas for Kids and Adults.
Creative Epoxy Resin Tray Ideas

Resin trays really pop when you play with color, texture, and embedded materials. Small tweaks—like adding natural elements or metallic flakes—can totally change the vibe.
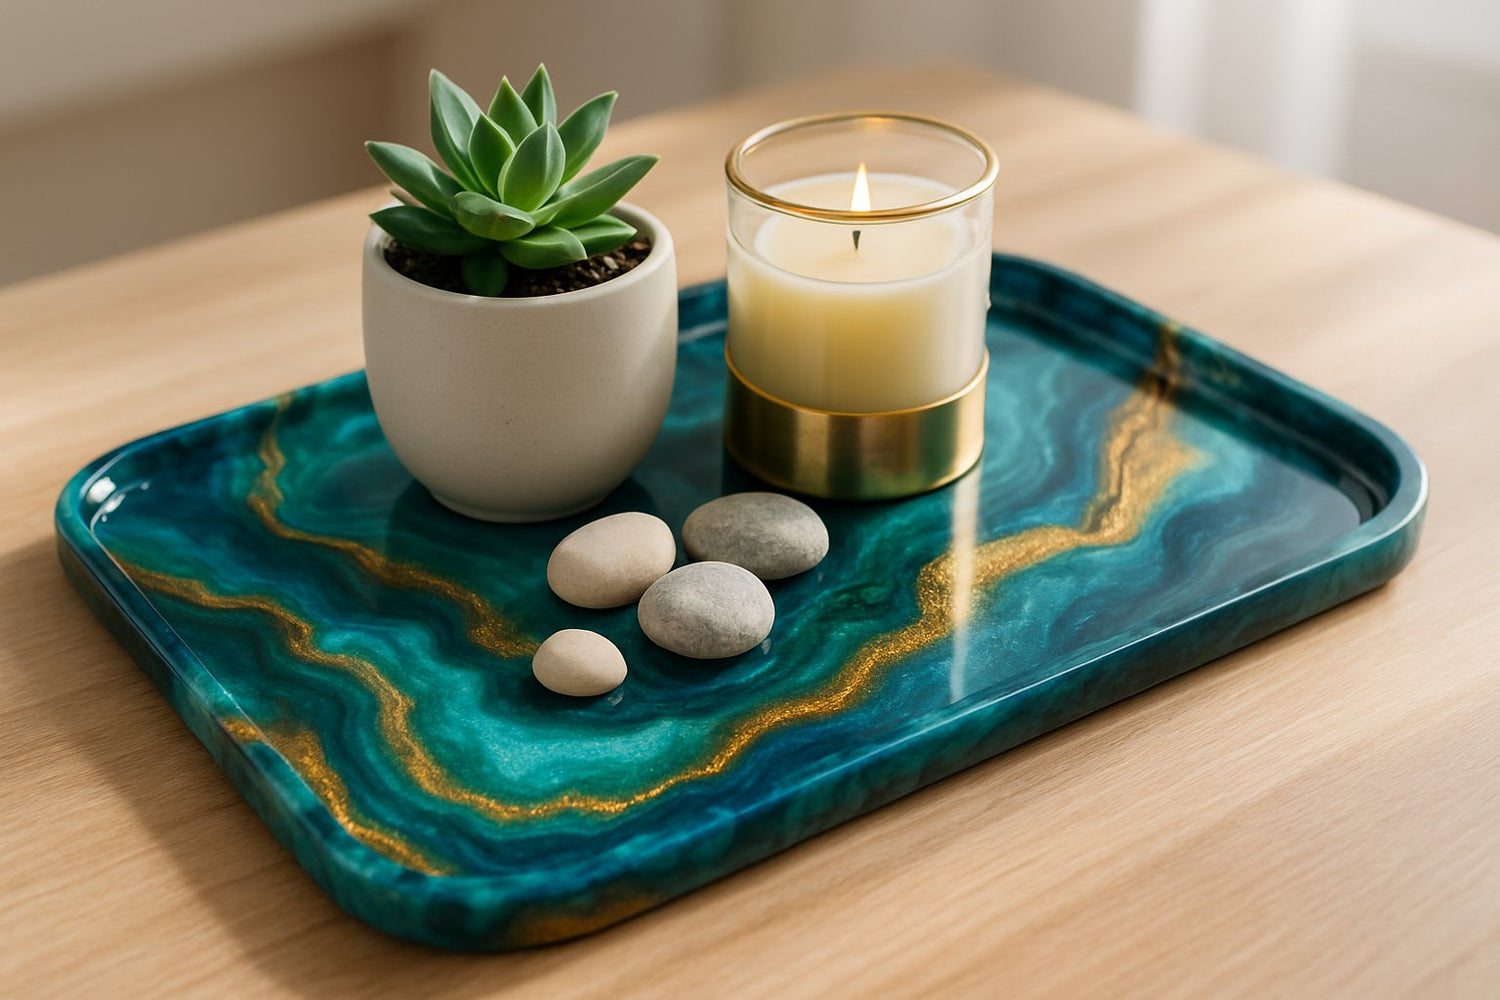
Geode-Inspired Designs
Geode trays mimic natural stone with layers of resin. Use tinted pigments, mica powders, and crushed glass for depth and sparkle.
Try darker shades near the edges and lighter ones in the center for a more realistic look. Many people add gold, silver, or copper leaf to highlight the “crystal” edges and boost contrast.
Pour in layers and let each one cure a bit before adding the next to build up that geode effect. Silicone molds shaped like geodes help beginners, since they already have those natural curves.
The finished tray looks like a slice of quartz but is light, tough, and easy to clean.
Botanical and Dried Flower Trays
Dried flowers in a resin tray bring a calming, natural vibe. Press flowers ahead of time to keep their shape, or buy pre-dried blooms made for resin art.
Lavender, daisies, and roses work great because they hold their color. Arrange flowers on the mold base before pouring resin.
Add a thin clear layer first and let it cure, then place your flowers on top to keep them from floating. This trick also helps prevent bubbles.
Mix in greenery, small leaves, or herbs like eucalyptus for extra detail. Try a pastel pink or soft blue background to make the flowers pop.
Glitter and Metallic Accents

Glitter trays are bold and fun. Mix fine glitter, chunky glitter, or metallic flakes into the resin before pouring.
Silver glitter feels modern, while gold or rose gold adds warmth. Layer the glitter instead of mixing it all at once—a clear base with glitter on top creates a floating look.
Combine metallic powders with glitter for more dimension. Press metallic foil flakes into the surface for a luxe effect.
Adjust the amount of glitter for anything from a subtle shimmer to a bold, sparkly statement piece.
Love keeping things neat and beautiful? Read our piece: Best Art Supply Organizer Ideas to Declutter Your Space for smart organization tips.
DIY Techniques and Tips for Stunning Results

Working with epoxy resin trays gives you a chance to mix colors, add details, and create a polished finish. Little steps—like layering, embedding, and curing carefully—make a huge difference in the end result.
Layering and Color Effects
Build depth by pouring in layers instead of one thick coat. Let each layer cure for several hours before adding the next.
This approach helps prevent bubbles and keeps colors from blending too much. Mix in mica powders, alcohol inks, or acrylic paint for different effects.
Mica powder gives a shimmery finish, while inks create flowing patterns. Use clear layers between colors for a more three-dimensional look.
Test color flow by pouring a small sample in a silicone cup first. Take notes on mixing ratios if you want to repeat a result later.
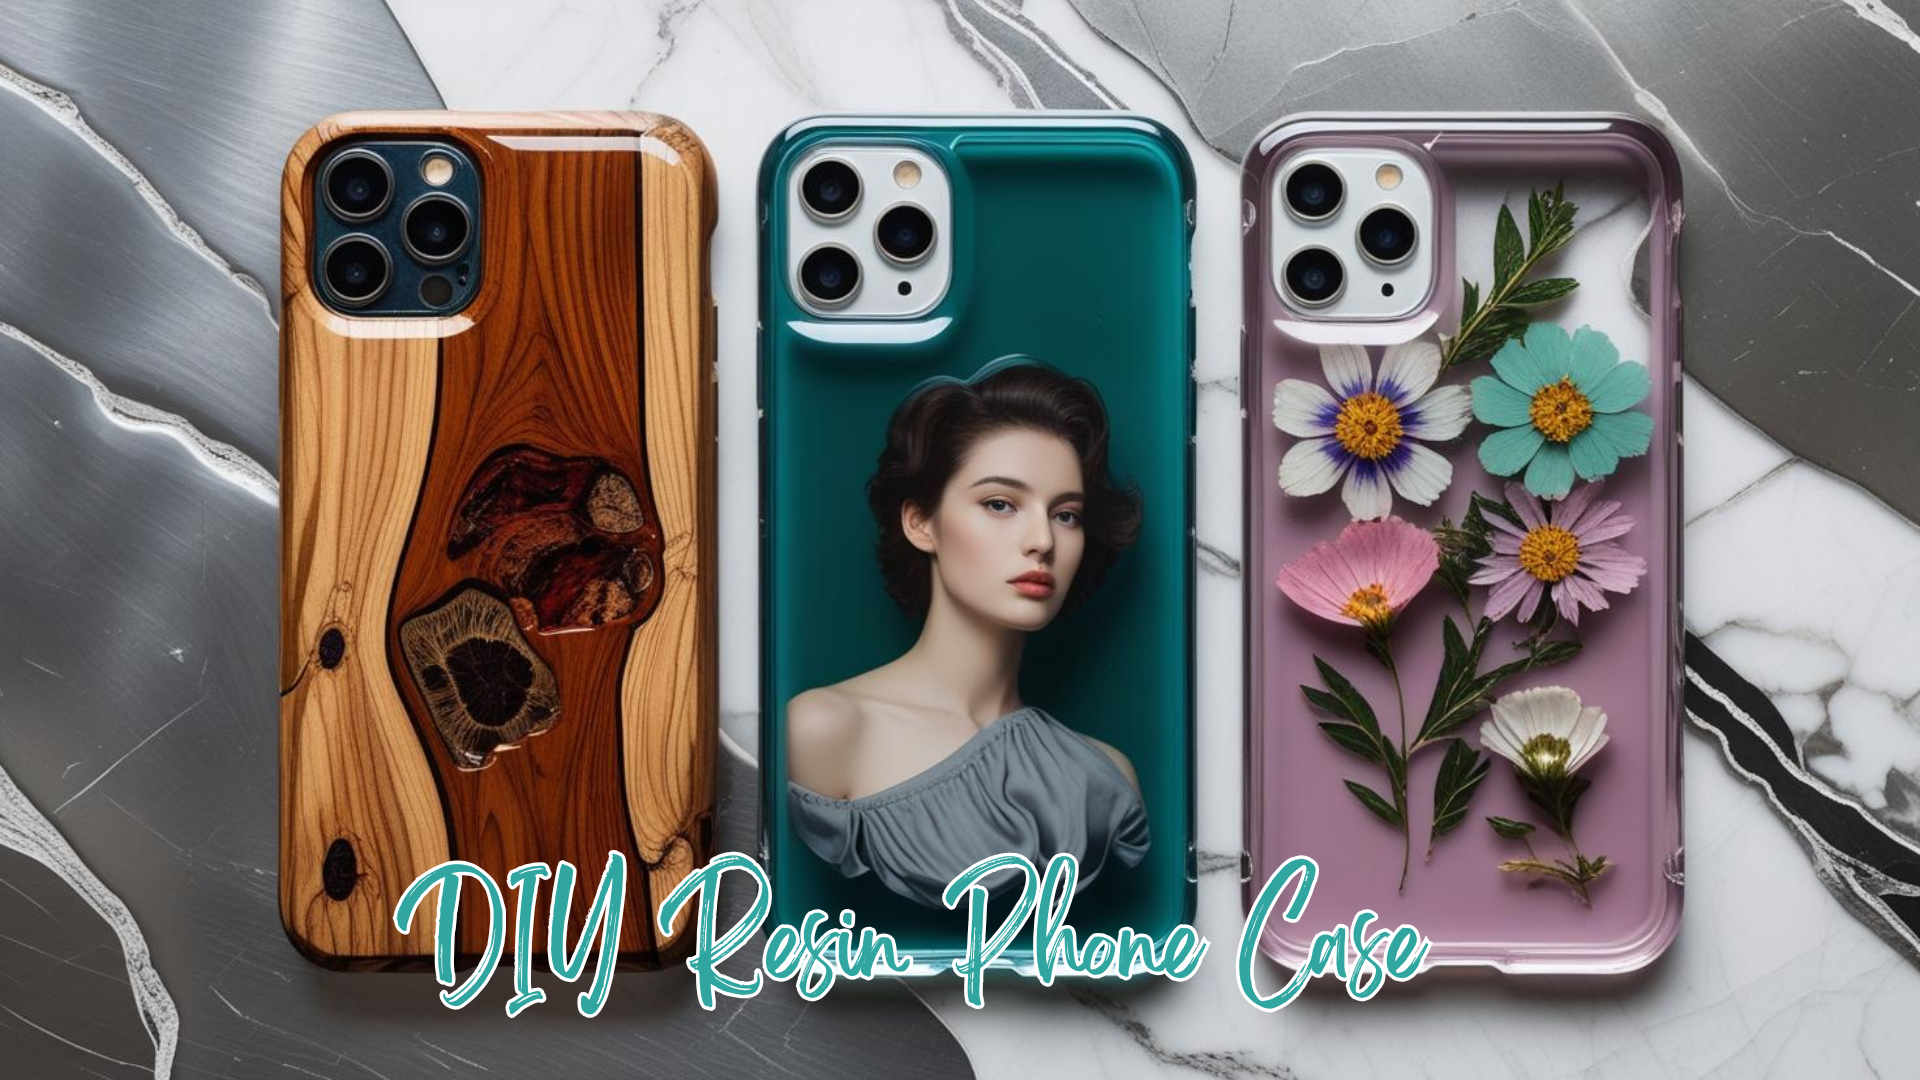
Embedding Objects and Personalization
Embedding objects makes your tray one-of-a-kind. Try dried flowers, small shells, glitter, or photos sealed with Mod Podge to keep them safe from resin.
Make sure everything is dry and sealed, or you’ll get cloudiness. Arrange objects on the first thin resin layer so they don’t sink.
Pour another clear layer over them to create a smooth surface and protect your items. Flat objects like pressed leaves or decorative paper stay put and look tidy.
Finishing and Curing Best Practices
Curing makes or breaks the final result. Place your project on a flat, dust-free surface and cover it with a box or container to block dirt.
Most resins cure within 24–72 hours, but check your brand’s instructions. Use a heat gun or torch held a few inches above the surface to pop bubbles—move fast so you don’t scorch the resin.
If you don’t have those tools, a toothpick works for small bubbles near embedded items. Once cured, sand the edges with fine-grit sandpaper for a smooth finish.
Add a final thin coat of resin for a glass-like shine if you want. Patience during curing pays off with a tray that looks sharp and holds up to daily use.
If you’re ready to try something stylish and fun, by reading our article: 15 Stunning Resin Earring Ideas To Try.
Final Thoughts
Epoxy resin trays prove that everyday items can be transformed into stunning works of art. Whether you like bold colors, natural textures, or elegant metallics, there’s an idea that fits your style.
They’re fun to make, useful around the house, and can even be thoughtful handmade gifts. The best part? No two trays ever look the same, so every piece feels one-of-a-kind. With endless designs to explore, you’ll never run out of ways to get creative.
So grab your resin kit, pick your favorite idea, and start crafting something truly unique today—you’ll be amazed at what you can create!
Looking for unique handmade presents? Explore our guide: 9 Stunning Resin Gift Ideas for Every Occasion to find the perfect idea.
Frequently Asked Questions
What are three important tips when pouring resin?
Work on a flat, level surface so the resin spreads evenly. Measure resin and hardener carefully in the right ratio to avoid sticky or soft spots.
Pour in thin layers instead of one thick layer to reduce bubbles and help curing.
What are the safety precautions for epoxy resin?
Wear gloves to protect your skin—epoxy can cause irritation or allergies. Work in a space with good airflow because fumes build up fast indoors.
Use safety glasses to avoid splashes when mixing or pouring.
Why is my resin tray bendy?
Your resin tray might stay flexible if it hasn’t cured long enough. Most epoxies need at least 24 to 72 hours to harden fully.
If the tray was poured too thin, it’ll also bend more easily.
Can you serve food on a resin tray?
Don’t put food directly on epoxy resin—most resins aren’t certified food-safe. Use the tray for wrapped snacks, plates, or cups.
If you want a food-safe surface, look for resin products labeled for direct contact.
How can you add handles to a custom resin tray?
Drill small holes in the cured tray and attach metal or wooden handles with screws. You can also set handles into the resin while it’s still curing by placing them on top of the final layer.
Make sure the handles are straight and secure before the resin hardens.
What purpose can epoxy resin be used for?
People use epoxy resin for crafts like trays, coasters, and jewelry. It gives a strong, clear, and durable finish, which makes it great for coatings and adhesives.
You’ll also find it in molds and composites. In industry, folks rely on it for flooring and as a protective layer for tools and equipment.


Leave a comment
This site is protected by hCaptcha and the hCaptcha Privacy Policy and Terms of Service apply.