Working with resin is fun and creative, but it can be frustrating when your project turns out cloudy instead of crystal clear.
Cloudy resin happens more often than you might think, and it can leave your finished piece looking dull or hazy. The good news is that most of the time, this problem is easy to fix once you know what is causing it.
Keep reading to learn why resin turns cloudy and how to make your projects shine again.
Why Is My Resin Cloudy? (Quick Answer)
Cloudy resin usually happens because of trapped air bubbles, moisture, wrong mixing ratios, or temperature problems while curing.
Sometimes dust or contamination can also cause the hazy look. The good news is that most of these issues can be fixed or prevented with a few simple steps.
The Main Reasons Why Your Resin Looks Cloudy

Understanding the root cause of cloudy resin is the first step to solving the problem. Let’s go through the most common reasons.
✨ Air Bubbles Trapped in the Resin
When you stir resin too quickly or pour it without care, air gets trapped inside. These bubbles rise and create a cloudy, milky look. Using a heat gun or torch can help pop them before the resin cures.
✨ Moisture or Humidity in the Environment
Resin and water do not mix well. If your workspace is humid or if water gets into your resin, it can react and cause a cloudy or foamy appearance. Always work in a dry, controlled environment for the clearest results.
✨ Incorrect Mixing Ratio or Poor Mixing Technique
Resin must be mixed in the right ratio of resin to hardener. Too much of one or the other can result in a cloudy finish or even sticky resin that never cures. Stir slowly and scrape the sides of your mixing cup to combine everything evenly.
✨ Temperature Problems (Too Cold or Too Hot)
If your room is too cold, resin can thicken, making it hard to release bubbles. If it is too hot, it may cure too quickly, trapping imperfections inside. Aim for a room temperature around 70–75°F (21–24°C).
✨ Using the Wrong Type of Resin for Your Project
Not all resins are the same. Some are designed for thin coatings, while others are made for deep casting. Using the wrong type can lead to cloudy results because it may not cure correctly for your project’s depth.
✨ Contamination or Dust in the Resin
Even tiny bits of dust, fingerprints, or oils from your tools can cloud resin. Always clean your molds and workspace before pouring to keep your resin crystal clear.
How to Fix Cloudy Resin
If you are staring at a cloudy resin project, do not panic. Here are practical ways to bring back clarity.
✅ Removing Bubbles Safely
Use a heat gun, torch, or even a warm water bath to gently remove bubbles. Do not overheat, or you risk burning the resin. This step alone can make a big difference in clarity.
✅ Fixing Moisture-Related Cloudiness
If moisture is the problem, you may need to sand down the top layer and re-pour a fresh coat. Always dry your molds and tools before using them.
✅ Correcting Mixing Mistakes
If you suspect the issue is poor mixing, you may need to re-pour with the correct ratio. Sometimes lightly sanding and applying a new layer of properly mixed resin can save the piece.
✅ Polishing and Sanding Cloudy Resin
When resin turns cloudy after curing, sanding and polishing can restore its shine. Start with fine-grit sandpaper and work your way up. Then polish for a glossy finish.
You May Shop


📌 Don’t forget to check out How to Polish Resin to High Gloss Fast & Easy for a simple step-by-step guide.
✅ When You Cannot Fix It (and Need to Start Over)
Sometimes resin is too far gone, especially if the mixing ratio was way off. In these cases, it is better to start fresh and apply what you have learned to avoid the same mistake.
How to Prevent Cloudy Resin Next Time

Prevention is the best cure. With a few smart habits, you can keep your resin projects crystal clear from the start.
✅ Control Your Workspace (Humidity and Temperature)
Keep your room dry and within the ideal temperature range. A stable environment helps resin cure properly and prevents cloudiness.
✅ Mix Resin the Right Way
Mix slowly and carefully to avoid bubbles. Always measure accurately according to the instructions.
📌 For more troubleshooting tips, browse Epoxy Resin Problems: How to Fix Common Issues.
✅ Use the Right Resin for the Job
Choose the resin that matches your project’s needs. Casting resin works best for thick pours, while coating resin is perfect for thin, glossy layers.
✅ Keep Tools and Molds Clean
Clean tools and molds prevent dust or oils from interfering with your resin. Even small particles can cause cloudiness.
✅ Proper Curing Practices
Give your resin enough time to cure fully. Rushing the process can cause a dull or cloudy finish.
📌 To make your cured resin shine, discover How to Make Resin Shiny Without Polish.
Common Mistakes Beginners Make With Resin
It is easy to make mistakes when starting out. Here are the most common ones that lead to cloudy resin.
- ✅ Mixing too fast and creating bubbles
- ✅ Pouring resin in a humid or cold room
- ✅ Forgetting to polish after sanding
- ✅ Using expired or low-quality resin
📌 Don’t forget to check out Resin Polish: Complete Guide for more tips on getting that perfect glossy finish.
Conclusion
Cloudy resin can be discouraging, but once you understand the causes and solutions, it is easy to fix and prevent.
By controlling your environment, mixing carefully, and polishing when needed, you will be able to enjoy clear, shiny resin projects every time.
For more helpful guides and tips on using epoxy resin, visit Resiners. And if you are ready to take your resin crafts to the next level, we recommend Resiners epoxy and UV resin, resin machines, tools, and accessories for your next project.
Frequently Asked Questions About Cloudy Resin
Why is my epoxy cloudy after sanding?
Sanding leaves tiny scratches on the surface, which can make resin look cloudy or dull. To fix this, sand with progressively finer grits and then polish the surface. Polishing removes the haze and brings back the shine.
Can you use toothpaste to polish resin?
Toothpaste can work as a very mild abrasive for small resin pieces. It can help remove light scratches and restore some shine. However, for larger projects, polishing compounds made for resin will give much better results.
How do you get perfectly clear resin?
Start by mixing slowly to avoid bubbles, and pour in a dry, clean environment. Use the correct resin type for your project and keep your curing area at the right temperature. Taking these steps will help you achieve crystal-clear resin every time.
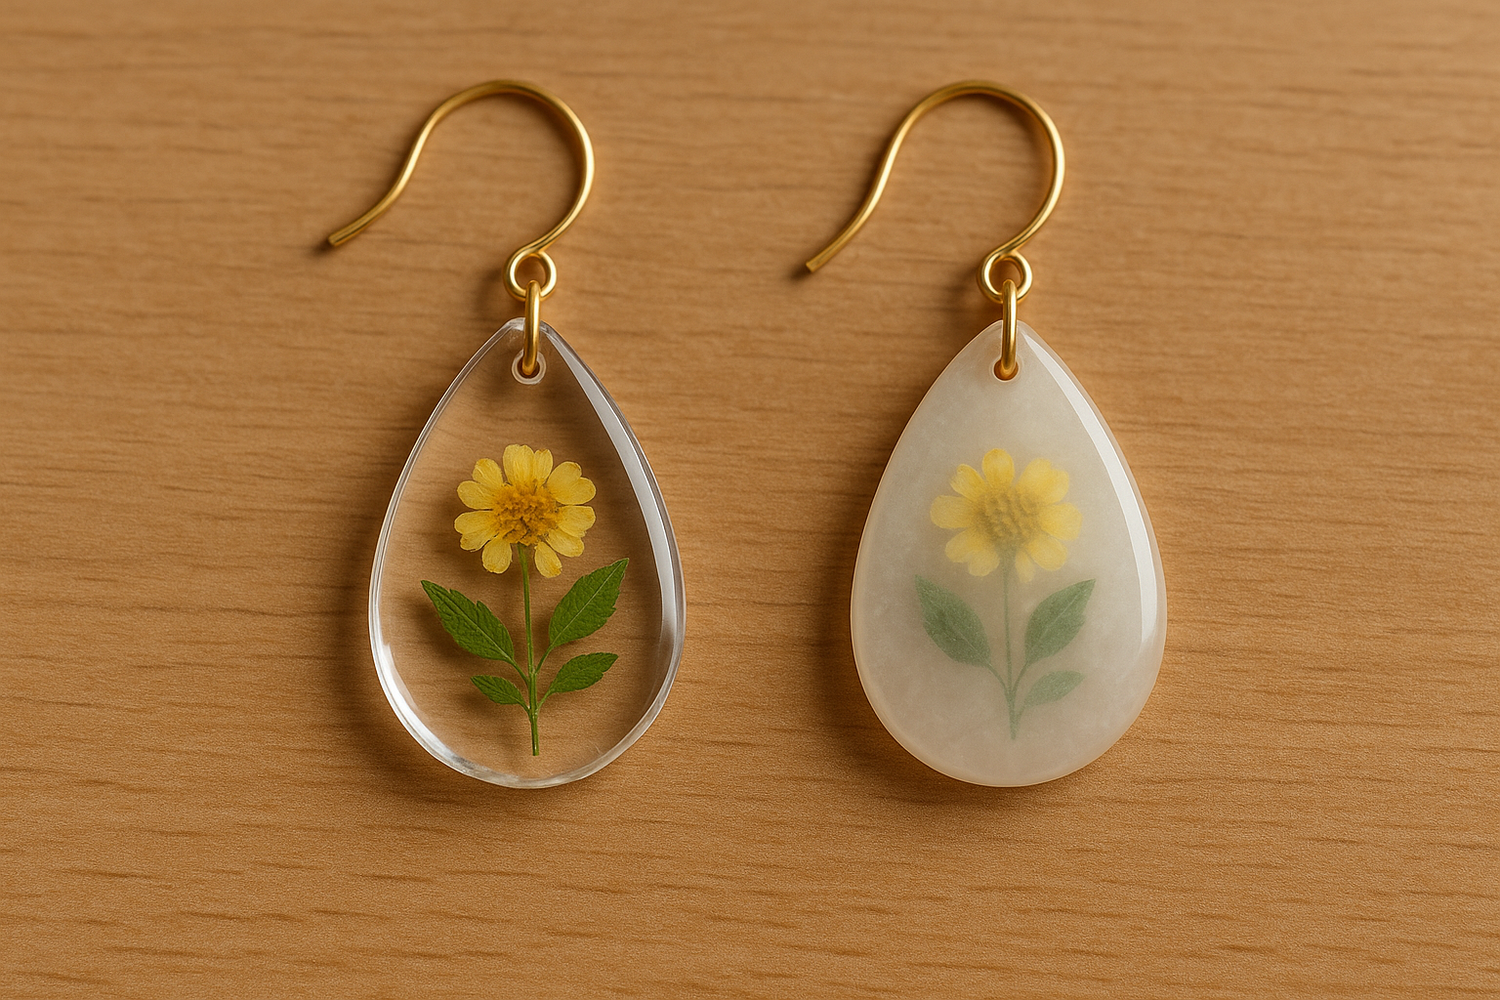
Why did my clear epoxy turn white?
Epoxy can turn white if it absorbs moisture during curing. This often happens in humid environments or if water gets into the resin mix. Keeping your workspace dry is the best way to prevent this.
How to make resin shine like glass?
After curing, sand the resin with fine-grit sandpaper and then polish it. You can also apply a thin final coat of resin for a glossy finish. With the right technique, your resin can look as shiny as glass.
How to tell if resin is not cured?
Uncured resin often feels sticky, soft, or tacky to the touch. It may also bend easily instead of being hard. If this happens, the resin may need more curing time or a corrected mixing ratio.


Leave a comment
This site is protected by hCaptcha and the hCaptcha Privacy Policy and Terms of Service apply.