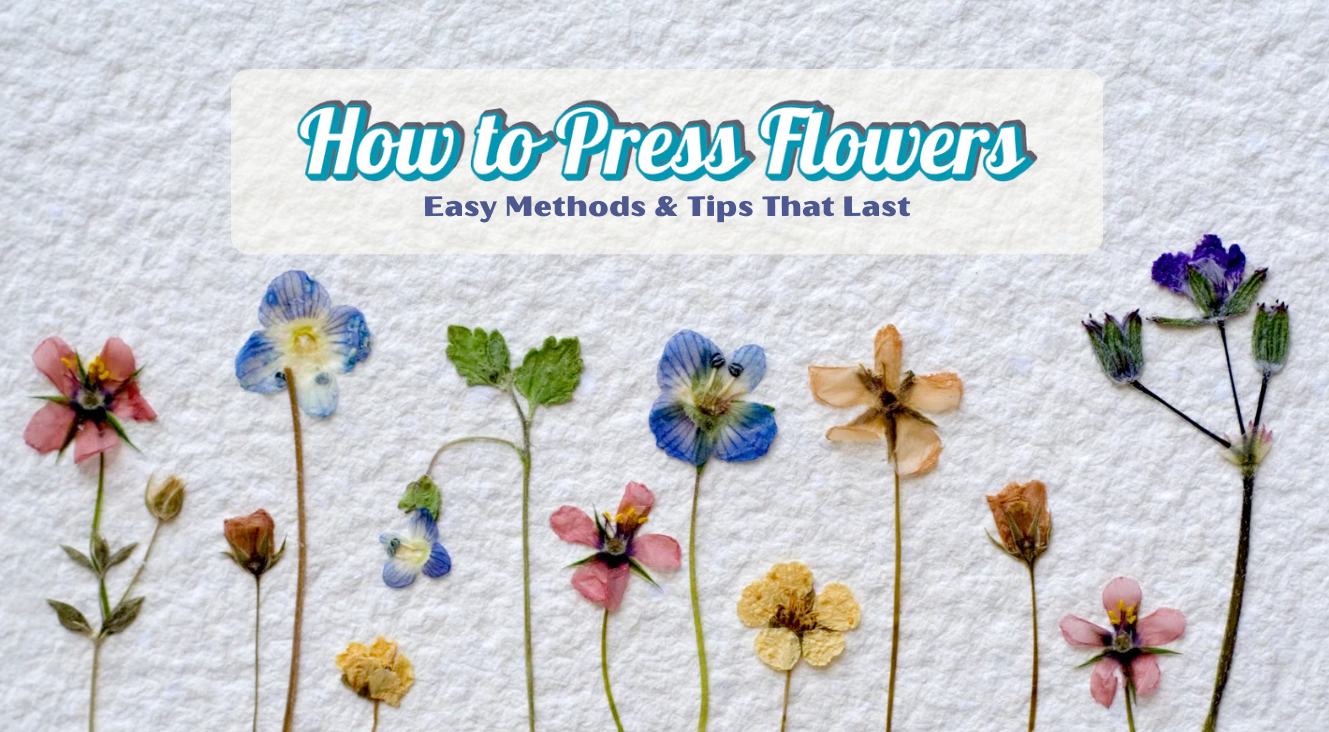
Pressing flowers lets you save beautiful blooms and turn them into lasting keepsakes. You can press flowers using simple items you already have at home, like a heavy book, paper, and patience.
This old craft works great for saving flowers from special events or making art projects.
The process is easier than most people think. You can choose from several methods that work well for beginners. Each approach has its own benefits, depending on how quickly you want results.
This guide covers everything you need to know about pressing flowers. You'll learn which flowers work best, how to keep colors bright, and fun ways to use your pressed flowers once they're ready.
Quick Insights 💡:
- Pick fresh, dry flowers (avoid wilted blooms)
- Flatten flowers between absorbent paper
- Press with a heavy book, iron, or microwave method
- Wait 1–2 weeks for traditional pressing
- Store in airtight, dry conditions to preserve color
❝Check out our collection of dried pressed flowers to begin creating beautiful crafts today!❞
Why Press Flowers?
Pressed flowers provide a simple way to preserve beautiful blooms and transform them into lasting keepsakes. You can use them for art projects, home decor, and meaningful gifts that preserve special memories.
Benefits of Pressed Flowers
When you press flowers, you remove moisture while keeping their natural color and shape. This process makes delicate petals last for years instead of days.
Key advantages include:
- Long-lasting preservation of natural beauty
- Cost-effective way to save expensive bouquets
- Eco-friendly alternative to artificial decorations
- Easy storage in books or frames
- No special equipment needed for basic methods
Pressed flowers take up very little space compared to dried flower arrangements. You can store hundreds of pressed blooms in a single book or photo album.
The flower pressing process also lets you capture flowers at their peak beauty. You can press wedding bouquets, garden favorites, or wildflowers from special trips.
✿ Also Read: How to Preserve Pressed Flowers Without Losing Color
Popular Uses for Pressed Flowers
Craft projects are one of the most common ways to use pressed flowers. You can make greeting cards, bookmarks, and framed art pieces with your pressed blooms.
Popular craft ideas:
- Handmade greeting cards and invitations
- Decorative bookmarks
- Picture frames and wall art
- Jewelry with resin coating
- Scrapbook decorations
- Phone cases and laptop covers
Many people use pressed flowers for home decor projects. You can create seasonal displays or permanent artwork for any room.
Educational projects also benefit from flower pressing. Teachers use pressed flowers for science lessons about plant parts and flower identification.
Sentimental and Decorative Value
Wedding flowers hold special meaning for many couples. When you press your bridal bouquet, you create a keepsake that lasts much longer than fresh flowers.
Pressed flowers also make thoughtful gifts. You can press flowers from a loved one's garden or favorite hiking spot to create personal presents.
Meaningful keepsake ideas:
- Wedding bouquet preservation
- Memorial flowers from funerals
- First date or anniversary flowers
- Flowers from special vacations
- Children's first picked flowers
Your pressed flower collection becomes a record of important moments and places. Each bloom tells a story about when and where you found it.
Home decorators love pressed flowers because they add natural beauty without maintenance. Unlike live plants, pressed flowers never need water or special care.
✿ Also Read: Pressed Flower Crafts Gift Ideas for Birthdays, Weddings and More
How to Press Flowers – Step-by-Step Methods
There are five primary methods for pressing and preserving flowers at home. Each method requires different amounts of time and is more effective for specific types of flowers.
Method 1 – Traditional Book Pressing

This classic method uses heavy books to flatten flowers over time. You need thick books, parchment paper or blotting paper, and flowers.
Materials needed:
- Heavy phone books or thick hardcover books
- Parchment paper or blotting paper
- Fresh flowers with stems trimmed short
Start by picking your flowers on a dry day. Remove extra leaves and cut stems to your desired length. Open your book to pages you don't mind using.
Place one sheet of parchment paper on the left page. Lay your flowers face down on the paper. Make sure flowers don't touch each other. Cover with another sheet of parchment paper.
Close the book gently. Stack more heavy books on top for extra weight. Leave flowers alone for 1-2 weeks. Check after one week to see if they feel dry and papery.
Method 2 – Using a Flower Press
A wooden flower press works more efficiently than books and yields better results. The press uses screws or straps to apply even pressure across all flowers.
How it works:
- Wooden boards create steady pressure
- Cardboard and blotting paper layers absorb moisture
- Screws let you adjust pressure as flowers dry
Layer your materials in this order: wooden board, cardboard, blotting paper, flowers, blotting paper, cardboard. Repeat for multiple layers.
Tighten the screws firmly but don't over-compress. Check after 3-4 days and tighten screws again as flowers shrink. Most flowers finish drying in 7-10 days.
This method works great if you press flowers often. The press lasts for years and handles many flowers at once.
Method 3 – Iron Pressing Method
Iron pressing creates pressed flowers in just minutes. This quick method works well when you need fast results.
Place flowers between two sheets of parchment paper. Never put flowers directly on the iron. Set your iron to low heat with no steam.
Steps to follow:
- Press iron down for 10-15 seconds
- Lift iron and move to next section
- Don't slide the iron around
- Let flowers cool for 30 seconds
- Repeat 2-3 times until flowers feel dry
Thin petals like pansies work best with this method. Thick flowers may not press evenly. The heat can change some flower colors, so test one flower first.
Method 4 – Microwave Pressing
Microwave pressing is the fastest way to press flowers. You can finish most flowers in 2-3 minutes using this method.
You need a microwave-safe flower press or two ceramic plates. Place flowers between parchment paper, then between the plates or press boards.
Microwave steps:
- Start with 30 seconds on medium power
- Let flowers cool for 30 seconds
- Check if flowers feel dry and flat
- Repeat in 15-second bursts if needed
Watch flowers carefully to prevent burning. Different flowers need different times. Delicate petals dry faster than thick stems.
This method keeps colors bright better than iron pressing. It works well for small batches of flowers.
Method 5 – Silica Gel Drying (Alternative)
Silica gel drying doesn't flatten flowers like other methods. Instead, it removes moisture while keeping the flower's natural 3D shape.
What you need:
- Silica gel crystals (craft store variety)
- Airtight container with lid
- Small brush for cleaning flowers
Pour one inch of silica gel in your container. Place flowers on top without touching each other. Gently pour more gel around and over the flowers until they are completely covered.
Seal the container tightly. Most flowers dry in 2-4 days. Thick flowers like roses take longer than thin petals.
Use a soft brush to remove gel crystals from dried flowers. This method works great for flowers you want to keep their full shape for displays or crafts.
Best Flowers for Pressing

The best flowers for pressing have flat blooms or thin petals. These flowers dry evenly and keep their color well.
Easy Flowers to Start With:
- Pansies – naturally flat with vibrant colors
- Violets – small and delicate with great color retention
- Daisies – simple shape and press beautifully
- Lavender – keeps its scent and purple color
- Ferns and small leaves – add nice texture
Flowers That Need Extra Work: • Roses - cut in half or separate petals first • Peonies - slice through the middle before pressing • Orchids - trim thick parts and flatten
Pick flowers that are not too thick or bulky. Single-layer petals work much better than flowers with many layers.
You should avoid flowers that are very thick or watery. These often turn brown or get moldy during pressing.
Tips for Better Results:
- Choose flowers in good condition
- Pick them when they are dry, not wet from rain or dew
- Press flowers soon after picking them
- Select blooms that are just opening, not fully open
Leaves and greenery make great additions to your pressed flower projects. They add nice green colors and interesting shapes to your designs.
Begin with easy flowers, such as pansies and daisies, if you are new to flower pressing. These give good results and help you learn the process.
Tips for Keeping Pressed Flowers Vibrant
Picking the right flowers makes a big difference. Fresh blooms work best when you harvest them in the morning after the dew dries.
Choose flowers with naturally strong colors:
- Red roses and marigolds
- Purple violets and pansies
- Yellow daffodils and sunflowers
- Blue delphiniums and cornflowers
Remove all moisture before pressing. Pat flowers dry with a paper towel and let them sit for 30 minutes.
Speed matters for color retention. The faster you remove moisture, the better your colors stay bright.
Store pressed flowers away from sunlight. UV rays fade colors quickly, even after pressing.
Keep your pressed flowers in a cool, dry place. Heat and humidity cause browning and color loss.
Change the absorbent paper during pressing. Wet paper makes flowers turn brown instead of keeping their original colors.
Use your pressed flowers soon after making them. Colors stay brightest in the first few months.
Best uses for vibrant pressed flowers:
- Greeting cards and bookmarks
- DIY phone cases and candles
- Framed wall art and scrapbooking
- Jewelry and resin crafts
Seal finished projects properly. Clear sealers or glass protect colors from air and light damage.
Handle pressed flowers gently with tweezers. Oils from your fingers can cause discoloration over time.
Caring for and Using Your Pressed Flowers
Proper care ensures your pressed flowers remain fresh and protected from damage caused by moisture and light. Smart storage methods and creative project ideas help you enjoy your pressed flowers for years to come.
How to Prevent Browning and Mold
Keep your pressed flowers away from direct sunlight and bright lights. UV rays cause colors to fade quickly and make petals turn brown.
Store pressed flowers in a dry, low-humidity area. Basements and bathrooms are poor choices because they create ideal conditions for mold growth. Choose a cool, dry room instead.
Key prevention tips:
- Use silica gel packets in storage containers
- Check flowers monthly for signs of mold
- Remove any damaged flowers right away
- Keep storage temperature between 60-70°F
Handle pressed flowers gently with clean, dry hands. Oils from your skin can cause staining and attract moisture.
If you notice small brown spots, remove those flowers immediately. Mold spreads fast and can ruin your entire collection.
Storing and Preserving Pressed Flowers
Use acid-free paper or cardboard for long-term storage. Regular paper contains chemicals that damage pressed flowers over time.
Layer flowers between sheets of wax paper or parchment paper. Label each sheet with the flower type and pressing date.
Best storage containers:
- Flat boxes with tight-fitting lids
- Photo storage boxes
- Plastic containers with sealed edges
- Large books you don't use often
Keep different flower types separate. Some flowers release oils that can stain others.
Place storage containers in a stable environment. Temperature changes and humidity cause pressed flowers to curl and crack.
Check your collection every few months. Replace any damaged storage materials and remove flowers that show signs of decay.
Incorporating Pressed Flowers Into Crafts
Create bookmarks by placing flowers between clear contact paper or laminating sheets. Cut into bookmark shapes and add ribbon.
Make greeting cards by gluing pressed flowers onto cardstock. Use a small amount of craft glue and press gently.
Popular craft projects:
- Picture frames with flower borders
- Candles with embedded petals
- Resin jewelry and keychains
- Phone cases with flower designs
For framed art, arrange the flowers on the background paper before gluing it in place. Take a photo first so you remember the layout.
Use tweezers to position delicate petals. Your fingers might break thin flower parts.
Seal finished projects with clear acrylic spray to protect the flowers. Test the spray on extra flowers first to ensure it doesn't alter their colors.
✿ Also Read: How to Preserve Flowers in Resin Like a Pro
Final Thought
Pressing flowers is a simple craft that anyone can learn. You only need basic supplies and a little patience to create beautiful keepsakes.
The method you choose depends on your needs. Book pressing takes longer but works well for beginners. Microwave pressing is fast but requires careful timing.
Key tips to remember:
- Pick flowers when they're dry
- Use absorbent paper
- Apply steady pressure
- Store in a cool, dry place
Your pressed flowers can last for years with proper care. They work great for cards, bookmarks, and art projects.
Popular uses include:
- Scrapbooking
- Wall art
- Jewelry making
- Gift decorations
Practice makes perfect with flower pressing. Start with easy flowers like pansies or violets before trying thicker blooms.
Dried pressed flowers offer an alternative option if you prefer to skip the pressing process. These ready-made flowers save time and give consistent results.
FAQs About How to Press Flowers
Pressing flowers requires specific timing, materials, and techniques that can significantly impact your results. Fresh flowers typically need 2-4 weeks to fully press, and the process works best with proper preparation and the right supplies.
How long does it take to press flowers in a book?
Most flowers take 2-4 weeks to press completely in a book. Thin petals like pansies and violets may be ready in 2 weeks. Thicker flowers such as roses or daisies need the full 4 weeks. You should check your flowers after 2 weeks by carefully lifting one corner.
If the flower feels papery and dry, it's ready. If it still feels soft or damp, leave it for another week.
Can you press flowers without parchment paper?
Yes, you can press flowers without parchment paper, but other materials work better. Coffee filters are an excellent substitute that absorbs moisture well.
Paper towels also work but may leave texture marks on delicate petals. Plain white paper is another option, though it doesn't absorb moisture as effectively.
Avoid using newspaper or colored paper. The ink can transfer to your flowers and stain them.
What is the best way to press fresh flowers?
Pick flowers in the late morning after the dew has dried but before the heat of the day. Choose flowers that are just beginning to open rather than fully bloomed ones.
Place flowers between parchment paper or coffee filters immediately after picking. Arrange petals so they don't overlap and lie flat.
Use heavy books or a flower press to apply even pressure. Change the absorbent paper after the first week if it feels very damp.
How to preserve fresh flowers permanently by pressing?
Start with completely dry flowers that have been pressed for at least 2-4 weeks. Handle them gently with tweezers to avoid breaking.
Store pressed flowers between acid-free paper in a dry, dark place. Moisture and light will cause them to fade or deteriorate.
For display, seal pressed flowers between glass or laminate them. This protects them from humidity and air exposure.
Properly preserved pressed flowers can last for years when kept away from direct sunlight and moisture.
Do flowers need to be dried before pressed?
No, you should press flowers while they are fresh, not after they have dried naturally. Fresh flowers contain moisture that the pressing process removes gradually.
Pre-dried flowers become too brittle and often crumble during pressing. They also lose their natural color and shape.
However, flowers should be free of surface moisture like dew or water drops before pressing. Pat them gently with a paper towel if needed.
The pressing process itself removes the internal moisture while maintaining the flower's shape and color.


Hinterlasse einen Kommentar
Diese Website ist durch hCaptcha geschützt und es gelten die allgemeinen Geschäftsbedingungen und Datenschutzbestimmungen von hCaptcha.