
Ready to try epoxy resin for beginners? You're in for a fun creative adventure! This cool medium goes from liquid to solid glass-like finish, letting you make everything from jewelry and coasters to stunning art pieces.
Maybe you've been scrolling through amazing resin creations on Instagram or just want to try something new - either way, we've got you covered with the basics. This guide breaks down what you need, how to mix it, and some easy first projects to get your creative juices flowing. Let's jump into the colorful world of resin crafting together!
Begin your resin journey with premium epoxy resin formulated for beginners. Our crystal-clear formulas offer reliable results for your first creative projects!
Epoxy Resin for Beginners: The Basics

Epoxy resin combines two parts - resin and hardener - that chemically react to transform from liquid to solid. This curing process takes 5-24 hours depending on your formula, generating heat as it hardens. Most resins start clear but accept pigments like mica powders for endless color possibilities.
Different Types of Resin for Beginners
As a beginner, you will find several resin types for different uses:
Casting Resin: This resin flows easily and cures slowly, usually in 24 hours. It works well for deep pours and molds, producing less heat and fewer bubbles.
Coating Resin: Use this for surfaces like countertops and artwork. It self-levels and creates a glossy finish but is not suitable for deep pours.
UV Resin: This UV resin cures with ultraviolet light. It is convenient for small projects but costs more for larger items.
Consider these factors when choosing resin:
- Project size and depth
- Cure time needed
- Working environment temperature
- Desired finish, such as matte or glossy
Essential Supplies and Workspace Setup
You need the right tools and a proper workspace to start with epoxy resin. Having essential supplies and a safe environment improves your results and protects your health.
Must-Have Tools and Safety Equipment
Safety Equipment:
- Nitrile gloves protect your skin from resin, which can cause irritation. Always keep extra pairs available.
- Protective eyewear shields your eyes from splashes.
- Respirator mask filters harmful vapors, especially during long projects.
Basic Tools:
- Measuring cups with clear markings
- Silicone or plastic mixing cups
- Wooden stir sticks
- Digital scale for precise measurements
- Heat gun to remove bubbles
- Plastic drop cloths to protect surfaces
Good tools help you achieve accurate resin-to-hardener ratios. Extra supplies prevent interruptions while you work.
Creating an Ideal Working Environment
Work in a well-ventilated area. Open windows or use a fan to move fumes away from your breathing zone.
Keep the temperature between 70-75°F (21-24°C) for best results. Use a space heater or air conditioner if needed.
Cover your work surface with plastic sheeting or silicone mats. Organize supplies within reach and keep your area clutter-free.
Good lighting helps you spot bubbles and imperfections. Natural light works best, but bright LED lights are also effective.
Mixing and Pouring Techniques


Mixing and pouring resin correctly is essential for a successful project. Proper techniques help you avoid uncured resin and unwanted bubbles.
Perfect Measurements and Avoiding Bubbles
Measure resin and hardener exactly as the manufacturer instructs. Most resins use a 1:1 ratio, but check the label for your product.
Mix slowly and thoroughly for 3-5 minutes, scraping the sides and bottom with your stir stick. Fast stirring adds air bubbles that can spoil your project.
Let the mixture sit for 5 minutes to let bubbles rise. Remove remaining bubbles by:
- Gently waving a heat gun or torch over the surface
- Spraying the surface with isopropyl alcohol
- Using a toothpick to pop large bubbles
Pour resin in a thin, steady stream to reduce new bubbles.
Adding Colors and Embedding Objects
Add resin dyes or pigments to create colored resin. Start with a small amount and add more as needed.
For multiple colors, mix the base resin first, divide it into separate cups, add different colors, and stir gently.
When embedding objects, pour a thin base layer and let it partially cure. Place objects on the semi-cured base, then pour more resin over them.
Lightweight objects may float, so pour in stages or use a dab of resin to hold items in place. Make sure all embedded items are completely dry to prevent bubbles.
Create with confidence using proper resin tools designed for beginners and professionals alike. Our collection includes everything from measuring cups and mixing sticks!
Simple First Projects and Troubleshooting

Start with simple projects to build your skills. These beginner-friendly creations help you gain confidence for more complex work.
Beginner-Friendly Resin Creations
Coasters are great first projects. Mix a small amount of resin, add color, and pour into silicone molds.
Keychains are easy to make with small molds. Add a metal ring before the resin cures for a finished product.
Jewelry pieces like earrings or pendants use little resin and let you practice embedding small items. Try adding dried flowers, glitter, or shells.
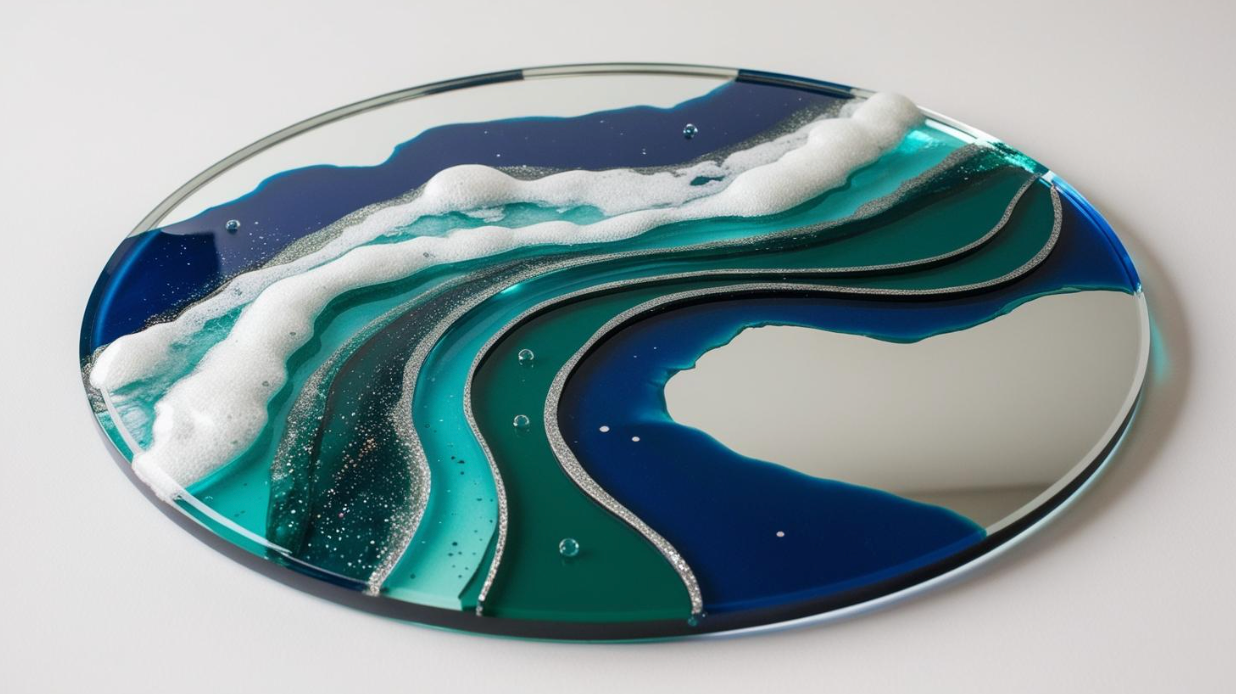
Ornaments help you practice transparency techniques. Clear resin with mica powders creates a beautiful effect.
Fixing Common Issues and Finishing Techniques
Bubbles are common. Warm your resin bottles in water (with lids on) before mixing and use a heat gun or torch to remove bubbles after pouring.
Sticky surfaces usually result from incorrect mixing ratios. Always measure carefully with appropriate tools.
Uneven curing happens in cold environments. Keep the room temperature between 70-75°F (21-24°C) while curing.
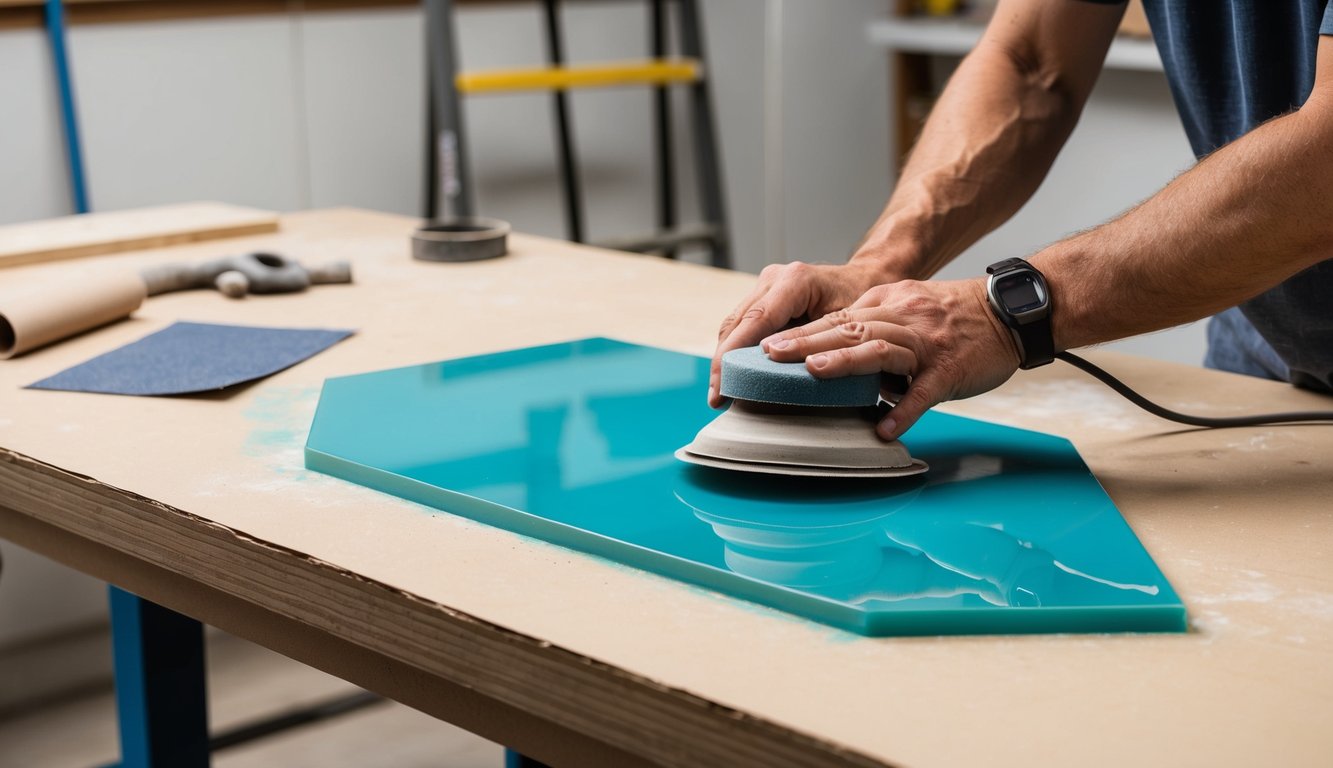
To finish, sand with finer grits (start at 600, end at 3000) and polish with compound. This process gives your projects a clear, professional look.
Eliminate bubbles and ensure perfect curing with our professional Resiners machines. These quality devices help beginners achieve flawless results from their very first pour!
Conclusion: Epoxy Resin for Beginners
Starting your journey with epoxy resin opens up a world of creative possibilities right at your fingertips. With the right supplies, proper safety gear, and the basic techniques we've covered, you're well-equipped to create your first stunning resin pieces.
Remember that every resin artist started somewhere, and practice makes perfect! Each project teaches you something new about working with this versatile medium. Ready to see what amazing things experienced resin artists are creating? Check out our collection of cool resin art for inspiration for your next project!
Frequently Asked Questions: Epoxy Resin for Beginners
Is epoxy resin good for beginners?
Epoxy resin is excellent for beginners because it typically offers a generous working time of 30-45 minutes before setting. Most craft epoxies have minimal odor and come with clear instructions designed specifically for first-time users. The glossy, glass-like finish creates professional-looking results even on simple projects like coasters or jewelry.
How do you mix epoxy resin for beginners?
Always measure your resin and hardener according to the manufacturer's ratio (typically 1:1 or 2:1) using calibrated cups or a digital scale. Mix thoroughly but gently for 3-5 minutes, scraping sides and bottom to incorporate all material without creating excess bubbles. Pour your mixed resin in a thin stream to reduce air entrapment, especially for detailed molds.
How to get bubbles out of resin?
Use a heat gun or torch held 6-8 inches above freshly-poured resin, moving continuously to pop surface bubbles without overheating. For professional results with zero bubbles, consider investing in a Resin∙ers bubble removing machine that eliminates air entrapment completely. Work in a warm room (75-85°F) and allow mixed resin to rest for 5 minutes before pouring to let initial air bubbles rise naturally.
What is the best epoxy resin for beginners?
Look for craft-grade epoxy with a simple 1:1 mixing ratio that offers self-leveling properties and longer working times (30-45 minutes). Choose non-toxic, low-odor formulations with UV stabilizers to prevent yellowing, especially for display pieces and jewelry. Start with smaller kit sizes (16oz or less) to practice techniques without wasting materials while you develop your skills.


Laisser un commentaire
Ce site est protégé par hCaptcha, et la Politique de confidentialité et les Conditions de service de hCaptcha s’appliquent.