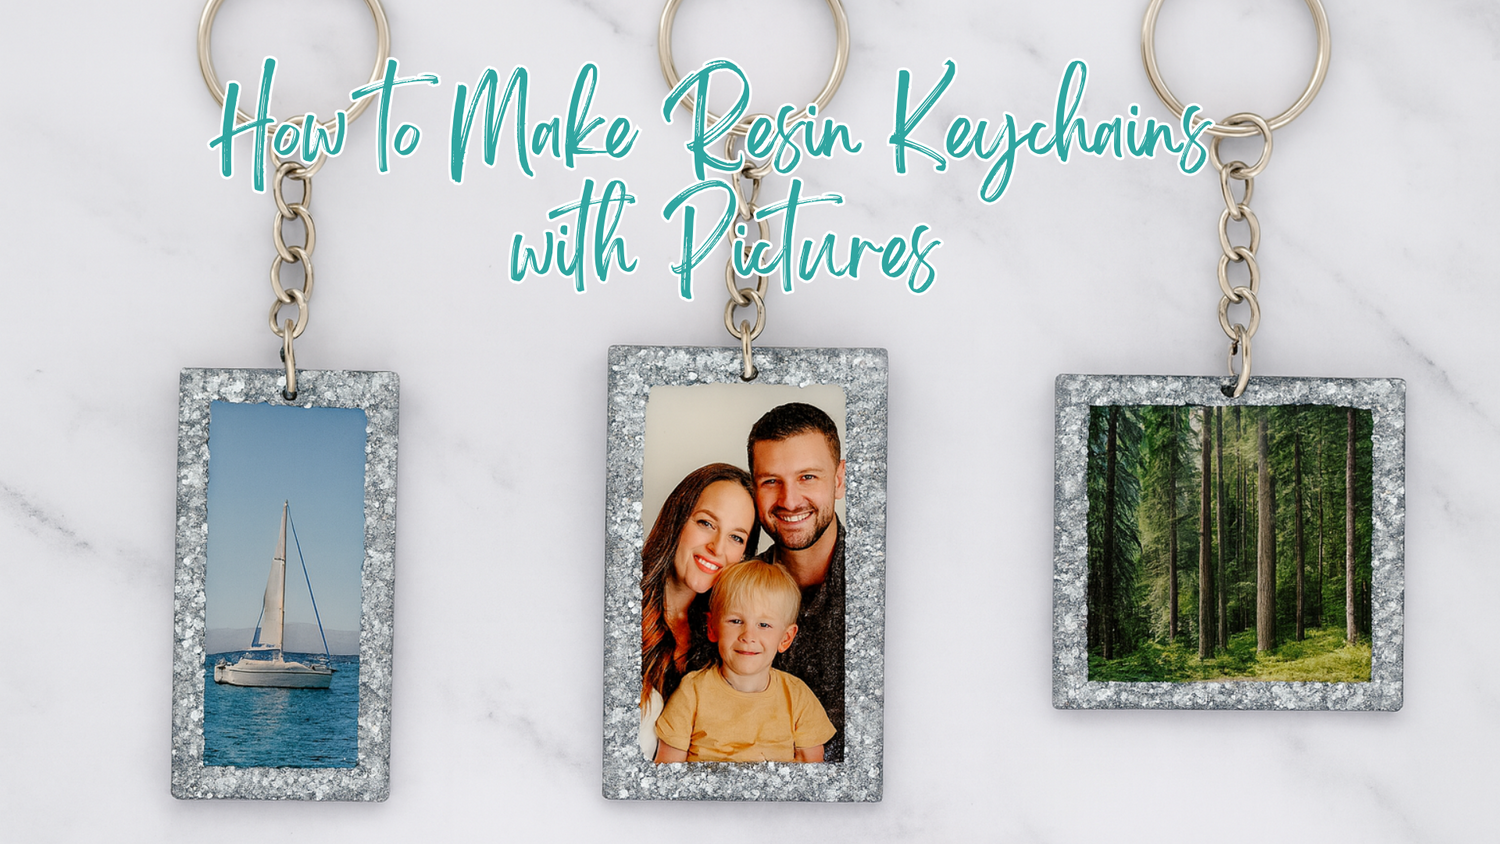
Resin keychains with pictures are a fun and creative way to turn your favorite memories into something you can carry every day.
They make thoughtful gifts, stylish accessories, and are surprisingly easy to make at home. With just a few tools and some simple steps, you can create a personalized piece that looks professional and lasts for years.
If you have been curious about how to make resin keychains with pictures, keep reading to learn everything you need to get started!
What You Need to Make Resin Keychains With Pictures
Before you begin, you will need to gather your supplies. Having everything ready makes the process smoother and less stressful.
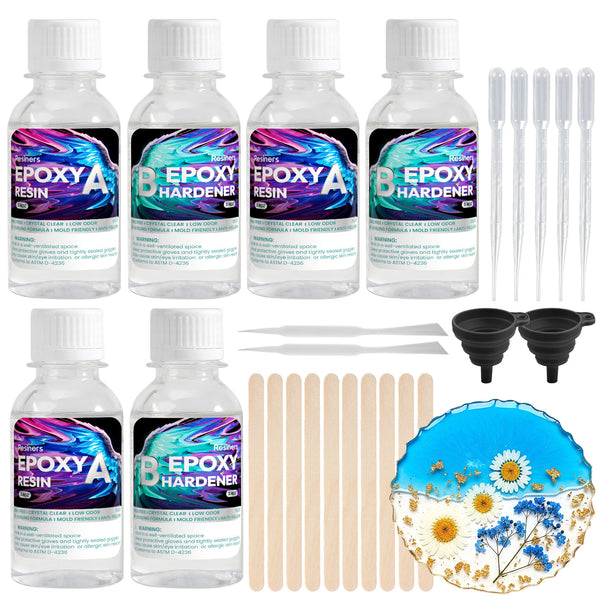
Here’s a simple uv resin checklist:
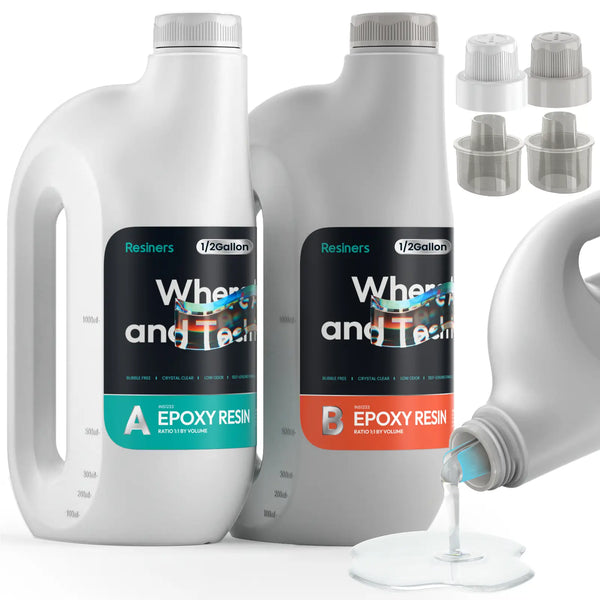
- ✅ Epoxy resin or UV resin
- ✅ Silicone keychain molds
- ✅ Keychain hardware (jump rings, chains)
- ✅ Printed pictures (laser prints are best, inkjet photos must be sealed)
- ✅ Sealant (like Mod Podge, tape, or laminating sheets)
- ✅ Mixing cups and sticks
- ✅ Gloves and protective mask
- ✅ Good ventilation (open window or fan)
- ✅ Optional: glitter, dried flowers, stickers, charms
⚠️ Safety Tip: Epoxy resin can cause skin irritation or allergic reactions. Always wear gloves, avoid direct skin contact, and work in a well-ventilated area.
📌 If you enjoy small and fun resin projects like this one, do not forget to check out Small Epoxy Resin Projects for more inspiration.
Step 1: Preparing Your Pictures for Resin Keychains

The first step in how to make resin keychains with pictures is preparing your photos. This ensures your final piece looks clear and professional.
- ✅ Resize and cut your photo so it fits inside your mold.
- ✅ Laser prints work best because they do not bleed. If you are using inkjet prints, always seal them first.
- ✅ Seal the photo with laminating sheets, clear tape, or a thin coat of Mod Podge. This prevents ink from running and protects the paper.
Step 2: Mixing and Pouring the Resin
Mixing resin is where the magic begins. This step creates the base layer that will hold your picture in place.
- ✅ Follow the instructions on your resin for correct mixing ratios.
- ✅ Stir slowly to avoid bubbles.
- ✅ Pour a thin layer into the mold first and let it sit for a few minutes before adding anything.
You May Also Shop
📌 Want to learn more about different resin projects you can try at home? Browse Epoxy Resin Projects for creative ideas.
Step 3: Adding Your Picture to Resin
Now comes the exciting part, placing your picture into the resin. This is where your keychain becomes personal and unique.
- ✅ Gently place your sealed picture face-up onto the first resin layer.
- ✅ Press lightly to remove air bubbles underneath.
- ✅ Pour another layer of resin over the photo until it is fully covered.
Step 4: Curing and Demolding Your Resin Keychain
Curing is when resin hardens and becomes crystal clear. Patience here makes all the difference in your final result.
- ✅ UV resin cures quickly under a UV lamp, often in just a few minutes.
- ✅ Epoxy resin takes longer, typically between 12 and 72 hours depending on the brand, temperature, and humidity.
- ✅ Make sure your piece is fully hardened before removing it from the mold.
- ✅ Once cured, gently pop it out of the mold.
📌 If you love experimenting with resin art, do not forget to discover Cool Resin Art for more fun projects.
Step 5: Adding Hardware and Finishing Touches
The last step in how to make resin keychains with pictures is turning your resin piece into a real keychain.
- ✅ Attach a jump ring and keychain chain to the hole in your resin piece.
- ✅ Sand rough edges with fine sandpaper for a smooth finish.
- ✅ Add charms, tassels, or glitter for extra personality.
📌 Curious about more creative resin crafts? Check out Epoxy Resin Crafts for step-by-step ideas.
Creative Ideas for Resin Keychains With Pictures

Once you have mastered the basics, try adding your own twist. Personal touches make your keychains one-of-a-kind.
- ✅ Double-sided photo keychains with two pictures.
- ✅ Add glitter, sequins, or glow-in-the-dark powder.
- ✅ Mix in dried flowers or small stickers.
- ✅ Use initials or names alongside your photos.
📌 For even more inspiration, browse Resin Color Ideas to make your keychains stand out.
Common Mistakes When Making Resin Keychains
Even beginners can make professional-looking keychains if they know what mistakes to avoid. Here are some common issues:
- ✅ Bubbles: Stir slowly and use a heat gun or lighter to pop bubbles.
- ✅ Cloudy finish: Make sure your resin is mixed properly.
- ✅ Sticky resin: This usually means the resin was not measured or mixed correctly.
- ✅ Photo fading: Always seal your picture before adding it to resin.
Is Resin Art Expensive as a Hobby?
One question many beginners ask is whether resin art is costly. The truth is, it depends on how deep you go.
- ✅ Starter kits are affordable and include everything you need.
- ✅ Buying in bulk or reusing molds saves money.
- ✅ As you improve, you might invest in more tools, but you can start small.
Conclusion
Now you have learned the simple steps for how to make resin keychains with pictures, from preparing your photos to adding the finishing touches. It is a project that is easy enough for beginners but creative enough to make each piece unique.
Whether you are making one for yourself or as a gift, you will love how personal and special these keychains can be.
For more helpful guides and tips on epoxy resin, visit Resiners, and do not forget to check out their epoxy and UV resin, resin machines, tools, and accessories to make your next resin craft even more fun.
FAQs About How to Make Resin Keychains With Pictures
Can you use Mod Podge to seal resin?
Yes, Mod Podge can be used as a sealant for photos before placing them in resin. Just apply a thin, even coat and let it dry completely to avoid smudges or cloudiness.
Do you have to laminate pictures before putting them in resin?
Laminating is not required, but it is one option for protecting your photo. You can also use clear tape or a thin layer of sealant to keep the picture safe.
What are some common resin keychain problems?
Common problems include bubbles forming, resin staying sticky, or photos fading over time. These can often be prevented by mixing resin carefully, sealing photos, and curing in the right environment.
Is resin art expensive as a hobby?
Resin art can be as affordable or as pricey as you make it. Starter kits are budget-friendly, and you can expand your collection of molds and tools as you grow more confident.


Laisser un commentaire
Ce site est protégé par hCaptcha, et la Politique de confidentialité et les Conditions de service de hCaptcha s’appliquent.