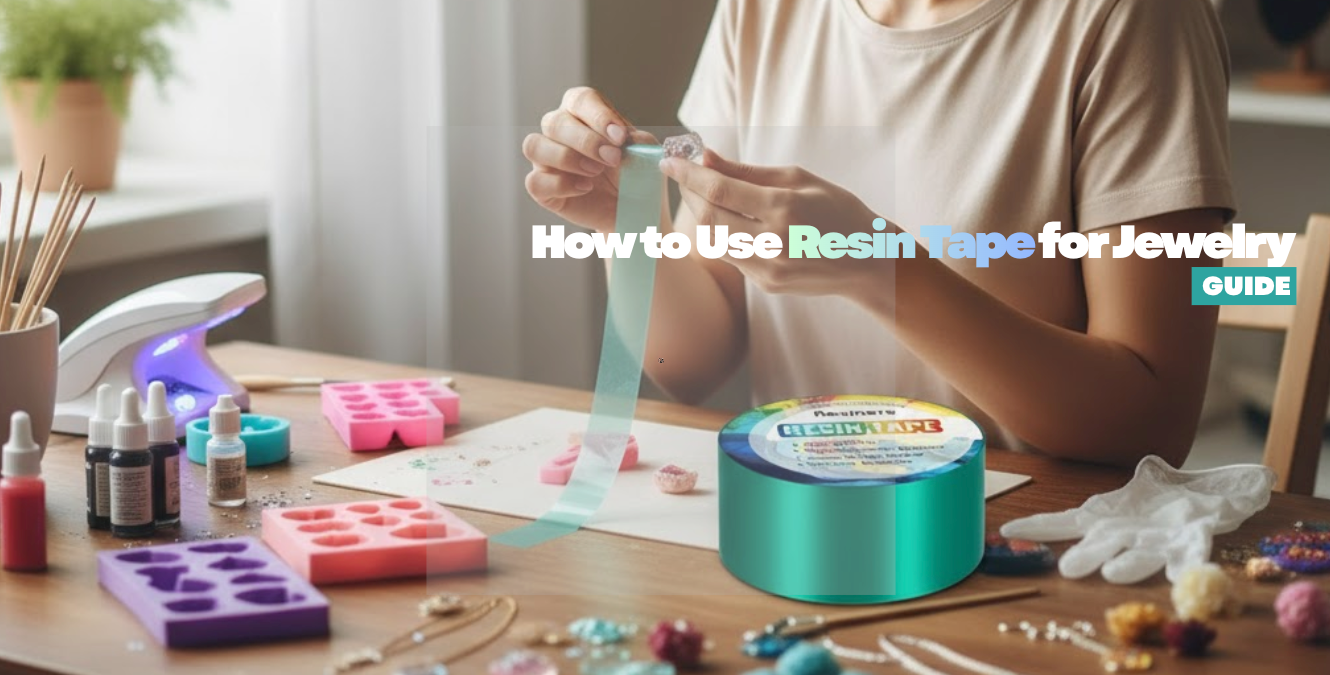
Making resin jewelry is one of the most rewarding crafts because you can create pieces that are truly personal and unique.
But if you’ve ever tried working with open-back bezels, you probably know how tricky it is to stop resin from leaking out.
That’s where resin tape comes in. Resin tape is designed to seal the back of bezels and frames so you can pour resin without worrying about sticky messes, leaks, or rough edges.
This guide explains in detail how to use resin tape for jewelry. We’ll go through materials, preparation, mixing resin, pouring without bubbles, curing, peeling off the tape, and finishing your pieces.
Along the way, you’ll learn tips to avoid common mistakes and make jewelry that looks clean, glossy, and professional.
Quick Guide 💡:
- Use resin-safe tape with strong adhesion and residue-free removal.
- Degrease bezels and press them firmly onto the tape, burnishing the seams to stop leaks.
- Mix resin slowly and carefully to reduce bubbles.
- Pour resin in a thin stream, filling the bezel to just below the edge.
- Cure resin on a flat, level surface with dust protection.
- Peel tape away slowly once fully cured for glossy, clean backs.
- Add a doming layer or polish for a high-gloss finish.
Shop Related Products
 |
 |
 |
What Is Resin Tape and Why Is It Important
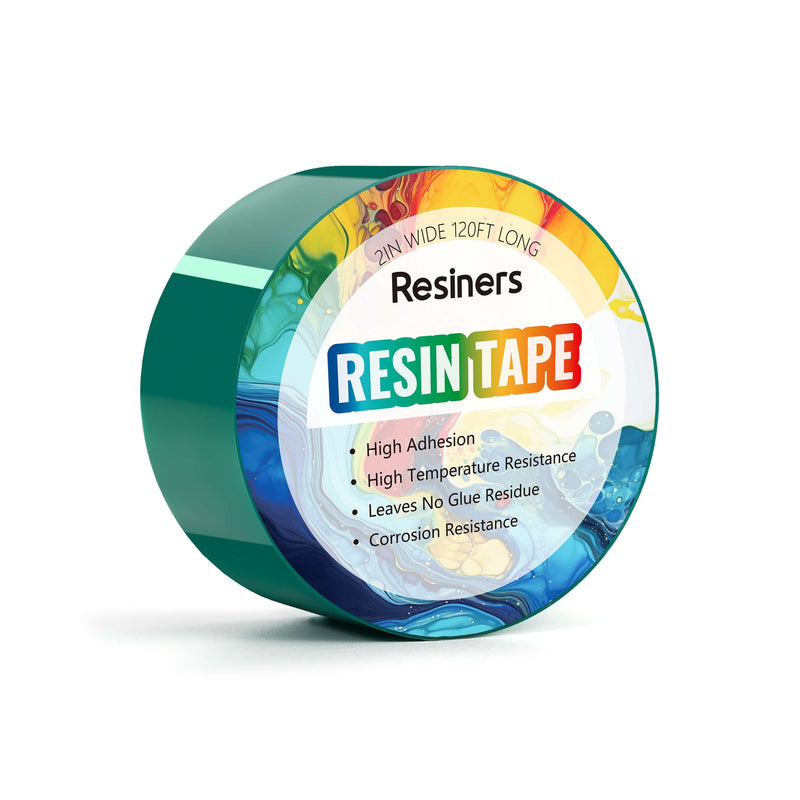
Resin tape is a non-stick adhesive film used when working with epoxy or UV resin. It’s made from polyethylene or polypropylene, which gives it a smooth, shiny surface that resin won’t bond to.
This makes it perfect for open-backed jewelry, bezels, and other resin projects that require a temporary base.
✨ Also Read: What Is Resin?
Why Resin Tape Is Better Than Regular Tape
- Regular tapes like painter’s or masking tape can react with resin, leaving residue or tearing when removed.
- Resin tape has a non-stick coating that releases easily without damaging the cured piece.
- It creates a watertight seal, preventing resin from leaking under or out of jewelry frames.
- It saves time sanding and reduces wasted materials.
Essentially, resin tape lets you work confidently with open bezels and backs without mess or cleanup problems.
✨ Also Read: Jewelry Resin Guide 2025
Tools and Materials You’ll Need
Before starting any resin jewelry project, gather everything you need ahead of time to avoid rushing during the curing process.
Here’s what you’ll need:
- Resin tape (polyethylene or epoxy non-stick tape)
- Jewelry bezels, frames, or open-backed molds
- Two-part epoxy resin (or UV resin)
- Measuring cups and mixing sticks
- Gloves, mask, and apron
- Heat gun or torch for popping bubbles
- Pigments, mica powder, glitter, or dried flowers for decoration
- Tweezers and toothpicks for detail work
Having these tools ready will make your process smoother and more enjoyable.
Shop Related Products
 |
|
 |
Step-by-Step: How to Use Resin Tape for Jewelry
Step 1: Prepare Your Workspace
Set up a clean, flat surface before handling resin. Resin can be sticky and messy, so create a controlled workspace.
Tips for setup:
- Work in a dust-free area since dust can stick to wet resin.
- Cover your surface with a silicone mat or parchment paper for easy cleanup.
- Wear gloves and an apron to protect your skin and clothes.
- Make sure the room temperature stays around 21°C to 25°C (70°F to 78°F).
A clean, level workspace ensures your resin cures evenly and without imperfections.
Step 2: Clean and Prep Your Jewelry Bezel
Your jewelry bezel or open frame should be spotless before applying tape. Any dust or oil prevents a strong seal.
Here’s how:
- Wipe the bezel with a microfiber cloth or alcohol wipe to remove dirt and oil.
- Ensure it’s completely dry.
- Inspect the bezel edges — rough or uneven edges can cause leaks.
- Grab your resin tape roll and cut a piece slightly larger than your bezel or mold.
Good preparation ensures your tape sticks evenly and stops resin from slipping through.
Step 3: Apply Resin Tape to the Back of the Jewelry
Resin tape acts as a temporary bottom for your open projects. The way you apply it determines how neat your final jewelry edges will be.
To apply correctly:
- Lay the resin tape sticky side up on your table.
- Press your jewelry bezel lightly onto it.
- Run your finger firmly along the edges of the bezel to create a tight seal.
- Check for gaps, especially around corners or curves.
📌 Expert tip: Use a silicone roller or the back of a spoon to press the bezel down for a stronger bond. This prevents resin leaks later.
Step 4: Mix and Color Your Resin
Now it’s time to prepare your resin mixture. Mixing carefully ensures a glossy, bubble-free finish.
Steps to follow:
- Read the instructions on your resin label. Most need a 1:1 ratio of resin and hardener.
- Measure equal parts using separate cups before combining them.
- Stir slowly for 3 to 5 minutes, scraping the sides and bottom of the cup.
- Mix until the liquid turns clear and uniform.
- Add colorant, glitter, or other effects once it’s fully combined.
📌 Tip: Mix slowly to reduce bubbles. If bubbles do appear, let the mixture rest for a few minutes before pouring.
Step 5: Pour Resin Carefully into the Bezel
Pouring is where precision matters most. Resin can overflow or leak if poured too quickly.
Steps for success:
- Slowly pour resin into the center of the bezel rather than to the sides.
- Use a toothpick to guide resin into small edges or corners.
- Avoid overfilling — fill slightly below the bezel edge for layered designs.
- For deeper bezels, pour in stages, allowing a few minutes between each layer.
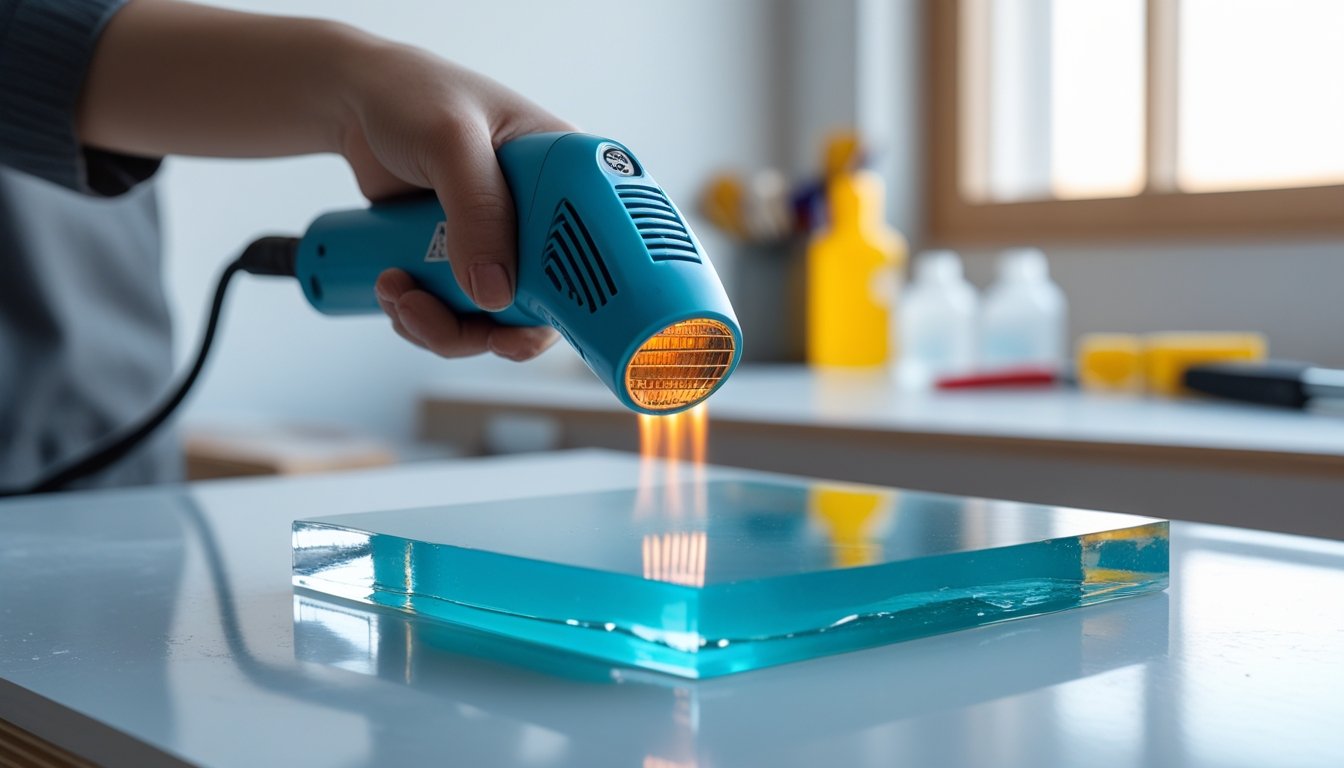
- Use a heat gun or torch from about 6 inches away to pop any surface bubbles.
📌Pro Tip: If you want to embed decorations like glitter, dried flowers, or charms, use tweezers to place them into the resin gently after the first pour. Then add more resin as needed to seal them.
Step 6: Let the Resin Cure
Curing time depends on whether you’re using UV resin or epoxy resin. Be patient during this step to avoid mishaps.
Curing instructions:
- For epoxy resin: Let it cure at room temperature for 18–24 hours.
- For UV resin: Place under a UV lamp for 2–5 minutes or until hardened.
- Always check the label since curing times differ between brands.
- Cover your project with a plastic container or box to prevent dust from settling on it.
Avoid touching or moving your jewelry until it’s fully cured. Even small disturbances can ruin the glossy finish.
Step 7: Remove the Resin Tape
This is the fun part! The reveal is satisfying when everything’s done right.
How to remove resin tape cleanly:
- Make sure the resin is completely dry and hard to the touch.
- Gently peel the tape from one corner, pulling slowly at an angle.
- The tape should come off smoothly, leaving behind a flat, shiny underside.
- If adhesive residue remains, wipe gently with rubbing alcohol.
- For stubborn tape, place the piece in the freezer for 10 minutes, then try again — the cold helps loosen adhesion.
📌 Expert Tip: Do not rush the removal process. Premature peeling can warp the design or damage the edges.
✨ Also Read: Resin Safety Guide
Tips for Perfect Results with Resin Tape
Even experienced crafters can run into mistakes. These tips help avoid the most common issues when using resin tape for jewelry.
- Always use fresh tape. Old tape loses stickiness and can cause leaks.
- Don’t pour resin right up to the bezel edge; it expands slightly as it cures.
- Use an anti-static brush before pouring to remove lint or dust.
- Keep the curing area away from direct sunlight and open windows.
- Avoid using painter’s or masking tape — they can stick permanently to resin.
- Store your resin tape in a cool, dry place to keep its adhesive fresh.
Practicing patience and attention to detail makes every piece look like it was made professionally.
5 Common Resin Tape Mistakes to Avoid
Resin tape looks simple, but it's a critical tool that stands between you and a perfect, glass-like finish. When it fails, it can be incredibly frustrating, wasting both time and expensive resin.
As crafting experts, we've seen every possible tape failure. The good news is that most issues are 100% preventable. Here are the five most common resin tape mistakes we see and the specific, expert-level fixes to solve them for good.
1. The Tape Lifts During the Pour
This is a disaster. You've set up your open-backed bezel, you start pouring, and suddenly the tape peels away, sending resin flowing across your work surface.
- The Cause: The tape's adhesive never achieved a strong bond with the bezel. This is almost always caused by microscopic contaminants on the bezel's surface, like dust, debris, or—most commonly—the natural oils from your fingerprints.
- The Expert Fix: Preparation is everything. Before applying tape, meticulously clean the bottom edge of your bezel with 90% or higher isopropyl alcohol on a lint-free cloth. Do not touch the clean edge with your bare fingers afterward. Let it air-dry completely, then press it firmly onto the tape. This clean, dry-on-dry contact creates a powerful seal that resin can't break.
2. Resin Leaks Under the Bezel Edge
This is a more subtle but equally annoying problem. You peel the tape off your cured piece only to find a thin, frustrating film of resin (an "edge lip") that seeped under the bezel walls.
- The Cause: Your tape was not perfectly sealed against the bezel's edge. Even a single hairline gap is large enough for low-viscosity resin to find its way through.
- The Expert Fix: Don't just press your bezel down. After placing it, you must burnish the edges. Take a craft stick, a plastic scraper, or even your thumbnail (through a cloth) and trace firmly around the entire inside and outside bottom edge of the bezel. You should see a visible, pressed-down seal in the tape. For extra certainty, hold it up to a light to spot any gaps.
3. The Tape Leaves a Sticky, Gummy Residue
You finally demold your beautiful piece, but the back is covered in a tacky, stubborn glue residue that ruins the finish.
- The Cause: This is a direct result of using the wrong materials. Cheap, low-quality tape (like standard office tape or some masking tapes) uses an adhesive that simply can't handle the chemical reaction of resin. The high heat generated during the exothermic curing process essentially "bakes" this inferior glue right onto your piece.
- The Expert Fix: Stop using that tape immediately. You must use tape specifically designed for resin casting. Look for polyethylene (PE) tape or products explicitly marketed as "resin tape." These tapes use a special adhesive that is designed to resist both the chemicals and the heat, guaranteeing a clean, residue-free release every time.
4. Uneven Bottom Edges or Air Gaps
When you remove the tape, you find the bottom resin edge isn't crisp and flat. Instead, it has small gaps, bubbles, or an uneven, wavy texture.
- The Cause: This is less a tape failure and more a pouring failure that the tape reveals. It's caused by pouring resin too quickly, which traps air against the tape, or by not using enough resin to "wet" the entire bottom surface evenly.
- The Expert Fix: Your first layer is the most important. Pour a very thin layer of resin slowly, letting it self-level and creep into all the corners. Use a silicone tool or a toothpick to gently nudge the resin against the entire inner edge of the bezel, ensuring it makes full contact with the tape everywhere. Pop any bubbles and let this thin layer settle before pouring the rest.
5. The Tape Rips or Shreds During Removal
You're ready for the "big reveal," but when you try to peel the tape, it rips into tiny, frustrating strips, forcing you to pick it off in pieces.
- The Cause: This happens for two reasons: the tape is too thin and low-quality, or it was stretched too tightly during application. Stretching the tape creates weak spots that are guaranteed to tear once the resin has cured and bonded to them.
- The Expert Fix: Invest in a thick, high-grade resin tape. When you apply it to your work surface or piece, lay it down flat and use a scraper or your palm to smooth it out. Do not pull it taut like you're wrapping a gift. A relaxed, flat piece of tape maintains its structural integrity and will peel off in one clean, satisfying sheet.
How to Store Resin Tape and Supplies
Keep your supplies in good condition so they’re ready for your next project.
Best practices:
- Store resin tape in a drawer or container away from heat and sunlight.
- Seal open resin containers tightly to prevent moisture exposure.
- Keep molds, tape, and bezels in dust-free bags or boxes.
- Label different resin products to track usage and shelf life.
Good organization helps you stay efficient and reduces waste.
Recommended Products for Resin Jewelry Artists
Using quality materials makes a big difference in your results. Here are dependable product collections that every jewelry maker should explore:
These collections feature high-quality materials designed for clarity, durability, and ease of use — ideal for professional-looking resin jewelry.
Conclusion
Learning how to use resin tape for jewelry takes the frustration out of working with open-back bezels. With the right tape, careful preparation, and patient curing, you can create resin jewelry that looks professional and polished.
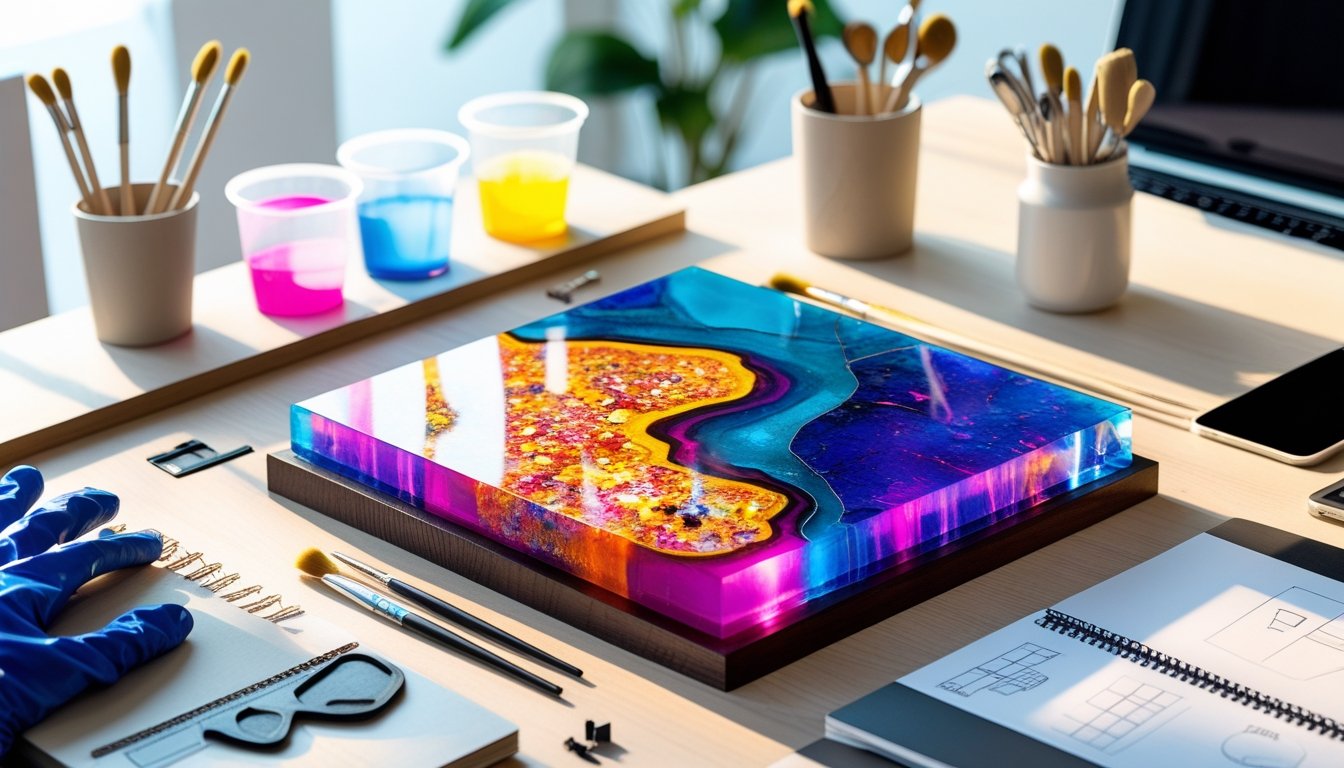
The process is simple: clean and prep bezels, apply tape securely, pour and cure resin carefully, and peel tape away for smooth finishes. Once you master the basics, adding doming layers, inclusions, and effects will elevate your jewelry-making even more.
FAQs: How to Use Resin Tape for Jewelry
What is resin tape used for?
Resin tape is used to block and shape epoxy resin during casting or coating. It creates clean edges, stops leaks, and keeps resin from sticking to your workspace. It’s heat-resistant and easy to remove without leaving residue. This makes it ideal for molds, river tables, jewelry, and art projects.
What tape is best to use with resin?
Specialized epoxy resin tape like Resiners Resin Tape is the best choice. It’s made with high-temperature adhesive that resists leaks and peels off cleanly once cured. Regular masking or painter’s tape can warp or leave residue, while resin tape keeps sharp, smooth edges on every pour.
Can I use masking tape instead of resin tape?
You can, but it’s not recommended for large or thick pours. Masking tape may absorb resin, curl, or leave sticky marks when removed. Resin tape is designed to handle heat and prevent seepage, so it delivers a cleaner edge and saves time during cleanup. For best results, always use tape made specifically for epoxy projects.
What tape will resin not stick to?
Resin does not stick to Teflon, polyethylene, or polypropylene surfaces. That’s why resin tape and some types of packing tape work well—they have non-stick coatings. Avoid paper or cloth-based tapes since resin can bond permanently to them. Choosing the right non-stick tape makes demolding faster and cleaner.
How to use epoxy resin tape?
Clean your mold or surface first, then apply resin tape where you want a barrier or edge. Press it firmly to seal gaps, pour your resin, and let it cure completely. Once cured, peel off the tape slowly for a smooth, professional edge. Always remove the tape before the resin becomes rock-hard to prevent chipping.


Laisser un commentaire
Ce site est protégé par hCaptcha, et la Politique de confidentialité et les Conditions de service de hCaptcha s’appliquent.