
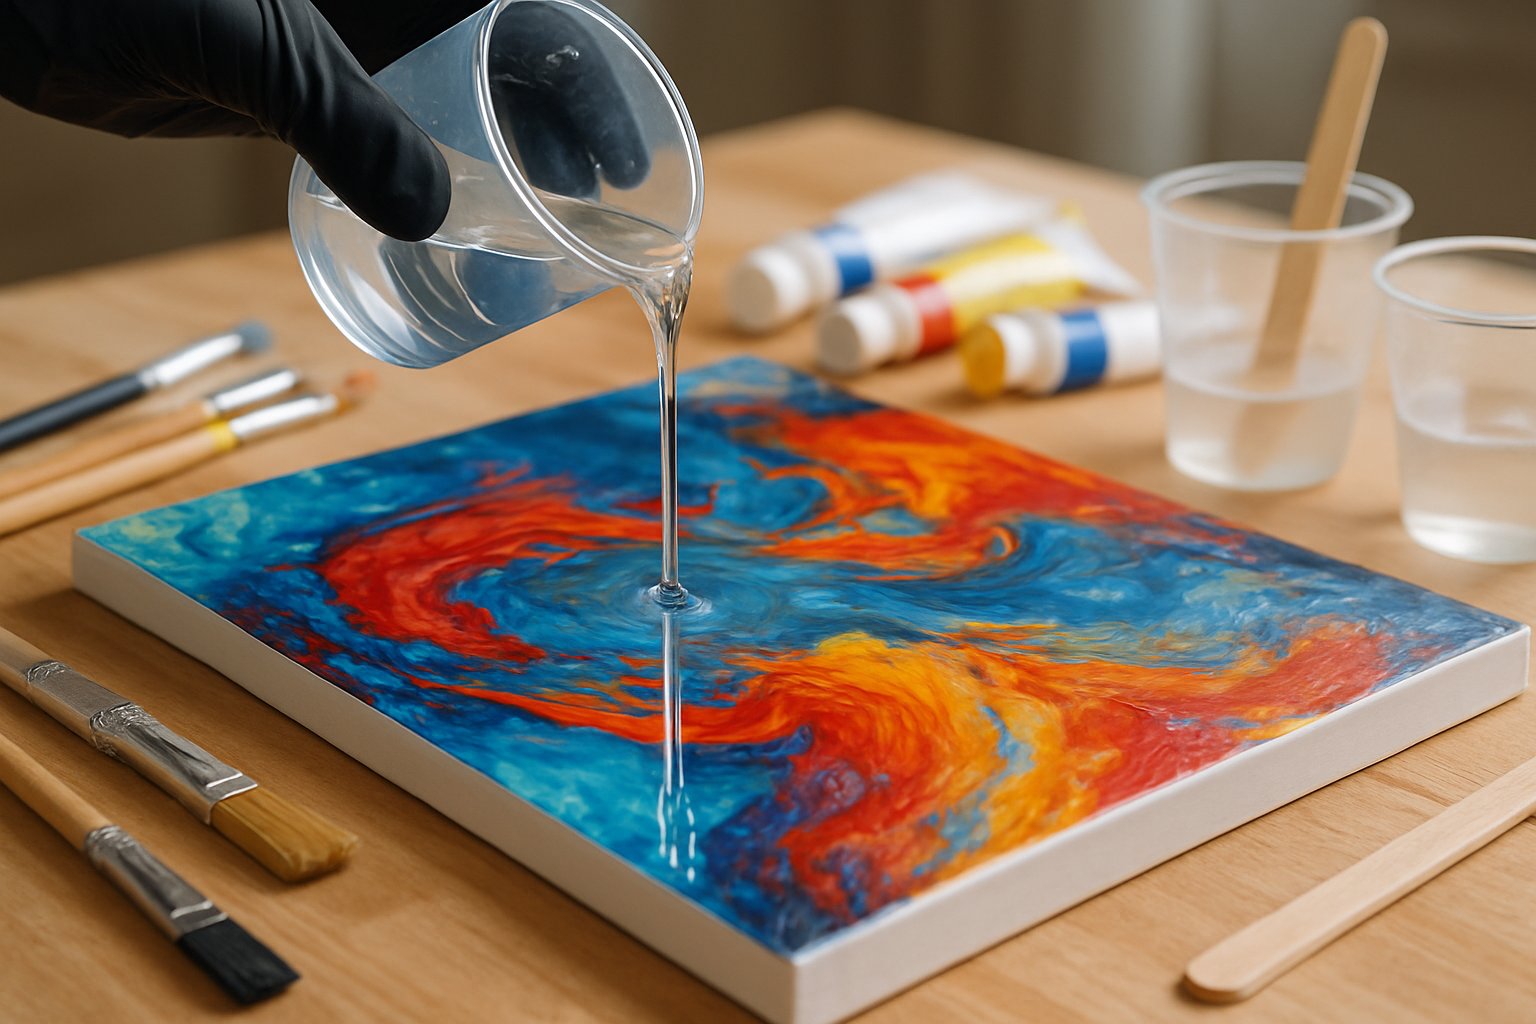
You’ve searched for the best resin bubble removal machine, hoping for flawless results—only to be stuck with stubborn bubbles ruining hours of work.
It’s heartbreaking when little pits and cloudy spots show up after all that mixing and pouring. That wasted resin and imperfect finish can feel like a creative setback.
The right machine doesn’t just remove bubbles—it gives your resin a spa-level treatment for glass-smooth clarity and pro-level shine. Imagine saving resin, time, and achieving flawless pours every single time.
Want to know how the best machine for your resin art? Keep reading—you’ll love what’s next!
Why Bubbles Hurt Finish and Waste Resin
Air bubbles may seem minor, but they severely impact your resin outcomes:
Clarity and appearance: Bubbles create cloudy spots or pinholes under the cured surface, ruining the aesthetics of your work, especially clear finishes or art pieces.
Structural strength Air pockets create voids that can weaken the cured resin, reducing mechanical durability and long-term stability.
Material waste and cost increase: Each visible bubble might mean you need to recoat or redo the pour, doubling resin use and adding extra curing time and materials.
Surface imperfections that stick around: Bubbles that rise late due to out‑gassing from porous substrates like wood—won’t pop naturally and get trapped, leading to shallow craters or pinholes.
Bubbling during mixing adds more issues: Aggressive stirring or mixing cold, viscous resin traps more air. This creates microbubbles that float slowly, often curing before they reach the surface.
The 3 Best Resin Bubble Removal Machines You Need To Buy
A powerful resin bubble remover instantly lifts trapped air for crystal-clear curing—saving time, materials, and finish integrity. Here’s how each Resiners model delivers professional-level results:
1. Resiners® AirLess Lite Bubble Removal Machine: Compact Beginner Model

Lightweight and user-friendly, the AirLess Lite features a 2.23 L chamber for standard mixing cups and operates at a strong−93 kPa vacuum—perfect for small pours. It’s built with durable polycarbonate and stays quietly below 56 dB.
Operated manually, it has a single-cycle design: start the vacuum, stop, then open the valve to release. Its universal voltage (110–240 V) and price tag make it ideal for hobbyists stepping into resin art.
2. Resiners® AirLess Resin Bubble Remover Machine: Powerful Vacuum

Stepping up in performance, the standard AirLess model brings a high-speed 12 L/min vacuum and −95 kPa pressure, removing 99% of bubbles in just 5–9 minutes.
The one-touch touchscreen offers dual-timer modes and live vacuum pressure display. Its robust safety build features a silicone seal and high-strength PC shell, fitting 500 ml cups and supporting global voltage—offering hobbyists precision speed at mid-range cost.
3. Resiners® AirLess Pro Resin Bubble Remover Machine: Faster, Bigger & Better

For professionals or large-batch users, the AirLess Pro gives industry-leading 20 L/min suction and a powerful −99 kPa vacuum via Quad-Pump tech, achieving 99.99% bubble removal in approx. 3 minutes. Its expansive 3.2 L chamber fits larger molds or multiple cups.
The touchscreen offers 5/10/15-minute settings, real-time vacuum monitoring, and it’s built with a sealed PC body, operates under 62 dB, and won a 2024 Red Dot Design Award—blending performance with aesthetics.
How To Choose Which Bubble Removal Machine Is for You
Match the right Resiners model to your crafting needs and budget for perfect resin results:
For Small Crafts
The AirLess Lite is ideal for beginners and light resin users. Its compact 2.23 L chamber fits under‑500 ml cups, while the powerful −93 kPa UltraVacu vacuum removes the majority of bubbles quietly (≤56 dB). Manual operation and global voltage support make it a simple, travel‑ready choice.
For Regular Crafters
The AirLess steps things up with a 12 L/min vacuum and stronger −95 kPa suction that clears 99 % of bubbles in just 5–9 minutes. The one-click touchscreen with real-time pressure display makes it easy and precise. Suited for daily crafters needing fast, reliable results.
For Frequent Large Batches
Built for professionals, the AirLess Pro delivers a massive 20 L/min Quad-Pump vacuum and −99 kPa pressure, achieving near-complete bubble removal (99.99%) in about 3 minutes.
Its larger 3.2 L chamber handles big pours or multiple cups, with 5/10/15-minute smart timing, touchscreen display, low noise (<62 dB), and durable PC build—a top-tier industrial solution.
Tips for 99 % Bubble Removal

Achieving near-perfect resin clarity requires more than just a vacuum—these pro tips take your bubble removal from good to flawless.
Two Cycles, Heat Resin, Bleed Gap
-
Run two vacuum cycles: Pull vacuum until bubbling slows, then briefly release pressure to collapse remaining microbubbles. Repeat the cycle once more to ensure thorough degassing.
-
Warm resin before vacuuming: Gently warming your mixed resin (around 35–40 °C) reduces viscosity so even tiny bubbles rise faster.
- Leave a bleed gap: Don’t fill the cup to the brim—resin can foam and expand in a vacuum. Leaving a ~10 mm gap prevents spills and aids pressure release.
Use Torch or Alcohol Spray to Finish
-
Pass a butane torch or heat gun over the surface: A quick back-and-forth sweep pops surface bubbles and smooths resin without overheating.
-
Spritz with isopropyl alcohol (70–91%): A light mist breaks surface tension so bubbles disappear instantly. Let it evaporate fully—safe and efficient .
- Optional breath or straw trick: For small pieces or delicate details, gently blowing via straw adds CO₂ to burst bubbles without heat.
Pour in Layers & Seal Surfaces
-
Pour thin layers, letting small pours sit for a minute before adding more—this gives time for bubbles to escape .
- Seal porous materials (like wood or fabric) first to prevent post-pour off-gassing that releases air later.
Make sure to keep your space clean while you craft! Check out our non-slip desk mat collection and leather desk mat collection to find the mat that will suit your needs!
Final Thoughts
Choosing the right bubble remover and pairing it with smart technique guarantees crystal-clear resin and zero waste.
Warm your mix, leave space, and run two quick vacuum cycles to pull out deep air pockets; finish with a light torch pass or an isopropyl-alcohol spritz and surface imperfections vanish.
In less than ten minutes you move from foamy cup to glass-like cast, saving time, materials, and customer trust.
Add careful temperature control and low-viscosity, bubble-smart formulations to stretch pot life and improve flow. Master these habits, and every pour looks showroom-ready the first time—always.
Ready for the next pour?
Level up with Resiners crystal clear epoxy resin for lasting transparency, precision resin molds that release cleanly, and the vibrant mica powder collection that infuses shimmering depth—browse the collections and start creating today.
Frequently Asked Questions
1. What is the best way to remove bubbles from resin?
The most effective method combines pre-warming the resin, vacuum degassing, and a quick surface pass with a torch or isopropyl alcohol. Warming (to ~35–40 °C) lowers viscosity so bubbles rise faster.
Vacuum until bubbling slows, briefly release to collapse microbubbles, then finish with a torch or fine mist of high-purity alcohol.
2. How much vacuum is needed to remove bubbles from resin?
Aim for around −95 kPa (29 in Hg) for effective degassing. This level drastically reduces dissolved gases and works well for most hobby-grade resin.
3. Can you use 70% isopropyl alcohol to pop resin bubbles?
No. 70% IPA contains too much water and can interfere with resin cure. Instead, use 90–91% IPA for safe, effective bubble popping with minimal residue.
4. Why is my resin full of tiny bubbles?
Tiny bubbles often result from high viscosity, cold temperature, or porous molds. Viscous resin traps microbubbles that can’t rise before curing. Pre-warming resin and molds helps, as does slow, careful mixing and proper vacuuming.
5. How long should you vacuum resin?
Vacuum until bubbling subsides—typically 5 to 15 minutes. For thick or cold mixes, you may need two shorter cycles or up to 10 minutes total in a chamber. Watch for the resin to swell and then collapse before stopping.


Leave a comment
This site is protected by hCaptcha and the hCaptcha Privacy Policy and Terms of Service apply.