You're not alone if you're trying to organize art supplies in a small space. Keeping your art area neat is possible, even when you don’t have much room, by grouping similar supplies and using smart storage options like bins and zip-lock bags.
You can turn a cluttered corner into a practical and inspiring studio with a few easy changes.
You don't need fancy tools or a big budget to get started. Whether you use shelves, crates, or fabric bins, you can find a way to store everything you need and still have space to work.
How to Organize Art Supplies in a Small Space: 15 Storage Ideas That Work
You can keep art supplies neat and easy to find with simple storage ideas. Using space-saving tools, creative containers, and regular decluttering will help you maximize any small area.
1. Use a Rolling Utility Cart
A rolling utility cart is one of the best ways to organize art supplies if you have limited space. Select a cart with two or three tiers to provide dedicated space for paints, brushes, sketchbooks, and other essentials.

[ 🛒 Resiners® Resin Craft Organizer Cart with Wheels ]
You can roll the cart out when you need it and tuck it out of the way when you are done. Use small bins or cups in each tier to separate supplies by type. Labeling the bins helps keep everything in order.
This kind of cart works well for both kids and adults. It is easy to move around your home or classroom.
2. Hang a Pegboard on the Wall
Pegboards can help you use your wall space for storage. Hang a pegboard close to your work area and use hooks or baskets to hold scissors, markers, rulers, or other tools.
You can put all your tools where you will see them, making it faster to find what you need. Pegboards come in different sizes, so you can choose one that fits your space.
Try arranging your tools often to keep the setup working. This method is useful in homes, offices, and classrooms.
3. Invest in Stackable Clear Bins
Clear bins make it easy to see your supplies without opening each container. Get stackable bins to use vertical space on shelves or in a closet.
Keep items sorted by type, such as beads in one bin, pens in another, and paint bottles in another. Label each bin for faster finding. If you have kids, they can spot what they need by looking.
This setup also makes cleanup easier because everyone knows where things belong. Clear bins come in many sizes to fit your shelf or storage unit.
4. Convert a Closet or Cabinet
If you have a closet or a cabinet, you can turn it into the perfect art supply station. Put in adjustable shelves or use cube organizers to make room for many supplies.
Door organizers are great for organizing paintbrushes, rulers, and smaller tools. On the shelves, use bins or boxes to sort paper, paint, or glue.
Adding labels or color coding helps everyone in the family know where things go. This keeps the items out of sight and the area looking tidy.
5. Use Over-the-Door Organizers
Over-the-door organizers are simple and very helpful. You can hang them on any door near your workspace.
They work well for light things like paper, stencils, markers, or stickers. Most organizers have clear pockets, so you can quickly find what you want.
This tool frees up space in drawers and keeps your desk clear. You can also use them for extras like tape, glue, or small craft items.
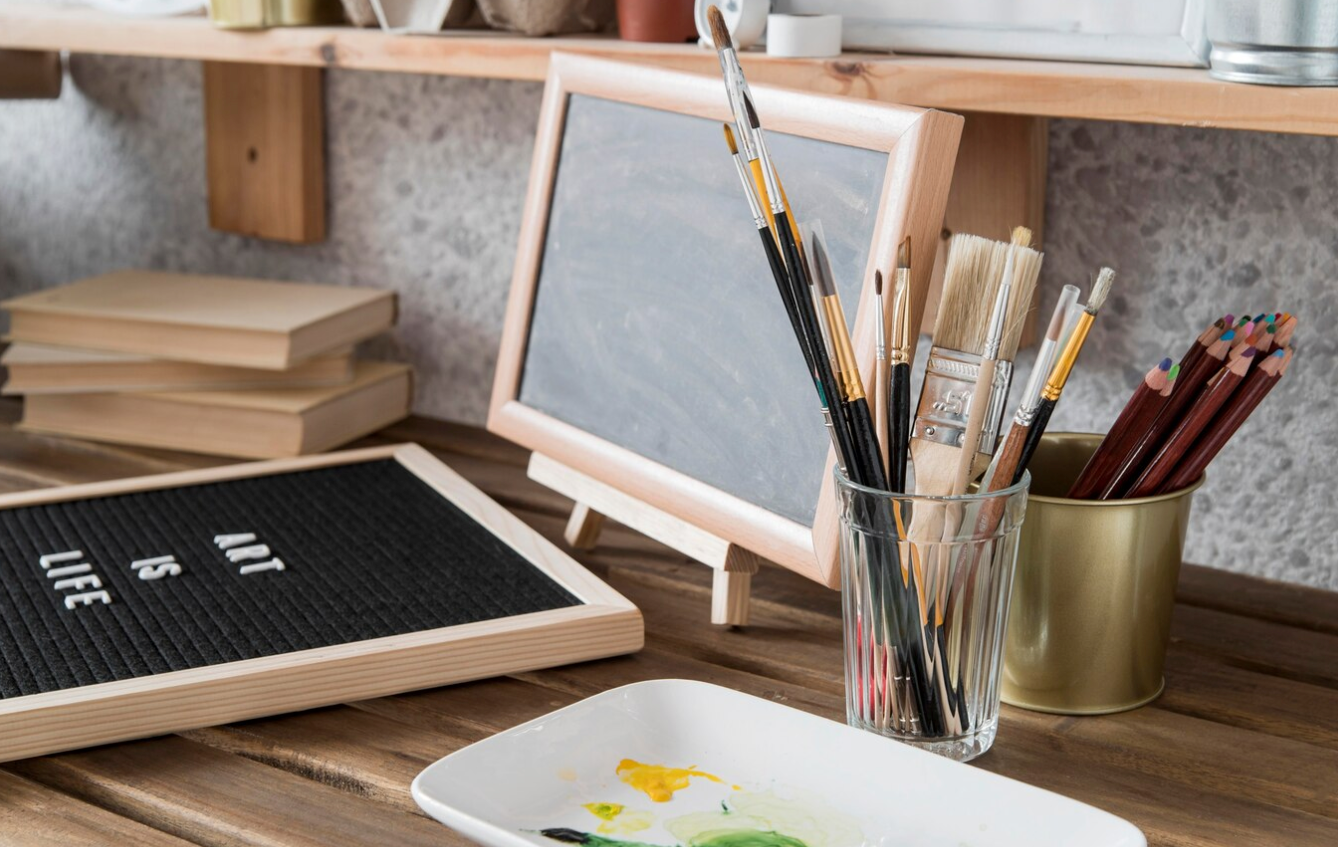
6. Repurpose Kitchen Jars and Containers
Kitchen jars or plastic containers work well for organizing art supplies. Glass jars hold brushes, colored pencils, or scissors, while plastic containers are suitable for beads or erasers.

Label each jar or use different colors to help you find items quickly. You can line up the jars on a shelf or inside a cabinet.
It is an easy way to recycle containers and keep supplies in view. Wide-mouthed jars are best for grabbing pens or pencils.
7. Install Wall-Mounted Shelves
You can add a few small shelves if you have open wall space. Wall-mounted shelves are perfect for heavier or bigger items like sketchbooks, drawing pads, or stacks of canvas.
You can also put containers or small bins on these shelves. Keep your most-used items on the lower shelves so they are easy to reach.
This keeps your workspace clear and gives you more room for art projects. Shelves come in many widths and styles, so choose what works best for your space.
8. Store Flat Items in Magazine Holders
Magazine holders can be used for more than just magazines. They work for organizing paper pads, sticker sheets, vinyl, or card stock.
Place the holders upright on a shelf or in a cabinet. Sort your supplies by size or type, and label the holders for each category.
It saves you time when you need something, and your supplies will not get bent or lost. These holders are cheap and stack or slide together easily.
9. Try a Lazy Susan for Paints
A Lazy Susan, or a turntable, is helpful for small bottles or tubes like acrylic paints or ink. Place the Lazy Susan on your table and arrange the bottles around it.
You can spin it to find what you need without destroying other supplies, keeping everything easy to see and grab.
It also prevents paints or markers from hiding behind a shelf or drawer. Choose a model with raised sides to prevent supplies from falling off.
10. Use Drawer Dividers for Small Tools
Drawers can get messy without a system. Use dividers to give each item its own spot. You can buy adjustable dividers or use small boxes or trays you already have.
Sort things like glue sticks, X-Acto knives, tape, or clips into different sections. This keeps your tools easy to find and prevents the drawer from turning into a junk pile.
Dividers also make it easier to put things away when you are done working.
11. Repurpose a Hanging Shoe Organizer
A hanging shoe organizer does not have to go in your closet. Hang one behind a door or on a closet rod near your art space.
Each pocket can hold yarn, markers, glue bottles, or rolled-up papers. The clear pockets let you see what is inside right away.
These organizers are a great way to sort supplies, and they do not take up any floor space.
12. Mount Magnetic Strips for Metal Tools
Magnetic strips store metal tools like scissors, small pliers, or craft knives. Mount a strip to your wall or the inside of a cabinet door.
You can stick metal tools on the strip and pull them off when you need them, eliminating the need to dig through drawers or boxes.
This keeps sharp items out of reach of kids and makes it easy to find your most-used tools.
13. Use a Fold-Out Table With Storage
A fold-out table is handy for small areas. Look for a model that folds into the wall or a cabinet when you are done.
Some fold-out tables have shelves or drawers underneath for storage. You get a workspace when needed and more room when you do not.
This works well for people who share a room or have a multi-use area.
14. Keep a Portable Art Supply Caddy
A caddy is a small, portable box or basket for your favorite or most-used art tools. Fill it with scissors, pencils, glue, or markers.
You can carry it with you from room to room or even outside. A caddy is perfect for kids or for anyone who likes to do art in different spots.
It also keeps supplies together, so you do not waste time looking for things.
15. Declutter Regularly and Rotate Supplies
Go through your supplies every few months. Move things you rarely use into a bin or storage box. Keep only what you use most where you can reach it.
Rotating supplies helps keep your space neat and stops clutter from building up. Make it a habit to donate or share what you no longer need.
This keeps your small space workable and makes it easier to enjoy your art projects.
📌 Also Read: 15+ Stunning Resin Art Ideas (Beginner to Expert)
How to Maintain an Organized Art Space (Even When You’re Busy)

If you want a tidy art space that stays neat, it helps to make small habits part of your routine. Being organized is not about being perfect but about making things easier for yourself day by day.
Set Up a “Reset” Routine
Spend 5 minutes at the end of each art session putting things back in place. This short reset makes it much faster and easier to start your next project without searching for supplies.
You can use a timer to keep yourself on track. Have a set spot for everything, like shelves for sketchbooks or a basket for markers. Make these quick tasks a habit, and over time they will feel natural.
If you share the space, ask others to join in. Even simple habits like wiping the table or closing lids on paints help keep your area neat. This routine keeps clutter from building up and saves time when you come back to create.
Label Everything
Labels help you and anyone else who uses your art space know precisely where things go. Write clearly on sticky labels, masking tape, or a label maker. Place labels on bins, drawers, jars, and even zip-lock bags.
Here are a few good things to label:
- Paint tubes or bottles by color or type
- Pencil holders by drawing or colored pencils
- Containers for glue, scissors, tape, or brushes
Labeling saves time when you are putting tools away or looking for something specific. You do not need fancy labels for this to work, just readable ones that make sorting supplies quick and simple. Keeping your system consistent also makes the organization last longer.
Only Keep What You Use
It is hard to stay organized if you have more art supplies than you actually use. Every few months, go through your supplies and ask yourself if you have used each item lately. If not, think about donating, giving away, or storing what you do not need right now.
Keep only your favorite and most-used tools on hand. A clutter-free space gives you room to create, and you will spend less time searching for what you need.
Try this simple checklist:
- Put aside broken or dried-out materials.
- Store or give away extras you do not reach for.
- Keep your work area clear so you can focus on making art.
Staying organized is much easier when there is less clutter in your way.
📌 Also Read: Jewelry Resin Guide 2025: Types, Uses & Expiring DIY Designs
Conclusion: Small Space, Big Creativity
You don't need a giant studio to create beautiful art. If you organize your space well, even the smallest space can become your creative zone.
Use storage bins, shelves, or containers to sort your supplies by type. Keeping things grouped helps you find what you need quickly.
Try labeling boxes or drawers. Clear labels make it easy to see what's inside at a glance.
A simple table like the one below can help you plan your setup:
|
Item |
Storage Idea |
Placement |
|
Paints |
Small bins |
Shelf or drawer |
|
Brushes |
Jars or cups |
Desk or shelf |
|
Paper |
Vertical holder |
Beside desk |
|
Markers |
Pencil case |
Drawer |
|
Stickers |
Accordion folder |
Nearby cubby |
Keep a small area open for your main work. Cleaning up after each project maintains order and keeps clutter away.
Remember, organizing your art area is about making supplies easy to reach and simple to put away. This way, you spend less time looking for things and more time creating.
When your supplies have a home, it's easier to feel inspired and start your next project—no matter how limited your space.
Get organized, get inspired, and let your creativity shine even in the smallest studio!
EXPLORE OUR TOP RESIN ART COLLECTIONS 🔎
Frequently Asked Questions
With the right containers and storage ideas, you can keep your art supplies organized even in a small space. It helps to group items by type and use flexible solutions that fit your space and your needs.
How do you organize craft supplies when space is limited?
Use bins, baskets, or drawer organizers to separate supplies. Group similar items, like markers or glue, in zip-lock bags or small containers. Store extras in fabric bins or boxes you can tuck away. Label everything for easy access. If you have less space, go vertical if you can—stackable shelves or wall-mounted racks help free up desks and tables.
What’s the best way to store paint supplies in a small space?
Use plastic caddies or small trays to keep paint tubes and brushes together. Store jars and bottles upright in bins or on shelves. Choose clear containers so you can quickly see what you have. Hang a pegboard or magnetic strip for brushes and palette knives. Clean supplies before storing to avoid mess.
How can I make a mini art studio in a small apartment?
Pick a corner or a small table for your workspace. Use a rolling cart to hold art supplies, so you can move it as needed. Wall shelves or desk organizers help maximize your space. Store less-used items in drawers or closed bins to keep your main area uncluttered.
How do you organize an art space?
Start by clearing out what you don’t need. Sort remaining supplies by type—such as drawing, painting, or crafting. Use containers or sectioned trays for each category. Keep your favorite and most-used tools within easy reach. Store rarely used items higher up or farther back. Regularly tidy up so your space stays workable.


Commenta
Questo sito è protetto da hCaptcha e applica le Norme sulla privacy e i Termini di servizio di hCaptcha.