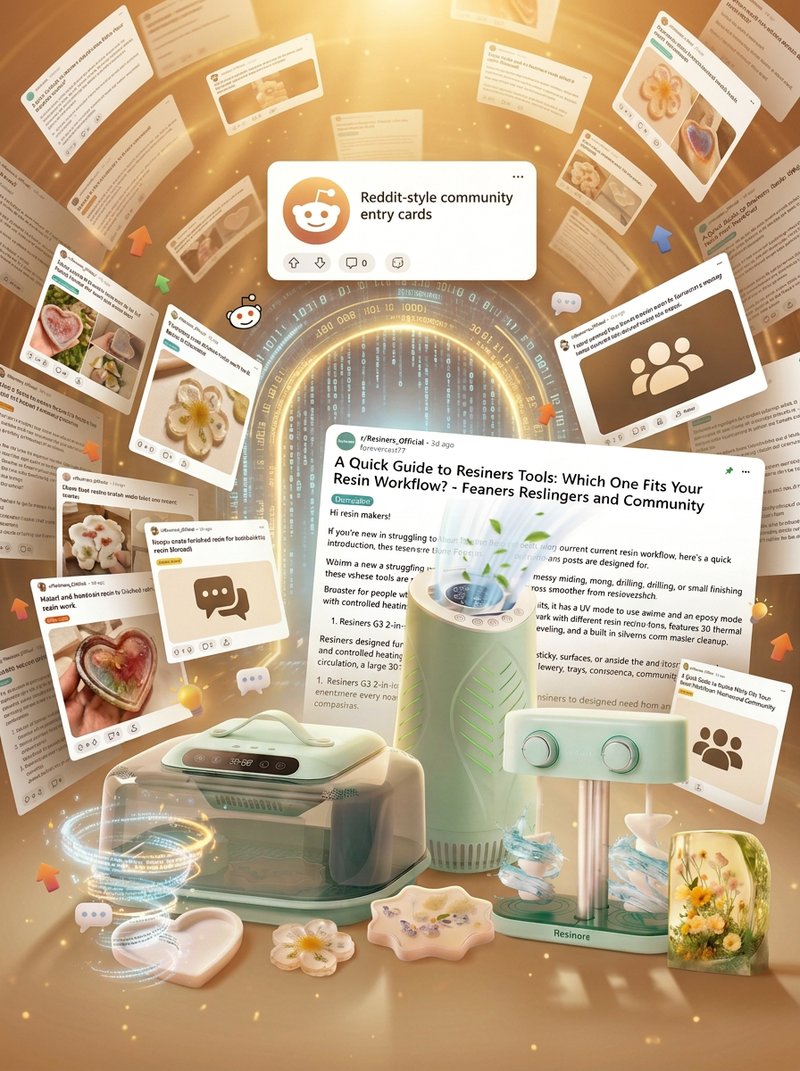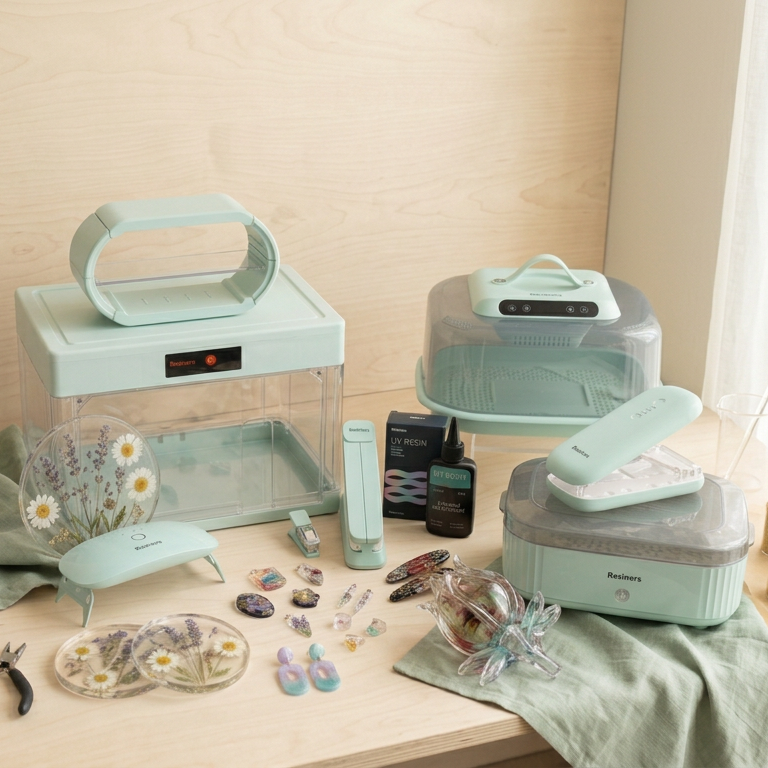
See What Resiners Creators Are Making
UV Resin VS AB Epoxy Resin:
How to Choose?


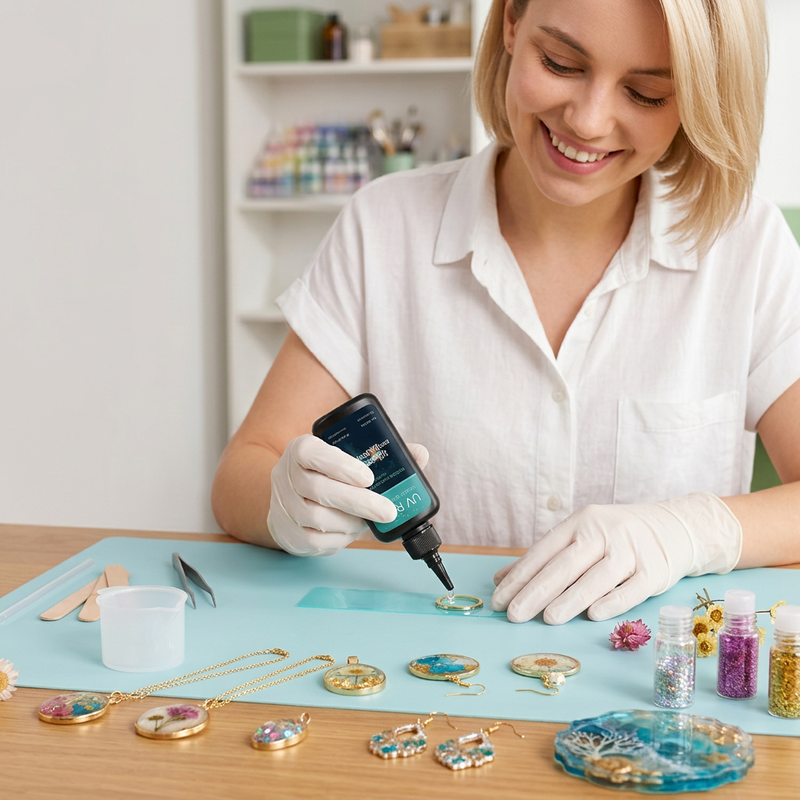
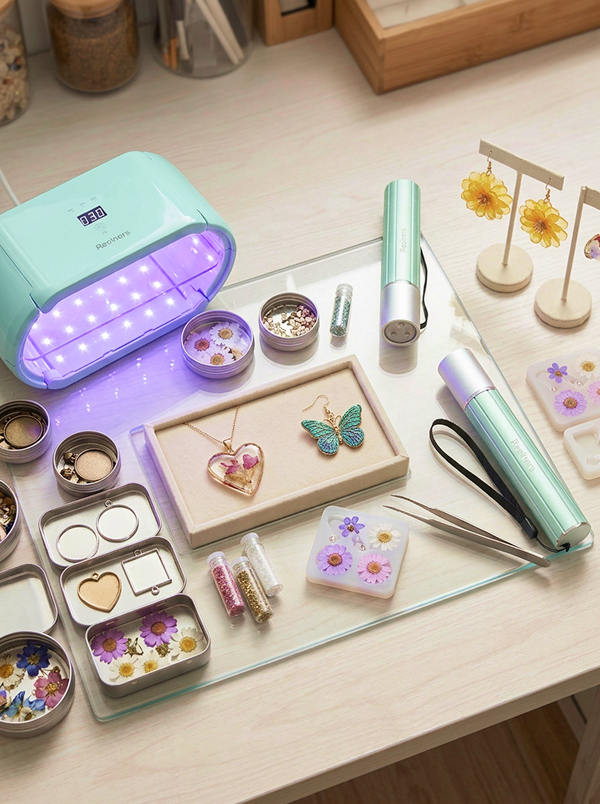
Cures in 1–3 minutes under UV lamp
Normal curing: 12–24 hours
Resiners G3 machine: 2 hours curing
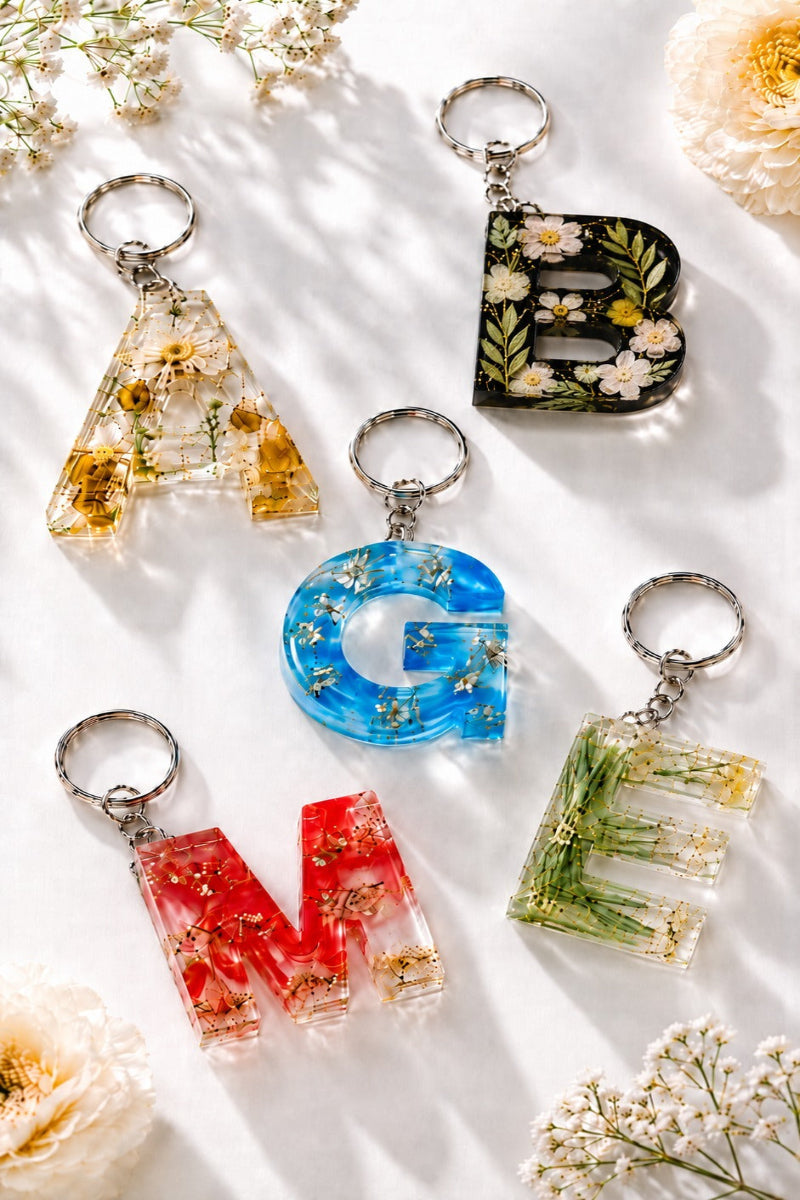
Small jewelry, earrings, keychains, surface repair work
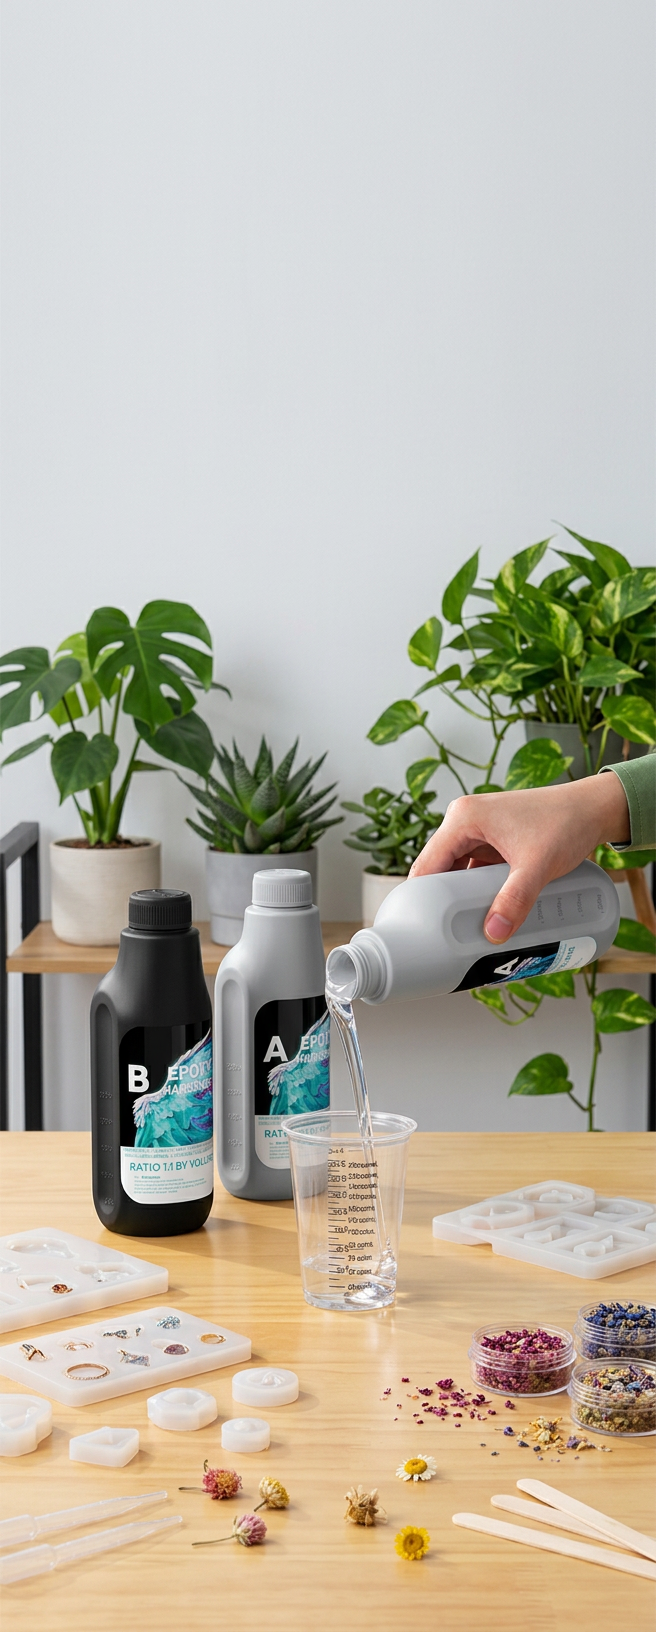
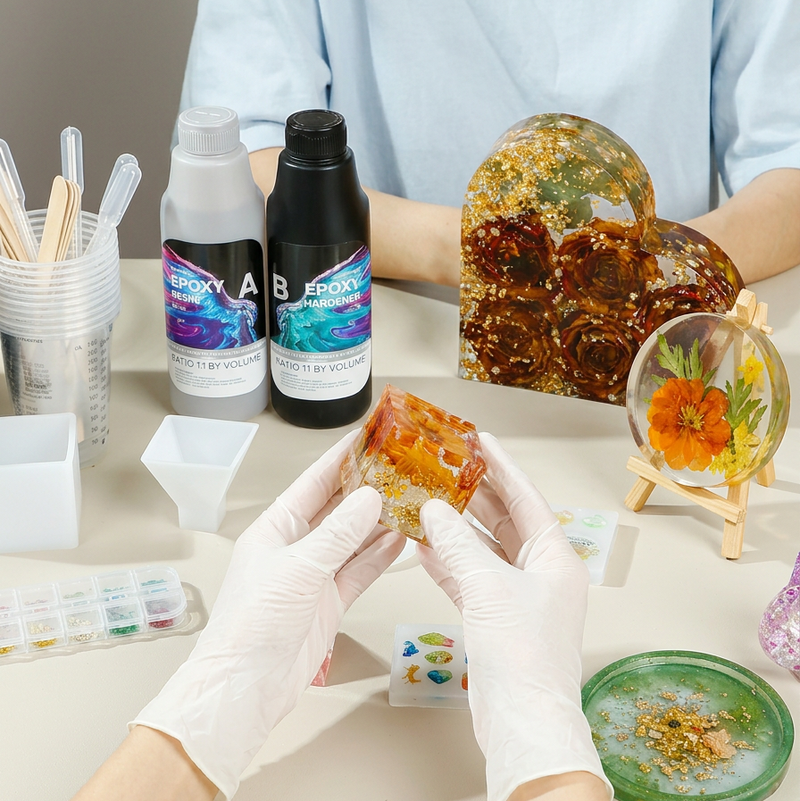
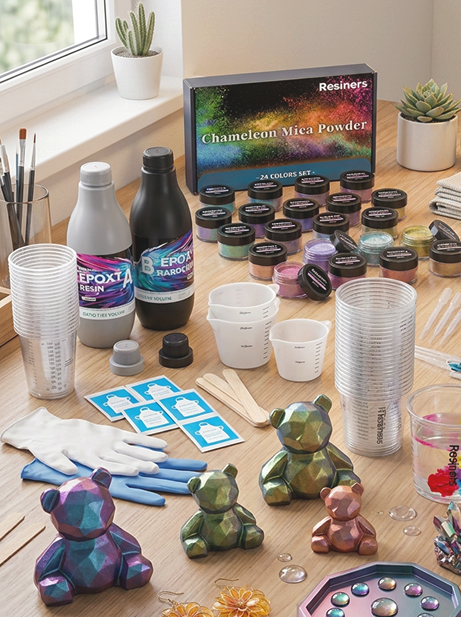
Molds & trays, coasters, preserved flower crafts, large art pieces
★ Ready to use straight from the bottle; no mixing required
★★ Requires precise weighing & stirring at a 1:1 or 2:1 ratio
Ideal for beginners to enjoy quick crafting experience
Great for those pursuing premium texture & large-sized artwork
Resin Crafting Can Be Easier Than You Think
CHOOSE YOUR PATH
What Do You Want to Do?
Start with the path that matches your resin project or biggest question.
Best for Beginners
From UV resin and lights to silicone mats, epoxy kits, and mixers — start creating with less mess, less waiting, and fewer bubbles.
Beginner Resin Tutorials
Watch simple tutorials to help you avoid common mistakes and enjoy your first resin project.
Loved by Resin Creators
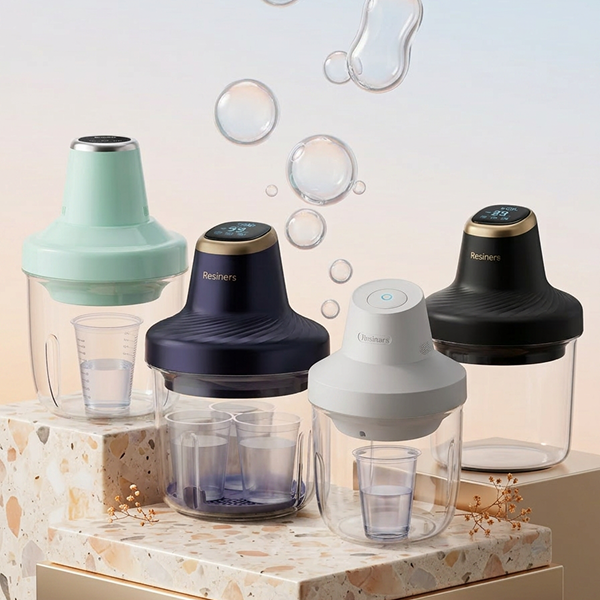
"This is my 3rd Airless debubbler I have purchased. Due to gifting them on my travels. This debubbler is a great product at an unbeatable price. The timer is a great addition from the original model. Watching it effortlessly remove bubbles from the resin is truly captivating. To fully harness its potential, be sure to leave a few inches of space between the resin and the top of your cup."
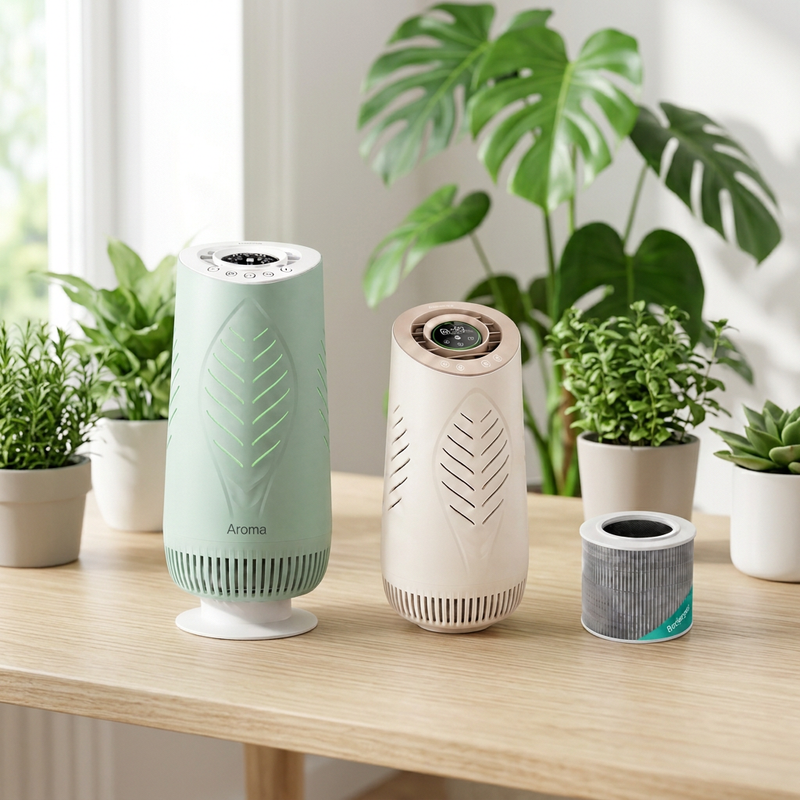
"I bought the air purifier and am so pleased with it and not to mention the brilliant customer service they helped me with a prob that was my doing answering immediately and sorted my problem out straightaway it’s hard for customers to find genuinely good customer service nowadays and these are top of my list"
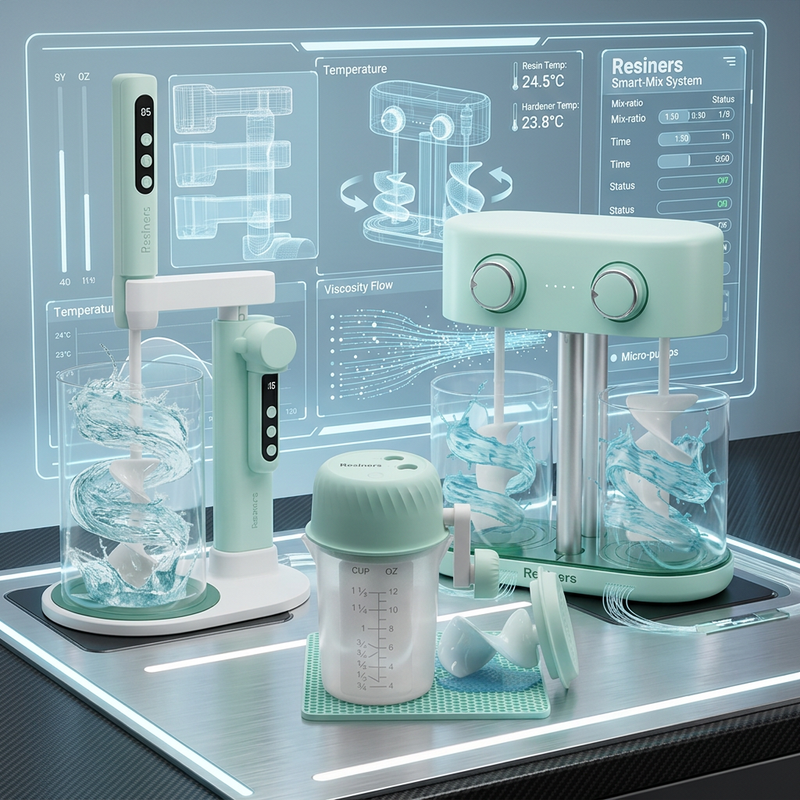
"I ordered the hand held mixer. I Love it!!! Works great & easy to clean. Way easier than hand stirring! Thinking I will order a 2nd one to keep as a spare. This is a Must have item for sure! Thank you!!! 😘"
"What a game changer. Mixes so much faster and better. I mixed for 4 minutes. I used to have to still stir my resin manually I previously used a Hobby Lobby mixer and after 6 minutes I still had to mix by hand. So glad I bought this dual head mixer."
"So far so good. It’s a lot more powerful than my first model I had to put only a fraction in the cups because there were so many bubbles it was overflowing. The end result has my jewellery pendents so amazingly clear. I didn’t want to risk spilling the cups of resin in the tub when trying to remove the lid so I got my husband to make up a 3D cup holder to keep everything stable and it works perfecrly"
"This is an amazing machine. I can't wait till I receive the extended sides that I ordered. I will be ordering the air purifier machine and then the machine to remove air bubbles and then the mixer. I am so excited. This has saved me from so much mess and time."
Explore By Category
From raw materials to patented degassing and air purification—explore our end-to-end solutions engineered for flawless results at every stage.
Why is my resin sticky?
Sticky or under-cured UV resin is usually caused by weak or uneven UV light, thick layers, or dark pigments that prevent the light from fully penetrating.
Solutions: Use a stronger, more evenly distributed UV light, cure in thin layers, extend curing time, and expose both sides to help UV resin cure fully and reduce sticky surfaces or soft spots inside.
Why didn’t my resin fully cure?
For AB epoxy, under-curing mainly comes from wrong mixing and unsuitable curing conditions:
1. Huge deviation of the mixing ratio between resin Part A and hardener Part B, plus uneven stirring;
2. Low ambient temperature and insufficient curing time;
3. Excessively thick single pour and poor heat dissipation of the container, causing abnormal heat accumulation and inconsistent curing inside and out.
Solutions: Follow the official mixing ratio strictly, scrape the cup walls and bottom while stirring thoroughly, cure at the recommended room temperature for enough time, and pour thick projects in multiple thin layers.
Why are there bubbles in my resin?
Common causes of bubbles:
1. Fast stirring traps plenty of air into resin;
2. Air is hidden in gaps of containers or molds before pouring, which forms bubbles after resin is added;
3. Big ambient temperature change makes dissolved air separate out from resin; heat released during thick-layer curing also brings hidden tiny bubbles up to the surface.
Solutions:
1. Store resin at proper temperature — it won’t thicken or trap bubbles.
2. Stir A & B slowly, scrape cup walls well for even mixing. Fast stirring creates unwanted air bubbles.
3. Pour slowly and low down, not fast from high above.
4. Use a bubble remover to remove hidden bubbles first, then use a heat gun to burst surface bubbles after pouring.
Sticky or under-cured UV resin is usually caused by weak or uneven UV light, thick layers, or dark pigments that prevent the light from fully penetrating.
Solutions: Use a stronger, more evenly distributed UV light, cure in thin layers, extend curing time, and expose both sides to help UV resin cure fully and reduce sticky surfaces or soft spots inside.
For AB epoxy, under-curing mainly comes from wrong mixing and unsuitable curing conditions:
1. Huge deviation of the mixing ratio between resin Part A and hardener Part B, plus uneven stirring;
2. Low ambient temperature and insufficient curing time;
3. Excessively thick single pour and poor heat dissipation of the container, causing abnormal heat accumulation and inconsistent curing inside and out.
Solutions: Follow the official mixing ratio strictly, scrape the cup walls and bottom while stirring thoroughly, cure at the recommended room temperature for enough time, and pour thick projects in multiple thin layers.
Common causes of bubbles:
1. Fast stirring traps plenty of air into resin;
2. Air is hidden in gaps of containers or molds before pouring, which forms bubbles after resin is added;
3. Big ambient temperature change makes dissolved air separate out from resin; heat released during thick-layer curing also brings hidden tiny bubbles up to the surface.
Solutions:
1. Store resin at proper temperature — it won’t thicken or trap bubbles.
2. Stir A & B slowly, scrape cup walls well for even mixing. Fast stirring creates unwanted air bubbles.
3. Pour slowly and low down, not fast from high above.
4. Use a bubble remover to remove hidden bubbles first, then use a heat gun to burst surface bubbles after pouring.