Organizing art supplies can turn your creative space from chaotic to calm. When your markers, paints, and papers are neatly stored, you'll find what you need faster and make more art.
To efficiently organize art supplies, begin by sorting them into categories and grouping similar items. Use clear containers and labeled boxes to keep everything visible and orderly.
Maximize your space with vertical storage options such as pegboards or wall-mounted shelves, and make sure to label each container for quick and easy identification.
With clear bins, color-coded boxes, and simple labels, you can keep your art area neat and ready for your next masterpiece. Want to make your art time more fun and less stressful? Read on for easy and creative tips!
Why Organizing Art Supplies Is Important

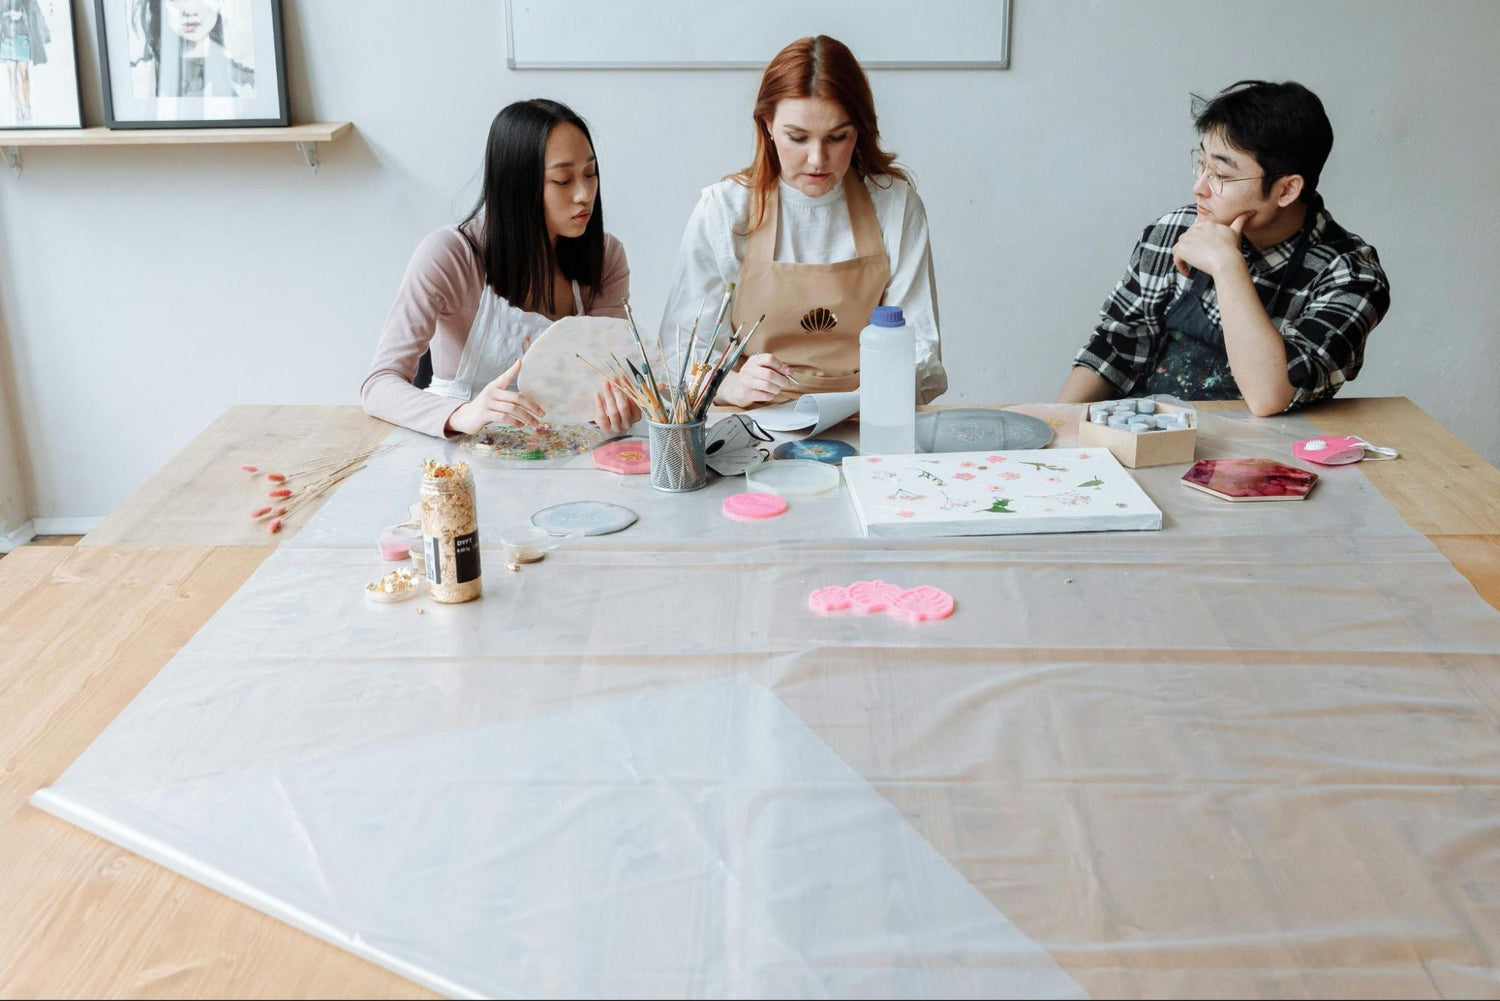
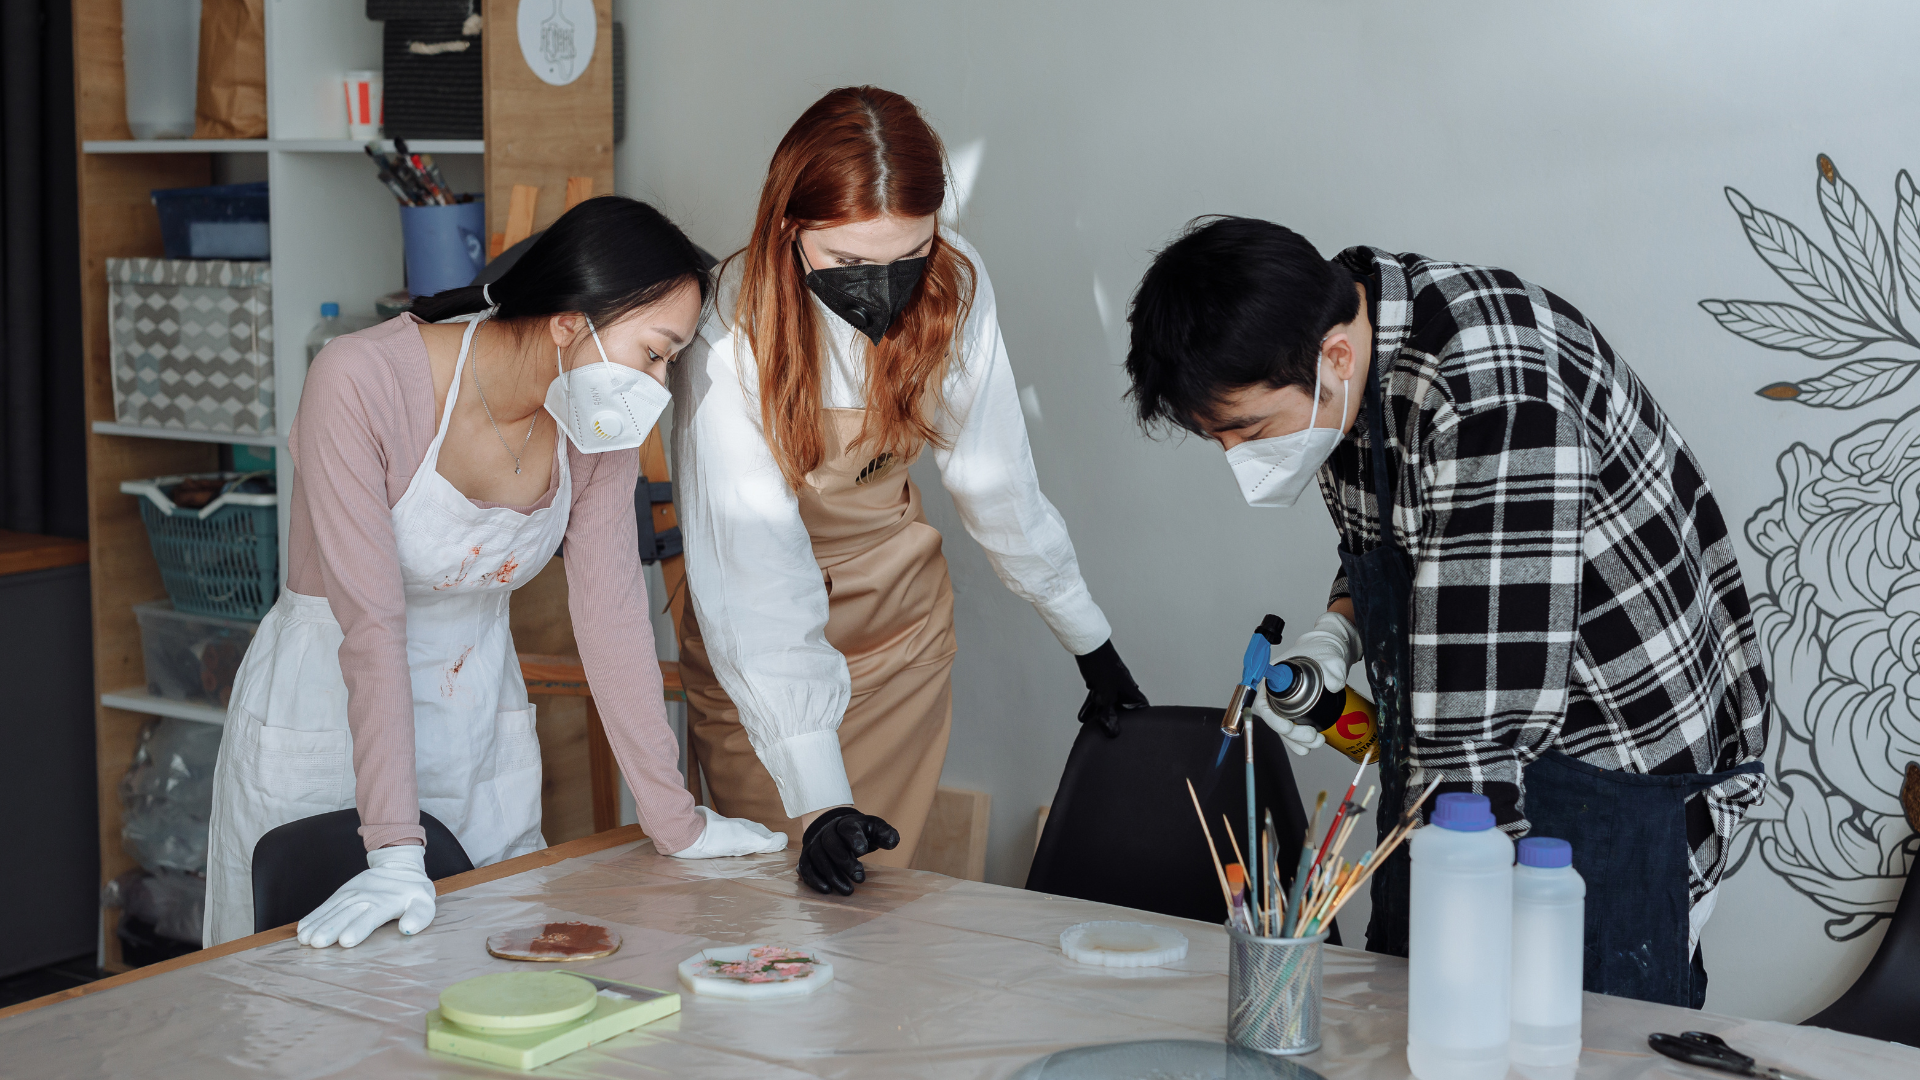
Keeping your resin supplies organized saves you time and makes crafting way more fun. When your molds, pigments, and tools are easy to find, you can jump right into creating instead of digging through a messy drawer.
Why Stay Organized?
Knowing what you have means you won’t accidentally buy the same mold or color twice. Plus, when everything’s in its place, you spend less time searching and more time making art.
Your supplies will last longer, too—resin bottles stay sealed, molds keep their shape, and your tools are always ready to go. An organized space can even spark new ideas when you spot materials you forgot you had.
What Happens When Supplies Are Messy?
Lost supplies waste money and slow you down. Damaged molds, spilled resin, and sticky tools happen when things are tossed together.
Cluttered spaces can feel overwhelming and kill your creative mood. Sometimes, you might even give up on starting a project just because finding what you need feels like too much work. And let’s face it—buried supplies often get forgotten and never used.
Staying organized really does make resin crafting easier and more inspiring!
How To Organize Art Supplies: Step-By-Step Guide

Getting your resin craft supplies organized doesn’t have to be overwhelming. With a simple system, you’ll always know where everything is, and your workspace will stay neat and inspiring.
1. Declutter And Sort By Category
Start by pulling out all your supplies so you can see what you’ve got. Toss anything that’s expired, dried up, or broken—like old resin, warped molds, or sticky mixing sticks. Sort what’s left into main groups, such as:
- Resin bottles and hardeners
- Silicone molds
- Colorants and pigments
- Mixing tools and cups
- Safety gear (gloves, masks)
Don't keep things just because you spent money on them. Be honest about what you actually use.
Group By Type And Frequency Of Use
Keep your most-used supplies—maybe your favorite molds or colorants—within easy reach. Organize by:
- Type (all molds together, all pigments together)
- Size (small to large molds)
- Frequency (daily-use items up front) Vertical storage is a lifesaver! Try:
- Pegboards for hanging tools or molds
- Clear jars for mixing sticks or glitter
- Stackable drawers for pigments, mica powders, or finished pieces
- For small items like inclusions or embellishments, use:
- Tackle boxes
- Small clear containers
- Pill organizers
Label Everything For Quick Access
Labels turn an okay system into a great one! You'll save time hunting for supplies when you can see exactly where they belong. Use a simple labeling system:
- Masking tape and marker for quick labels
- Printed labels for a tidy look
- Color-coded dots for easy sorting
You can even snap a photo of what’s inside a box and tape it to the front for a fast visual guide.
Best Storage Ideas For Art Supplies

Finding the right storage for your resin supplies makes crafting smoother and keeps everything in great shape. The right setup means you’ll spend less time searching and more time creating.
Bins, Drawers, and Shelves
Plastic bins from the dollar store are perfect for grouping resin bottles, molds, or pigments. Go for clear bins so you can spot what you need at a glance—especially for small items like glitter, dried flowers, or alcohol inks.
Label each bin to keep things organized. Shallow drawers are great for silicone molds and mixing tools, while deeper ones can hold bulkier bottles or safety gear.
Open shelves let you display your pretty colorants or finished pieces, and Mason jars on a shelf are perfect for keeping stir sticks, droppers, or pipettes upright and handy.
Space-Saving and Portable Solutions
Tiered rolling carts are a game-changer for small spaces. Wheel your supplies to your workspace when you’re crafting, then tuck the cart away when you’re done. Each level can hold different types of supplies—like one for molds, one for pigments, and one for tools.
Wall storage is another space-saver: hang a pegboard for tools or small molds, or add narrow shelves above your table for resin bottles.
If you craft in different spots, folding organizers or zip-up cases keep your pigments and tools safe and portable.
Drawer dividers are a cheap fix to keep small items like inclusions or glitters from getting mixed up.
And if you’re tight on space, over-the-door organizers with clear pockets are perfect for storing bottles, gloves, or even small molds where you can see everything at once.
With a little planning, your resin supplies will be easy to find, easy to use, and always ready for your next project! For more inspiration, check out these storage ideas.
Tips For Keeping Your Resin Art Supplies Organized

Resiners® Resin Craft Organizer Cart with Wheels
Keeping your art supplies tidy is easier than you might think. With a few good habits and smart systems, you can maintain order in your creative space.
Easy Maintenance Habits
Put things back right away. Finished with a mold or pigment? Pop it back in its spot as soon as you’re done.
Quick cleanup routine. Spend 5–10 minutes after each resin session tidying up—wipe surfaces, cap bottles, and return tools. It keeps messes from piling up!
Label everything. Clear bins and jars are great, but labels make them even better. Use colorful tape or fun tags so you know exactly what’s inside.
One in, one out. When you buy a new mold or colorant, consider letting go of something you never use.
Keep daily items handy. Store your go-to supplies (like resin, gloves, and mixing sticks) within arm’s reach. Tuck away seasonal or rarely used items up high or in the back.
Easy Ways To Reorganize As Needed
Weekly sweeps. Spend a couple minutes each week putting stray items back where they belong.
Group by type. Keep all your molds together, colorants together, and tools in their own spot.
Use a rolling cart. Assign each shelf to a different supply type and roll it wherever you need it.
Take photos of your setup. Snap a pic when everything’s tidy—use it as a reference for quick resets.
Go clear. Switch to see-through bins and jars so you can find what you need at a glance.
Final Thoughts
Organizing your art supplies doesn’t have to be overwhelming. With a few simple habits and the right storage solutions, you can create a tidy, inspiring space that makes every creative session smoother and more enjoyable.
Whether you’re sorting resin, paints, or tools, following these steps on how to organize art supplies will help you find what you need and protect your investment.
Ready to upgrade your workspace? Check out our craft cart collection for stylish, functional storage options.
For more inspiration, don’t miss our article: Unique Resin Art Ideas: Creative Projects for Every Creator. Happy organizing and creating!
FAQs on Organizing Art Supplies
How to keep track of art supplies?
Make a simple inventory list of what you have. You can use a notebook or an app on your phone.
Group similar items together in clear containers so you can see what's inside. For example, put all your markers in one box and colored pencils in another.
Use labels on storage containers. This helps you find things quickly and reminds you to put items back where they belong.
How do you organize art pieces?
Store finished artwork in portfolios or acid-free folders to protect them. You can find these at art supply stores or online.
Take photos of your completed work. This creates a digital collection that's easy to share with others.
Use a wall display system with clips to show off your favorite pieces. You can rotate them whenever you want a fresh look in your space.
How do artists stay organized?
Many artists set up zones in their workspace for different activities. You might have one area for painting and another for drawing.
They clean up after each session. Taking just 5 minutes to put things away saves lots of time later.
Artists often use storage solutions that fit their specific needs. For example, painters might use tube wranglers for paints, while crafters might use small drawers for tiny items.
How do I keep my stuff organized?
Start small instead of trying to organize everything at once. Pick one type of supply to sort through first. Create a system that makes sense to you. If color-coding works for your brain, use it!
If sorting by project type works better, do that instead. Make putting things away easy. When storage is simple to use, you're more likely to keep using it.
Why can't I keep things organized?
You might be trying to use a system that doesn't match how you naturally work. Not everyone thinks the same way, so find what works for you.
Sometimes you need less stuff, not more storage. Consider donating supplies you don't use often. It's normal for creative spaces to get messy during projects. The key is having a quick cleanup routine for when you're done.


Deixar comentário
Este site é protegido por hCaptcha e a Política de privacidade e os Termos de serviço do hCaptcha se aplicam.