هل تتطلع إلى تعلم كيفية النحت باستخدام راتنج الإيبوكسي؟ أنت في المكان الصحيح. راتنج الإيبوكسي هو أحد أكثر المواد تنوعًا لإنشاء منحوتات فريدة ولامعة ومتينة.
سواء كنت مبتدئًا أو مهتمًا بفن الراتنج، فإن النحت بالإيبوكسي يفتح إمكانيات إبداعية لا حصر لها. باستخدام الأدوات والتقنيات المناسبة وقليل من الممارسة، يمكنك تحقيق أفكارك بتفاصيل مذهلة.
في هذا الدليل، سنرشدك عبر أساسيات النحت بالراتنج، من المواد إلى اللمسات النهائية—حتى تتمكن من البدء في صناعة إبداعاتك الراتنجية الفريدة من نوعها.
هل تريد أن تظل منحوتاتك شفافة تمامًا مع مرور الوقت؟ استكشف مجموعتنا من راتنج الإيبوكسي المقاوم للأشعة فوق البنفسجية للحصول على نتائج احترافية تدوم طويلاً.
كيفية النحت براتنج الإيبوكسي

يتطلب النحت براتنج الإيبوكسي تخطيطًا دقيقًا، والمستلزمات المناسبة، وعادات عمل آمنة. يجب أن تعرف كيفية خلط الراتنج وصبه، وتحضير القوالب أو الأشكال، وحماية نفسك من الأبخرة وملامسة الجلد.
كيفية النحت باستخدام راتنج الإيبوكسي للمبتدئين
ابدأ بمشروع صغير وبسيط. جرب تمثالًا صغيرًا، أو شكلًا زخرفيًا، أو شكلًا تجريديًا—شيئًا يتيح لك تعلم الأساسيات قبل أن تتعامل مع قطع أكبر.
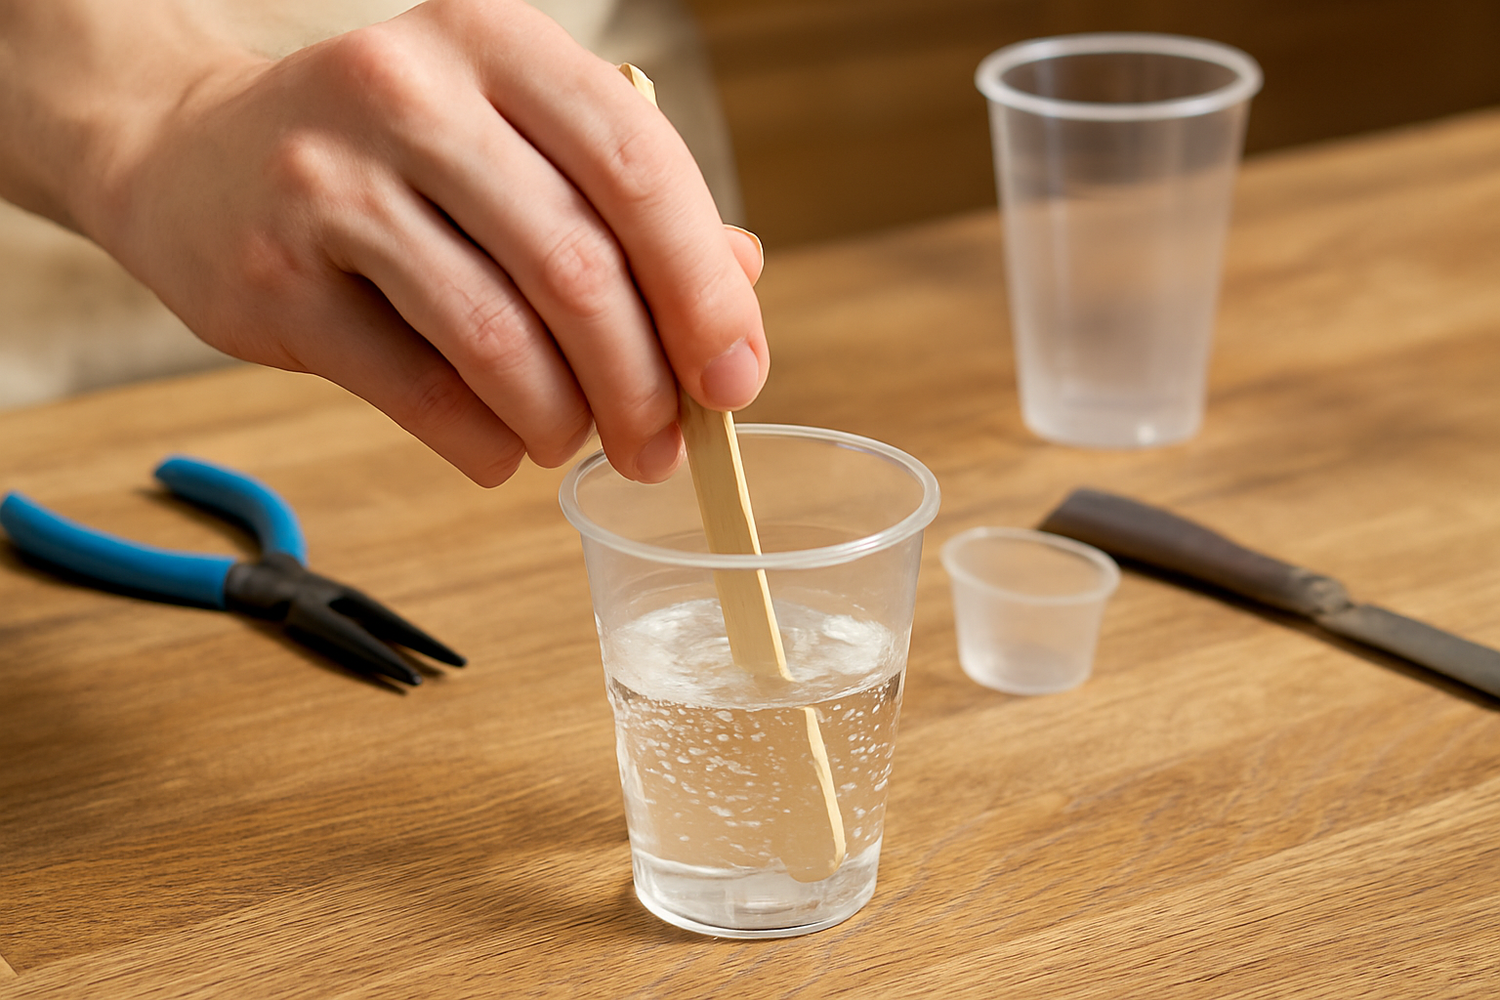
اخلط راتنج الإيبوكسي والمصلب بالنسب الدقيقة التي توصي بها الشركة المصنعة. حرك ببطء، لأن الخلط السريع يضيف فقاعات. هل تريد لونًا؟ أضف الأصباغ أو الألوان الآن.
اسكب الخليط في قالب سيليكون أو على سطح مُجهز. إذا كنت تريد عمقًا أو ألوانًا متعددة، اعمل في طبقات واترك كل طبقة لتتصلب قبل صب الطبقة التالية.
بمجرد أن يتصلب الراتنج، أخرج القطعة من القالب. صنفر أي حواف خشنة بورق صنفرة ناعم وقم بتلميع السطح للحصول على تشطيب شفاف.
الأدوات والمواد التي ستحتاجها
لا تحتاج إلى الكثير من المعدات، ولكن إليك ما سترغب في توفيره:
- راتنج الإيبوكسي والمصلب (اختر راتنج فني للحصول على نتائج واضحة وخالية من الفقاعات)
- قوالب السيليكون للتشكيل
- قفازات النتريل للحفاظ على يديك آمنة
- أكواب خلط مع قياسات
- عيدان تحريك أو ملاعق سيليكون للخلط
- مسدس حراري أو شعلة لإزالة فقاعات الهواء
- ورق صنفرة ووسادات تلميع للمسات النهائية
يساعد الميزان الرقمي على قياس الراتنج والمصلب بدقة أكبر من الأكواب. إذا كنت تريد تأثيرات خاصة، فاحتفظ بالصبغات أو مساحيق الميكا أو أحبار الكحول في متناول اليد.
تأكد من أن جميع أدواتك نظيفة ومنظمة قبل البدء في الخلط. الغبار أو الأوساخ في مكان عملك يمكن أن تفسد التشطيب.
نصائح السلامة للعمل مع الراتنج
اعمل في مكان جيد التهوية. راتنج الإيبوكسي يصدر أبخرة يمكن أن تهيج رئتيك، لذا افتح نافذة أو استخدم مروحة صغيرة.
ارتدِ قفازات النتريل—فهي أفضل من اللاتكس لحجب المواد الكيميائية. تحمي نظارات السلامة عينيك من الرذاذ.
اخلط كميات صغيرة فقط في كل مرة، لأن الكميات الكبيرة تسخن بسرعة. التزم بأوقات المعالجة المذكورة على الملصق—لا تتسرع.
احتفظ بالمناشف الورقية، والكحول الأيزوبروبيلي، والمآزر التي تستخدم لمرة واحدة في متناول اليد. التنظيف السريع يمنع الراتنج اللاصق من الانتشار في كل مكان.
اجعل النحت أسهل باستخدام الأدوات المناسبة. تصفح مجموعتنا من قوالب الراتنج واجعل أفكارك الإبداعية تنبض بالحياة.
تقنيات النحت براتنج الإيبوكسي
يتطلب راتنج الإيبوكسي خلطًا دقيقًا، وتطبيق طبقات ثابتة، واستخدامًا ذكيًا للألوان والقوام. كل خطوة تؤثر على قوة منحوتتك وشفافيتها ومظهرها النهائي، لذا فإن الصبر يؤتي ثماره حقًا.
خلط راتنج الإيبوكسي بشكل صحيح
قم بقياس راتنج الإيبوكسي والمصلب بالنسب الدقيقة المذكورة من قبل الشركة المصنعة. حتى خطأ صغير يمكن أن يؤدي إلى نتائج ناعمة أو لزجة أو هشة. استخدم ميزانًا رقميًا أو أكواب خلط للدقة.
اسكب الجزئين في وعاء نظيف قبل الخلط. حرك ببطء باستخدام عصا مسطحة أو أداة سيليكون لمدة دقيقتين أو ثلاث دقائق على الأقل. اكشط الجوانب والقاع للتأكد من امتزاج كل شيء.
ارتدِ قفازات النتريل وحافظ على حركة الهواء. إذا ظهرت فقاعات أثناء الخلط، ستتعامل معها لاحقًا باستخدام مسدس حراري أو شعلة أثناء الصب.
|
الخطوة |
الأداة |
الغرض |
|
القياس |
ميزان رقمي أو كوب قياس |
ضمان النسبة الصحيحة |
|
الخلط |
عصا تحريك |
مزج الراتنج والمصلب |
|
إزالة الفقاعات |
مسدس حراري/شعلة |
تشطيب سطح أملس |
بناء الأشكال والطبقات
يبدأ راتنج الإيبوكسي كسائل، لذلك ستحتاج عادةً إلى قوالب سيليكون أو هياكل لبناء الأشكال. قوالب السيليكون رائعة لأنها تطلق الراتنج بسهولة وتظهر التفاصيل الدقيقة. لإنشاء أشكال مخصصة، يمكنك صنع دعامات أو أطر عمل مؤقتة.
للنحتات السميكة، اسكبها في طبقات بدلاً من صب واحد كبير. اترك كل طبقة لتتصلب جزئيًا قبل إضافة الطبقة التالية. هذا يساعد على منع ارتفاع درجة الحرارة، أو التشققات، أو الغموض.
إذا كنت ترغب في تضمين أشياء، ضعها بين الطبقات. حافظ على مستوى القالب حتى تتصلب القطعة بالتساوي. يستحق الأمر التحلي بالصبر هنا؛ حتى الأخطاء الصغيرة يمكن أن تظهر لاحقًا.
إضافة الأصباغ والألوان والقوام
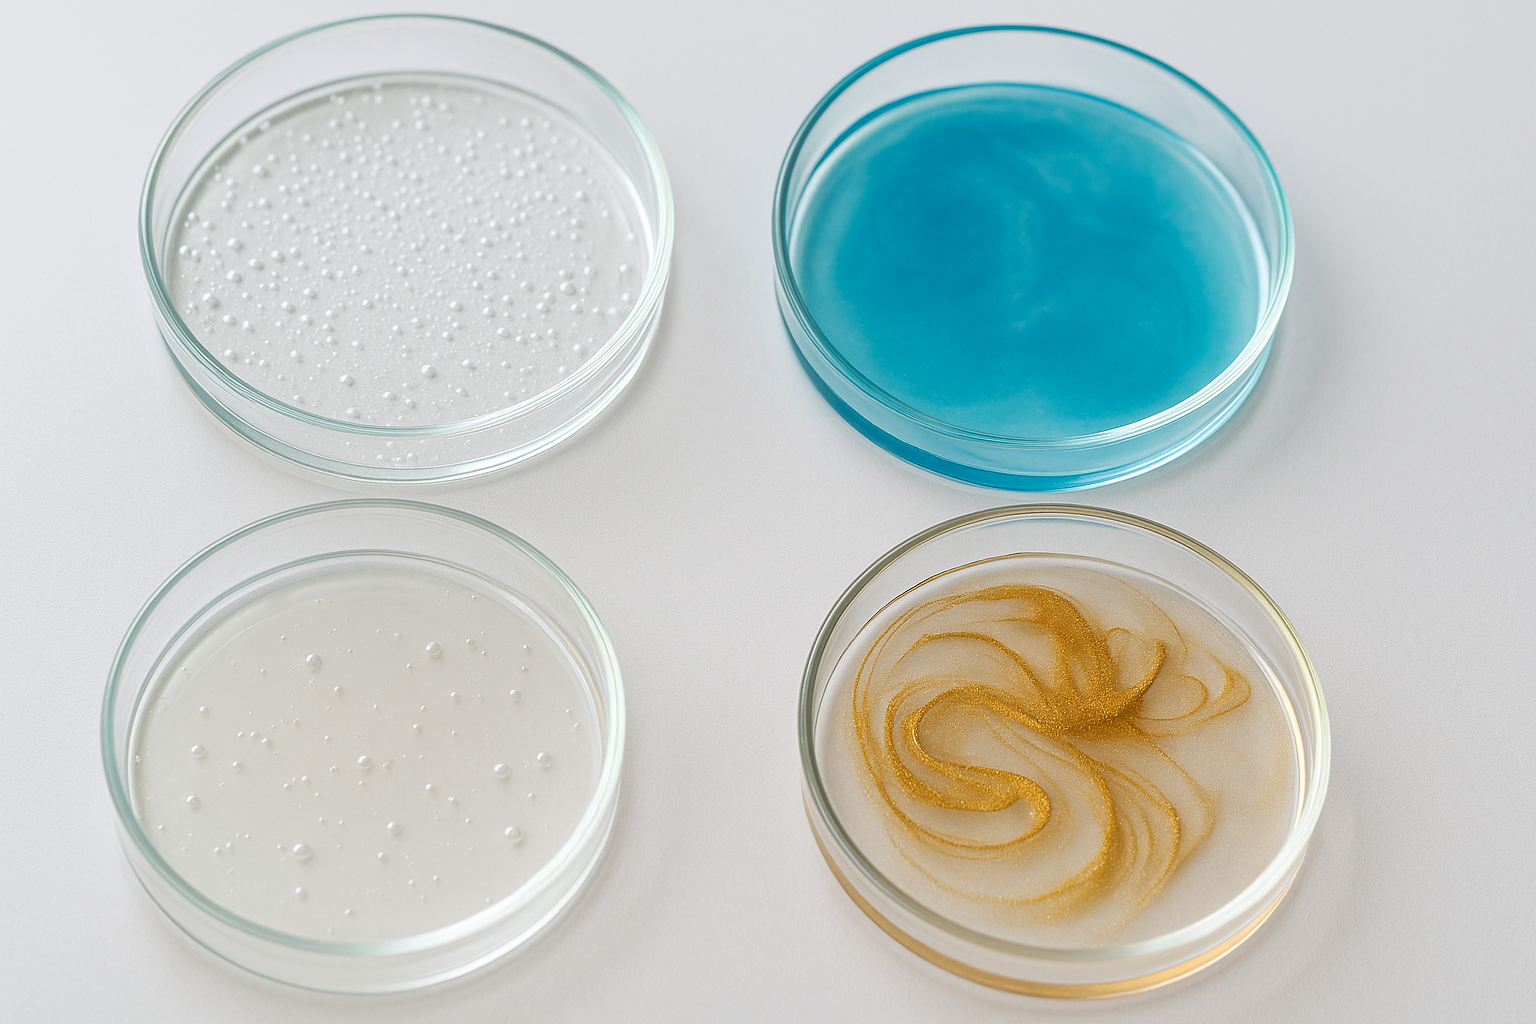
يمكنك خلط أصباغ الراتنج أو الأصباغ السائلة أو مساحيق الميكا في الراتنج للحصول على اللون. ابدأ بكمية قليلة، لأن الكثير من الصبغة يمكن أن يؤثر على المعالجة. حرك جيدًا للحصول على مزيج متجانس.
للحصول على تأثيرات طبقية، استخدم ألوانًا مختلفة في كل سكب. قم بخلط الأصباغ بعصا قبل التجفيف لإنشاء أنماط رخامية. إذا كنت ترغب في الحصول على نسيج، رش الرمل أو الأحجار الصغيرة بينما لا يزال الراتينج رطبًا.
لإبراز التفاصيل، قم بتلميع السطح المعالج بورق صنفرة ناعم ومركبات تلميع. هذا يبرز العمق في البقع الشفافة ويجعل الألوان أكثر وضوحًا. ستحدد اختيارك للأصباغ والأنسجة ما إذا كانت منحوتتك تبدو لامعة أو شفافة أو طبيعية أكثر.
تشطيب وحفظ المنحوتات الراتنجية

يضفي التشطيب على منحوتتك مظهرًا مصقولًا، بينما يحميها الغلق والتخزين من الخدوش والغبار وأشعة الشمس. تساعد هذه الخطوات في الحفاظ على فن الراتينج الخاص بك وإبقائه يبدو جديدًا.
الصنفرة والتلميع للحصول على لمسة نهائية ناعمة
بمجرد أن يجف النحت، من المحتمل أن تلاحظ بعض الحواف الخشنة أو البقع غير المستوية. تعمل الصنفرة على تنعيم هذه المناطق وتهيئ السطح للتلميع.
ابدأ بورق صنفرة خشن - حوالي 400 حصى - لتسوية النتوءات. انتقل إلى درجات أنعم مثل 800 و 1000 وحتى 3000 للحصول على لمسة نهائية زجاجية. تقلل الصنفرة الرطبة من الغبار وتمنع الراتنج من السخونة الزائدة.
بعد الصنفرة، استخدم مركب تلميع مع قطعة قماش من الألياف الدقيقة أو عجلة تلميع. يعيد هذا الوضوح ويمنح السطح لمعانًا شبيهًا بالزجاج. للحصول على مظهر غير لامع، توقف عن الصنفرة عند درجة أقل وتخطى التلميع.
يمكن أن تغير الصنفرة التفاصيل الدقيقة، لذا تقدم ببطء وتحقق من تقدمك أثناء العمل.
ختم وحماية عملك الفني
حتى بعد التلميع، يمكن أن يخدش الراتينج أو يتفاعل مع ضوء الشمس والرطوبة. يساعد إغلاق قطعتك على استمرارها لفترة أطول.
بالنسبة للمنحوتات الداخلية، عادة ما يكون طبقة علوية من الراتينج الشفاف أو ملمع راتينج خاص كافيًا. بالنسبة للقطع الخارجية أو أي شيء بالقرب من النوافذ، استخدم طبقة شفافة مقاومة للأشعة فوق البنفسجية لمقاومة الاصفرار.
يمكنك رش أو دهان مواد الإغلاق. تغطي الرشاشات بشكل متساوٍ، بينما الفرشاة أفضل للتفاصيل الصغيرة. دع الطبقة تجف تمامًا قبل التعامل مع القطعة.
تجنب المنظفات القاسية على الراتينج النهائي. قطعة قماش ناعمة وصابون خفيف تعمل لمعظم الأسطح وتحافظ على فن الراتينج الخاص بك يبدو لامعًا.
نصائح العرض والتخزين للمنحوتات الراتنجية
طريقة عرض منحوتتك مهمة. يمكن أن يتسبب ضوء الشمس المباشر في تلاشي الراتينج أو اصفراره، لذا التزم بالأماكن المظللة أو الداخلية إذا أمكن.
اختر أسطحًا ثابتة لمنع المنحوتات من الانقلاب، خاصة إذا كانت طويلة أو ضيقة. تحمي وسادات اللباد تحت القاعدة كل من منحوتتك وأثاثك.
عند تخزين فن الراتينج، لف المنحوتات في قماش ناعم وخالٍ من الوبر لتجنب الخدوش. احتفظ بها في مكان بارد وجاف بعيدًا عن الحرارة أو الأشياء الثقيلة.
إذا كنت بحاجة إلى نقل عملك، استخدم صناديق مبطنة ولا تكدس الأشياء فوق بعضها. يساعد تخزين القطع بشكل صحيح على بقائها في حالة جيدة لسنوات.
من أدوات الخلط إلى معدات السلامة، فإن وجود الإعداد الصحيح مهم. تحقق من مجموعة معدات الراتينج الخاصة بنا للحصول على كل ما تحتاجه في مكان واحد.
الخاتمة: كيفية النحت باستخدام راتينج الإيبوكسي
قد يبدو النحت باستخدام راتينج الإيبوكسي مخيفًا في البداية، ولكن باستخدام الأدوات المناسبة وقليل من الممارسة، سرعان ما يصبح طريقة مثيرة للتعبير عن إبداعك. اللمسة النهائية اللامعة والمتانة والإمكانيات اللانهائية تجعل الراتينج مفضلاً للفنانين من جميع المستويات.
ابدأ صغيرًا، جرب الطبقات والألوان، ولا تخف من ارتكاب الأخطاء — فكل مشروع يعلمك شيئًا جديدًا. بمرور الوقت، ستزداد ثقتك ومهاراتك.
هل أنت مستعد لأخذ فن الراتينج الخاص بك إلى أبعد من ذلك؟ تحقق من دليلنا حول كمية مسحوق الميكا التي يجب إضافتها إلى الراتينج.
أسئلة متكررة
يمكن تشكيل راتينج الإيبوكسي وتطبيقه في طبقات وتشطيبه بالعديد من الطرق، ولكنه يتطلب الصبر والاهتمام بأوقات التجفيف. بعض المواد أصعب في النحت من غيرها، ويتطلب تطبيق الراتينج على قطعة جاهزة اتباع خطوات دقيقة لتجنب العيوب.
هل يمكنك النحت بالراتينج؟
نعم، يمكنك النحت باستخدام راتينج الإيبوكسي، لكنه يعمل بشكل مختلف عن الطين أو الحجر. غالبًا ما تصبه في قوالب أو تبنيه على طبقات. بمجرد أن يجف، يمكنك صنفرته أو تلميعه أو إضافة تفاصيل دقيقة.
كم من الوقت يستغرق راتينج الإيبوكسي حتى يجف؟
يستغرق راتينج الإيبوكسي عادةً من 24 إلى 72 ساعة حتى يجف. بعض التركيبات تجف أسرع، لكن القوة الكاملة تستغرق بضعة أيام. تحقق دائمًا من ملصق المنتج لمعرفة الأوقات الدقيقة.
ما هي أصعب مادة للنحت؟
الجرانيت هو أحد أصعب المواد للنحت بسبب كثافته العالية. يتطلب أدوات خاصة وجهدًا أكبر ووقتًا أطول بكثير. الراتينج أسهل بكثير في التشكيل والتشطيب.
كيفية تطبيق الراتينج على النحت؟
اخلط الراتينج والمصلب بعناية قبل الاستخدام. ادهنه بفرشاة أو اسكبه على نحتك في طبقات متساوية. أزل الفقاعات بمسدس حراري، ثم دعه يجف خاليًا من الغبار.


اترك تعليقًا
This site is protected by hCaptcha and the hCaptcha Privacy Policy and Terms of Service apply.