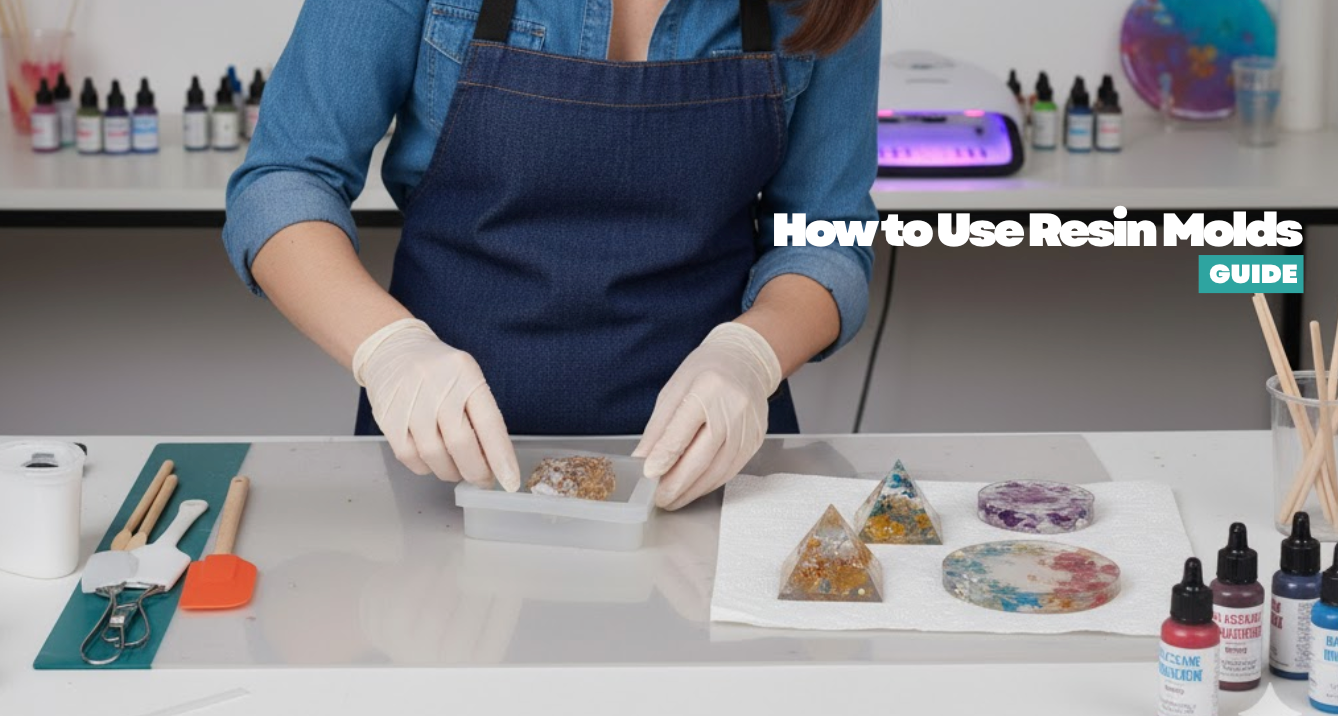
فن الريزن هو أحد أكثر الحرف اليدوية إثارة التي يمكنك تجربتها. سواء كنت ترغب في صنع المجوهرات أو قواعد الأكواب أو سلاسل المفاتيح أو ديكور المنزل، فإن تعلم كيفية استخدام قوالب الريزن هو الخطوة الأولى لإنشاء تصميماتك الإبداعية الخاصة.
يتيح لك استخدام قوالب الريزن تشكيل الريزن في أي شيء تقريبًا يمكنك تخيله. والخبر السار هو أنها بسيطة بمجرد أن تعرف ما يجب القيام به.
يرشدك هذا الدليل خلال كل شيء: اختيار الريزن المناسب، تحضير القوالب، الخلط والصب بدون فقاعات، المعالجة بأمان، إزالة الشكل من القالب، والعناية بقوالبك لتدوم طويلاً.
سواء كنت تصنع أول سلسلة مفاتيح لك أو تصنع قواعد أكواب متعددة الطبقات، فإن هذه المقالة خطوة بخطوة ستساعدك على تجنب الأخطاء والحصول على نتائج ذات مظهر احترافي.
دليل سريع 💡:
إذا كنت تحتاج فقط إلى أبرز النقاط، فإليك الأساسيات:
- اختر ريزن الإيبوكسي للمجوهرات الشفافة أو قواعد الأكواب أو الصواني، وريزن الأشعة فوق البنفسجية للمشاريع الصغيرة والسريعة.
- استخدم قوالب السيليكون النظيفة وضع مادة إزالة القالب لسهولة إخراج الشكل.
- قم بقياس الريزن بشكل صحيح، وامزجه ببطء، واكشط جوانب وقاع الكوب.
- اسكب تيارًا رفيعًا في زاوية واحدة من القالب لتقليل الفقاعات.
- أزل الفقاعات السطحية بتمريرة سريعة بمسدس حراري أو شعلة.
- دع الريزن يجف تمامًا على سطح مستوٍ ومستقر.
- أزل الشكل من القالب بعناية واضبط الحواف عن طريق الصنفرة أو التلميع.
- نظف القوالب بلطف وخزنها بشكل مسطح لإطالة عمرها الافتراضي.
تسوق المنتجات ذات الصلة
 |
 |
 |
ما هي قوالب الريزن؟
قوالب الريزن هي حاويات مرنة، مصنوعة غالبًا من السيليكون، تستخدم لتشكيل الريزن أثناء معالجته. عندما تصب الريزن المخلوط في قالب، فإنه يأخذ الشكل والتفاصيل الدقيقة لهذا القالب، من الأسطح الملساء إلى الحواف الحادة.
لماذا السيليكون هو الأفضل لقوالب الريزن:
- مرن وسهل الفك
- مقاوم للحرارة بما يكفي لمعالجة الريزن
- متين وقابل لإعادة الاستخدام
- يلتقط التفاصيل الدقيقة
- ينقل لمسة نهائية ناعمة ولامعة
يمكنك العثور على قوالب الريزن بأشكال لا حصر لها: قواعد أكواب، مجوهرات، صواني، سلاسل مفاتيح، قطع شطرنج، دومينو، والمزيد.
👉اقرأ أيضًا: ما هو الريزن؟ اصنع فنًا مذهلاً من السائل!
الخطوة 1: اختيار الريزن المناسب
لا تتصرف جميع أنواع الريزن بنفس الطريقة. يضمن اختيار النوع الصحيح أن مشروعك يعالج بشكل صحيح ويبدو بالطريقة التي تتوقعها.
ريزن الإيبوكسي
- الخيار الأكثر شيوعًا لفن الريزن
- وقت عمل طويل (20-40 دقيقة)
- يضبط نفسه ذاتيًا للحصول على تشطيبات ناعمة
- يجف شفافًا، مما يجعله مثاليًا للمجوهرات، وقواعد الأكواب، والصواني، والقطع الفنية
-
رائحة خفيفة مقارنة بأنواع الريزن الأخرى
ريزن الأشعة فوق البنفسجية
- يجف بسرعة تحت ضوء الأشعة فوق البنفسجية (دقائق بدلاً من ساعات)
- الأفضل للقطع الصغيرة والرقيقة مثل القلادات أو الزخارف
- سُمك محدود (عادة أقل من 1 سم لكل طبقة)
-
يحتاج إلى مصباح UV قوي لكي يجف تمامًا
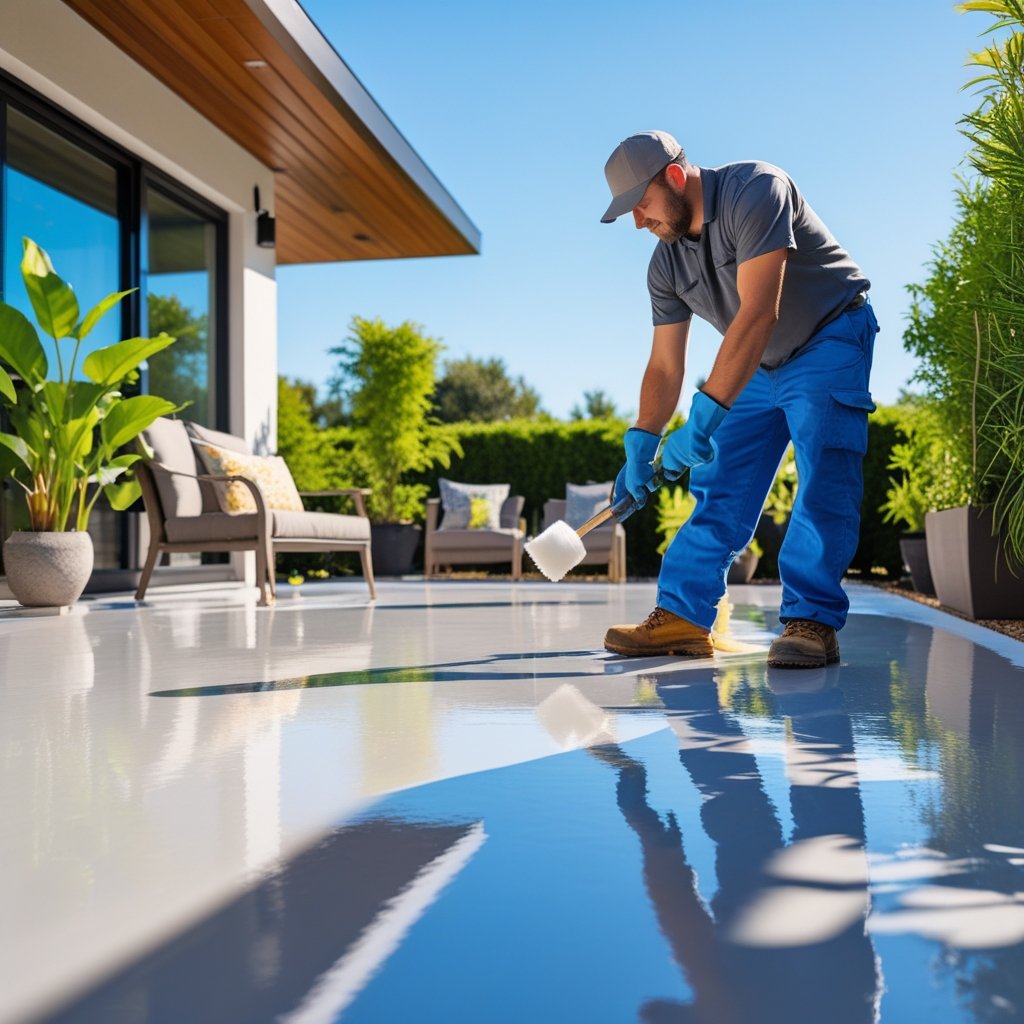
ريزن الإيبوكسي العميق
- حرارة أقل (حرارة أقل عند التجفيف)
- مصمم للقوالب السميكة، والتغليف الزهري، أو طاولات النهر
- أوقات تجفيف أطول، ولكنها تمنع التكسر وارتفاع درجة الحرارة
👉 نصيحة: للمبتدئين في الغالب، ريزن الإيبوكسي القياسي هو أفضل توازن بين السهولة والوضوح والمتانة.
الخطوة 2: تحضير قوالب الريزن الخاصة بك
التحضير المناسب يصنع الفارق بين التشطيب الناعم والصب المحبط.
خطوات تحضير القالب الخاص بك:
- افحص القالب بحثًا عن الغبار أو الوبر. اغسله بالصابون المعتدل والماء إذا لزم الأمر، ثم جففه تمامًا.
- ضع طبقة خفيفة من بخاخ إزالة القالب الآمن للسيليكون. يساعد هذا في حماية القالب ويجعل إزالة الشكل أسهل.
- ضع القوالب على سطح مستوٍ - الأسطح غير المستوية تسبب بقعًا رفيعة أو قطعًا مشوهة.
- استخدم حصيرة سيليكون تحتها لالتقاط أي انسكابات.
الخطوة 3: التخصيص باستخدام الملونات والإضافات
إضافة اللون أو العناصر الزخرفية تجعل قطع الريزن الخاصة بك فريدة من نوعها.
- الملونات: بودرة المايكا، أصباغ الريزن، وأحبار الكحول كلها آمنة للريزن.
- اللمعان والرقائق: أضف بريقًا، ولكن حافظ على كميات معتدلة. كثرتها قد تسبب تكتلات أو تجفيفًا ضعيفًا.
- المحتويات: يمكن تضمين الزهور المجففة، الأصداف، أو الخرز. أغلق المكونات المسامية أولاً لتقليل الفقاعات.
نصيحة: اختبر دائمًا كمية اللون في دفعة صغيرة قبل البدء بالصب الكبير.
القياس الدقيق والخلط بعناية أمران ضروريان.
الخطوة 4: قياس وخلط الريزن
خطوات القياس والخلط الصحيحين:
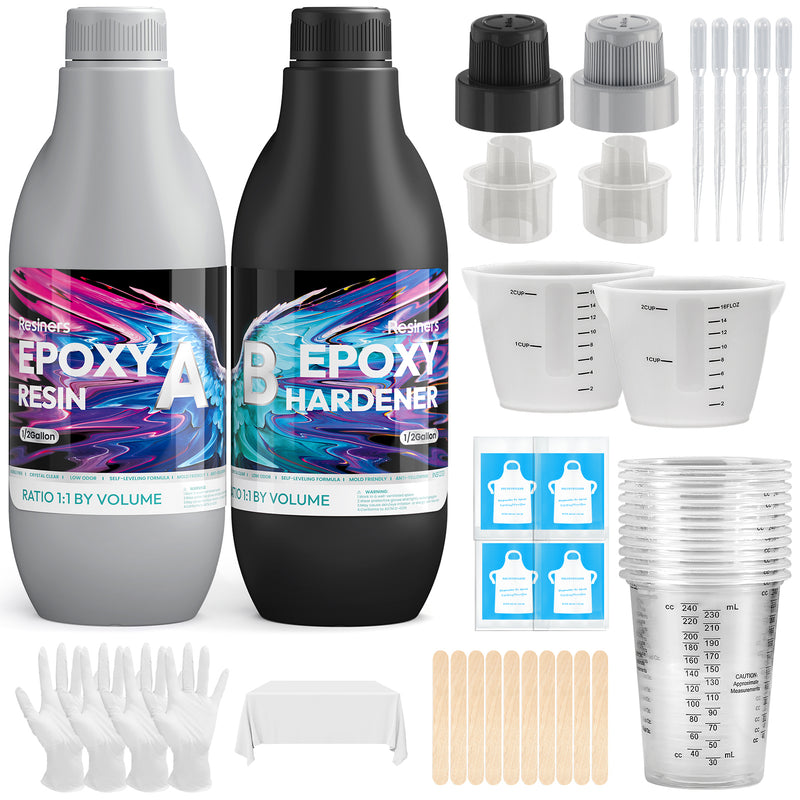
- اتبع التعليمات الموجودة على الريزن الخاص بك. معظم الإيبوكسي يكون إما 1:1 حسب الحجم أو 2:1 حسب الحجم. يتطلب البعض القياس بالوزن.
- اسكب الجزء أ والجزء ب في كوب الخلط.
- اخلط ببطء لمدة 2-3 دقائق، مع كشط جوانب وقاع الكوب.
- تجنب الخفق بقوة، مما يؤدي إلى إدخال فقاعات صغيرة.
-
إذا أمكن، قم بإزالة الغازات من الخليط في غرفة تفريغ للحصول على نتائج واضحة تمامًا.
👈 قم بتسخين زجاجات الريزن في ماء فاتر قبل الخلط لتقليل اللزوجة وجعل الفقاعات ترتفع بشكل أسرع.
الخطوة 5: صب الريزن في القوالب
تمنع تقنية الصب جيوب الهواء وتضمن معالجة متساوية.
خطوات الصب:
- صب بتيار رفيع وثابت من زاوية واحدة من القالب.
- دع الريزن يتدفق بشكل طبيعي لملء القالب بدلاً من الصب مباشرة في المنتصف.
- للزوايا الحادة، استخدم عود أسنان لتوجيه الريزن.
- اضغط برفق على القالب أو اهتزه لتحرير الهواء المحبوس.
للتصاميم متعددة الطبقات: صب الريزن على مراحل، مع السماح لكل طبقة بالشفاء جزئيًا قبل إضافة الطبقة التالية. هذا يمنع المكونات من الغرق.
الخطوة 6: إزالة الفقاعات
حتى الخلط الدقيق يمكن أن يترك فقاعات. إليك كيفية التخلص منها:
-
مرر مسدس حراري أو شعلة بسرعة على السطح لإزالة الفقاعات.
لا تثبت الحرارة في مكان واحد، فقد يؤدي ذلك إلى حرق الريزن أو إتلاف القالب. - استخدم عود أسنان لإزالة الفقاعات السطحية العنيدة.
- بالنسبة لريزن الأشعة فوق البنفسجية، استخدم دبوسًا لإزالة الفقاعات قبل وضعه تحت المصباح.
للحصول على أوضح تشطيب، استخدم وعاء ضغط لضغط الفقاعات أثناء التجفيف.
الخطوة 7: معالجة الريزن في القوالب
تختلف أوقات المعالجة حسب نوع الريزن، وسمكه، وظروف الغرفة.
- معظم الإيبوكسي يجف في غضون 24-48 ساعة.
- ريزن الأشعة فوق البنفسجية يجف في دقائق تحت مصباح UV.
- الصبات العميقة قد تستغرق عدة أيام.
نصائح لنجاح المعالجة:
- غطِ القوالب بصندوق خالٍ من الغبار لمنع دخول الشوائب.
- حافظ على درجة حرارة الغرفة حول 21-25 درجة مئوية.
- لا تحرك القوالب أثناء المعالجة.
- تجنب الرطوبة العالية، التي يمكن أن تسبب أسطحًا غائمة.
الخطوة 7: أخرج مشروع الريزن الخاص بك بعناية من القالب
بمجرد أن يجف الريزن تمامًا، يمكنك إزالته من القالب. إذا تسرعت، فإنك تخاطر بإتلاف كل من القالب والقطعة الخاصة بك.
خطوات إزالة الشكل من القالب بأمان:
- اثنِ القالب برفق لتليين الحواف.
- انزع القطعة ببطء، وتجنب السحب الحاد الذي قد يؤدي إلى تمزيق القالب.
- إذا كانت القطعة ناعمة أو لزجة، امنحها وقتًا إضافيًا للتجفيف.
إذا كان مشروعك يحتوي على حواف حادة، قم بصنفرتها برفق بورق صنفرة ناعم. يمكنك تلميع القطع النهائية بلمع الريزن أو قطعة قماش من الألياف الدقيقة لاستعادة اللمعان.
الخطوة 8: تنظيف قوالب الريزن والعناية بها
تساعد العناية الصحيحة بالقوالب في الحصول على المزيد من الاستخدام من قوالب السيليكون الخاصة بك.
كيفية الحفاظ على القوالب:
- اغسلها بالماء والصابون المعتدل بعد كل استخدام.
- تجنب الكحول أو الأسيتون؛ فقد يتلفان السيليكون.
- دع القوالب تجف تمامًا في الهواء قبل التخزين.
- احتفظ بها مسطحة وبعيدًا عن أشعة الشمس المباشرة لمنع الالتواء.
- رشها بنشا الذرة قبل التخزين طويل الأمد لمنع الالتصاق.
الصيانة الجيدة ستسمح لك بإعادة استخدام القوالب عشرات المرات للحصول على نتائج متسقة.
👉اقرأ أيضًا: كيف تصنع قوالب الراتنج في المنزل | دليل تفصيلي خطوة بخطوة
حل مشاكل قوالب الراتنج الشائعة

حتى حرفيو الراتنج ذوي الخبرة يرتكبون أحيانًا أخطاء. إليك كيفية إصلاح المشكلات الشائعة:
- راتنج لزج: سببه نسبة راتنج إلى مصلب غير صحيحة أو درجة حرارة منخفضة. اتركه يتصلب لفترة أطول أو اطليه بطبقة راتنج جديدة.
- فقاعات في الراتنج: اخلط ببطء واسكب في طبقات رقيقة. استخدم شعلة خفيفة فوق السطح.
- لمسة نهائية باهتة: سطح القالب لم يكن نظيفًا أو لامعًا. قم بتلميع القطعة النهائية بقطعة قماش من الألياف الدقيقة.
- قالب ملتوي: تعرض كبير للحرارة. عالج دائمًا في درجة حرارة الغرفة.
- راتنج عالق: استخدم دائمًا عامل إطلاق القوالب أو قم بالتبديل إلى قوالب سيليكون عالية الجودة.
الأخطاء الصغيرة هي جزء من عملية التعلم. يساعدك تدوين الملاحظات على التحسن في كل مرة.
قد ترغب في التسوق
 |
 |


اترك تعليقًا
This site is protected by hCaptcha and the hCaptcha Privacy Policy and Terms of Service apply.