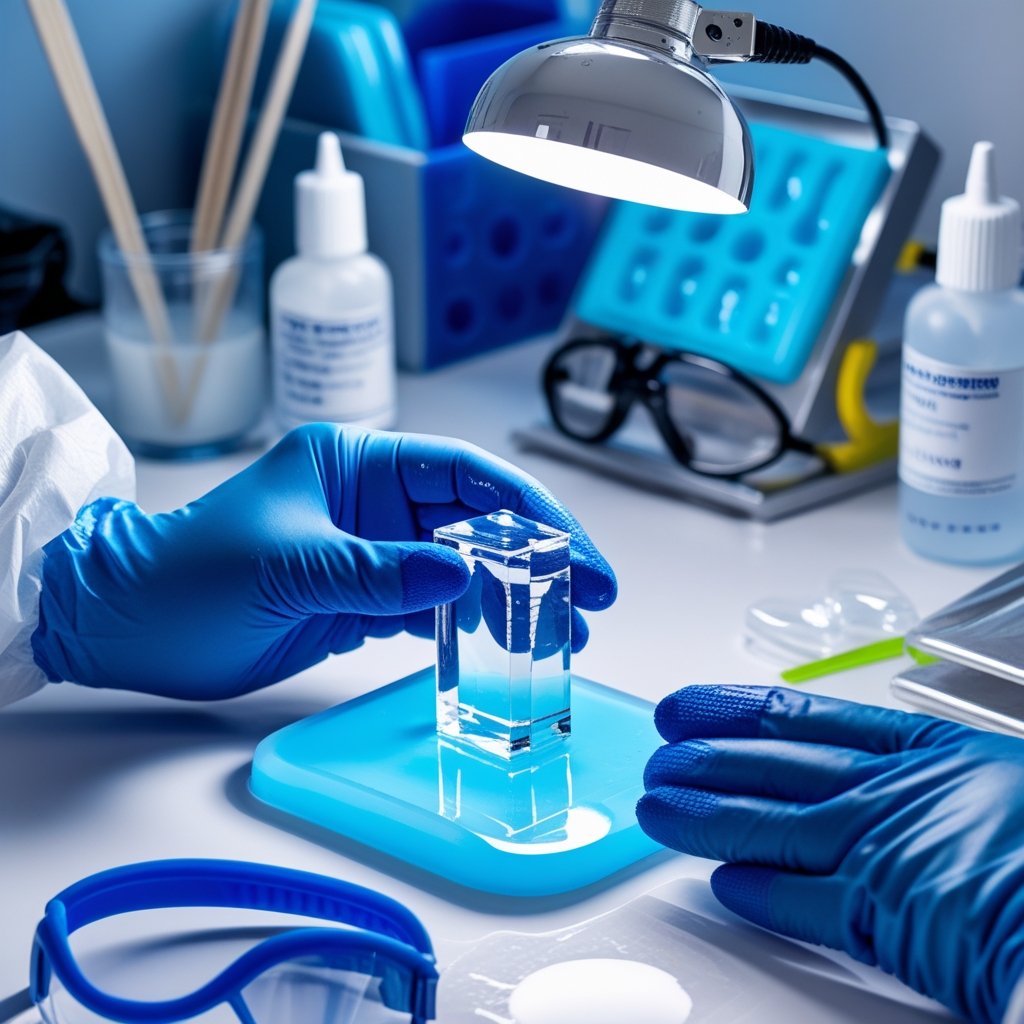
Curing UV resin properly is essential for achieving hard, glossy, professional-looking results in your resin projects. Whether you're making jewelry, ornaments, or small crafts, understanding the curing process helps you avoid common issues like sticky surfaces and soft spots.
UV resin cures in minutes under the right light source, making it faster and more convenient than traditional epoxy resin. However, getting perfect results requires the right equipment, proper technique, and knowing how to troubleshoot problems when they arise.
In this guide, we'll share expert tips and best practices for curing UV resin successfully every time. Let's help you master the curing process and create flawless resin pieces!
Find the perfect setup with our UV cure box collection for consistent, professional results.
Choosing The Right UV Light For Curing

Your UV light source really shapes how well your resin cures and how fast the job gets done. Lamp type, wattage, and wavelength all matter if you want your projects fully cured without sticky spots.
UV Lamp Vs LED Lamp: Which Works Best
Both UV fluorescent lamps and UV LED lamps cure resin, but they do it differently. UV fluorescent lamps use tubes that give off a broad spectrum of light and usually cost less at first. But you’ll need to swap out those bulbs every few months if you use them a lot.
UV LED lamps outlast the old tubes and usually cure resin faster. They focus light right in the sweet spot your resin needs, and they don’t get as hot or suck up as much power.
UV fluorescent lamps cover a wider area, so they’re handy for bigger projects. UV LED lamps are better for detail work and give more consistent results. Which one’s best? Depends on your project size and how much resin work you’re doing.
Wattage And Wavelength Requirements
Most UV resins want light in the 365-405nm range. That’s the UV-A zone, which kicks off the curing reaction without hurting the resin. Always check your resin’s label before you pick a lamp.
At least 24 watts is a good starting point. If you want to cure thicker pieces or speed things up, go for a 36-watt lamp. More wattage means stronger UV output and shorter cure times.
Some pro lamps run in the 320-420nm range, so you get more options with different resin brands. Low-wattage lights barely get the job done and might leave your resin sticky.
Curing Time Based On Your Light Source
A 36-watt UV LED lamp usually cures thin layers in about 2-4 minutes. Thicker pours take 5-8 minutes. If you’re using a UV fluorescent lamp, plan on 50% more time for the same results.
How far your light is from the resin matters, too. Keep your work about 2-4 inches from the lamp for best results. Too far, and you’ll be waiting forever—or dealing with tacky spots.
Rotating your piece during curing helps light hit every angle, especially with 3D shapes. For thick layers, several short curing sessions work better than one long blast.
Proper Curing Techniques For Best Results
Getting UV resin to cure right comes down to three things: how thick you pour, how close your light is, and whether you rotate your piece under the lamp.
Layer Thickness And Curing Success
Thin layers are your friend. UV light only gets 2-3 mm deep in most resins, since the photoinitiators need direct light to kick off the reaction.
Pour anything thicker than 3 mm and the bottom stays sticky. The light just can’t get that deep.
Recommended layer thickness by project type:
- Jewelry and small items: 1-2 mm per layer
- Medium projects: 2-3 mm per layer
- Deep molds: Build up in multiple 2 mm layers
Each layer needs 1-3 minutes under a solid UV lamp before you add more. For layers under 2 mm, you might get away with 30 seconds to 2 minutes. Closer to 3 mm? Give it the full 3 minutes or a bit more.
Distance Between Resin And Light
Your UV lamp works best 2-4 inches above the resin. Too close, and you risk heat spots or yellowing. Too far, and the light gets weak, so you’ll wait longer for it to cure.
Stick with at least 24 watts for your lamp. More power means the light can get deeper, which really helps with thicker layers.
Rotating Your Piece For Even Curing
Rotating your piece makes sure every part gets the same UV exposure. Since UV light travels in straight lines, anything in the shadows won’t cure right.
Turn your piece 90 degrees every minute. For shapes with deep grooves or undercuts, you’ll need to cure each angle separately.
Rotation schedule for complete curing:
- Cure top surface: 2-3 minutes
- Rotate 180 degrees and cure bottom: 2-3 minutes
- Cure each side: 1-2 minutes per side
Pieces with texture or layers need extra attention to those shadowed spots the light can’t hit directly.
Shop our selection of UV resin lights to achieve fast, reliable curing every time.
Troubleshooting Common UV Resin Curing Problems

Sticky surfaces, yellowing, and soft spots pop up a lot when curing UV resin. Usually, these come from incomplete curing, the wrong environment, or not enough UV exposure.
Fixing Sticky Or Tacky Resin Surfaces
If your resin feels tacky after curing, the reaction didn’t finish. Oxygen can stop the top layer from hardening up.
Wipe the surface with isopropyl alcohol (91% or higher) and a clean cloth. That’ll take off the uncured layer. Then, hit it with the UV lamp for another 2-3 minutes.
Common causes of sticky resin:
- Not enough time under the UV lamp
- Weak or low-quality UV light
- Room temperature below 70°F (21°C)
- Humidity above 60%
Try post-curing in water: put your piece in a clear container of water and shine the UV light through it for 3-5 minutes. Water blocks oxygen and helps the resin cure fully.
If your resin still stays sticky after extra curing, your lamp might be too weak or the wrong wavelength. Most UV resins like 405nm.
Preventing Yellowing And Discoloration
UV resin turns yellow when it gets too hot or sits under UV light for too long. The curing process makes heat, and too much will break down the resin.
Keep curing sessions short—try 30-60 second bursts instead of one long go. This keeps things cooler and helps prevent yellowing.
Don’t use a heat gun near UV resin. Those things get way too hot and can cause yellowing fast.
Tips to prevent yellowing:
- Store uncured resin away from sunlight
- Use LED UV lamps—they run cooler than old UV bulbs
- Cure in a cool room (68-75°F / 20-24°C)
- Stick to the manufacturer’s recommended cure time
Dark or black pigments can cause yellowing underneath since UV light can’t get through. Use thinner layers with dark colors.
Dealing With Uncured Or Soft Spots

Soft spots mean some areas didn’t cure all the way. Usually, light didn’t reach every part of your piece.
Air bubbles block UV and leave uncured pockets. Pop bubbles with a toothpick or let the resin sit for 5-10 minutes before curing. Warming the bottle in warm water can help with bubbles, too.
Thick pours over 1/8 inch (about 3 mm) need more time. Cure thick pieces in several thin layers instead of one big pour. Each layer should be 1/8 inch or less.
Rotate your piece so all sides get enough UV light. If you only cure from one direction, some spots will stay soft.
Solutions for soft spots:
- Increase cure time by 50-100%
- Move your lamp closer (2-4 inches away)
- Do an extra post-cure for 2-5 minutes
- Check for anything blocking the light
If you’re working over a dark surface, it can soak up UV and stop curing. Try putting aluminum foil underneath to reflect light back up through the resin.
Get everything you need in one package with our UV resin starter kits for beginners.
Conclusion: Curing UV Resin
Mastering the art of curing UV resin takes practice, but following these tips and best practices will help you achieve professional results every time. With the right equipment, proper technique, and patience to cure in thin layers, you'll avoid common problems like tackiness and soft spots.
Remember that investing in a quality UV lamp and maintaining proper curing distances makes all the difference in your final product. The more you work with UV resin, the more you'll understand how your specific setup performs and what adjustments work best.
Ready to take your resin projects to the next level? Check out our guide on painting resin to add even more creative possibilities to your cured pieces!
Frequently Asked Questions: Curing UV Resin
UV resin cure times run from 30 to 90 seconds per thin layer, but it depends on your lamp’s wattage and how thick you pour. Tackiness usually means you didn’t use enough UV or your lamp isn’t strong enough.
How long does it take UV resin to cure?
UV resin cures in 30 to 90 seconds per thin layer (2-3 mm) depending on lamp power. Always cure in multiple thin layers rather than one thick pour. Thicker layers require longer curing times or a stronger lamp for complete hardening.
How to know if UV resin has cured?
Fully cured UV resin feels hard and dry with no residue when pressed. It should have a solid, glassy finish that doesn't dent under light pressure. Properly cured resin appears clear, not cloudy or soft.
Why is my UV resin still tacky after curing?
Tackiness usually means insufficient UV exposure from a weak lamp or short curing time. Cure the piece longer, wipe with isopropyl alcohol, or place aluminum foil under your mold to reflect more light. Thick layers stay tacky because UV can't penetrate fully, so always use thin layers.
How many watts to cure UV resin?
Use at least a 24-watt UV lamp for proper curing results. 36-watt or 48-watt lamps cure faster and provide better, more consistent finishes. Higher wattage makes a significant difference in final quality and prevents sticky surfaces.


Laisser un commentaire
Ce site est protégé par hCaptcha, et la Politique de confidentialité et les Conditions de service de hCaptcha s’appliquent.