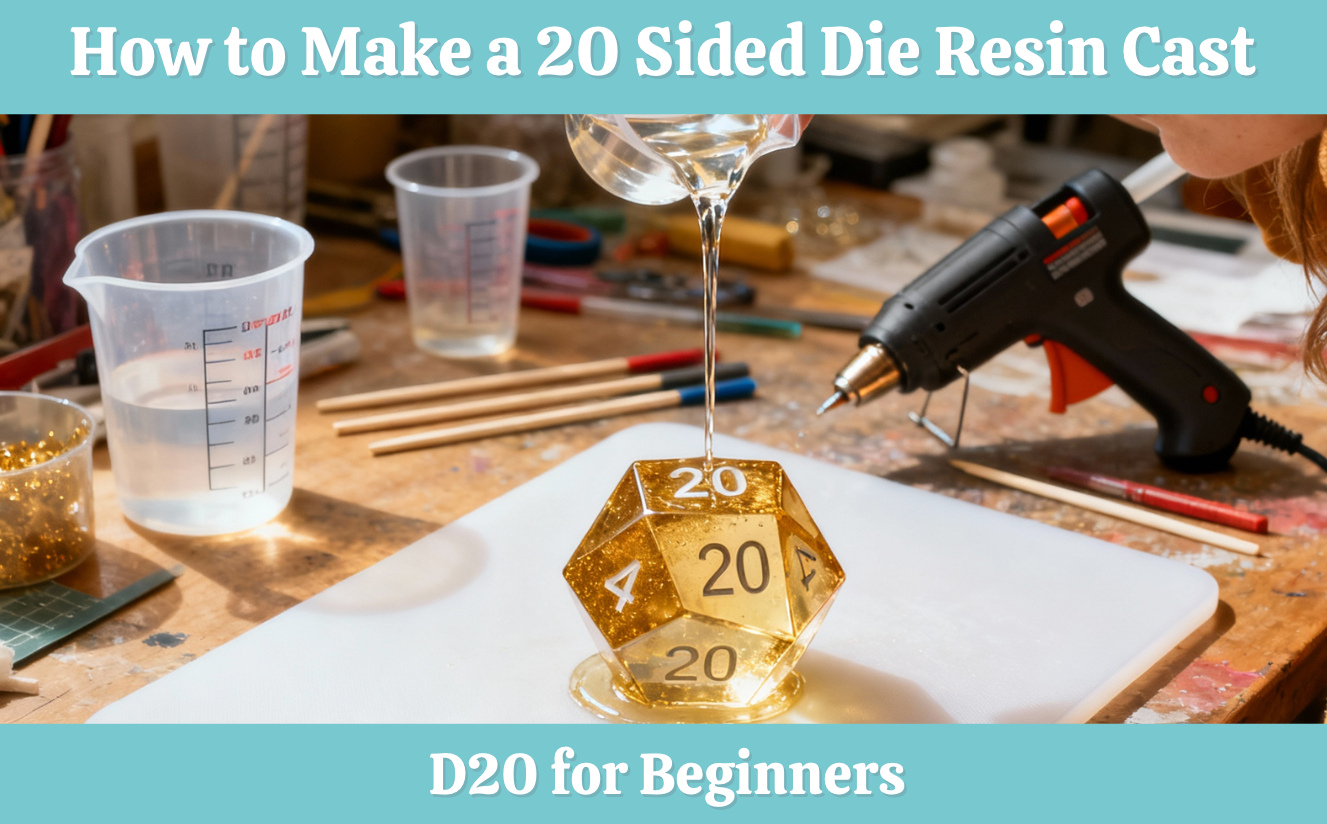
Getting custom polyhedral dice is a game-changer for tabletop players and resin hobbyists. A 20-sided die resin cast (often called a D20) lets you roll in style with your own colors, glitter effects, or even tiny objects sealed inside.
This guide takes you through every step, from mold prep to final polish, using clear instructions and expert tips you can trust.
Quick 20-Sided Die Resin Cast Checklist:
- Choose or 3D-print a quality D20 mold
- Clean mold, rinse with isopropyl alcohol, and apply light mold-release spray
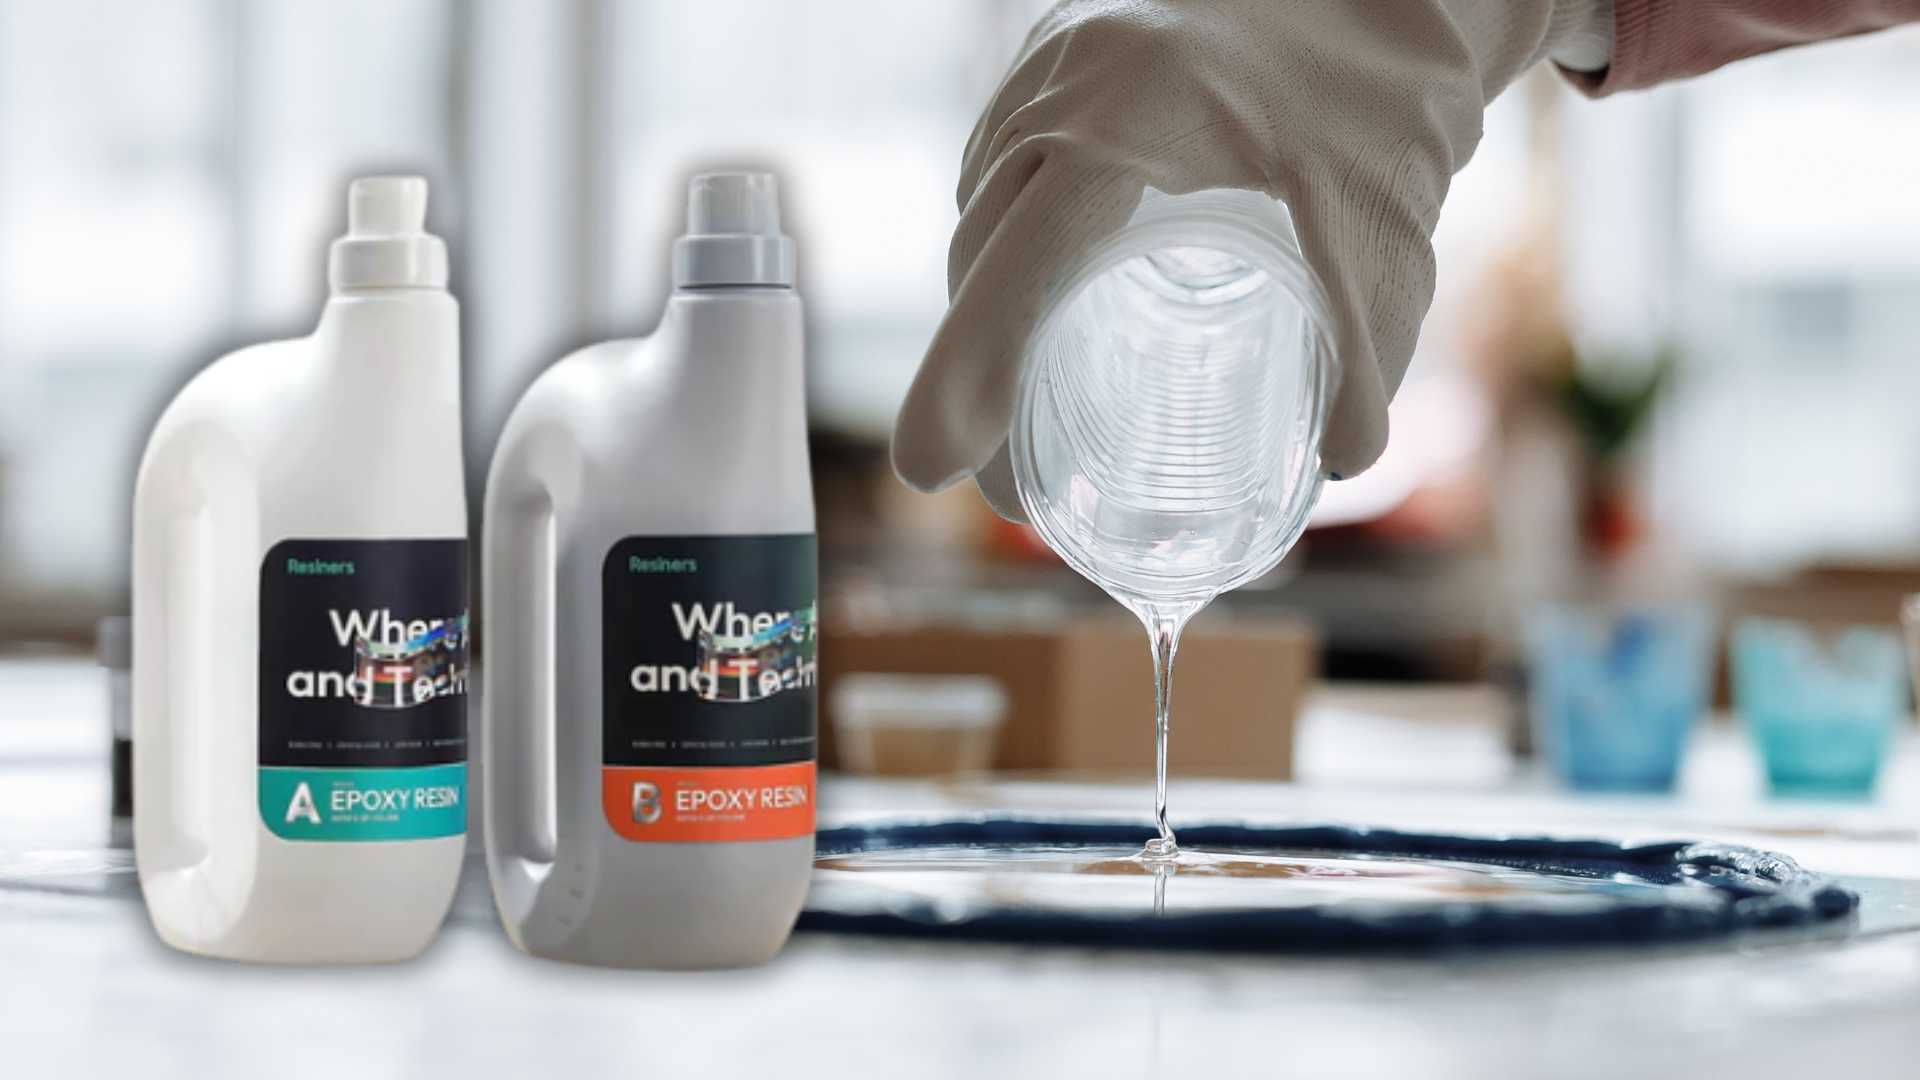
- Pick a low-viscosity epoxy resin and a matching hardener
- Measure resin and hardener by weight (100:30 ratio) on a digital scale
- Mix gently for 60 seconds, scrape sides, mix 30 seconds more
- Add pigments, mica powder, alcohol inks, or glitter after initial mix
- Degas in a vacuum chamber for 2–5 minutes or let rest 10 minutes for bubbles to rise
- Pour resin in thin layers, tapping the mold to release trapped air
- Cure at 20–25 °C for 24–48 hours before demolding
- Sand with 400–2000 grit paper, polish with compound and buffing wheel
- Paint recessed numbers with acrylic ink, wipe excess, and seal with clear coat
Step 1: Choosing and Preparing Your D20 Mold

Selecting the right mold and preparing it correctly sets the foundation for a flawless resin cast. Quality molds yield sharp facets, crisp edges, and consistent results.
Selecting a High-Quality D20 Mold
- Material: Use 100% platinum or tin-cured silicone for durability and chemical resistance.
- Shore Hardness: Aim for a hardness of 30–40 Shore A. This balance ensures the mold is flexible enough for easy part release yet firm enough to maintain sharp corners and flat facets.
-
Source Options:
- Pre-made molds from reputable hobby suppliers or resin specialty stores.
- Custom molds by 3D printing a D20 master, then casting your own silicone mold kit.
-
Mold Design:
- Ensure the mold has a central pour spout and air-vent channels at the tips of the facets to allow trapped air to escape.
- Check for a secure alignment mechanism (registration keys) to prevent seam lines.
Cleaning and Applying Release Agent
- Initial Wash: Rinse the mold with warm water and mild dish soap, then gently scrub it with a soft brush to remove any manufacturing residue.
- Alcohol Wipe: After drying, wipe all interior surfaces with 99% isopropyl alcohol to eliminate oils and dust that can interfere with adhesion.
-
Release Agent Application:
- Use a silicone-safe, PVA-based mold release or a 200 μm PTFE spray.
- Spray a light, even coat inside the mold cavity.
- Wipe away any pools or drips with a lint-free cloth, leaving a thin, uniform layer.
- Drying Time: Allow the release agent to flash off (2–5 minutes) before pouring resin.
Step 2: Resin Selection and Accurate Mix Ratios

Picking the Right Epoxy Resin
Not all epoxies work for dice. You need a low-viscosity casting resin that flows into tiny corners and cures hard enough to take dings.
UV-cure resins are available, but they can discolor and become brittle over time. Standard clear epoxy casting resins are best. Look for products labeled “resin cast” or “deep pour.”
Measuring by Weight for Perfect Ratios
Epoxy cures based on exact resin-to-hardener ratios. For most casting epoxies, the ratio is typically 100 parts resin to 30 parts hardener by weight. Never eyeball it. Use a digital scale with 0.1 g precision.
Steps:
- Place an empty mixing cup on the scale, zero it.
- Pour resin until you hit the resin weight.
- Zero the scale (tare) again.
- Add hardener until you reach the hardener weight.
Mixing Best Practices
Mixing technique makes or breaks your cast. Stir with a flat mixing stick, using a slow, folding motion, rather than whipping.
Scrape the bottom and sides constantly. Mix for at least 60 seconds, then scrape and mix for an additional 30 seconds until the color is completely uniform.
This ensures a full chemical reaction.
Step 3: Degassing and Bubble Control

Vacuum Chamber Degassing
Even careful mixing traps air. A vacuum chamber pulls bubbles out. Place the mixed resin in a chamber twice its volume, then slowly pull 29 inches of Hg.
Watch resin foam up then collapse. After about 2–5 minutes, when no new bubbles appear, release the vacuum.
Let-It-Rest Method
If you don’t have a vacuum chamber, let your mixed resin sit for 10 minutes. Bubbles will rise to the surface and pop. Then pour gently.
Tapping and Vibration
Once you have poured the resin, tap the mold sides or use a vibration pad. This helps small bubbles escape before the cure begins.
Step 4: Layered Pour and Final Filling for a 20-Sided Resin Die
Ensuring a flawless 20-sided die (D20) requires careful control of pour depth, flow, and mold integrity.
Follow these professional tips to achieve a clear, bubble-free finish and precise facet definition.
Layered Pour Technique
- Divide the total resin into 2–3 thin layers rather than one deep fill.
- After pouring each layer, wait 5–10 minutes to allow the exotherm to dissipate and the partial cure to begin. This minimizes heat buildup that can cause yellowing or distortion.
- Lightly vacuum-degas or tap the mold after each pour to release trapped air, thereby improving clarity and preventing voids.
Final Filling and Self-Leveling
- For the last layer, pour the resin slowly into the center of the mold, allowing it to self-level across all 20 facets.
- Aim to overfill slightly (by 1–2 mm) so surface tension creates a gently domed top.
- Once the resin has settled, use a flat spatula or the edge of a credit card to scrape away the excess, ensuring a clean, flush edge with the mold.
Preventing Mold Flash and Leakage
- Secure mold halves with clamps or strong painter’s tape around the seam before pouring to block gaps.
- Keep a paper towel or lint-free cloth nearby to wipe away any overflow immediately—uncured resin is far easier to remove than cured flash.
- Inspect mold edges after each layer; if you spot leakage, pause and re-clamp before continuing.
By applying these layered pour methods and mold-sealing practices, you’ll produce a professional-quality D20 with crisp edges, uniform clarity, and no unwanted flash.
Step 5: Curing and Safe Demolding for a 20-Sided Resin Die
Proper curing and careful demolding are essential to preserve crisp edges, clarity, and a smooth surface finish on your D20 cast.
Ideal Cure Conditions
- Maintain a temperature of 20–25 °C (68–77 °F) and stable humidity (40–60% RH) throughout the cure period.
- Keep the mold away from direct sunlight, as this can cause the resin to overheat, and avoid drafts, which can lead to uneven curing or surface blemishes.
- Cure time guidelines:
– 24 hours minimum before demolding to prevent distortion or tearing
– 48 hours total for full hardness and mechanical strength development
Removing the Die
- Flex the silicone mold gently: Apply even pressure on all sides to peel the mold back from the die rather than pulling the die out.
- If needed, insert thin plastic wedges or guitar picks at the mold seams to start opening the cavity without overstressing the silicone.
- Slow and steady is key: Rushing can lead to mold damage or denting the die’s facets.
Optional Post-Cure for Maximum Hardness
- After demolding, place the die in a dedicated cure oven or warm area at 40 °C (104 °F) for 2 hours.
- This post-cure step promotes additional cross-linking of epoxy molecules, enhancing scratch resistance and dimensional stability.
By following these controlled curing and demolding practices, your D20 will emerge with flawless geometry, peak clarity, and the durability needed for rolling day after day.
Step 6: Sanding, Polishing, and Painting Numbers

These finishing steps transform a raw cast into a professional-quality D20, featuring smooth facets, brilliant clarity, and crisp, durable numbering.
Sanding Steps for Smooth Facets
- Begin with 400-grit wet sandpaper to remove casting lines and surface irregularities.
- Move up grits in sequence—600, 800, 1000, 1500, then 2000—keeping the die submerged or lightly flooded with water to prevent heat buildup and grit clogging.
- Change sanding direction by 45° with each grit to ensure even abrasion and track sanding progress.
Polishing to Glass Clarity
- Apply a plastic-safe polishing compound (e.g., Novus #2 or a dedicated resin polish) to a soft buffing wheel or microfiber pad.
- Hold the die gently by non-critical edges, rotating each facet under moderate pressure to avoid rounding sharp corners.
- Polish until all micro-scratches are removed and the facets exhibit mirror-like clarity.
Painting and Sealing Numbers
- Choose a fluid acrylic ink or enamel paint with high pigment density for crisp, opaque filling.
- Use a fine-point brush or micro-drop applicator to deposit paint only in recessed numerals.
- Immediately wipe away any surface excess with a damp, lint-free cloth before the ink dries.
- After the paint has fully cured (per the manufacturer’s instructions), apply a thin brush-on clear coat, such as polyurethane or epoxy varnish, to lock in the color and add scratch resistance.
By following these precise sanding, polishing, and painting methods, your resin D20 will showcase perfect facets, flawless sheen, and long-lasting, legible numbering, ready for display or gameplay.
Troubleshooting Common Issues for D20 Resin Casting
Even experienced casters encounter problems. Use these expert-backed solutions to diagnose and resolve common defects, ensuring each 20-sided die meets professional standards.
1. Resin Remains Soft or Sticky
- Incorrect ratio: Verify the resin-to-hardener proportions on a digital scale and remix if necessary.
- Insufficient mixing: Stir slowly but thoroughly for at least two minutes, scraping sides and bottom of the container.
- Low temperature: Maintain room temperature between 20 °C and 25 °C to support full chemical reaction.
2. Persistent Bubbles
- Over-vigorous mixing: Stir gently in a figure-eight motion to minimize the amount of trapped air.
- No degassing step: Use a vacuum chamber or allow mixed resin to rest 5–10 minutes before pouring.
- Mold vibrations: After pouring each layer, tap the mold sides firmly or place on a vibrating surface to release surface bubbles.
3. Surface Imperfections (Fish Eyes and Craters)
- Contaminated mold: Clean with warm soapy water, rinse thoroughly, then wipe with isopropyl alcohol.
- Excess release agent: Use a thin, even coat and remove any pooling to prevent repellency spots.
- Spot filling: Mix a small amount of resin, apply to defects with a toothpick, then flash-cure under a UV lamp if using UV-curable resin or wait 10–15 minutes before sanding and polishing.
Implementing these targeted fixes will help you achieve clear, sharp, and flawless D20 casts every time.
Conclusion
Making a 20-sided die resin cast blends art and science. You learned to select and prep your mold, measure and mix resin precisely, add colors or inclusions, degas bubbles, and finish with sanding and painting.
Each step builds on the last to create a smooth, clear, and durable D20 that rolls perfectly.
Keep a simple log of your materials, ratios, and cure times to refine your process. With practice you’ll craft dice that are as beautiful as they are functional.
Ready to upgrade your resin toolkit? Check out these essential collections:
FAQs: How to Make a 20-Sided Die Resin Cast
How much pressure for resin casting?
Most makers use a pressure pot set between 40 and 60 PSI to crush bubbles while the resin cures. Do not exceed the pressure rating of your tank, regulator, fittings, or molds. Hold pressure until the resin reaches gel time listed on the datasheet. Wear eye protection and check for leaks before every cast.
How much resin do you need to make a set of dice?
A standard 7-dice RPG set typically requires approximately 30 to 50 mL of resin, depending on the mold size and number of sprues. The most accurate way to estimate is to fill each mold with water, pour the water into a cup, and read the milliliters; then add 10 to 20 percent for waste. Dry the molds fully before casting. Always mix a little extra so you do not come up short.
How do you cast resin to look like metal?
Use a “cold-cast” method by dusting the mold with fine metal powder, such as bronze or aluminum, then back-fill with resin. You can also mix metallic mica powder or metal powder into the resin for a solid metallic look. After demolding, sand, polish, and burnish the surface to bring out the metal shine, then seal if needed. Work slowly to avoid trapping streaks or clumps.
How thick can you cast resin?
It depends on the resin. Most standard art epoxies are limited to thin pours around 3 to 6 mm per layer to control heat. Deep-pour epoxies can often handle 20 to 50 mm per pour, sometimes more, if room temperature and mold size are managed. Always follow the resin datasheet and use multiple pours for larger blocks to prevent overheating and cracks.


Commenta
Questo sito è protetto da hCaptcha e applica le Norme sulla privacy e i Termini di servizio di hCaptcha.