Learning how to make resin beads opens up a world of creative possibilities for unique jewelry and crafts. This rewarding project requires just a few materials: two-part epoxy resin, silicone molds, decorative elements (like flowers, glitter, or mylar flakes), and basic tools including tweezers.
The process is surprisingly simple—mix resin according to package instructions, pour into molds, add your chosen embellishments, and allow to cure completely.
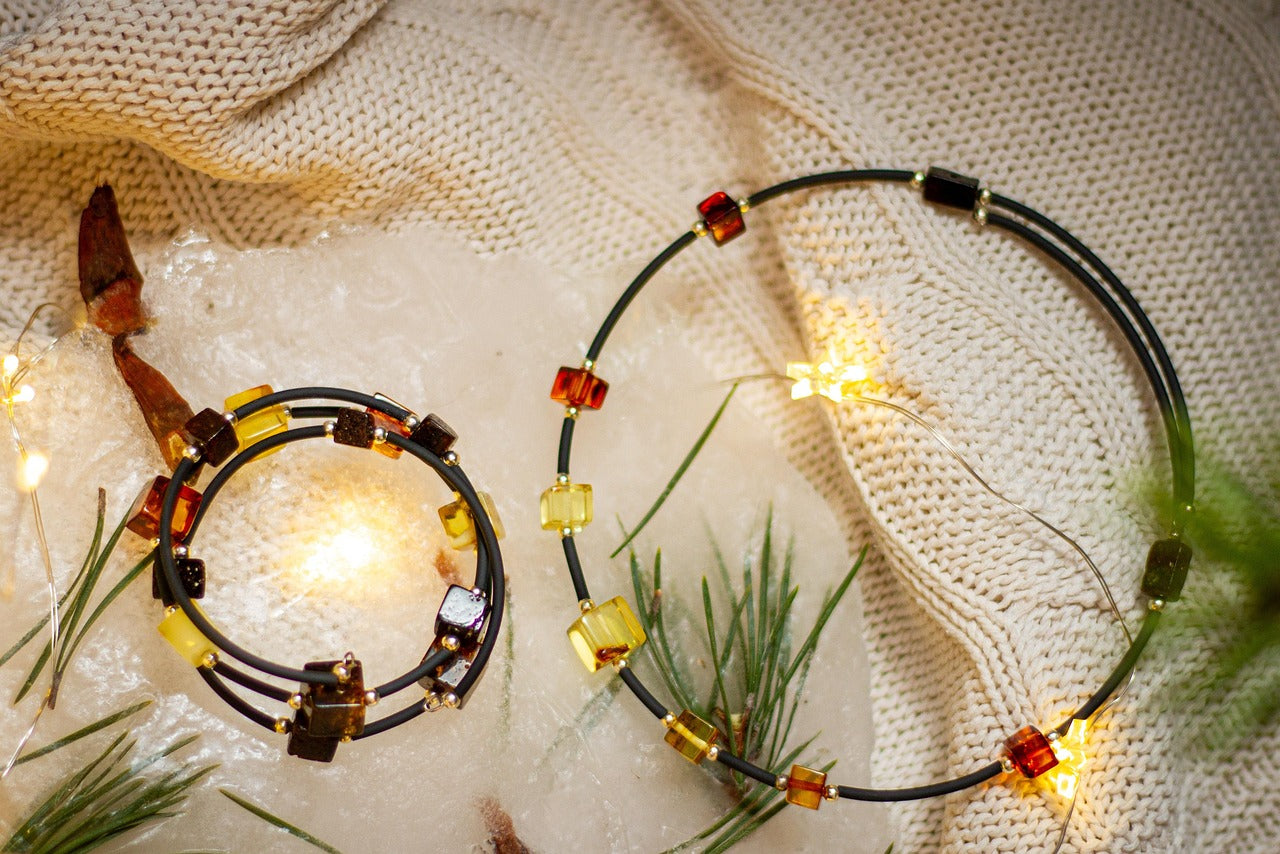
Once hardened, these personalized beads can be strung into necklaces, bracelets, or earrings, each one showcasing your distinctive style.
Read on for our detailed, step-by-step guide to creating stunning resin beads that will elevate your handmade jewelry collection!
What You Need to Make Resin Beads

Making your own resin beads is fun and lets you create unique jewelry. You'll need some basic tools, the right type of resin, and decorative elements to make beads that match your style.
Tools, Materials, and Safety Equipment
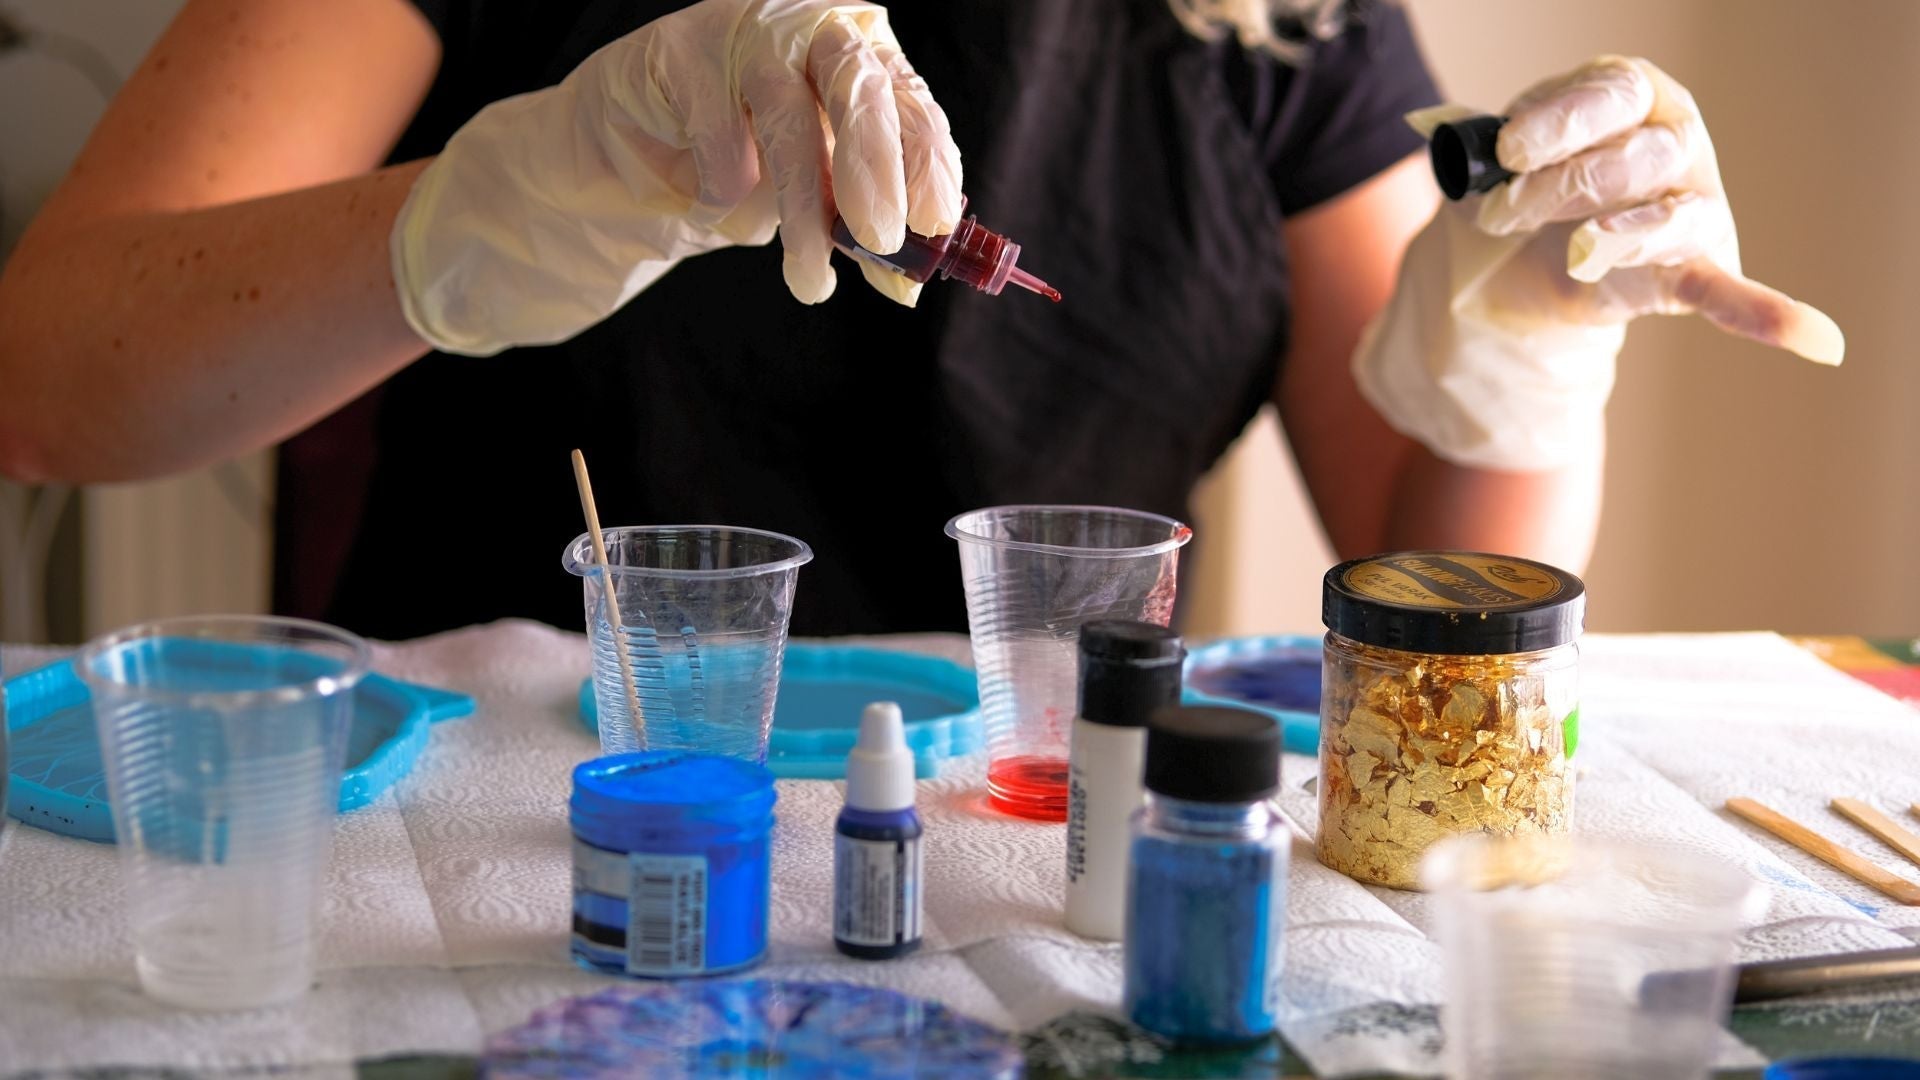
First, you need to protect yourself! Always wear nitrile gloves to keep resin off your skin. It can cause irritation and allergic reactions. Also, work in a ventilated place.
For mixing, you'll need:
- Small measuring cups with clear markings
- Stir sticks (popsicle sticks work great)
- Silicone or plastic molds in bead shapes
- A level surface where your beads can cure undisturbed
Don't forget a timer to track curing times.
Many crafters also use:
- Toothpicks for popping bubbles
- Paper towels for spills
- A small heat gun or lighter to remove bubbles
- Sandpaper (fine grit) for smoothing any rough edges
Types of Resin for Perfect Beads
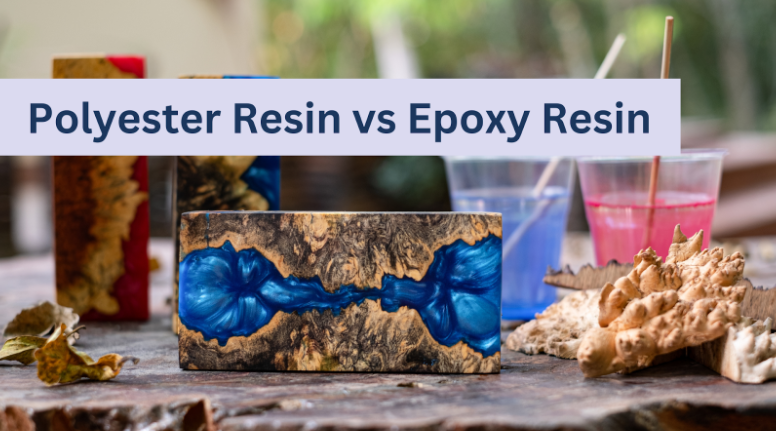
Epoxy resin is the most popular choice for beads. It comes in two parts - the resin and hardener that you mix together. This type creates clear, durable beads that polish up beautifully.
UV resin is another option. It cures quickly under UV light and doesn't need mixing. However, it works best for smaller beads.
Low viscosity resins flow better into detailed mold shapes. They're perfect for tiny beads or intricate designs.
High viscosity resins are thicker and great for adding layers or inclusions without them sinking.
The curing time varies by brand. Some fast-setting resins cure in 24 hours, while others take 72 hours to fully harden.
Colorants, Glitters, and Inclusions
This is where the fun begins! To add color to your beads, you can use:
- Resin dyes (specially made for resin)
- Alcohol inks (create beautiful flowing effects)
- Mica powders and glitter (add shimmer and metallic looks)
You can add cool inclusions like:
- Dried flowers or leaves
- Small beads or microbeads
- Tiny charms or figurines
- Colored sand
Be careful not to add too many inclusions. They might weaken your bead's structure. A little goes a long way! Try layering different colors or inclusions for depth and interest.
Preparing to Make Your Resin Beads

Before diving into the creative process of making resin beads, you'll need to set up properly to ensure good results and stay safe.
1. Set Up Your Workspace
Find a flat, stable surface that you don't mind getting a bit messy. Cover it with a silicone mat or wax paper to protect it from spills.
Make sure you have good lighting so you can see all the tiny details. Keep your workspace dust-free since dust can ruin your beads.
Close windows and turn off fans when pouring resin. Have all your tools within reach before starting - mixing cups, stir sticks, tweezers, and your molds.
Also, keep your work area between 70-75°F (21-24°C) for the best resin curing.
Cold rooms can make resin cure slowly or not at all.
Safety Precautions for Working with Epoxy Resin
- Always wear nitrile gloves to prevent skin irritation and allergic reactions
- Use safety glasses to protect eyes from splashes
- Work in a well-ventilated area with open windows or fans pointing outward
- Consider wearing a mask designed for chemical vapors
- Keep all resin materials away from children and pets
- Never eat or drink while working with resin (toxic if swallowed)
- Clean spills immediately with rubbing alcohol
- Keep paper towels handy for accidents
- Wash hands thoroughly after handling resin, even when wearing gloves
Planning Your Bead Designs
- Sketch ideas before mixing resin to visualize final products and calculate resin amounts
- Select complementary colors (resin pigments, alcohol inks, and mica powders create different effects)
- Test color combinations on a small scale first
- Choose appropriate inclusions (dried flowers, glitter, gold flakes)
- Ensure all inclusions are completely dry to prevent ruining the resin
- Plan for stringing holes by inserting toothpicks or eye pins while resin is soft
- Select mold shapes based on your project needs (round, diamond, irregular shapes)
Making Resin Beads with Silicone Molds
Silicone molds are the secret to creating beautiful resin beads at home. These flexible tools make it easy to shape your resin into perfect beads every time.
Choosing the Right Molds for Your Beads
Square molds offer beginners an easy starting point with visible cavities that showcase your additions. For traditional jewelry pieces, round or oval molds create timeless shapes that work beautifully in necklaces and bracelets.
When selecting molds, look for:
- Pre-made holes for easy stringing
- Smooth inner surfaces for professional finishes
- Flexible silicone that releases beads without tearing
Many crafters begin with multi-shape molds to experiment with different styles. Quality matters—premium molds prevent bubbles and imperfections that can ruin your creative work.
Struggling with bubbles in your resin beads? Our guide covers creation basics, but for bubble-free results, explore our guide: Tested Tips & Best Practices for Perfect Bubble Removal for expert techniques.
Mixing and Pouring Technique
Always prepare all supplies before mixing, as resin begins hardening quickly. Follow the package instructions carefully, typically combining equal parts resin and hardener.
Steps for perfect pouring:
- Stir slowly for 2-3 minutes to minimize bubbles.
- Use a syringe for precise cavity filling (about 90% full).
- Tap mold gently against your work surface to release trapped air.
- Remove remaining bubbles with a toothpick or gentle breath.
Adding Embellishments and Layers
This is where your creativity truly shines! Personalize your beads with glitter, dried flowers, mylar flakes, or colorful dyes.
For dimensional effects, pour a base layer of clear resin first and let it gel for about 30 minutes.
Design tips:
- Position elements at different depths for a floating effect
- Use a toothpick for precise placement of tiny items
- Keep designs relatively simple for professional results
Allow your beads to cure completely according to your resin's instructions before removing them from the molds.
Creating Custom Resin Beads Without Molds
You don't need special molds to create stunning resin beads. This resourceful approach helps utilize leftover resin while showcasing your unique creative vision.
Making Freeform Resin Beads
Start with a non-stick surface like a silicone mat or wax paper. Pour small drops of mixed resin, using toothpicks to guide it into desired shapes.
For perfectly round beads:
- Drop resin onto plastic wrap where surface tension naturally creates domes
- Wait until resin becomes tacky (30-45 minutes depending on type)
- Gently shape with gloved fingers when at the right consistency
- Poke holes for stringing while still soft using a toothpick
Using Leftover Resin Creatively
Small amounts of leftover resin make perfect beads—never waste it again! Transform ordinary remnants by adding colorants, glitter, or mica powder.
Try these techniques with extra resin:
- Mix different colors for marbled effects
- Incorporate tiny dried flowers for botanical designs
- Add gold flakes for luxury appearance
Let resin partially cure until it reaches a clay-like consistency before shaping with your fingers. This method works with both epoxy and UV resin (UV resin users can quickly cure between shaping steps).
Shaping Techniques for Handmade Beads
Once resin reaches the tacky stage, put on gloves and begin forming your unique pieces. Roll between palms for round beads or press against your work surface for flat discs.
Creative shaping ideas:
- Snip partially cured resin with scissors for geometric shapes
- Roll into thin snakes and cut for tube beads
- Press textured objects into the surface for interesting patterns
Remember that handmade beads charm with their unique qualities. For professional finishing, lightly sand rough edges after curing and add a final coat of clear resin for extra shine and durability.
Embedding Objects in Your Resin Beads

Incorporating items into your resin beads creates personalized jewelry that showcases your unique style. The right techniques help you capture beautiful elements within crystal-clear resin.
Flowers, Glitter, and Other Inclusions
Dried flowers create stunning natural elements in resin. Always ensure they're completely dry to prevent browning—small blooms like forget-me-nots and baby's breath work perfectly in standard bead molds.
Popular inclusions to consider:
- Fine or chunky glitter for varied sparkle effects
- Biodegradable glitter for eco-friendly crafting
- Mica powder for subtle pearlescent shine
- Tiny seashells for beach-themed designs
- Small charms or miniature figurines
- Colored sand or spices for natural tints
Photos can also be embedded—just print on waterproof paper, cut to size, and seal with mod podge before adding to prevent resin damage.
Creating Clear, Bubble-Free Encapsulations
For crystal-clear results, warm resin bottles in warm (not hot) water for about 5 minutes before mixing to improve flow. Mix slowly in a figure-eight pattern rather than whisking quickly, then let the mixture rest for 5 minutes to allow bubbles to rise.
Remove stubborn bubbles by:
- Popping with a toothpick
- Gently breathing on the surface (the carbon dioxide helps break bubbles)
- Carefully using a heat gun or torch (avoid overheating molds)
Layering Techniques for Depth
Achieve impressive 3D effects by pouring a thin base layer of clear resin and letting it cure until tacky (30 minutes to 2 hours depending on your resin). Add your first elements, cover with another thin layer, and repeat to create a "suspension" effect where objects appear to float.
Create visual interest with:
- Colored resin layers for rainbow effects
- Swirled colors for marble patterns
- "Snow globe" effects by adding tiny glitter to your final layer
Finishing Your Resin Beads
Once your resin beads have cured, it's time to give them that professional look. The finishing process will make your beads shine and prepare them for use in your jewelry projects.
Demolding Without Damage
Removing beads from molds can be tricky. Wait until your resin is fully cured before you try to take them out. Most resins need 24-48 hours to harden completely.
Try gently flexing silicone molds to loosen the beads. Don't pull too hard or you might crack your creation! If a bead seems stuck, put the mold in the freezer for 10-15 minutes. The cold makes the resin shrink slightly, making removal easier.
For stubborn beads, try using a tiny bit of soapy water around the edges. This works as a lubricant. Remember to pat your beads dry afterward with a soft cloth. Never use sharp tools to pry beads out—they'll leave marks on your beautiful work!
Sanding and Polishing for Professional Results
Start sanding with wet sandpaper in this order:
- 400 grit (for rough spots)
- 600 grit
- 800 grit
- 1200 grit (for final smoothing)
Keep the sandpaper wet while working to prevent scratches. Sand in small circles, not straight lines.
After sanding, your beads will look dull. Don't worry! Polishing brings back the shine. Use a polishing compound with a soft cloth or a rotary tool with a felt polishing tip. Rub in small circles until the bead gleams.
You can also try resin polish products made specifically for this purpose. Some crafters add a thin final coat of resin as a "dome coat" for extra shine.
Drilling Holes in Your Homemade Resin Beads
Drilling holes lets you string your beads into necklaces and bracelets. Use a small hand drill or Dremel tool with a 1-2mm drill bit.
Mark where you want the hole with a dot using a permanent marker. Place your bead on a piece of scrap wood or a drilling block for support.
Drill slowly with light pressure. Too much force can crack your bead! It helps to:
- Dip the drill bit in water every few seconds
- Take breaks to prevent overheating
- Drill halfway through, then flip and drill from the other side
After drilling, smooth any rough edges with fine sandpaper. Rinse your beads to remove any dust before adding them to your jewelry designs..
Common Resin Bead Problems
Even experienced crafters encounter issues with resin beads. Here's how to solve the most frequent problems:
Fixing Sticky or Tacky Beads
Why it happens:
- Improper mixing of resin and hardener
- Workspace too cold (below 70°F)
- Incorrect ratio of components
Solutions:
- Recoat with a thin, properly-mixed layer
- Allow extra curing time (72+ hours)
- Wipe with 91% isopropyl alcohol
Removing Bubbles
Prevention tips:
- Mix slowly in one direction
- Warm components in water before mixing
- Work in thin layers
Bubble removal:
- Use a heat gun or torch (6 inches away)
- Try your warm breath for delicate pieces
- Pour, remove bubbles, then add more layers
Solutions for Cloudy or Yellowing Beads
Preventing problems:
- Work in dry environments (humidity below 50%)
- Store finished pieces away from sunlight
- Add UV stabilizers if beads will be exposed to sun
- Invest in quality resin materials
Fixing yellowed beads:
- Soak in hydrogen peroxide under UV light
- Sand lightly and apply fresh coating
- Add a clear UV-resistant topcoat
Creative Projects Using Your Homemade Resin Beads

Now that you've created your beautiful resin beads, let's explore ways to showcase them! These handmade treasures make wonderful gifts or items to sell.
Jewelry Projects
Transform your beads into bracelets with hemp or string, necklaces with varied bead combinations, delicate earrings, or decorative rings. Mix your resin creations with wooden beads, metal spacers, or crystals for unique pieces.
Practical Accessories
Create design bar keychains that make perfect daily-use gifts. Phone charm straps offer another fun option for displaying your colorful creations.
Home Décor
Incorporate beads into beaded curtains, wind chimes, or hanging plant holders. Bookmarks with beaded ends and tassels combine beauty with function.
Beads containing dried flowers make especially striking conversation pieces in any project!
Conclusion
Making resin beads is a fun way to make your own jewelry. With the right tools and practice, you can create pretty beads quickly!
Take time to mix thoroughly, allow the mixture to rest before pouring, and fill molds carefully to prevent air bubbles. Square molds are ideal for beginners, and patience during curing yields superior results.
Experiment with colors, glitter, and dried flowers to create unique pieces. Your creativity has no limits in this rewarding craft.
Frequently Asked Questions
How long do resin beads last?
High-quality resin beads can last 5-10 years or longer when properly made and cared for. Fully cured epoxy resin offers excellent durability against water, general wear, and UV light when stabilizers are present.
Store your beads away from direct sunlight and harsh chemicals to maximize longevity, and consider applying a UV-resistant topcoat for additional protection.
How to make resin acrylic beads?
Creating resin acrylic beads involves mixing epoxy resin according to manufacturer instructions, then adding 5-10% acrylic paint by volume for vibrant, customized results. Pour the thoroughly mixed colored resin into bead molds and allow to harden completely before demolding.
For best results, use artist-quality acrylic paints rather than craft acrylics, as they contain higher pigment concentrations without compromising the resin's curing process.
How to start making resin jewelry?
Begin by investing in quality epoxy resin, silicone molds, mixing supplies, and basic jewelry findings like jump rings and earring hooks. Start with simple projects such as pendant necklaces or stud earrings while focusing on mastering fundamental techniques including proper mixing ratios and bubble prevention.
Join online communities or workshops to learn from experienced crafters, as the resin learning curve involves trial and error that community guidance can help navigate.
What is the best resin for beads?
Epoxy resin offers the optimal combination of clarity, durability, and workability for bead-making projects. Look for jewelry-grade epoxy with a 1:1 mixing ratio, low viscosity for easier pouring, and UV-resistant properties to prevent yellowing over time.


Commenta
Questo sito è protetto da hCaptcha e applica le Norme sulla privacy e i Termini di servizio di hCaptcha.