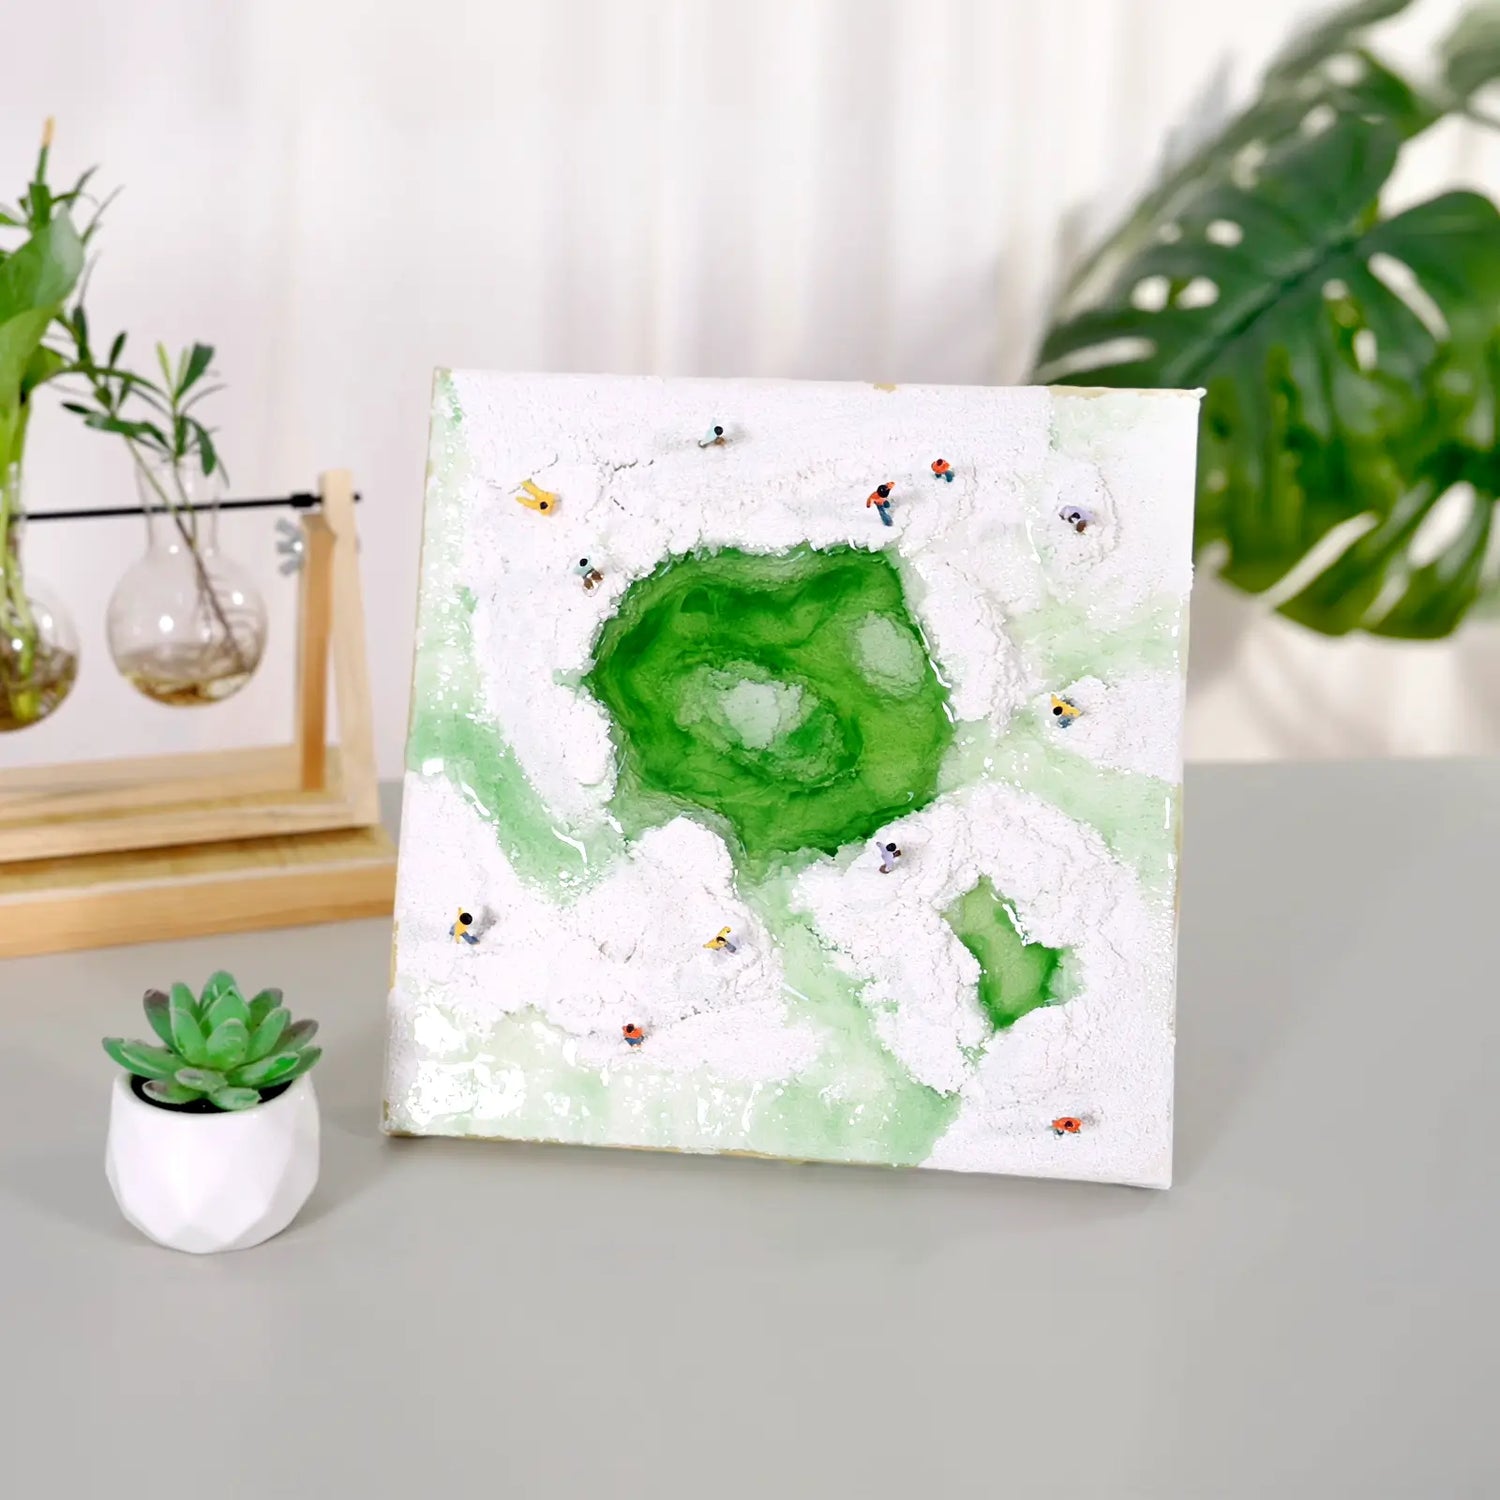
Creating a mini salt lake diorama is a fun and creative project that lets you bring a slice of nature into your home. Follow this step-by-step guide to craft a stunning diorama inspired by the unique beauty of salt lakes.
Materials Needed
- Epoxy resin
- Alcohol Ink for Epoxy Resin(Green and Yellow)
- Canvas board
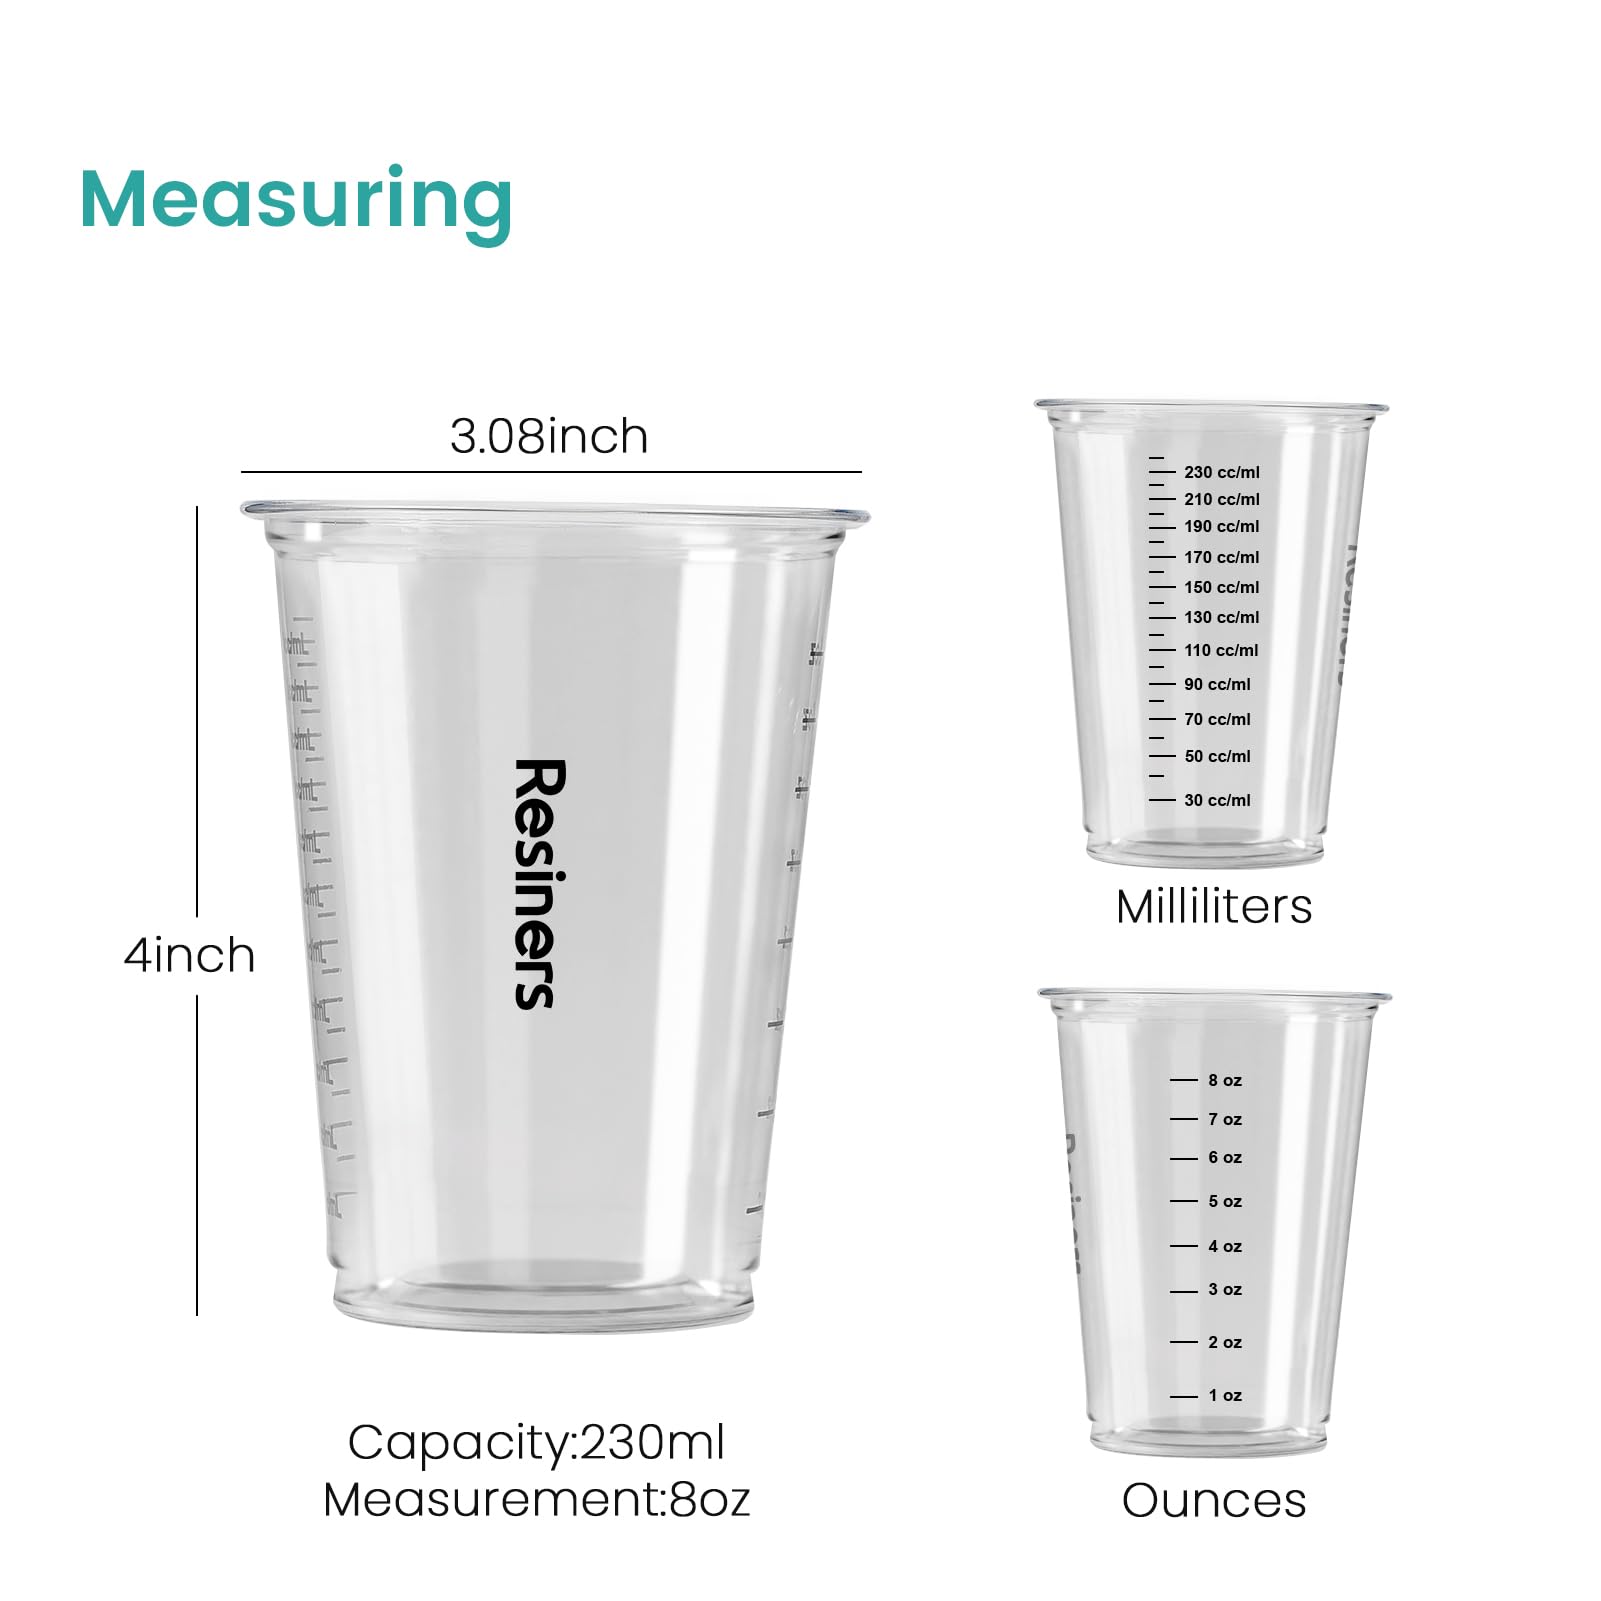
- Mixing cups and sticks
- Disposable gloves
- Quartz sand
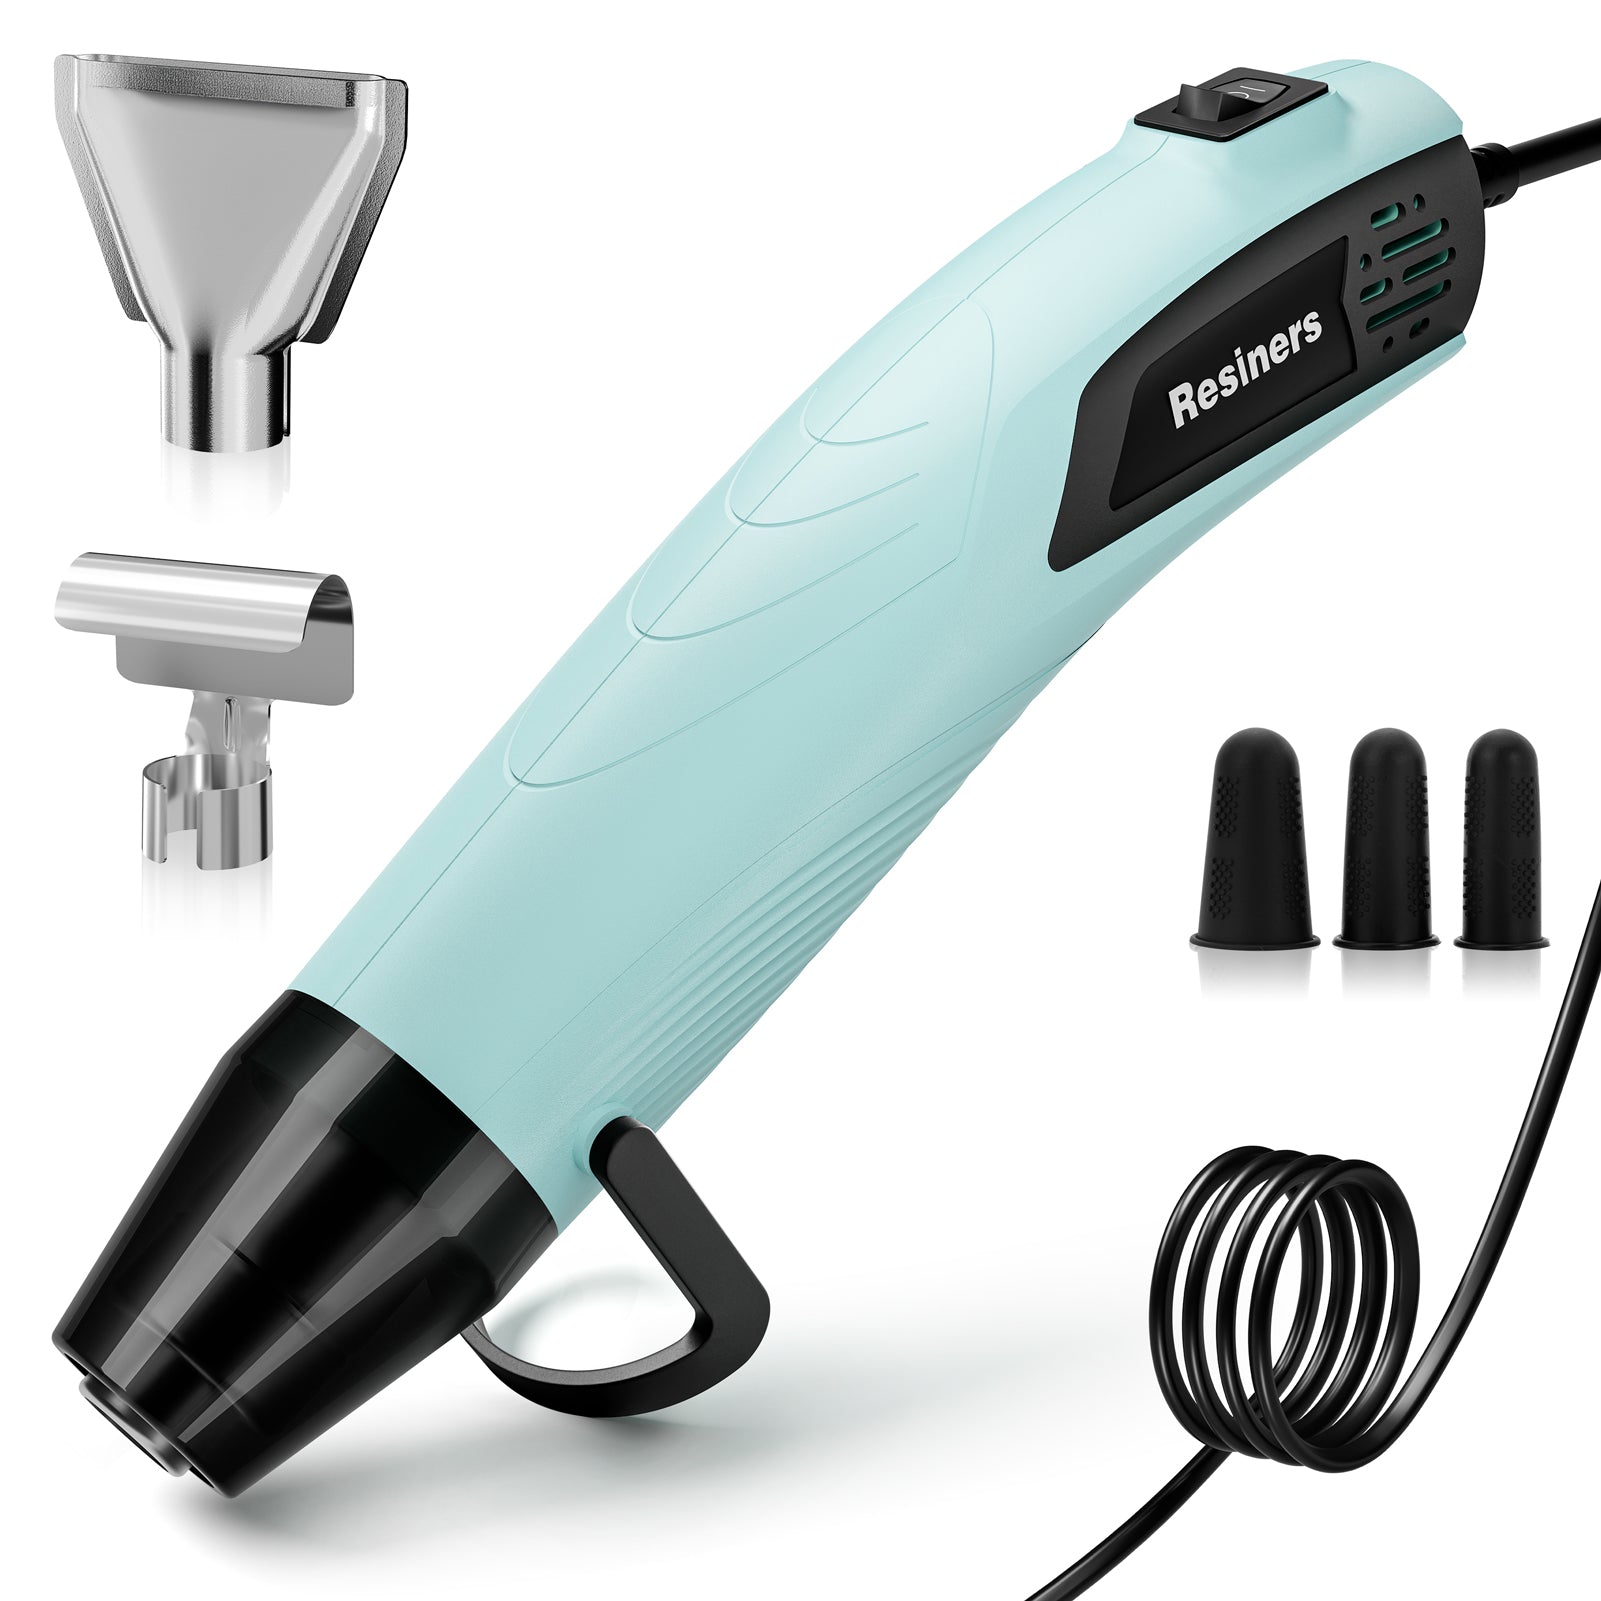
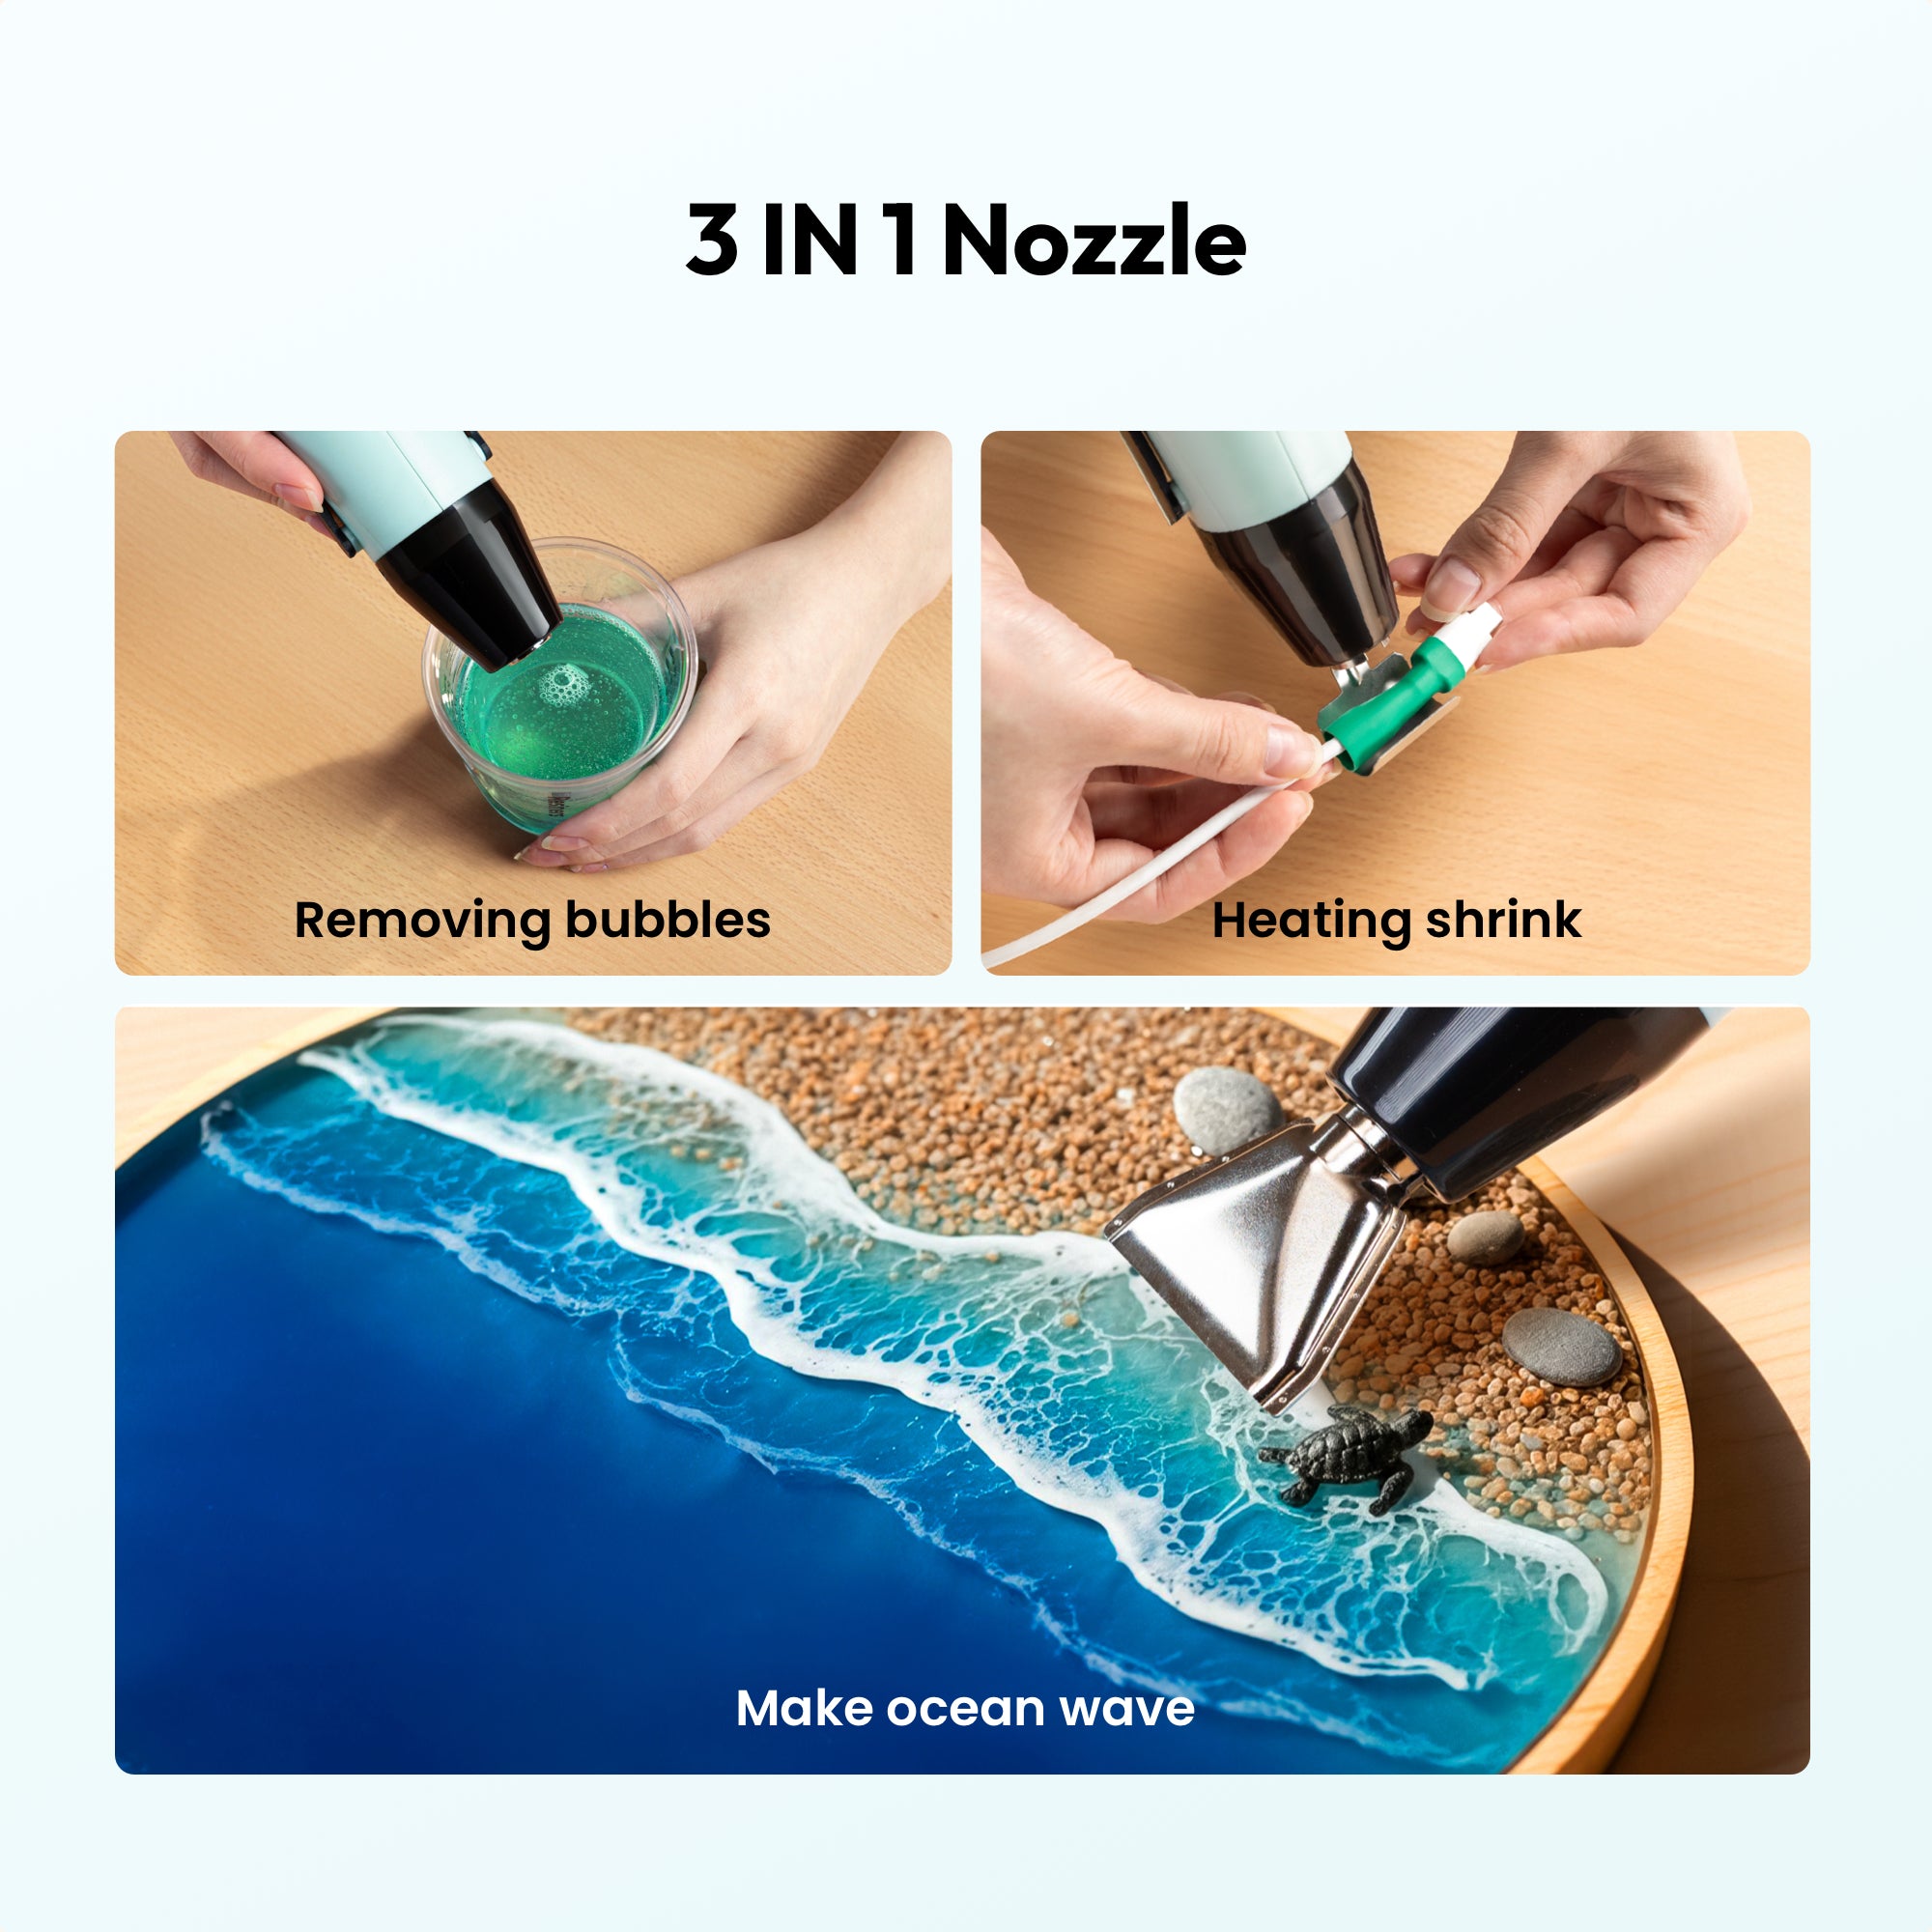
- Heat gun
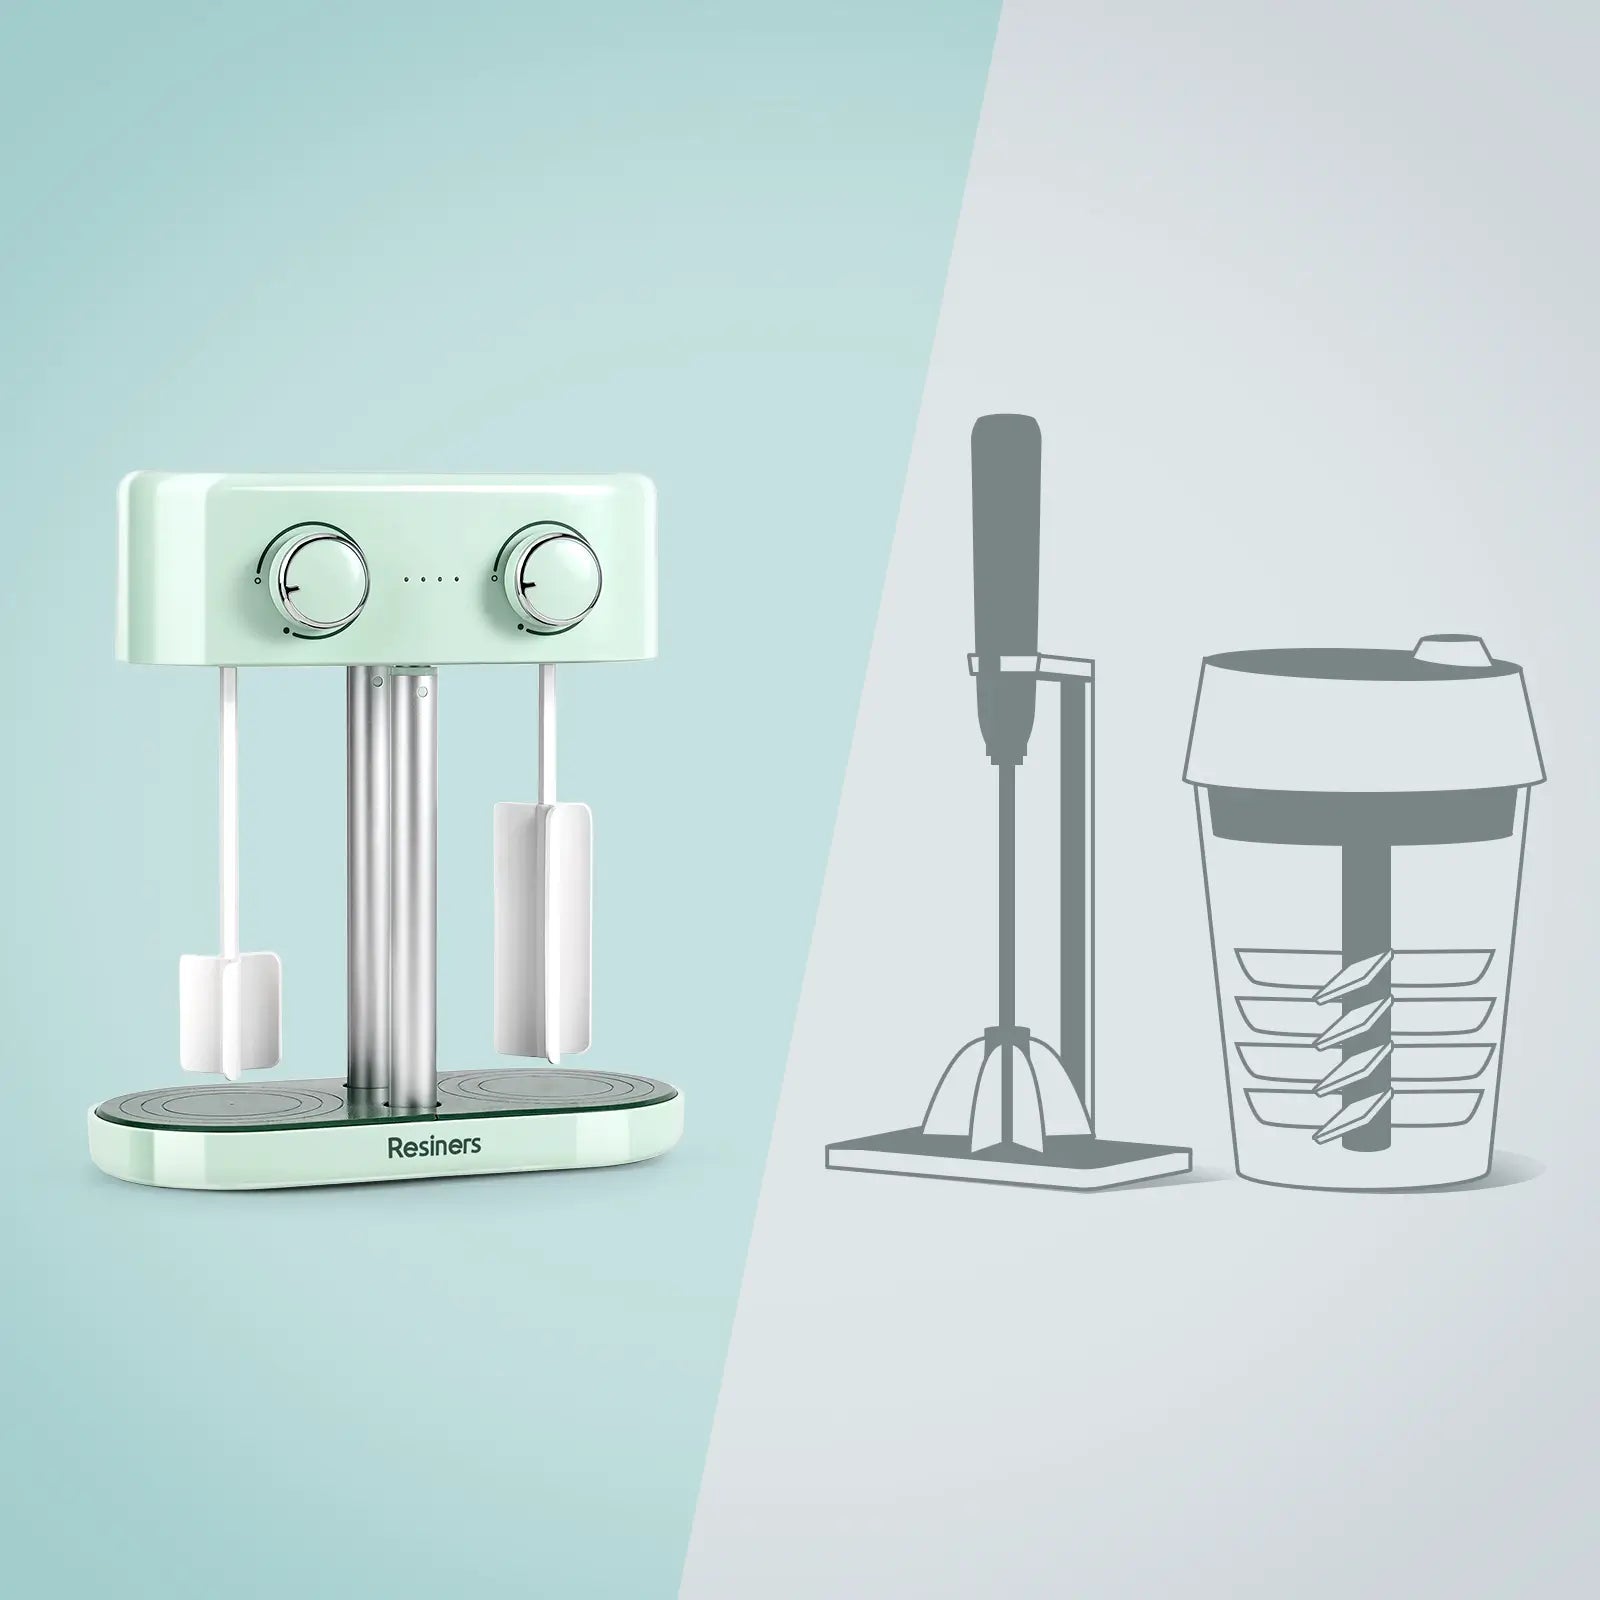
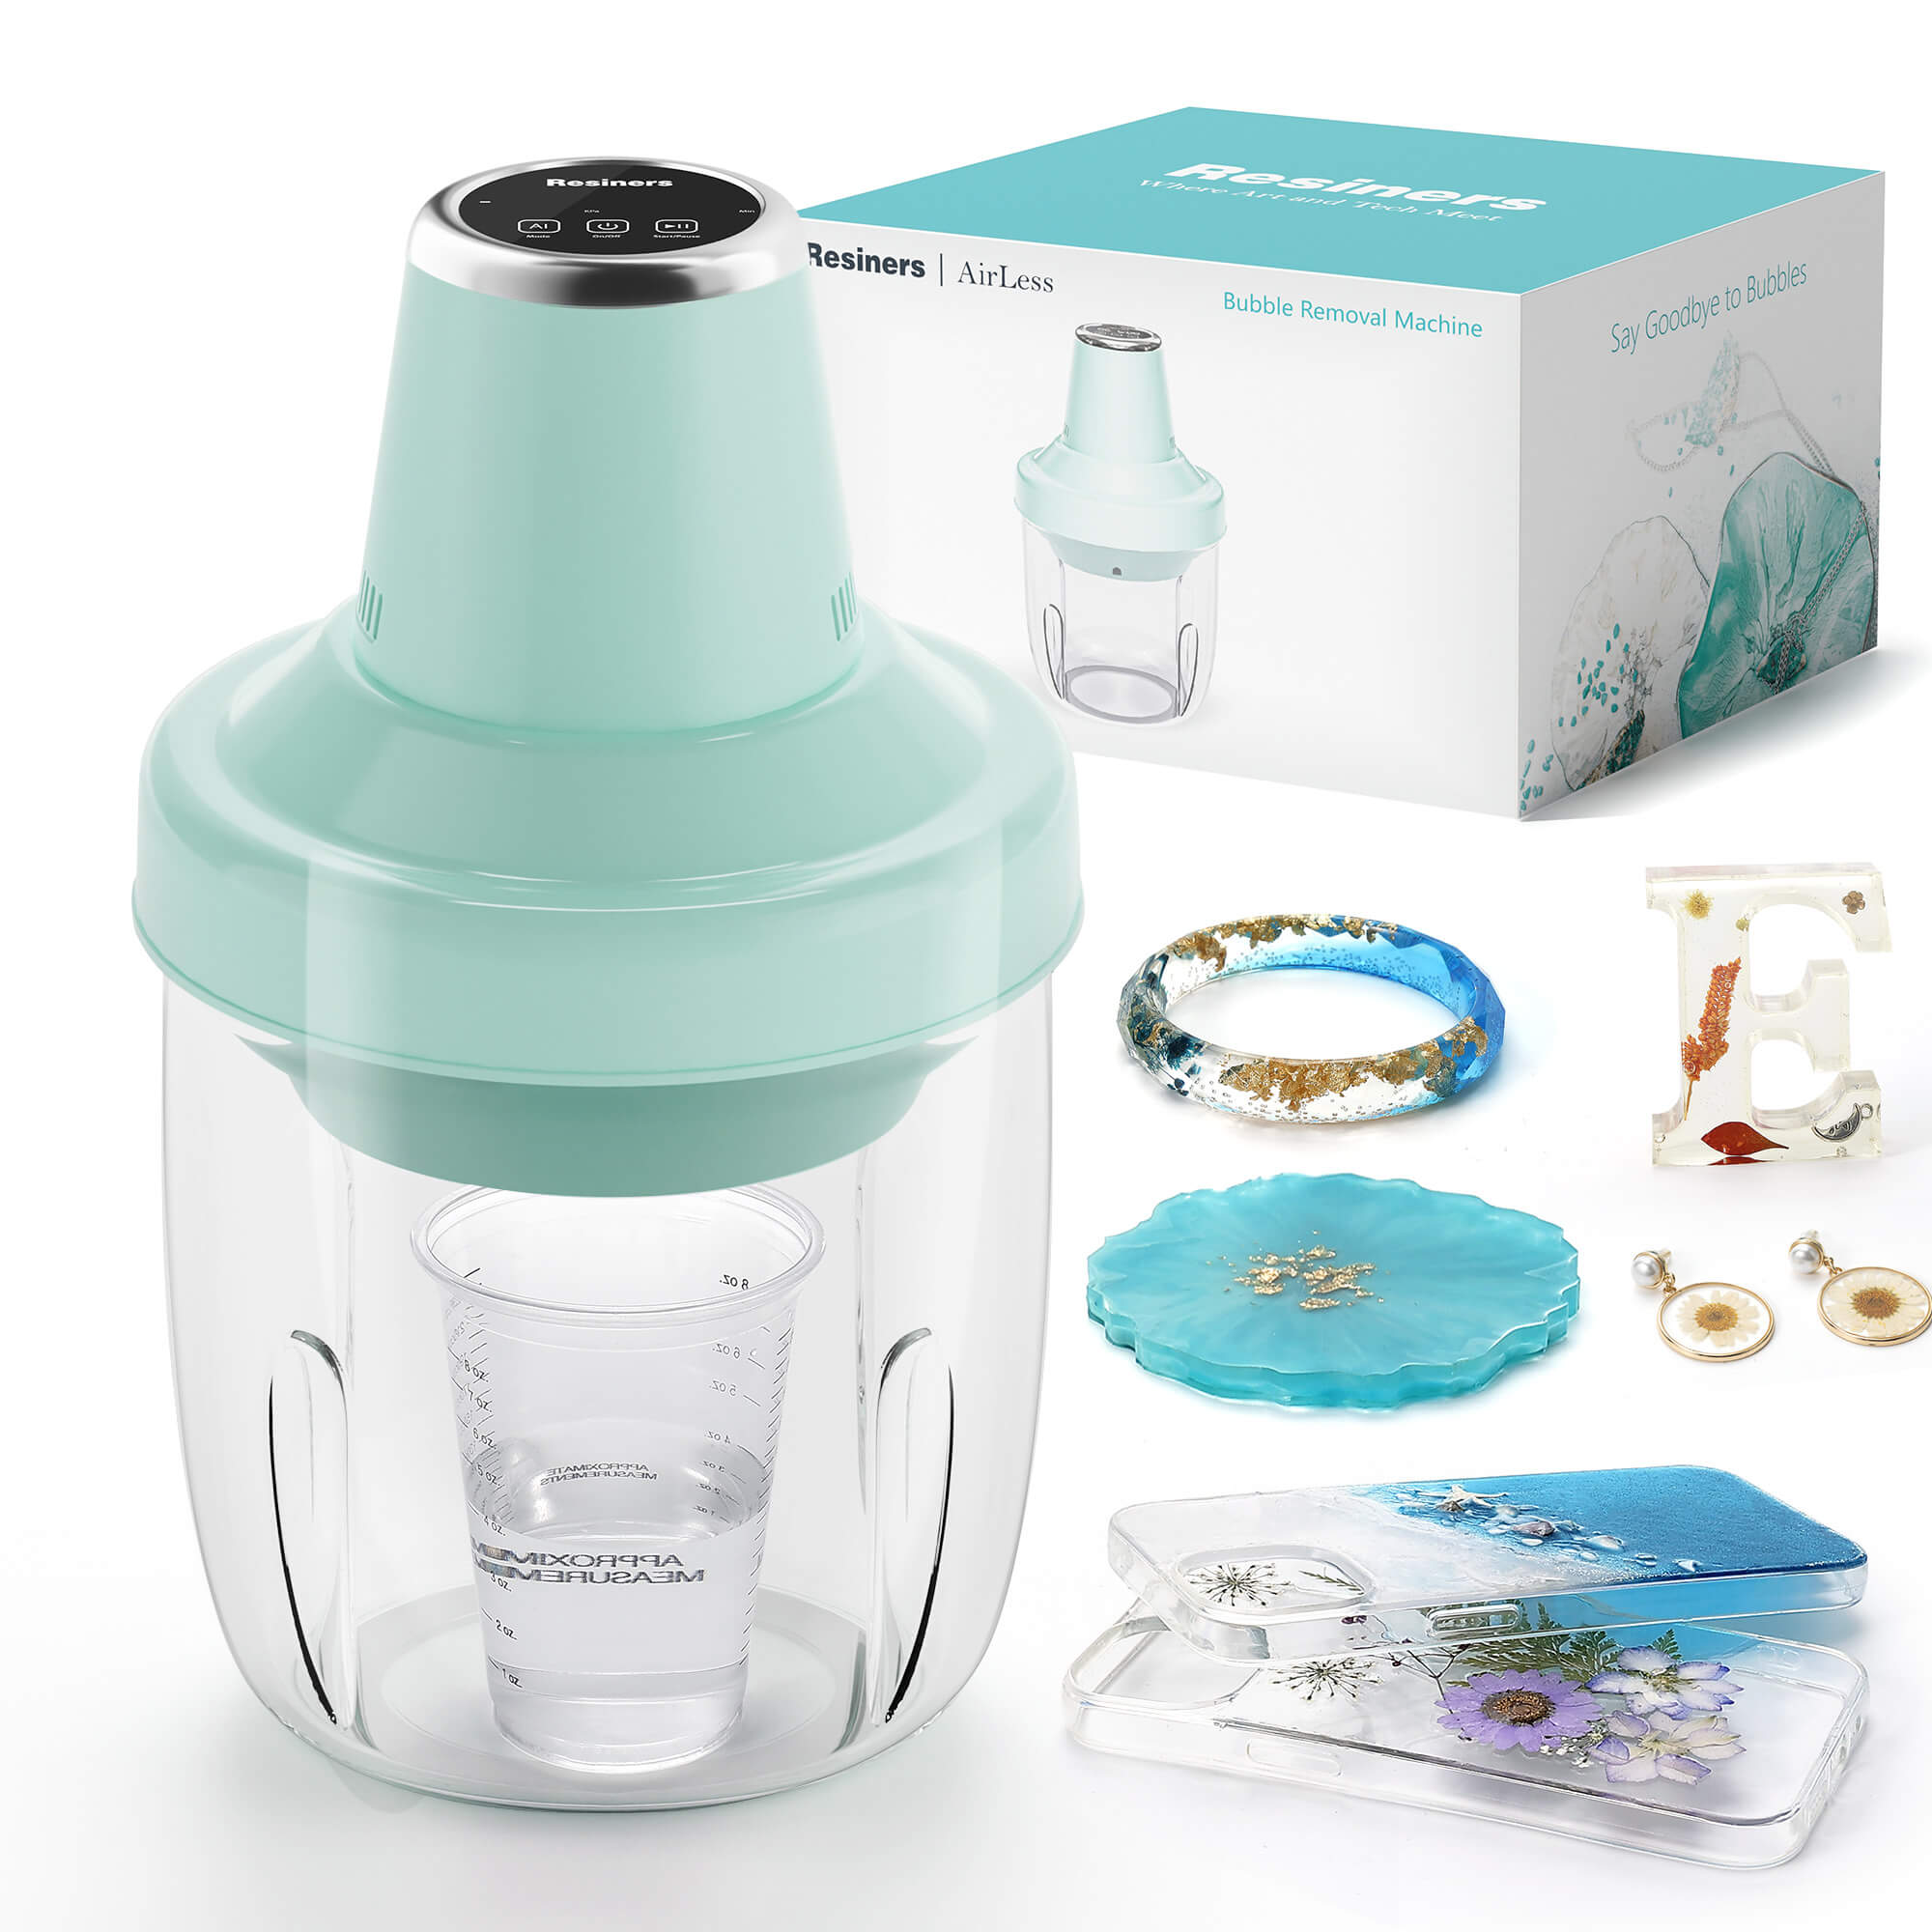
- AirLess bubble removal machine
- White acrylic paint
- Miniature people, small rocks and natural elements (optional)

Step-by-Step Instructions
Step 1: Prepare the Canvas and Shape the Terrain
First up, grab your canvas board as the base. Now, take your clay and start shaping it into little mountains on the board. Don’t forget to spray a bit of water while you mold—it’s like giving your clay a spa day! This helps the clay stick better to the canvas. Make sure those mountains look natural; we’re aiming for “wonder of nature” not “what’s that lump?”

Step 2: Mix Acrylic Paint and Quartz Sand
Now, let’s mix white acrylic paint with quartz sand at a 1:1 ratio. Stir it up until it’s well blended. It’s like making a smoothie, but instead of fruit, we’re making art! Use a clean stirring stick to spread the mixture evenly on the canvas. When you’re painting the mountains, layer it up like you’re making a lasagna—more layers, more flavor!

Step 3: Creating Salt Lake Effects
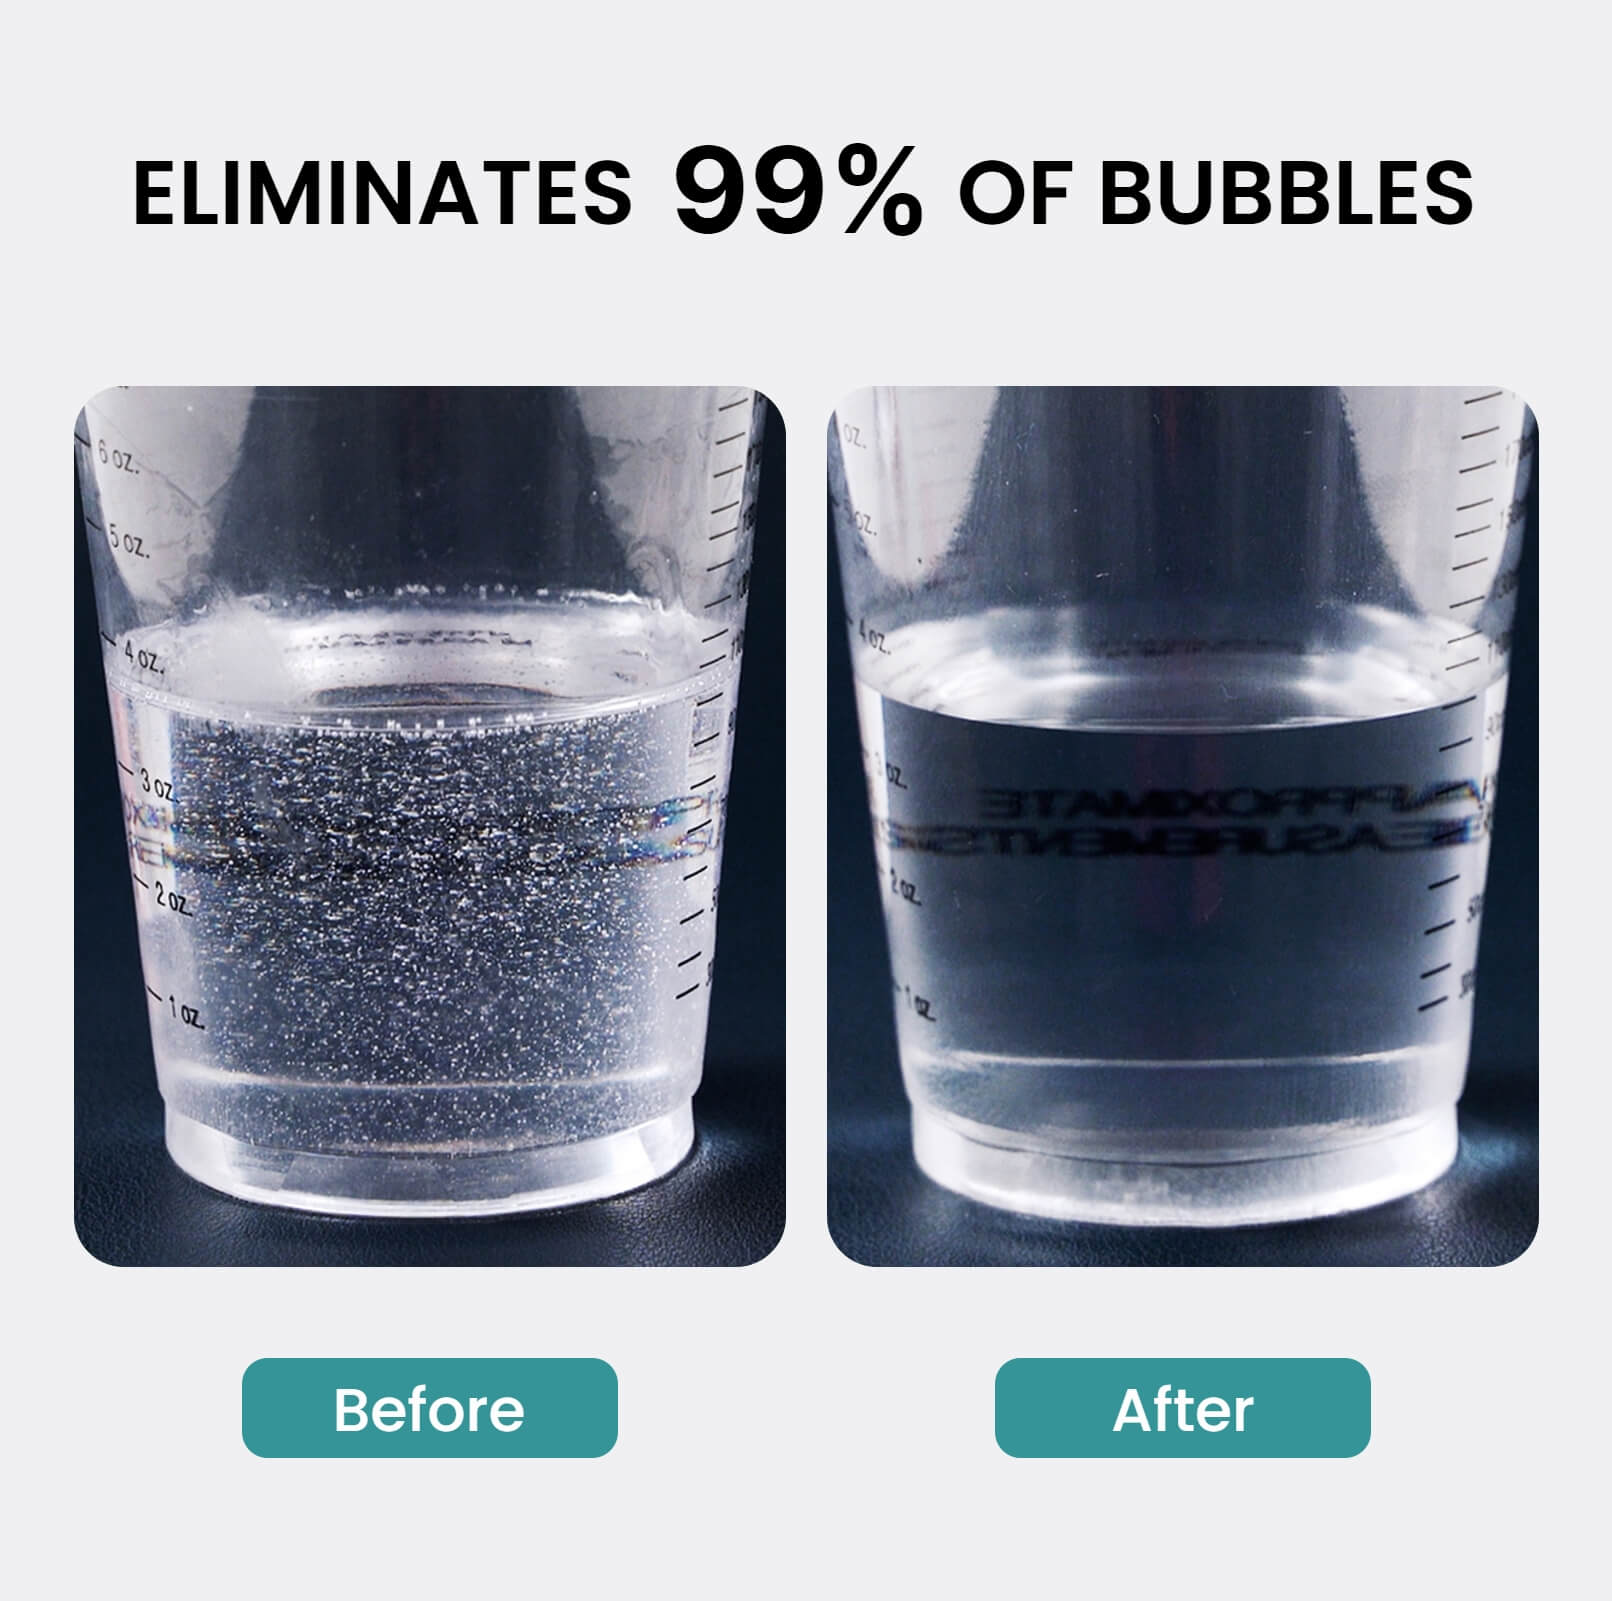
Take out your epoxy resin and add green alcohol ink to one cup of resin and light green alcohol ink to another cup, then stir both well. Use our bubble removal machine to get rid of any bubbles in the resin. Look at this clean lake water—it’s so clear, I could say it’s clearer than my future! Now, carefully pour your future into the mold,I mean resin.haha .Take out our heat gun and create some beautiful water patterns in the lake.

Step 4: Adding Miniature People and Elements
Finally, let’s add those miniature people! Place them wherever you like—they can be enjoying a day at the lake, or just trying to figure out why they’re so tiny. Just remember, the more quirky the placement, the better! “Why is that tiny guy doing yoga on a mountain?”—who knows, maybe he’s the zen master of the salt lake!

Step 5: Curing the Resin
Allow the resin to cure completely. Depending on the resin you're using, this can take 24-48 hours. If you have a UV light, you can speed up the curing process for smaller projects.

Step 6: Displaying Your Diorama
Your mini salt lake diorama is now ready to be displayed! Place it on a shelf, desk, or any other spot where you can admire your handiwork. It also makes a unique and thoughtful gift for nature lovers and craft enthusiasts.

Tips for Success
- Work in a Dust-Free Environment: Dust can settle on the resin and create imperfections.
- Use Quality Pigments: High-quality pigments will give you vibrant colors and better mixing results.
- Experiment with Textures: Adding different textures like sand or small pebbles can enhance the realism of your diorama.
- Be Patient: Allowing each layer to cure properly ensures a professional-looking result.
By following these steps, you can create a beautiful mini salt lake diorama that captures the serene and unique beauty of salt lakes. Happy crafting!










Lämna en kommentar
Denna webbplats är skyddad av hCaptcha och hCaptchas integritetspolicy . Användarvillkor gäller.