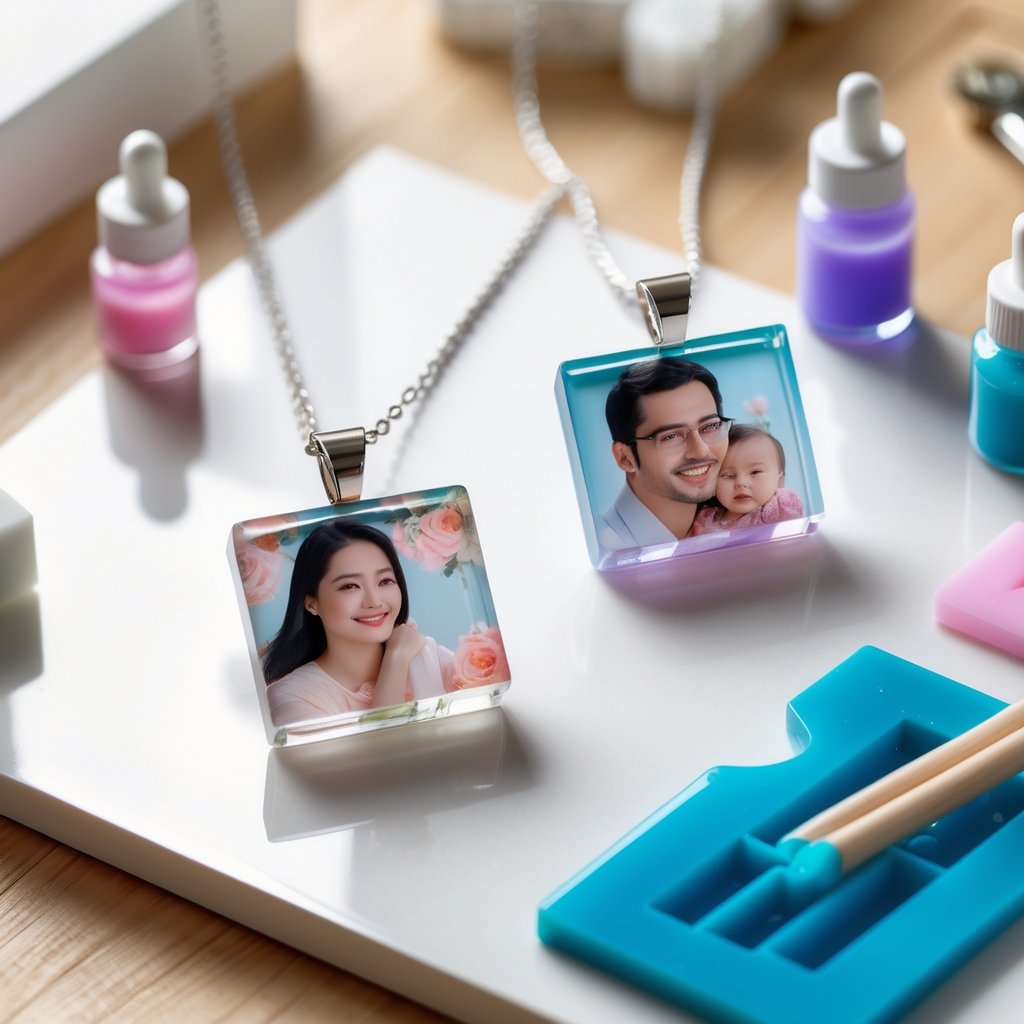
Att försegla bilder med resin är hemligheten bakom att göra fotoglas, smycken och minnessaker som håller länge. Om du vill ha skarpa och tydliga bilder i din resinkonst är det ett måste att lära sig den här färdigheten.
Den här guiden delar upp allt i enkla steg, så att även nybörjare kan få perfekta resultat. Redo att skydda dina favoritfoton och skapa. fantastiska hartshantverkLäs vidare för tips, tricks och svar på alla dina frågor!
Vad händer om man inte förseglar bilder innan man använder harts?
Många hantverkare undrar om det verkligen är nödvändigt att försegla innan man häller harts över foton eller papper. Att hoppa över detta steg kan orsaka stora problem för det färdiga projektet.
- Harts kan tränga in i pappret eller fotot, vilket gör att bläcket blöder och färgerna rinner ut.
- Bilden kan skrynklas, förvrängas eller bli grumlig och gul med tiden.
- Att försegla dina bilder först håller dem skarpa, tydliga och skyddade i åratal.
Vilka material fungerar bäst för foton i harts?
Att välja rätt typ av foto eller papper är lika viktigt som att försegla. Vissa material fungerar mycket bättre med harts än andra.
- Bästa alternativenLasertryckta foton, högkvalitativa utskrifter på slätt, glansigt papper.
- Kan fungera om den är väl försegladBläckstråleutskrifter, tidningsurklipp, klistermärken, scrapbookingpapper.
- UndvikaTunt eller ömtåligt papper om du inte förseglar båda sidorna.
💡 För bästa resultat, förslut alltid allt som är gjort av papper eller tryckt med bläck.
📌Vill du ha mer inspiration? Kolla in det här bästa alternativen för klar epoxihartsför att uppgradera ditt nästa projekt!
Hur du förbereder din bild innan du förseglar den
Lite förarbete räcker långt när man arbetar med foton och resin. Se till att dina bilder är klara innan du börjar försegla.
- Beskär ditt foto eller papper så att det passar formaeller projekt.
- Se till att den är ren och torr (inga fingeravtryck, damm eller oljor).
- Testa bläcket genom att dutta en våt bomullspinne på ett hörn. Om färgen lossnar är försegling ett måste.
- Lägg ditt foto platt på en ren yta innan du förseglar.
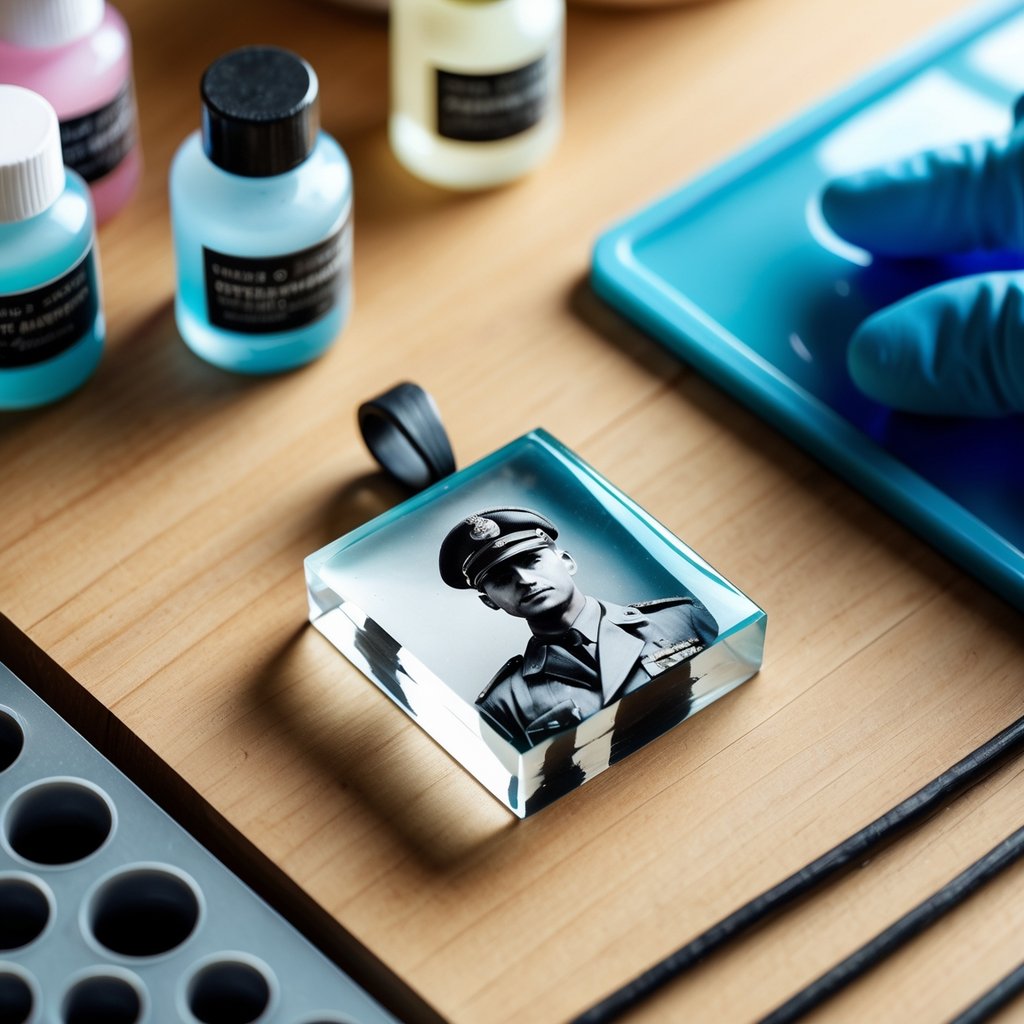
De bästa sätten att försegla bilder för harts
Det finns flera pålitliga sätt att försegla dina bilder innan du häller harts. Varje metod har sina egna fördelar, så du kan välja det som fungerar bäst för ditt projekt.
✅ Klartorkande hobbylim
- Pensla på tunna, jämna lager.
- Lätt att hitta och prisvärt.
- Använd endast klartorkande, icke-gulnande lim eller akrylmedier.
- Kan lämna penselmärken om den inte appliceras noggrant.
⚠️ Obs!Undvik vitt skollim eller limstift, eftersom de kan gulna eller förbli klibbiga med tiden.
✅ Sprayförseglare
- Snabb och enkel att använda.
- Appliceras bäst utomhus eller i ett ventilerat utrymme.
- Ger en slät yta.
✅ Lamineringsark eller genomskinlig tejp
- Perfekt för att skydda båda sidor av ditt foto.
- Perfekt för dubbelsidiga projekt som smycken eller nyckelringar.
- Ger tjocklek till ditt foto.
✅ Akrylspray eller lack
- Ger en hård, vattentät yta.
- Torkar klart och slätt.
- Välj en formula som inte gulnar.
Steg för steg: Hur man förseglar bilder för harts med icke-gulnande hobbylim
Följ dessa steg för en slät och bubbelfri finish.
✅ Förnödenheter
- Klartorkande, icke-gulnande hobbylim eller akrylmedium
- Mjuk borste
- Rent, torrt fotopapper eller papper
- Vaxpapper eller plastfolie
✅ Steg
- Placera ditt foto på vaxpapper.
- Pensla på ett tunt, jämnt lager gulnande lim som täcker hela ytan och lite förbi kanterna.
- Låt det torka helt (cirka 15 till 20 minuter).
- Upprepa för ett andra lager. Om ditt papper är tunt, försegla även baksidan.
- Låt det torka över natten för bästa resultat.
✅ Tips:
- Använd en mjuk borste för att undvika ränder.
- Skynda inte på torkningstiden för att förhindra bubblor.
- För extra skydd, lägg på ett tredje lager.
⚠️ VarningAnvänd inte vitt skollim eller lim som inte är specifikt märkt som klarhäftande och icke-gulnande, eftersom dessa kan orsaka gulning eller klibbighet under hartset.
Hur man förseglar foton för harts med sprayförseglare
Sprayförseglare är ett snabbt och enkelt sätt att skydda dina foton från harts. De fungerar särskilt bra för större bilder eller när du vill ha en superslät yta.
Hur man använder spraytätningsmedel
- Placera ditt foto på kartong eller tidningspapper i ett välventilerat utrymme.
- Skaka burken väl.
- Håll burken 20 till 30 cm bort och spraya ett tunt, jämnt lager.
- Låt torka i 15 minuter, applicera sedan ett andra lager.
- Låt torka helt innan användning i resin.
💡 TipsSpraya inte för nära, då kan ditt foto bli för blött och skrynklas.
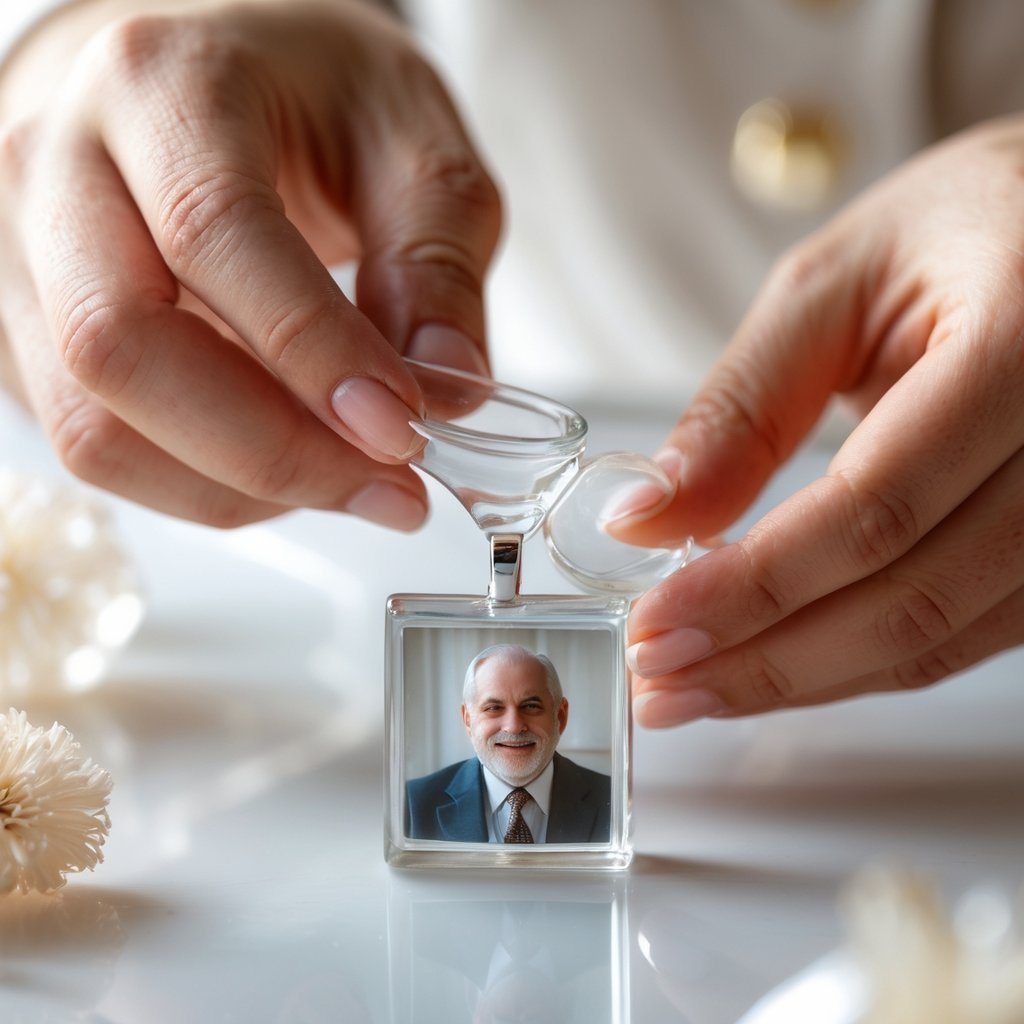
Använda lamineringsark eller tejp för att försegla bilder för harts
Lamineringsark och genomskinlig tejp är perfekta om du vill göra ditt foto helt vattentätt. Den här metoden är utmärkt för dubbelsidiga projekt som nyckelringar eller smycken.
Hur man använder lamineringsark eller tejp
- Placera ditt foto med framsidan nedåt på ett lamineringsark eller en bred genomskinlig tejp.
- Jämna ut bubblor.
- Placera ett andra ark eller tejp över baksidan.
- Trimma kanterna och lämna en liten kant för att hålla det tätt.
Hur man bäddar in foton i harts utan lamineringsmaskin
Om du inte har en laminator kan du fortfarande få bra resultat med vanliga förnödenheter. Genomskinlig packtejp eller självhäftande ark fungerar lika bra för små projekt.
- Fäst ditt foto mellan två bitar tejp eller självhäftande ark.
- Tryck ut bubblorna försiktigt.
- Trimma kanterna och lämna en liten kant för en tät förslutning.
-
Testa alltid med ett klippfoto först för att se till att det fungerar.
Vanliga problem vid försegling av bilder för harts
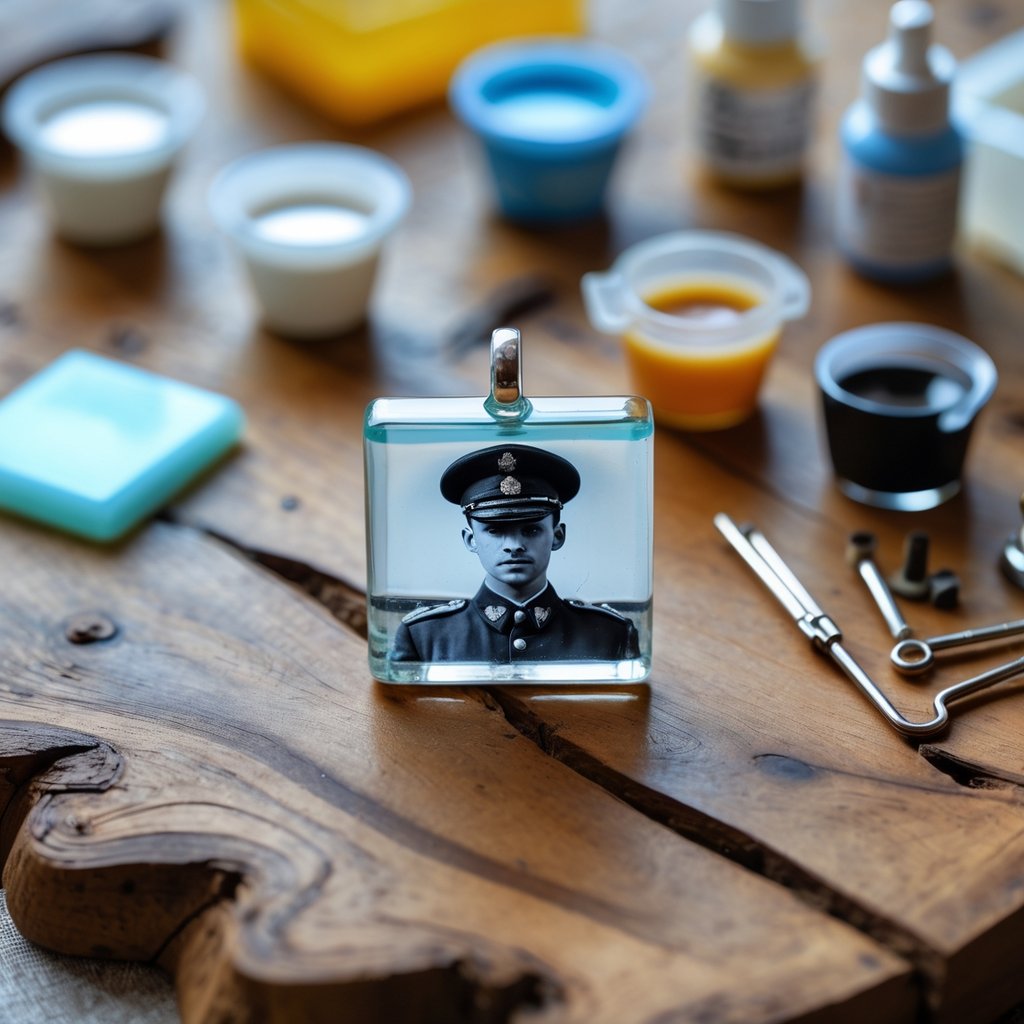
Även med bästa förberedelse går det ibland fel när man förseglar bilder med harts. Så här åtgärdar du de vanligaste problemen och håller ditt projekt snyggt.
- Blödning eller rynkorVanligtvis på grund av för mycket fukt eller för kort torktid. Låt alltid tätningsmedlet torka helt mellan lagren.
- BubblorKan fastna under ditt förseglade foto. Tryck till bilden platt och använd en mjuk roller eller fingrarna för att släta ut den innan du häller på hartset.
- Molniga fläckar eller gulfärgningHänder om du använder fel tätningsmedel eller inte låter det torka. Använd genomskinligt torkande, icke-gulnande tätningsmedel och undvik billigt lim eller skollim.
📌För fler felsökningstips, kolla in den här guiden om vanliga problem med epoxiharts.
Proffstips för ett perfekt fotoprojekt i resin
Vill du att dina fotohantverk i resin ska se professionella ut och hålla i åratal? Följ dessa extra tips för att få bästa resultat varje gång.
- ✅ Förslut alltid båda sidorna av tunt papper eller utskrifter.
- ✅ Låt tätningsmedlet torka över natten för extra säkerhet.
- ✅ Häll hartset i tunna lager för att undvika överhettning och bubblor.
- ✅ Använd en värmepistol eller brännare för att få bubblor på ytan efter att du har hällt.
- ✅ Testa din förseglingsmetod på ett extra foto innan du gör ditt slutprojekt.
📌Vill du lära dig mer om arbetar med hartsBläddra igenom den här nybörjarguiden för att använda harts för fler tips och tricks!
Slutsats
Att försegla bilder med resin är enkelt med lite tålamod och rätt steg. Nu är du redo att skapa vackra, hållbara resinpyssel med självförtroende.
För fler tips, detaljerade guider och inspiration, besök HartsareBehöver du material? Köp harts, formar, färgämnen, och mer hos Resiners för att göra ditt nästa projekt till en succé!
Vanliga frågor om försegling av bilder för hartsprojekt
Hur får man bilder att stanna kvar i resinet?
För att hålla bilderna på plats, försegla ditt foto med ett genomskinligt torkande lim, sprayförseglare eller lamineringsark innan du häller på hartset. Se till att du använder ett lim eller en förseglare som är specifikt märkt som genomskinligt torkande och icke-gulnande, till exempel Mod Podge eller akrylmedium. Låt förseglaren torka helt för att se till att din bild sitter exakt där du vill ha den.
Kan man lägga harts över en bild?
Du kan lägga harts över en bild så länge du förseglar den först. Försegling förhindrar att bläcket blöder och att pappret skrynklar sig eller böjs när hartset hälls. Välj alltid ett förseglingsmedel som är kompatibelt med din typ av foto och se till att det torkar klart och inte gulnar.
Hur skyddar man ett foto från harts?
Skydda ditt foto genom att försegla det med Mod Podge, akrylspray eller lamineringsark, och se till att täcka alla kanter och båda sidor om möjligt. Använd endast produkter som är framtagna för hantverk och är märkta som klara och icke-gulnande. Låt förseglingen torka ordentligt så att ditt foto förblir säkert och klart under hartset.
Kommer epoxiharts att förstöra bilder?
Epoxiharts kan förstöra bilder om de inte förseglas ordentligt, eftersom hartset kan få bläck att rinna, papper att skeva eller bilder att missfärgas. Att försegla din bild med rätt sorts lim eller spray skapar en barriär som skyddar bilden från skador. Att ta sig tid att försegla dina foton säkerställer att de förblir ljusa och vackra i ditt färdiga resinprojekt.
Behöver man alltid försegla bilder innan man använder resin?
Det rekommenderas alltid att försegla bilder innan du lägger till harts, särskilt om du använder bläckstråleutskrifter eller pappersbilder. Försegling förhindrar blödning, bubblor och andra typer av skador som kan uppstå när harts absorberas av oskyddat papper. Även om ditt foto ser robust ut är försegling med en genomskinligt torkande, icke-gulnande produkt det bästa sättet att få perfekta resultat.
Relaterade artiklar:
Påskmagi med harts: Skapa fantastiska hantverk på bara 1 timme
Bästa resinidéerna att sälja: Förvandla din hobby till inkomst


Lämna en kommentar
Denna webbplats är skyddad av hCaptcha och hCaptchas integritetspolicy . Användarvillkor gäller.