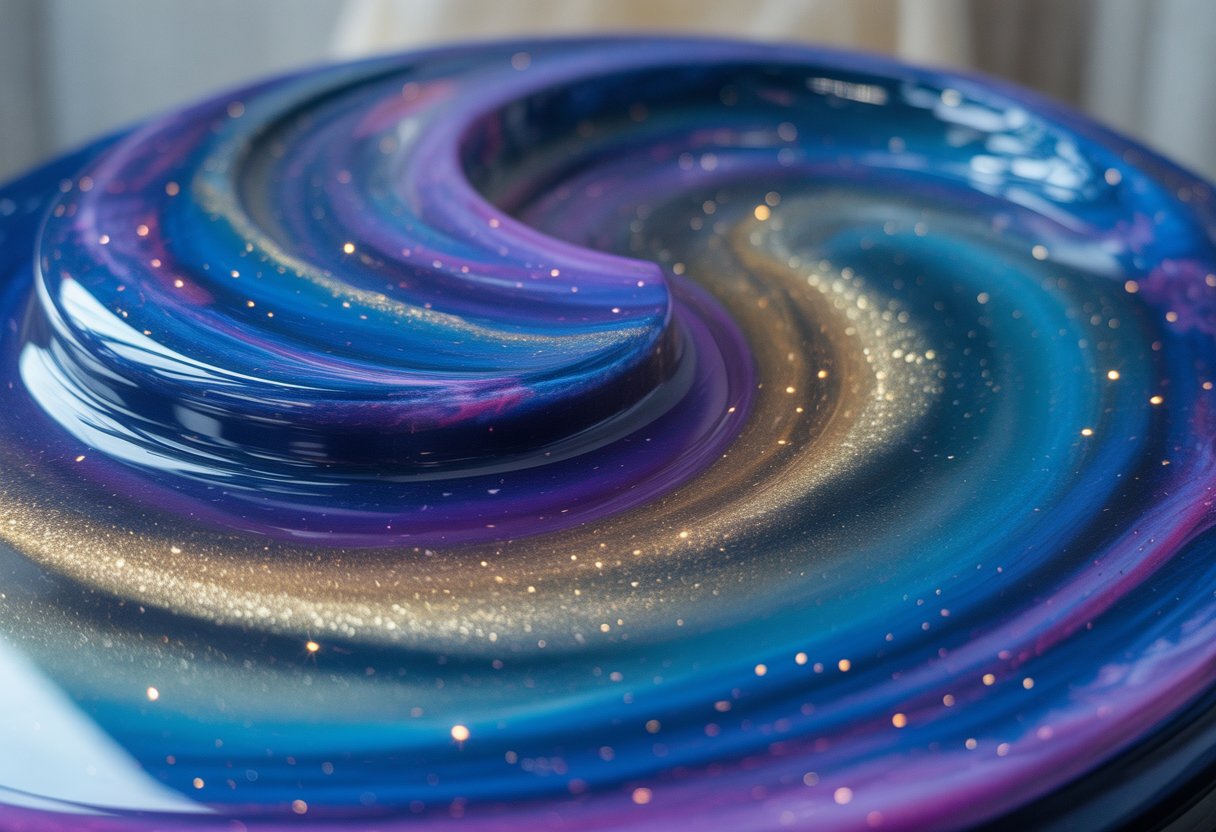
Resin galaxy ideas use layers of alcohol ink, mica powder, and glitter to form swirling, starry designs inside epoxy resin.
\Artists often start with a black base or spray-painted background to mimic deep space, then add white paint splatters to create stars. These techniques can be applied to a variety of projects—like coasters, trays, clocks, and jewelry—by pouring resin into molds and building up layers of color.
With careful placement of pigments and finishes, you can achieve a glowing, cosmic effect that looks like a galaxy captured in resin.
What Is Resin Galaxy Art?

Resin galaxy art is a type of space art where you use epoxy resin, pigments, and other additives to create designs that look like galaxies, stars, and cosmic swirls.
You work with layers of color, shimmer, and texture to build depth that makes the piece resemble the night sky.
Why Crafters Love Galaxy Effects
You get to mix science fiction style with hands-on creativity. By blending mica powders, alcohol inks, or liquid dyes, you can form glowing patterns that look like stars and nebulae.
Adding glitter or metallic pigments gives the surface a reflective shine, making your piece stand out under light.
You can pour resin into molds for coasters, trays, or jewelry, or spread it on a canvas for wall art. Each pour gives a different effect, so no two galaxy pieces look the same.
Crafters like the freedom to experiment. You can layer dark blues, purples, and blacks for a deep sky, then highlight it with white or silver to mimic constellations.
This mix of control and unpredictability makes resin galaxy art both fun and rewarding—at least in my experience.
Essential Materials and Tools

If you want to create a galaxy effect with resin, you’ll need the right materials and a safe workspace. Each supply matters for how your project looks and how easy it is to work with.
Epoxy Resin and Hardener
You need epoxy resin and a hardener since they’re the base of your project. When you mix them, they cure into a solid, glossy surface that holds your colors and effects.
Buy resin made for art, not industrial use—art resin cures clearer and resists yellowing. Check the mixing ratio on the label.
Most art resins use a 1:1 ratio of resin to hardener, but some brands want different amounts. Measuring accurately is key, or the resin won’t cure right.
Pick a resin with a working time that matches your pace. If you’re new, a longer working time gives you more room to mix pigments and pour without rushing.
Pigments and Colorants
To build a galaxy look, you need several colorants.
Resin pigments give strong, solid color, while metallic pigments and mica powders add shimmer that looks like stars or glowing clouds.
Alcohol inks spread in resin and create soft, flowing patterns. Adding fine glitter makes small sparkling points like distant stars. A mix of large and small glitter pieces gives depth to your design.
Start with a little pigment and add more if you need it. Too much colorant can keep the resin from curing right. Keeping extras like acrylic paint around can help you add variety to your effects.
Mixing and Measuring Supplies
Accurate mixing is super important. Use measuring cups with clear markings so you can pour equal amounts of resin and hardener.
Disposable plastic cups work well, but silicone measuring cups can be cleaned and reused.
For stirring, grab wooden sticks or silicone stir sticks. Stir slowly to avoid creating too many bubbles.
If bubbles show up, you can get rid of them later with a heat gun or torch.
A silicone mat under your workspace protects your table and makes cleanup easier. Resin won’t stick to silicone, so cured drips peel right off. It helps to keep extra cups and sticks nearby if you want to mix several colors at once.
Safety Gear and Workspace Setup
Resin can release fumes, so always wear a respirator mask rated for organic vapors. Good ventilation is important, so work near an open window or use a fan to move air out of the room.
Wear nitrile gloves to protect your skin, since latex gloves might not hold up against resin. Long sleeves keep resin off your arms.
Cover your table with a silicone mat or plastic sheet. Resin drips are tough to remove from wood or fabric.
Keep paper towels and rubbing alcohol nearby for quick cleanup. Set up your supplies so everything is within reach before you start mixing.
Once the resin is poured, you only get so much time to work before it starts curing.
Curious if that’s possible? Find out in our article, Can You Put LED Lights in Epoxy Resin Projects?
Choosing and Preparing Your Base
The surface you work on changes how your resin galaxy looks and how easy the process feels.
A smooth, clean, and prepped base helps your colors blend, keeps bubbles under control, and makes the final piece stronger.
Selecting Molds and Surfaces
Silicone molds work great because they release resin easily and come in shapes like coasters, trays, or jewelry blanks.
You don’t need a release spray, and the flexible sides let you pop the piece out without damage.
Flat surfaces like wood panels, canvas boards, or acrylic panels also work well.
These give you more space to layer colors and create sweeping galaxy effects.
If you use canvas, make sure it’s tightly stretched so it doesn’t sag under the resin’s weight.
Think about the scale of your project.
Small molds are good for testing color blends, while larger panels let you do detailed layering.
A quick checklist:
- Small molds → coasters, pendants
- Medium molds → trays, plaques
- Large panels → wall art, tabletops
Always check that the surface is level before pouring, or the resin will pool unevenly.
Prepping Floating Frames and Panels
If you’re working with floating frames or wood panels, sealing is a must. Raw wood can trap air and send bubbles into your resin.
Brush on a thin layer of clear gloss medium, gesso, or even a base coat of paint to block pores before you pour.
If you’re using a frame with an open center, tape the back tightly with strong painter’s tape or packing tape. This gives you a temporary barrier so the resin doesn’t leak through.
Press the tape firmly to avoid gaps. For panels, sand lightly to smooth rough spots and wipe away dust.
A clean, even surface helps your galaxy colors spread without interruption.
Protect the edges. Apply painter’s tape around the sides if you don’t want resin drips, or leave them bare if you like the natural resin flow over the edges. This choice changes the look of your finished galaxy.
Avoid mistakes with resin ratios by reading our article: How to Get the Epoxy Resin Mixing Ratio Just Right
Mixing and Coloring Resin
Getting the right look in a resin galaxy depends on how well you measure, mix, and layer your colors.
Small things like how you stir or when you add glitter can make the difference between a flat surface and a piece that feels full of depth.
Accurate Measuring and Mixing
Measure your resin and hardener in equal parts, following the manufacturer’s ratio exactly. Even a tiny mistake can make your resin stay sticky or not cure at all.
Use mixing cups with clear markings to keep your ratios right. When you stir, scrape the sides and bottom of the cup with a stir stick.
Mix slowly to avoid extra bubbles, but make sure the resin looks uniform with no streaks. If you need several colors, pour the fully mixed resin into smaller cups before adding pigments. This keeps the base mixture consistent and helps prevent uneven curing.
Always wear gloves and work in a ventilated space while you mix.
Creating Vibrant Galaxy Colors
Galaxy designs usually use deep tones like black, navy, and purple, blended with brighter accents like pink or teal.
Add resin pigment powders, liquid dyes, or alcohol inks to your small cups of resin. Start with just a drop or a pinch, then mix well to control the color strength. Layering colors creates depth.
For example:
- Base layer: dark shades like black or deep blue
- Middle layer: purples and magentas
- Highlight layer: lighter tones such as white or turquoise
Pour these layers in stages, letting some colors overlap a little. Use a heat gun or torch to move the colors around and soften hard edges. This helps your galaxy effect look more natural and flowing.
Working With Metallics and Glitter
Metallic pigments and glitter add the “stars” and shimmer that make your resin galaxy pop. Use metallic powders like silver, gold, or pearl for swirling effects.
Drop small amounts onto the resin surface, then move them with a stir stick or toothpick to create motion.
For glitter, pick fine or extra-fine sizes so the sparkles look like distant stars. Sprinkle lightly into the resin or onto the surface before curing.
Spread it evenly with a stir stick to avoid clumping.
Here’s a simple table to help you choose:
|
Additive |
Best Use |
Tip for Application |
|
Metallic powders |
Swirling, depth |
Drop sparingly, swirl gently |
|
Fine glitter |
Star-like sparkle |
Sprinkle lightly, spread evenly |
|
Chunky glitter |
Bold accents, less realistic look |
Use in small areas, not full layer |
Mix these effects carefully, and your piece will really capture the depth and sparkle of a galaxy sky.
Learn more tricks in Coloring Resin: Techniques for Vibrant DIY Crafts.
Pouring and Creating Galaxy Effects
When you pour resin to create a galaxy theme, you build depth with layers of color, shape the flow with tools, and add small details that look like stars and glowing clouds.
Each step depends on careful timing and controlling the resin before it sets.
Layering Colors for Depth
Start by setting up your workspace with a silicone mat to protect the surface.
Mix your resin in separate cups using mixing sticks, adding pigments or liquid dyes to create different shades like deep blues, purples, and blacks. These darker tones work best as a base.
Pour the base layer first and let it spread out. Then add lighter colors such as white, silver, or pearl tones on top.
Layering these shades creates the illusion of distance, like looking into outer space. You can pour in thin sections instead of all at once. This helps stop colors from blending too much and losing contrast.
If you want more depth, let one layer partially cure before adding the next.
Swirling and Manipulating Resin
Once you’ve poured your colors, start moving them around to make galaxy-like swirls. Grab a heat gun or torch and warm the resin a bit. It’ll flow better and those annoying bubbles will pop out.
Take a wooden stick or silicone tool and drag it through the resin in loose, curved lines. Go easy—let the colors bend and twist together, but don’t stir too much. You want natural-looking waves, not a muddy mess.
If you want more control, tilt your surface gently. Even a small tilt can shift the flow and make soft color transitions. Resin moves fast after heating, so take your time and don’t rush it.
Adding Stars and Nebulae
To make stars, sprinkle in some fine glitter, holographic flakes, or tiny dots of white pigment. Use a toothpick or a small brush to put them right where you want star clusters.
For nebula effects, swirl a bit of metallic or pearlescent pigment into the darker spots. These catch the light and give you a soft, cloudy look.
Try blowing gently through a straw or giving quick bursts with a heat gun to spread the pigment into wispy shapes. You’ll get natural star fields and glowing patches that really pop against the dark background.
Curing and Finishing Touches
Bubble Removal Techniques
Air bubbles show up when you mix resin and hardener. They can mess up your design if you leave them. Stir slowly and scrape the sides of your cup to keep bubbles down.
After pouring, use a heat gun or small torch to pop bubbles on the surface. Hold it a few inches above and swipe it back and forth. Don’t hover too long, or you might mess up your mold or the resin itself.
For tiny molds, poke bubbles with a toothpick or pin. You can also tap the mold lightly on your table to bring bubbles up. Spending a few extra minutes here keeps your colors looking crisp.
The Curing Process Explained
Resin hardens into its final shape during curing. Most brands need 24–72 hours, but check your kit for exact times.
Set your project on a flat, dust-free spot. Cover it with a box or container so lint doesn’t land on it. Even tiny dust specks can stick for good once the resin sets.
If you’re in a hurry, put your mold on a heat mat set to low. Don’t overdo it—too much heat can turn resin yellow or make it warp. It’s tempting to touch, but wait until it’s fully set. Otherwise, you’ll leave dents or fingerprints.
Demolding and Display Ideas
When the resin’s cured, gently flex the silicone mold to pop your piece out. Don’t yank too hard or you might tear the mold or crack an edge. If it sticks, give it a few more hours.
Sand rough edges with fine-grit sandpaper. For more shine, polish the surface or brush on a thin clear coat of resin. That’ll make your galaxy piece look extra glassy.
How you show it off depends on what you made. Charms can become jewelry with jump rings and chains. Bigger pieces work as coasters, wall art, or trays. A simple stand or frame really highlights those swirling galaxy colors.
Also read our article: Best Way to Clean Silicone Molds Quickly and Easily.
Final Thoughts
Exploring resin galaxy ideas is a fun way to bring the beauty of outer space into your crafts. By playing with inks, powders, and glitter, you can create cosmic swirls that look like real galaxies.
Whether you’re making gifts, home décor, or just experimenting, each project feels like a new adventure. The process is simple, but the results are stunning—no two galaxies will ever be the same.
So grab your resin kit, let your creativity flow, and start building your own universe in art form. Ready to try your hand at galaxy-making? The stars are waiting! Check out Resiners’ resin starter kits and equipment to kickstart your cosmic creations today!
For even more inspiration, check out, Unique Resin Art Ideas: Creative Projects for Every Creator.
Frequently Asked Questions
What's the best technique for creating a galaxy effect in resin art?
Layer different resin colors for the best galaxy look. Start with a dark base—black or deep blue works great. Add lighter shades, metallic pigments, or glitter in thin pours to mimic stars and glowing clouds. Swirl the colors with a stick or heat gun for movement.
Can you guide me through the process of making a galaxy resin sphere?
To make a sphere, use a silicone sphere mold. Pour resin in layers, adding mica powders or alcohol inks between each one. Let each layer set a bit before adding the next. This way, you get real depth and a 3D galaxy effect inside.
How do I achieve intricate galaxy patterns in my resin projects?
Work in small sections. Use toothpicks or skewers to drag pigments into thin lines. Add tiny drops of white resin or paint for stars. Thin layers help you control color placement without everything blending together.
What are some creative DIY galaxy-themed resin projects?
Try coasters, pendants, trays, or keychains. Galaxy bookmarks and jewelry are super popular—the details really shine in smaller pieces. If you want to go big, trays let you play with large swirls and lots of metallic pigment.
Is there a step-by-step tutorial for crafting resin galaxy coasters?
Yep, it’s pretty simple. Mix resin with dark pigments for the base, then layer on lighter colors and glitter. Use a heat gun to blend everything softly. Once it’s cured, your coaster will have that glossy galaxy vibe.
What materials do I need to start making my own resin galaxy creations?
You'll need epoxy resin, mixing cups, and some stir sticks. Grab a few silicone molds too.
For colors, try mica powders, alcohol inks, or just plain acrylic paints. Toss in glitter or metallic pigments if you want some sparkle.
A heat gun or torch helps pop bubbles and blend colors together. Don't forget gloves, and make sure you work in a space with fresh air.


Lämna en kommentar
Denna webbplats är skyddad av hCaptcha och hCaptchas integritetspolicy . Användarvillkor gäller.