
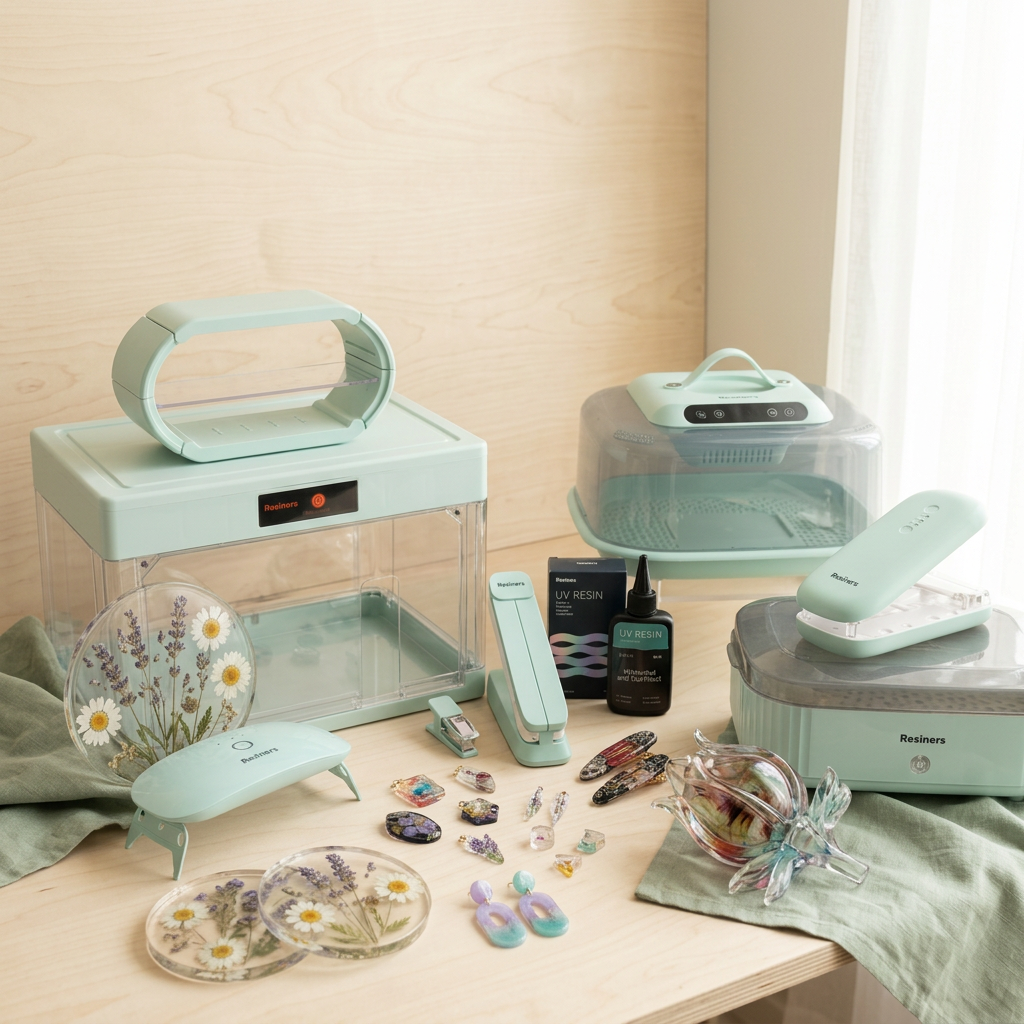
هل ما زلت تنتظر طوال الليل، أو تتساءل عن إعداد المعالجة الأنسب لمشاريعك؟ شاهد كيف يقوم صانعو الراتنجات المحترفون بمعالجة قطع الإيبوكسي، ومجوهرات الأشعة فوق البنفسجية، والكميات، والأكواب، ثم اختر إعدادًا يناسب ما تصنعه.
في شهر يوليو، غمرت فعالية #ResinersCuringMoment مجتمعنا بصور حقيقية لطاولات العمل، ولحظات الكشف المبهجة، وإبداعات تنبض بالشخصية. هذه عربون شكرنا لكل من شارك، ودليل عملي مستوحى من أساليبكم الإبداعية.
إجابة سريعة: اختر طريقة المعالجة المناسبة للراتنج
تتطلب راتنجات الإيبوكسي وراتنجات الأشعة فوق البنفسجية طرق معالجة مختلفة. قد تستفيد مشاريع الإيبوكسي المتوافقة من بيئة تسخين مضبوطة، بينما تحتاج راتنجات الأشعة فوق البنفسجية إلى ضوء أشعة فوق بنفسجية مناسب يوفر تغطية كافية.
ليس مشروعًا واحدًا مثاليًا - بل لحظات حقيقية عديدة
ما بقي عالقاً في أذهاننا ليس صورة نهائية مثالية، بل مدى اختلاف كل منشور: مجموعات من القطع الصغيرة، قالب مفصل واحد، نتيجة مصقولة، أو ببساطة لحظة فتح الغطاء.
لهذا السبب نصمم أدواتٍ للعملية نفسها، وليس فقط للصورة النهائية. فعندما يصبح التصلب أكثر قابلية للتنبؤ، تتسع المساحة للفضول والثقة والأفكار الجديدة.
كيف يمكنك معالجة الراتنج بشكل أسرع؟
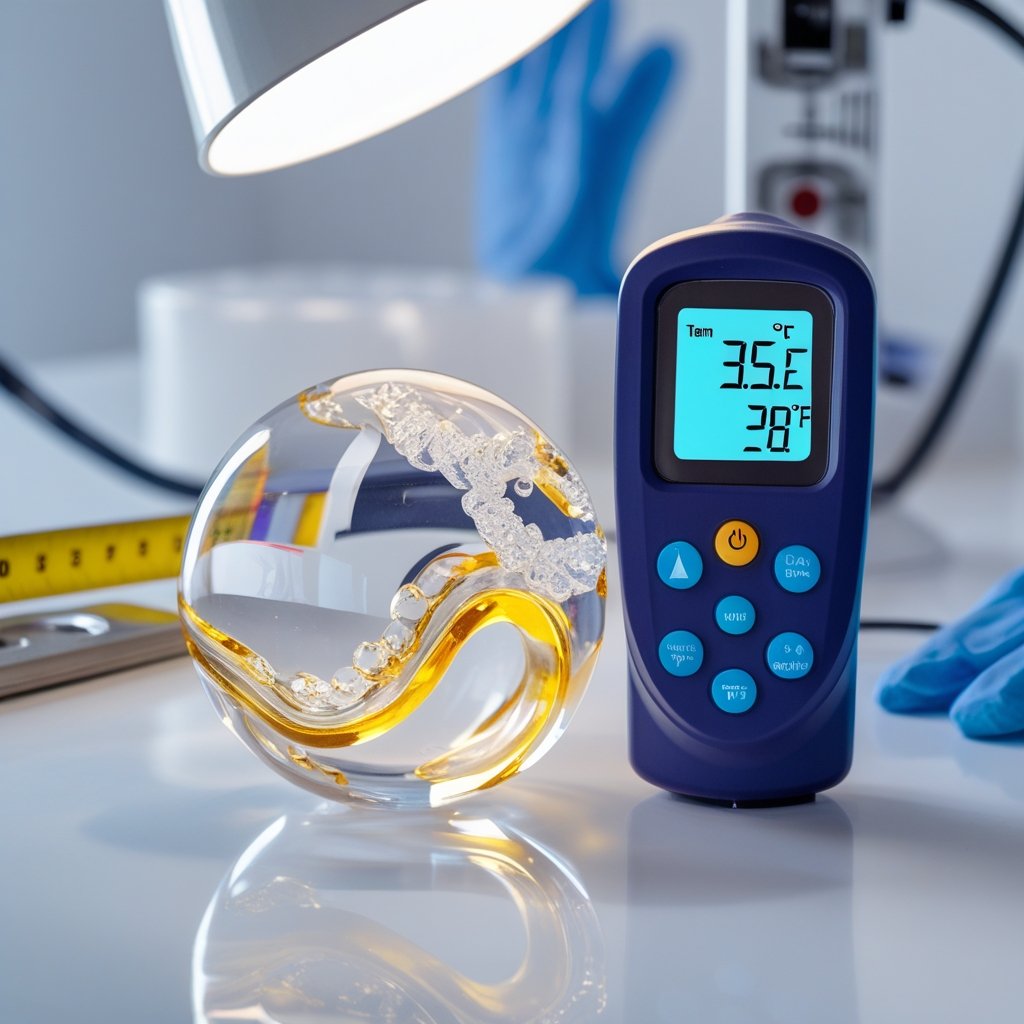
بالنسبة لراتنجات الإيبوكسي المتوافقة، يمكن لبيئة دافئة ثابتة أن تقلل وقت الانتظار مقارنةً بالتصلب في درجة حرارة الغرفة المنخفضة. مع ذلك، لا تزال النتائج تعتمد على التركيبة ونسبة الخلط وعمق الصب والظروف المحيطة. يتصلب راتنج الأشعة فوق البنفسجية من خلال التعرض للأشعة فوق البنفسجية المتوافقة؛ وتساعد الطبقات الرقيقة والتغطية الضوئية المتساوية على وصول الضوء إلى الراتنج بشكل أكثر فعالية.
اختر حسب ما تصنعه
راتنج الإيبوكسي مقابل راتنج الأشعة فوق البنفسجية
| نوع الراتنج | كيف يعالج | الأفضل لـ / ملاحظة رئيسية |
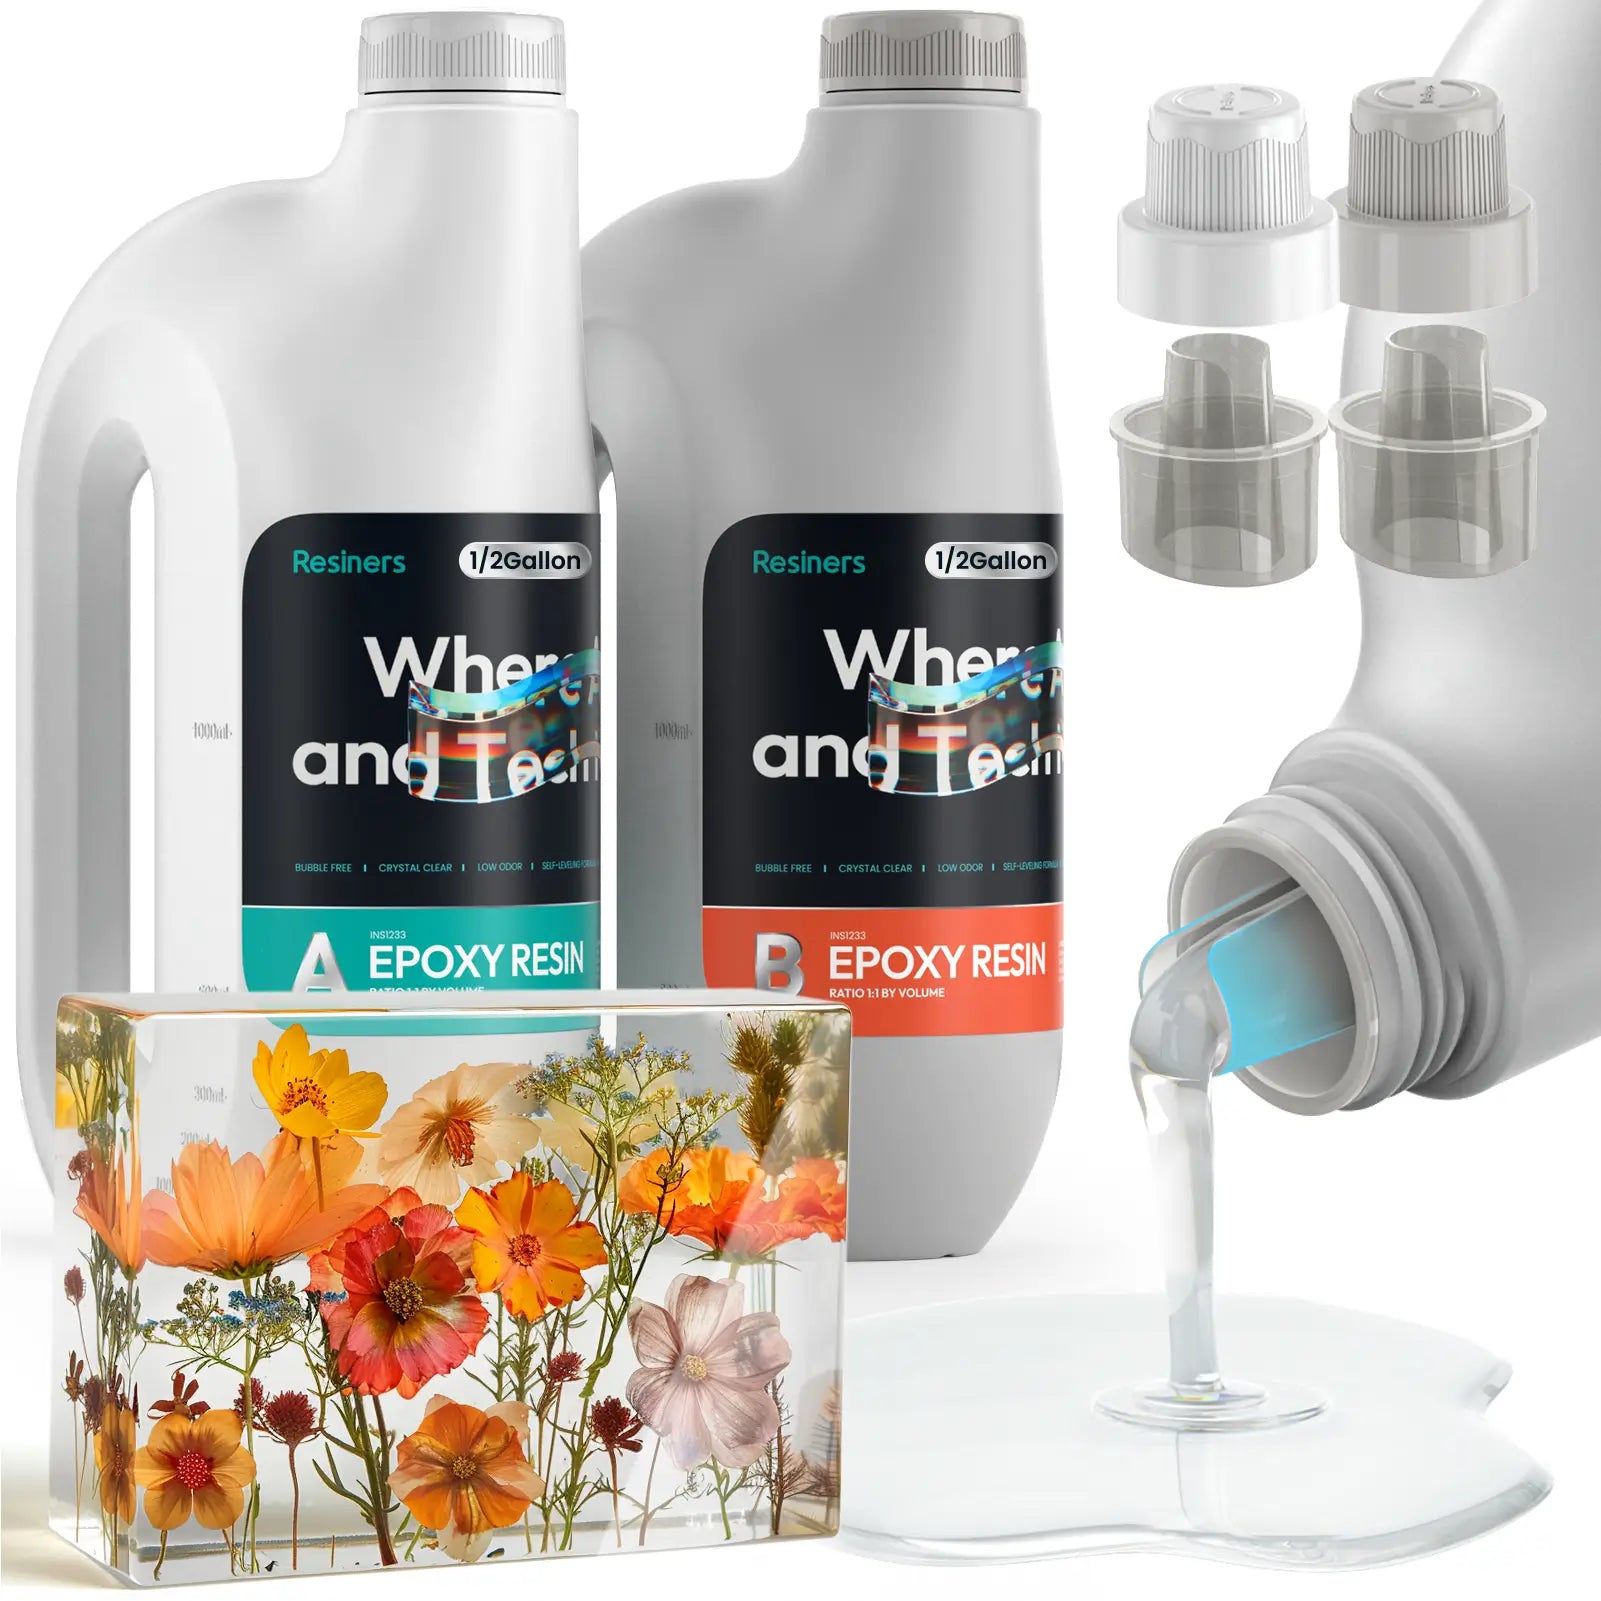
| راتنج الإيبوكسي | يتصلب الراتنج المكون من جزأين من خلال تفاعل كيميائي؛ وقد تدعم الحرارة المتحكم بها تركيبات متوافقة. | قوالب، وقواعد أكواب، وصواني، وقطع مصبوبة، وأكواب. قِس واخلط بدقة؛ فالضوء فوق البنفسجي لا يُصلّب الإيبوكسي العادي. |
| راتنج مقاوم للأشعة فوق البنفسجية | يتصلب الراتنج المكون من جزء واحد عند تعرضه لطول موجي متوافق للأشعة فوق البنفسجية مع تغطية كافية. | المجوهرات، والتعليقات، والتفاصيل الصغيرة، والطبقات السطحية، والإصلاحات السريعة. قد تحتاج المناطق السميكة أو المعتمة إلى طبقات رقيقة وإعادة وضعها. |

ما هي أداة معالجة الراتنج المناسبة لمشروعك؟
| أداة | أفضل ل |
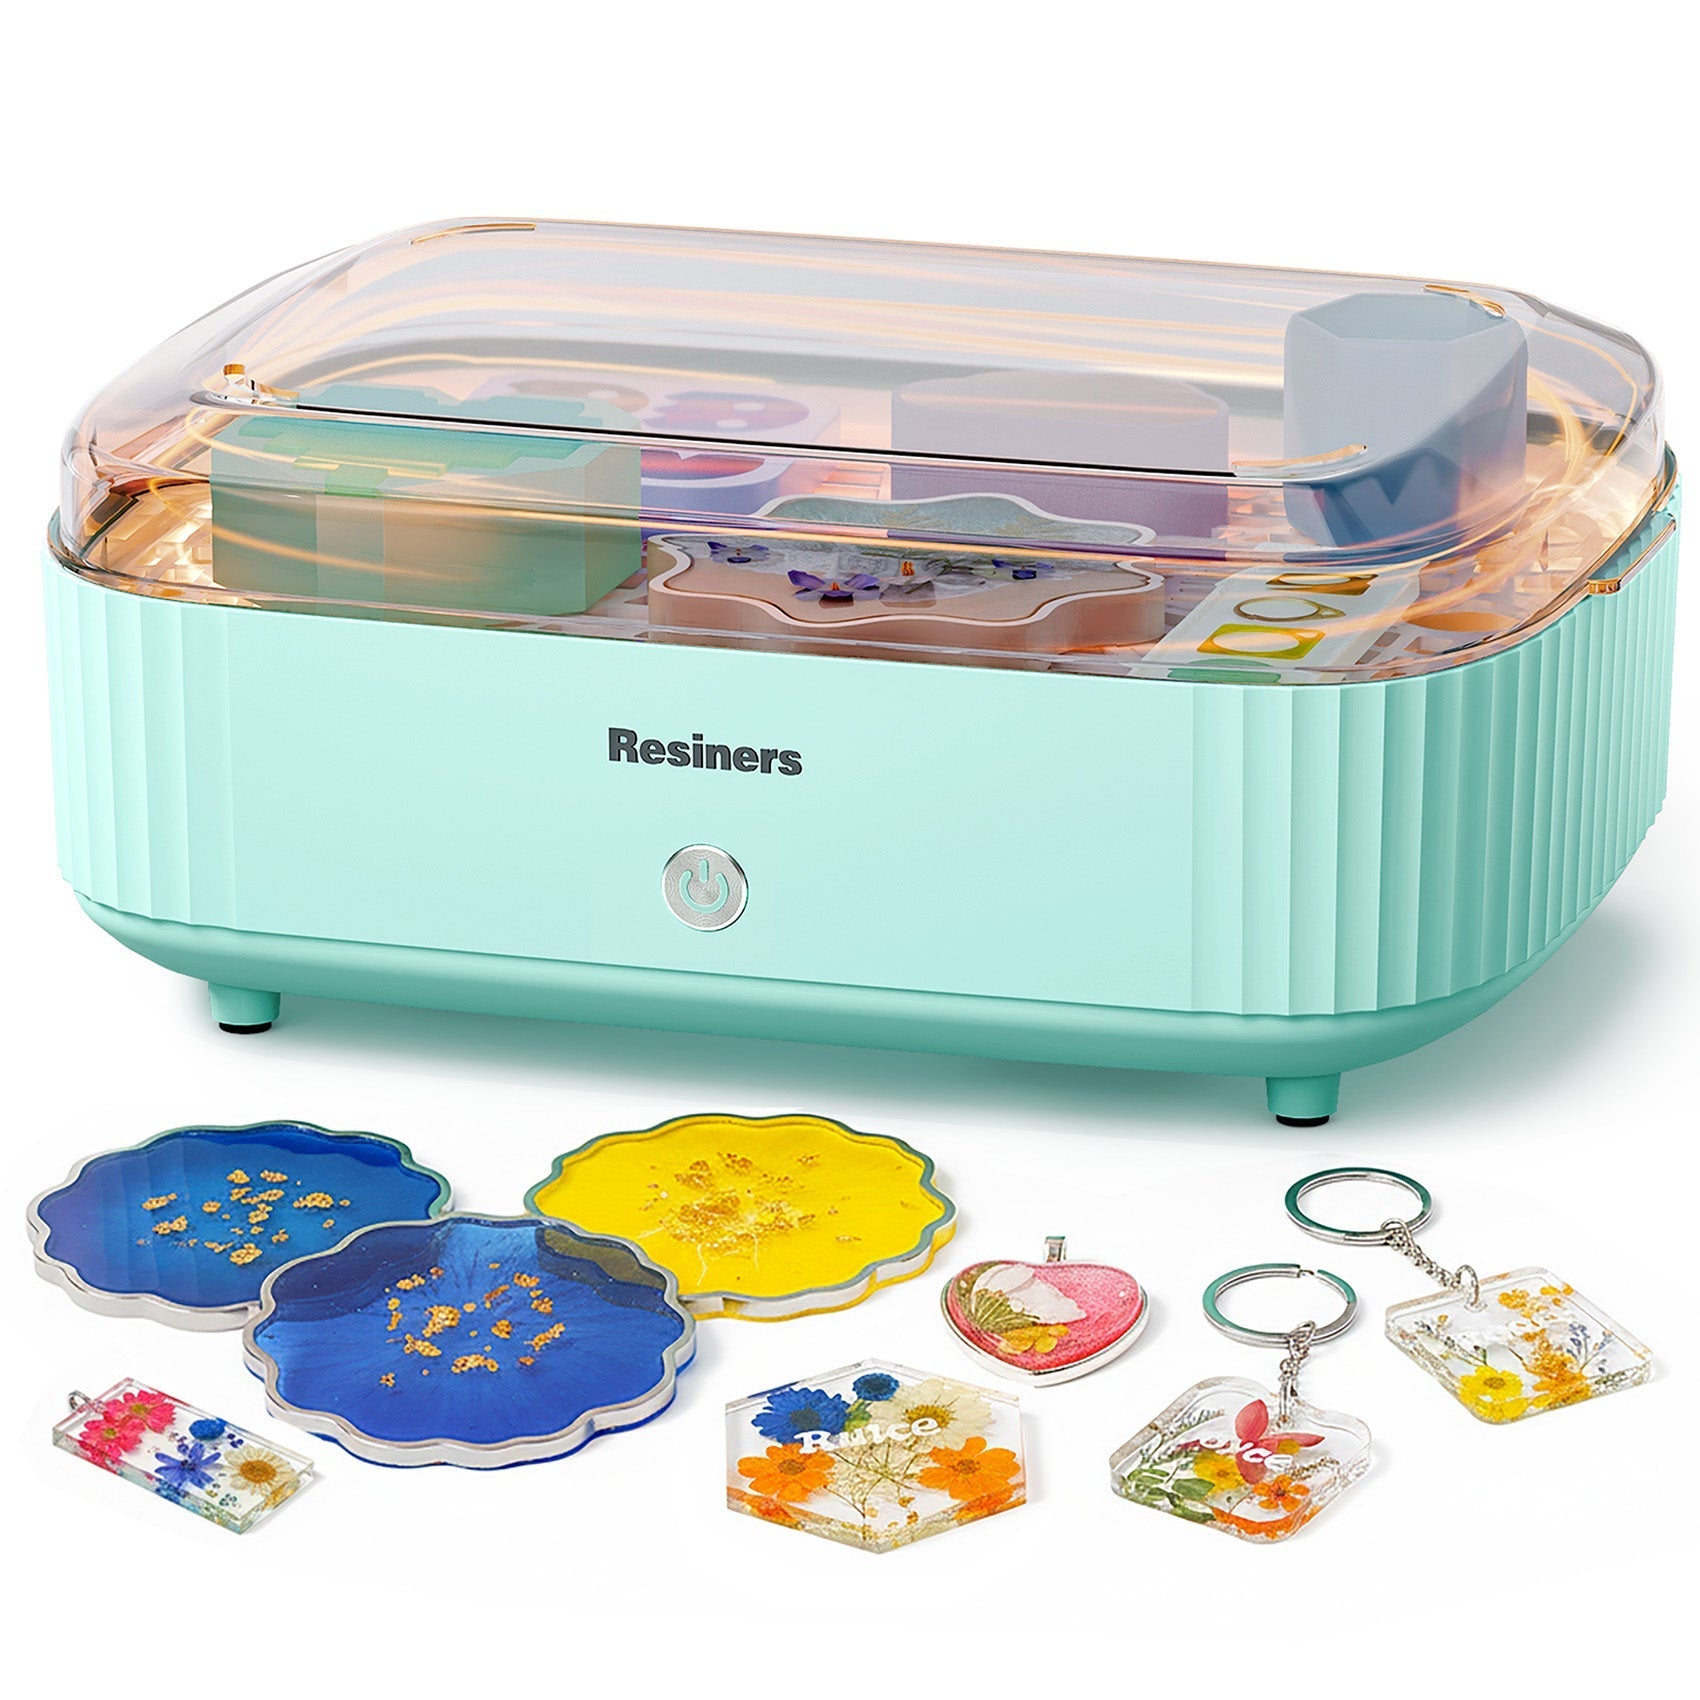
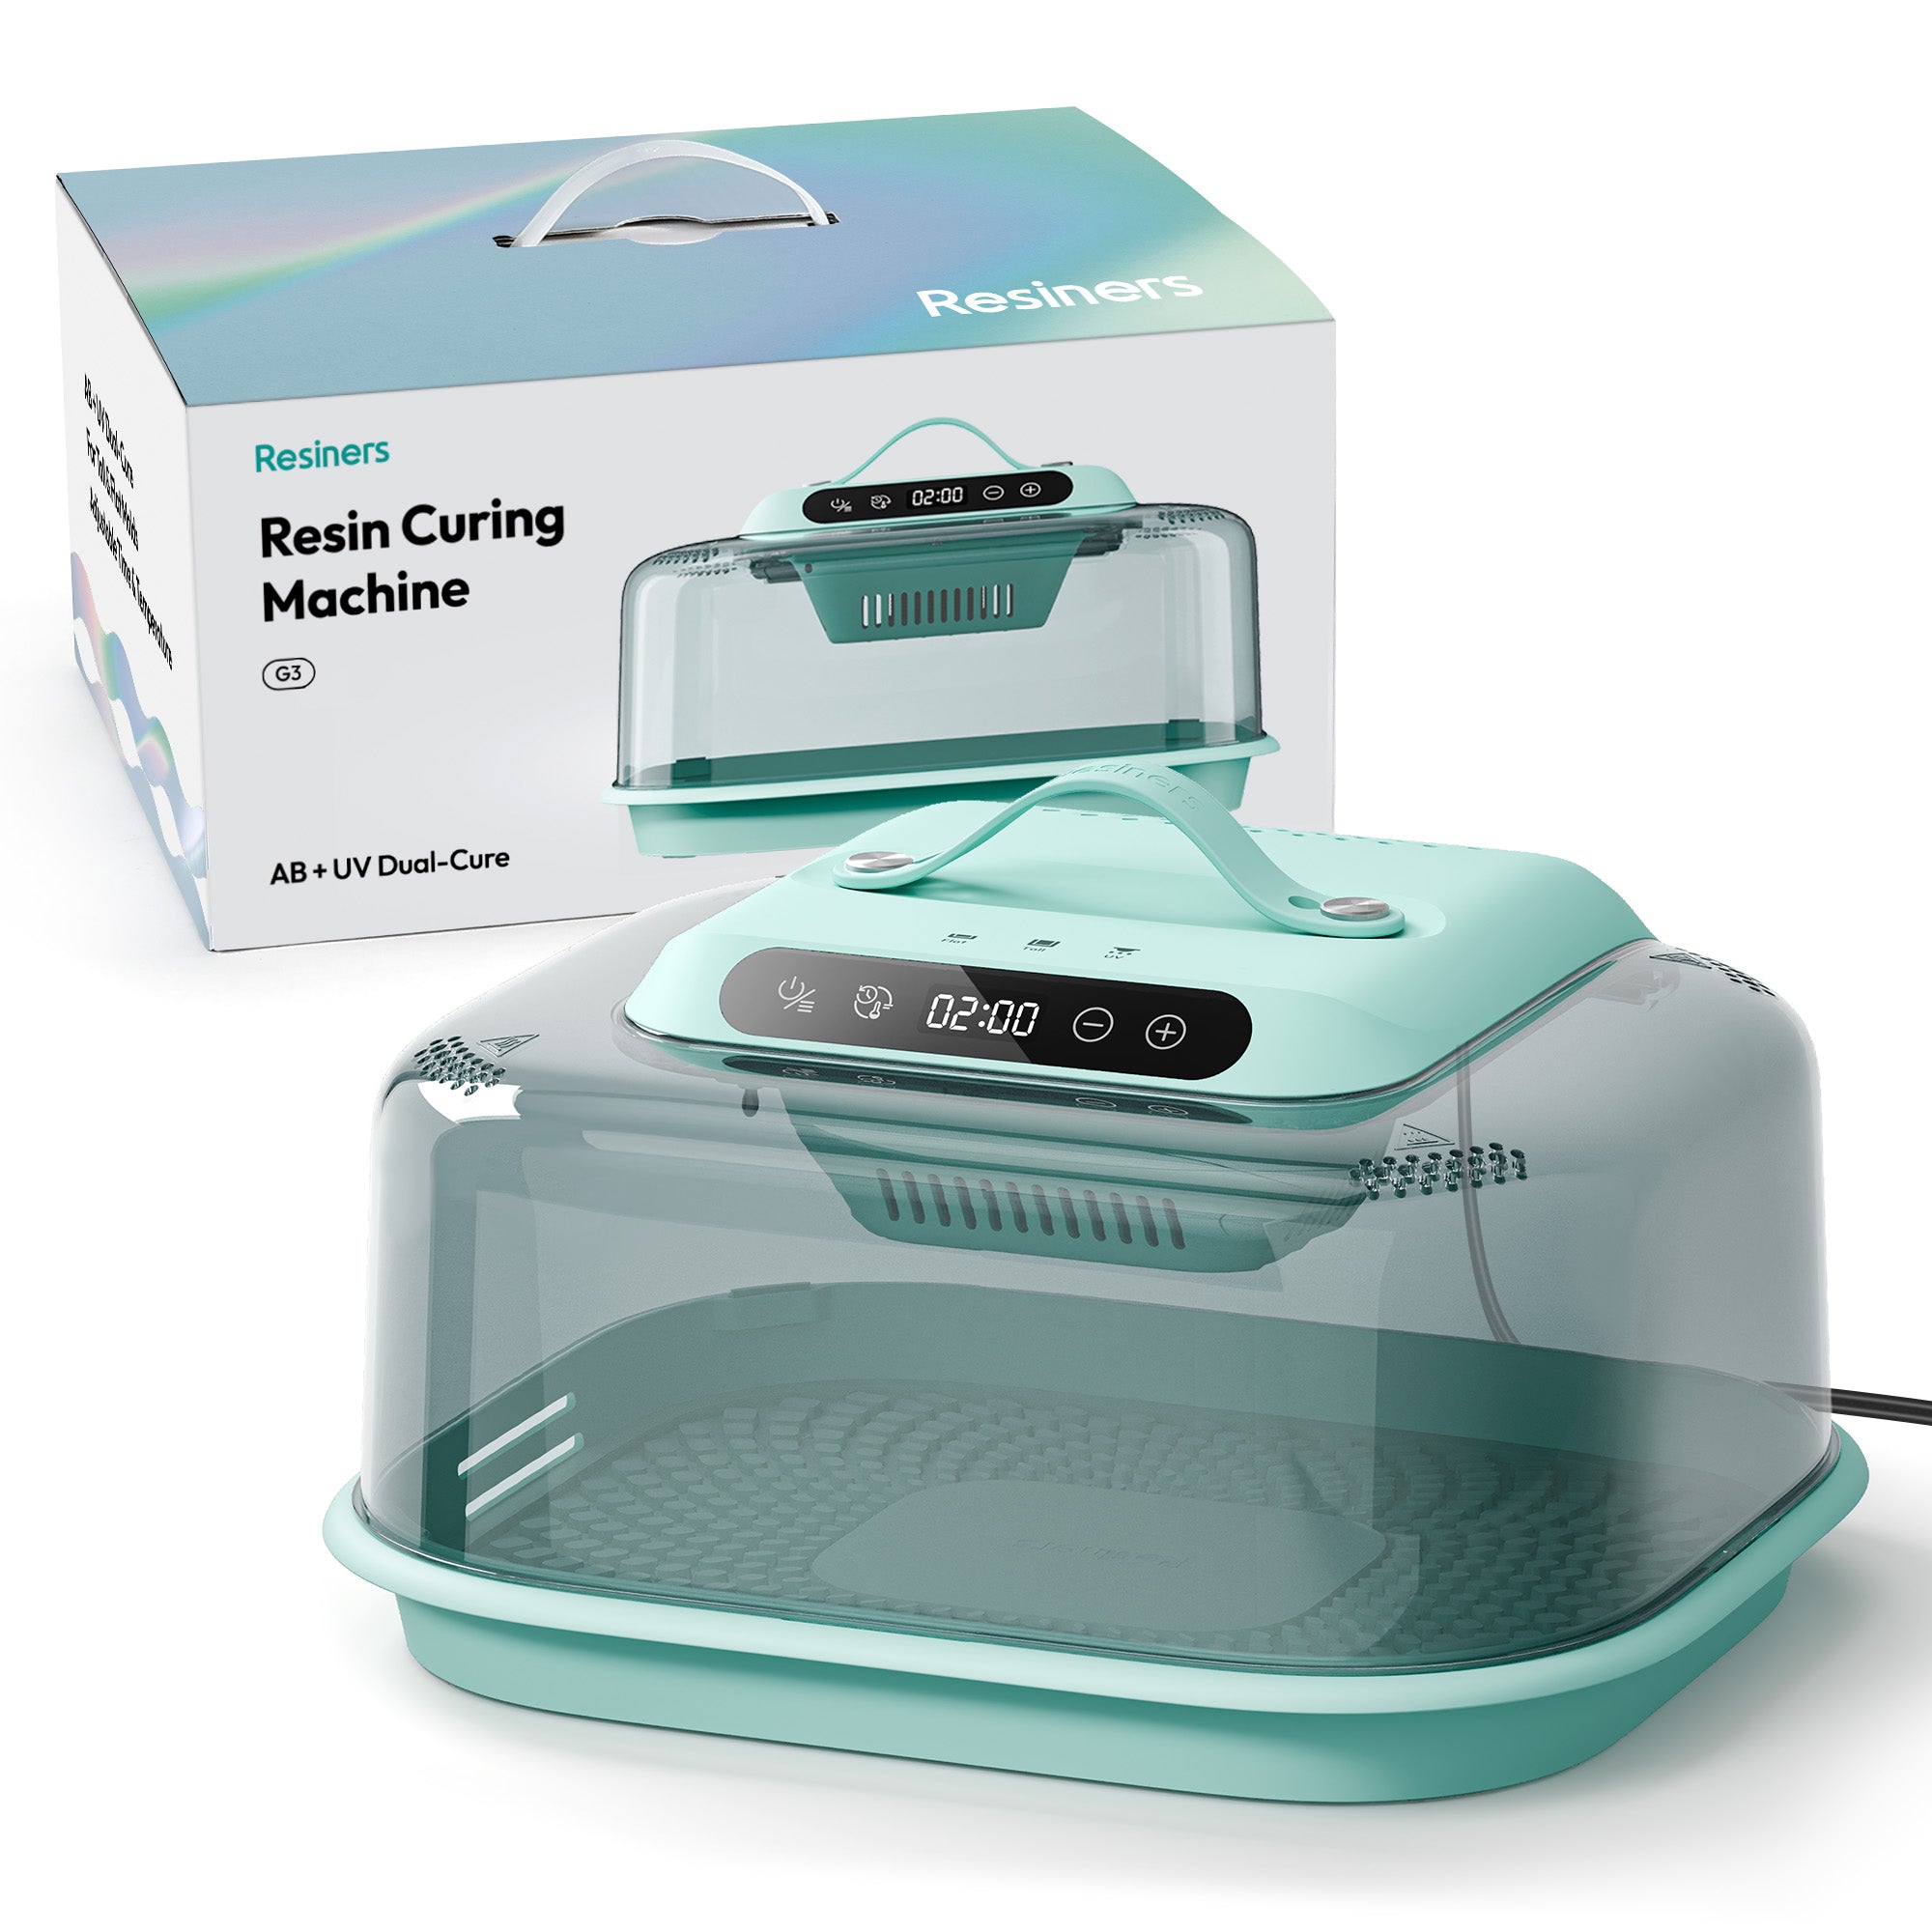
| جهاز معالجة G3 2 في 1 | إيبوكسي + الأشعة فوق البنفسجية؛ عمليات إنتاج مختلطة ودفعات |
| كيور إير | إيبوكسي؛ حجرة تسخين آلية |
| صندوق تجفيف الراتنج لقلب الأكواب | الإيبوكسي؛ تدوير الحرارة حول قطعة العمل الدوارة |
| مصباح الأشعة فوق البنفسجية 3 في 1 | الأشعة فوق البنفسجية؛ ضوء أحادي الاتجاه قابل للتعديل |
| مصباح الأشعة فوق البنفسجية قابل للطي على الوجهين | الأشعة فوق البنفسجية؛ ضوء من الأعلى والأسفل |
| مصباح الأشعة فوق البنفسجية المحمول أحادي الجانب | حماية من الأشعة فوق البنفسجية؛ تغطية مدمجة من الأعلى إلى الأسفل |
| ضوء فوق بنفسجي محيطي مغناطيسي 360 درجة | الأشعة فوق البنفسجية؛ غرفة بزاوية 360 درجة أو مصباحان منفصلان |
| مصباح يدوي محمول يعمل بالأشعة فوق البنفسجية | الأشعة فوق البنفسجية؛ تغطية موضعية مركزة محمولة باليد |

لا تزال بعض العادات مهمة
- قم بقياس وخلط الإيبوكسي بدقة وفقًا للتعليمات؛ لا يمكن للآلة إصلاح نسبة غير صحيحة.
- تأكد من أن الراتنج الخاص بك متوافق مع الحرارة المضافة أو الطول الموجي للأشعة فوق البنفسجية لمصباحك.
- حافظ على استواء القوالب، وقم بمعالجة راتنج الأشعة فوق البنفسجية بأعماق طبقات مناسبة حتى يتمكن الضوء من الوصول إليه.
-
استمر في اتباع إرشادات التهوية ومعدات الوقاية الشخصية والتعامل مع الراتنج من الشركة المصنعة.
شكراً لإتاحة الفرصة لنا للمشاركة في عملية إبداعكم
إلى كل من شارك لحظة معالجة الراتنج (#ResinersCuringMoment): شكرًا لكم على الإعدادات الدقيقة، والكشف المبهج، والتجارب غير المتوقعة، ومقاطع الفيديو العادية التي تم التقاطها بالهاتف والتي ساعدت مبدعًا آخر على الشعور بأنه أقل وحدة على طاولة عمله.
تُظهر منشوراتكم أكثر من مجرد إمكانيات الأدوات. فهي تُساعدنا على فهم كيفية إبداع فناني الراتنج - ما يُشعرهم بالإحباط، وما يُشعرهم بالرضا، وما هي التحسينات الصغيرة التي تُسهّل عليهم الاستمرار. نحن ممتنون للعمل معكم جنباً إلى جنب، خطوة بخطوة، من صبّة إلى معالجة، ومن غطاء يُفتح بفخر.

تسوق تجهيزات مشاريعك
آلة معالجة الراتنجات >>تسوق الآن
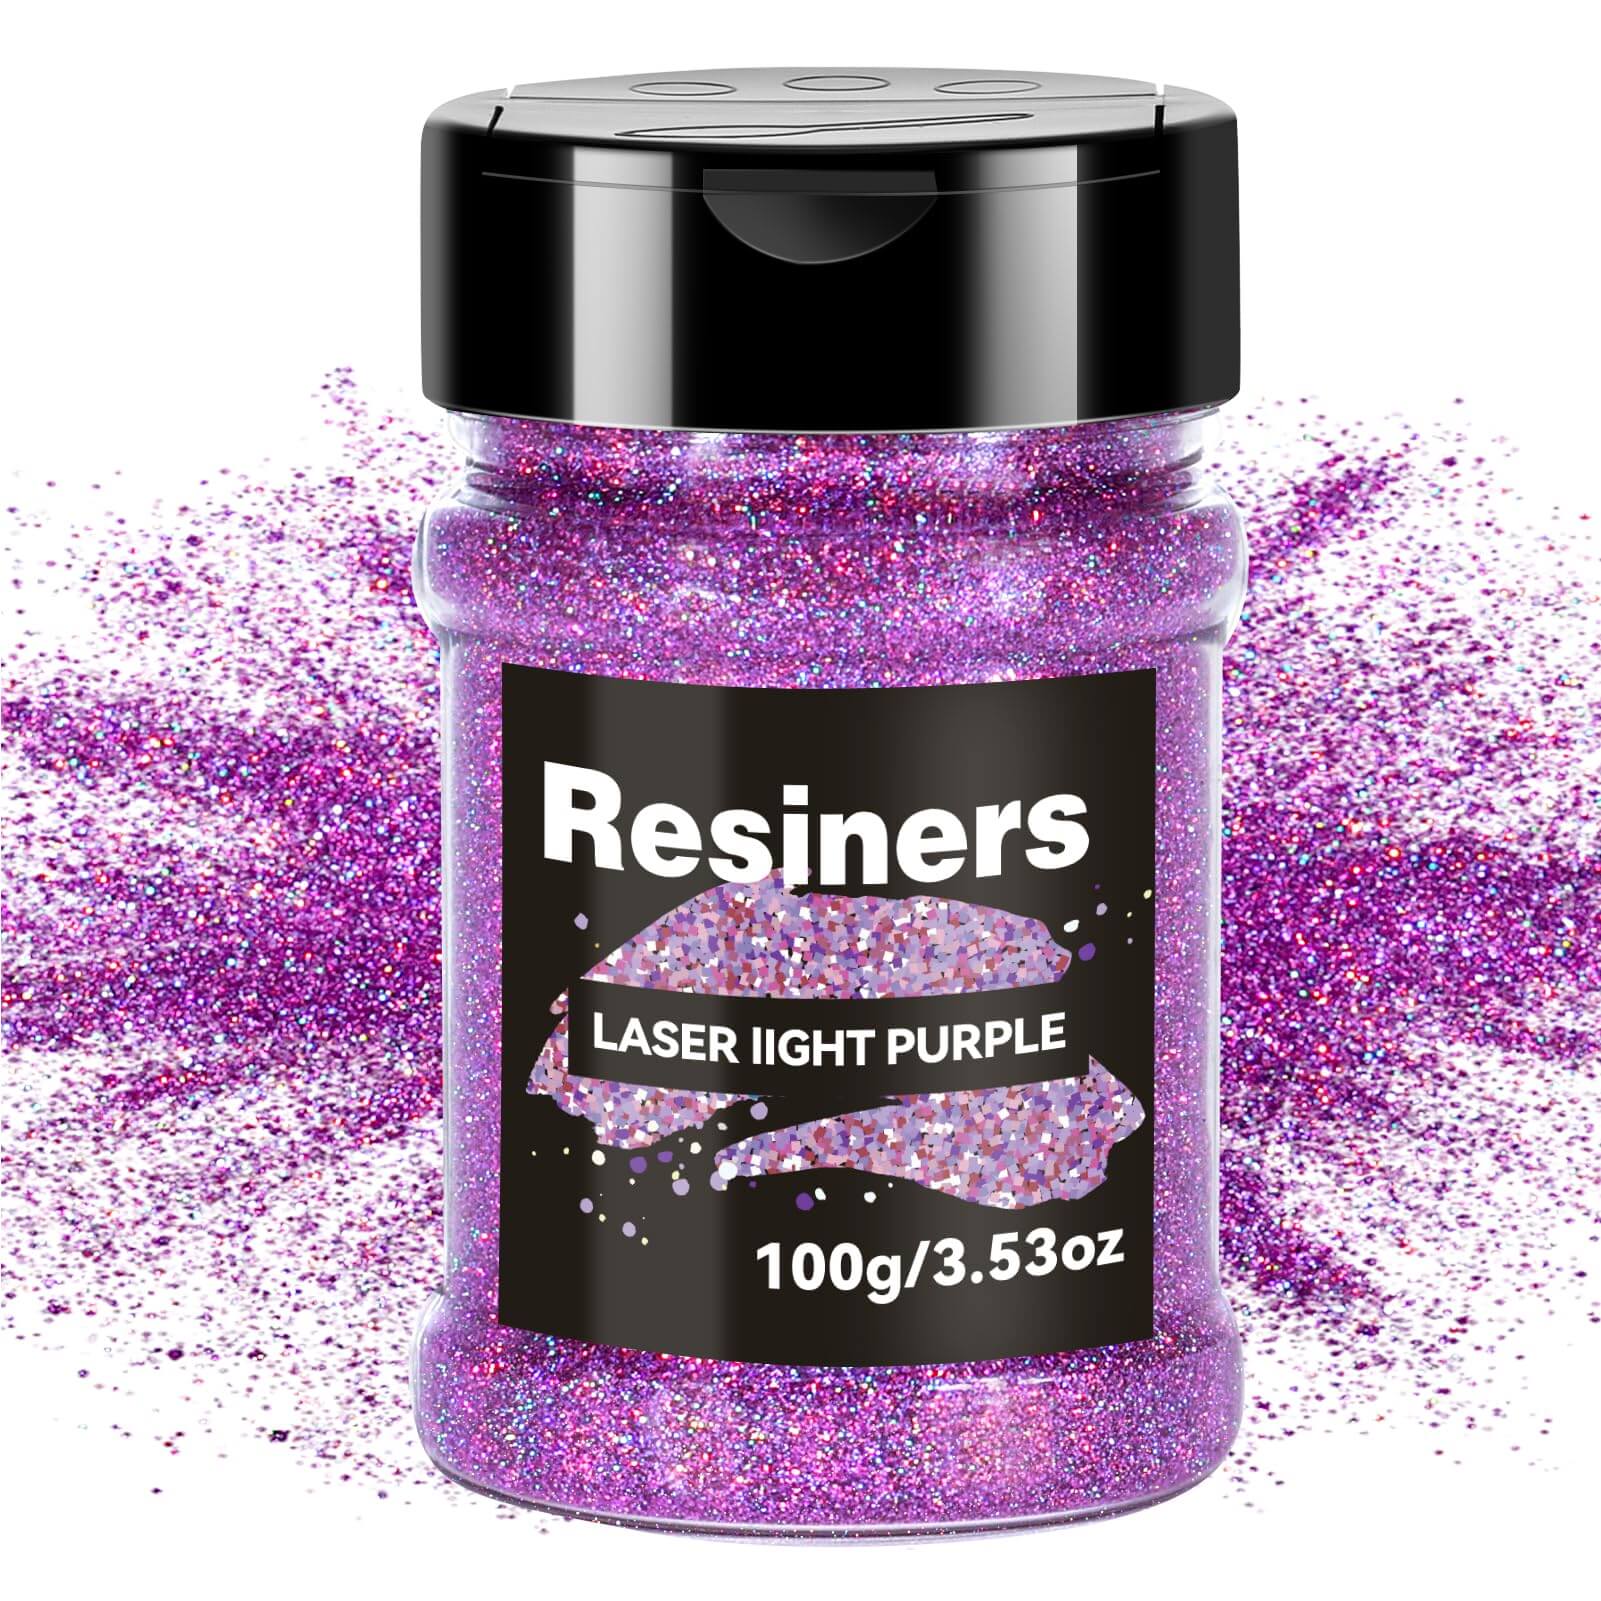
راتنجات الأشعة فوق البنفسجية وأشعة فوق البنفسجية >>تسوق الآن
*بعض الصور مُولّدة بواسطة الذكاء الاصطناعي. يُرجى مراجعة صفحة المنتج للاطلاع على تفاصيل المنتج الدقيقة.






اترك تعليقًا
This site is protected by hCaptcha and the hCaptcha Privacy Policy and Terms of Service apply.