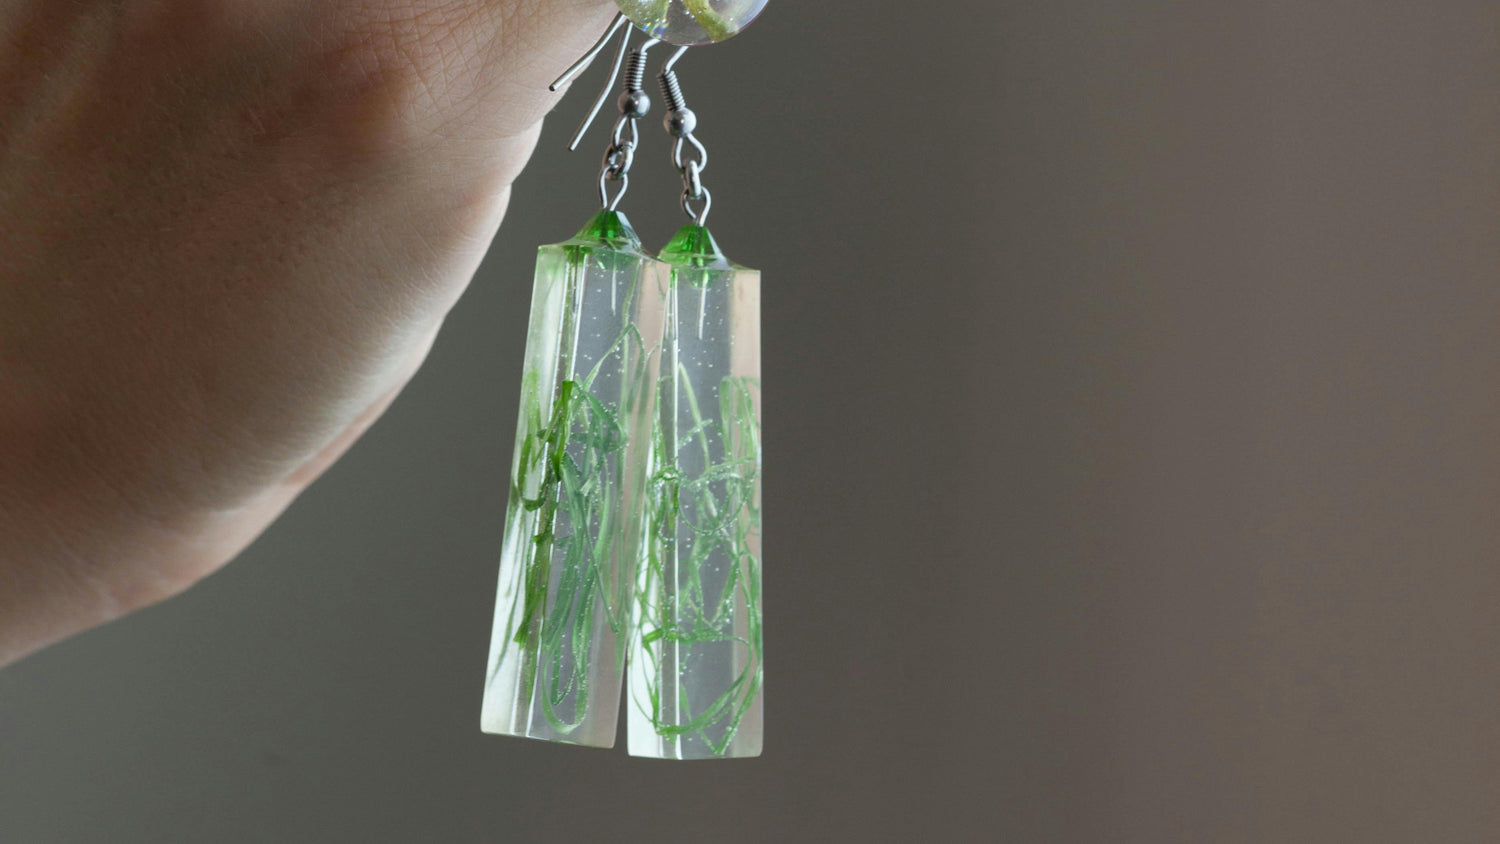
レジンジュエリーは、誰でも自宅で気軽に楽しめる、無限の創造性を秘めた世界を切り開きます。自分だけのオリジナルペンダント、バングル、個性的なイヤリングを作ってみませんか?このガイドでは、最初から最後まで、すべての工程を丁寧に解説します。
この記事を読み終える頃には、会話のきっかけとなり、友人たちがあなたの隠れた才能に驚くようなジュエリーを作れるようになっているでしょう。
必要なものを揃えて、さあ始めましょう!
創作の準備はできましたか?当社のコンプリートレジンキットをご覧ください。 初心者が今日から美しいジュエリー作りを始めるために必要なものがすべて揃っています!
ステップ1:必要なものを揃える

レジンジュエリー作りを始めるには、美しい仕上がりと安全性を確保するために、特定の材料が必要です。
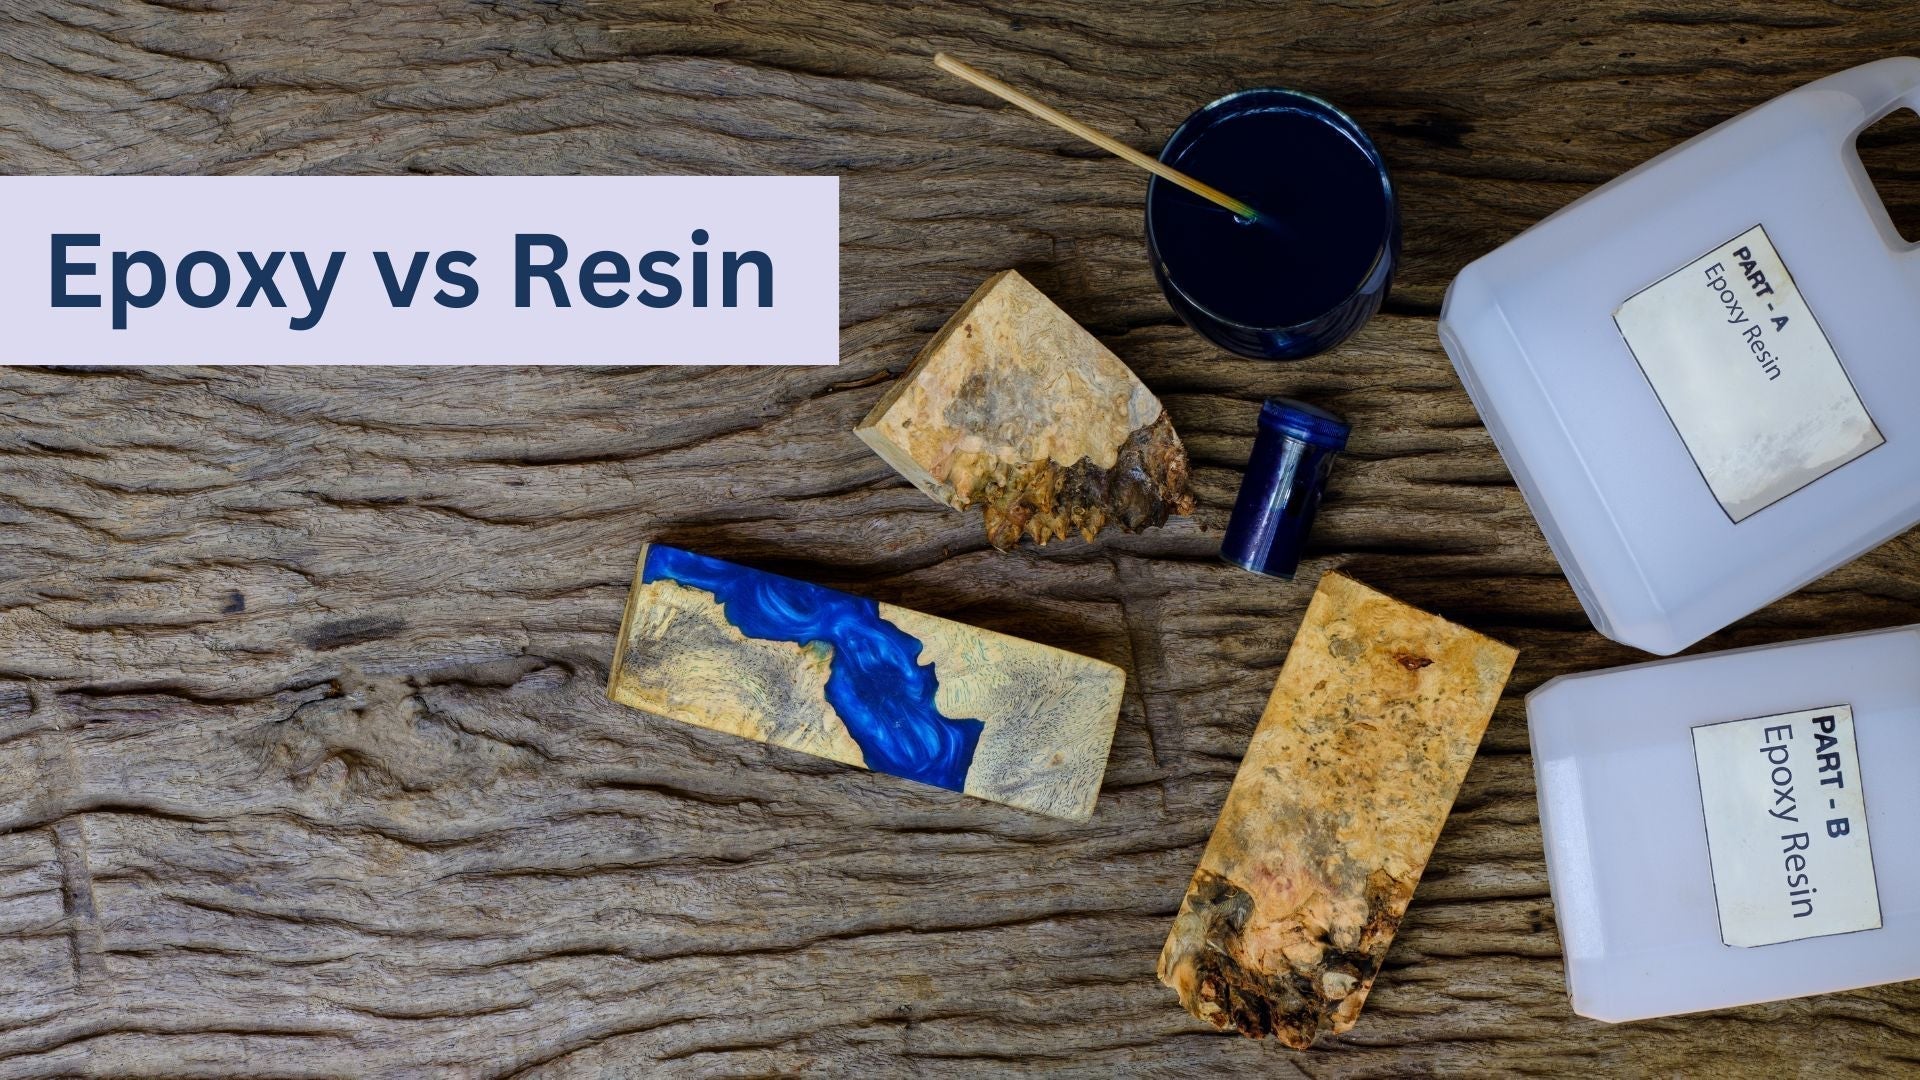
エポキシ樹脂
ジュエリーグレードのものを選んでください エポキシ樹脂(2部構成システム)。初心者向けキットには通常、計量カップと混合用具が含まれています。
安全装備
刺激性のある化学物質を扱う際に、皮膚、目、肺を保護するために不可欠な対策です。
- ニトリル手袋(パウダーフリー)
- 保護メガネ
- シリコンマットまたは作業面を保護するためのワックスペーパー
- 狭い空間での呼吸保護
金型および成形工具
レジン作品を成形、加工、完成させるために必要なものがすべて揃っています。
着色剤および添加物

透明な樹脂を鮮やかで個性的なジュエリー作品に変える素材:
- 雲母粉末 (メタリック/パール調の効果)
- アルコールインク(透明で鮮やかな色)
- 化粧品グレードの微細なグリッター
- 天然素材(宝石、貝殻)
- 特殊添加剤(金属片、蓄光粉末)
ステップ2:作業スペースを準備する
必要なものは揃いましたか?素晴らしい!それでは、作業スペースをきちんと整えましょう。
水平な面を作る
樹脂は常に最も低い場所に流れ込むので、水準器を使って表面が完全に平らであることを確認してください。ぐらつくテーブルの脚の下に折り畳んだ紙のスペーサーを数枚挟むと、驚くほど効果があります!
適切な換気

樹脂の蒸気は体に良くありません。換気のために窓を開けるか、 樹脂製造業者 空気清浄機もしあなたが狭いスペースにいるなら。
安全のため、樹脂は寝室やキッチンには絶対に持ち込まないでください。樹脂の粘度は温度によって変化するため、最適な結果を得るには室温21~24℃(70~75°F)の部屋で作業してください。
材料を整理する
必要なものはすべて手の届く範囲に置き、整理整頓を心がけましょう。液だれを防ぐためにトレイを用意し、埃っぽいものは周囲から取り除いてください。埃っぽいものは、表面の光沢を損なう最大の要因です。
ステップ3:樹脂の混合と注ぎ込み
正確な計量、十分な混合、そして適切な注ぎ方を心がけることで、プロジェクトを完璧に仕上げることができます。
正確な測定
樹脂のボトルは、計量する前に数分間置いて気泡が浮き上がるのを待ちましょう。この簡単な手順を踏むだけで、後の鋳造工程でのトラブルを未然に防ぐことができます。
樹脂の各成分には、必ず別々の計量カップを使用してください。正確な比率を測るには、目盛りがはっきりと付いたプラスチック製のカップが最適です。ほとんどの樹脂は、重量ではなく体積比で1:1の正確な比率が必要です。
覚えておくべき重要な測定値:
- 小規模プロジェクト:合計5~10mlの混合液
- 中規模プロジェクト:合計15~30mlの混合液
- 大型鋳造プロジェクト:40ml以上
目分量で計測してはいけません。わずかな比率の誤差でも、適切な硬化を妨げる可能性があります。
泡を起こさずに混ぜる
樹脂を少なくとも4分間、ゆっくりと丁寧に混ぜてください。混ぜる際は、平たい攪拌棒を使って、カップの側面と底を何度もこそげ落としてください。
気泡防止技術:
- 一方向にのみかき混ぜる
- 空気が入らないように、かき混ぜ棒は表面より下に留めてください。
- 混合後、ヒートガンまたはトーチで短時間加熱して表面の気泡を消します。
- 混合した樹脂を5分間放置して、気泡が浮き上がるのを待ちます。
ジュエリー作りの際には、泡立てたり激しくかき混ぜたりして微細な気泡が発生するのを避けてください。もし生地が濁ってきたら、かき混ぜるスピードが速すぎます。
混合後、樹脂を光源にかざして確認してください。透明で筋がなく、分離線が見えない状態であるべきです。
気泡が作品を台無しにしていませんか?当社の製品で、クリスタルクリアな仕上がりを実現しましょう。 エアレス気泡除去機。
色と内包物の追加
樹脂には様々な着色剤や添加剤が添加されるが、その量は重要である。
透明な色にする場合は、混合した樹脂10mlあたり、アルコールインクまたは樹脂染料を1~2滴だけ加えてください。
ジュエリーによく使われる素材:
- ドライフラワー
- 細かいラメ(樹脂に安全な種類)
- マイカパウダー(樹脂30mlあたり小さじ1/4)
- 小さなチャームや装飾品
A液とB液が完全に混ざってから着色料を加えてください。新たな気泡が入らないように優しく混ぜてください。多色効果を出すには、異なる色を別々に加えるか、つまようじで軽く混ぜてください。
重い材料は硬化中に沈むことがあります。まず薄く下地を流し込み、粘着性が出てくるまで(約30分)待ち、その後重い材料を加えてから残りの樹脂を流し込んでください。
鮮やかな色彩を生み出します! プレミアム顔料パウダー樹脂と完璧に調和し、鮮やかで色褪せしにくいジュエリーを生み出します。
型に流し込む
樹脂を1箇所からゆっくりと注ぎ、型の中に自然に流れ込むようにしてください。気泡を最小限に抑えるため、カップを型から約2.5~5cm離して持つと、よりきれいに仕上がります。
シリコン型は通常、離型剤を必要としませんが、他の素材の場合は必要となる場合があります。流し込む前に、メーカーの推奨事項を確認してください。ペンダントやイヤリングにドーム状の膨らみを持たせるには、型の縁より少し高めに流し込んでください。
注ぎ終えた後:
- 型を作業台に軽く叩きつけて、閉じ込められた気泡を取り除きます。
- つまようじを使って、樹脂を狭い隅々まで行き渡らせましょう。
- 防塵カバー(箱またはプラスチック容器)で覆ってください。
- 硬化中は推奨温度を維持してください。
多層成形の場合、前の層が完全に硬化する前、つまり粘着性が残る程度になるまで待ってから次の層を重ねてください。こうすることで、層間の結合が最も強固になります。ほとんどのジュエリー用樹脂は、型から取り出す前に完全に硬化するまでに24時間かかります。
ステップ4:硬化と仕上げ
適切な硬化処理は耐久性を確保し、仕上げ技術はあなたの作品を良質なものからプロ並みの品質へと昇華させる。
硬化条件
樹脂が適切に硬化するには、特定の条件が必要です。
- 温度:温度は70~75°F(21~24°C)に保ってください。温度が低すぎるとベタつきが生じ、高すぎると気泡が閉じ込められた状態で急速に硬化してしまいます。
- 湿度:透明な部品の曇りを防ぐため、濃度は50%以下に保ってください。
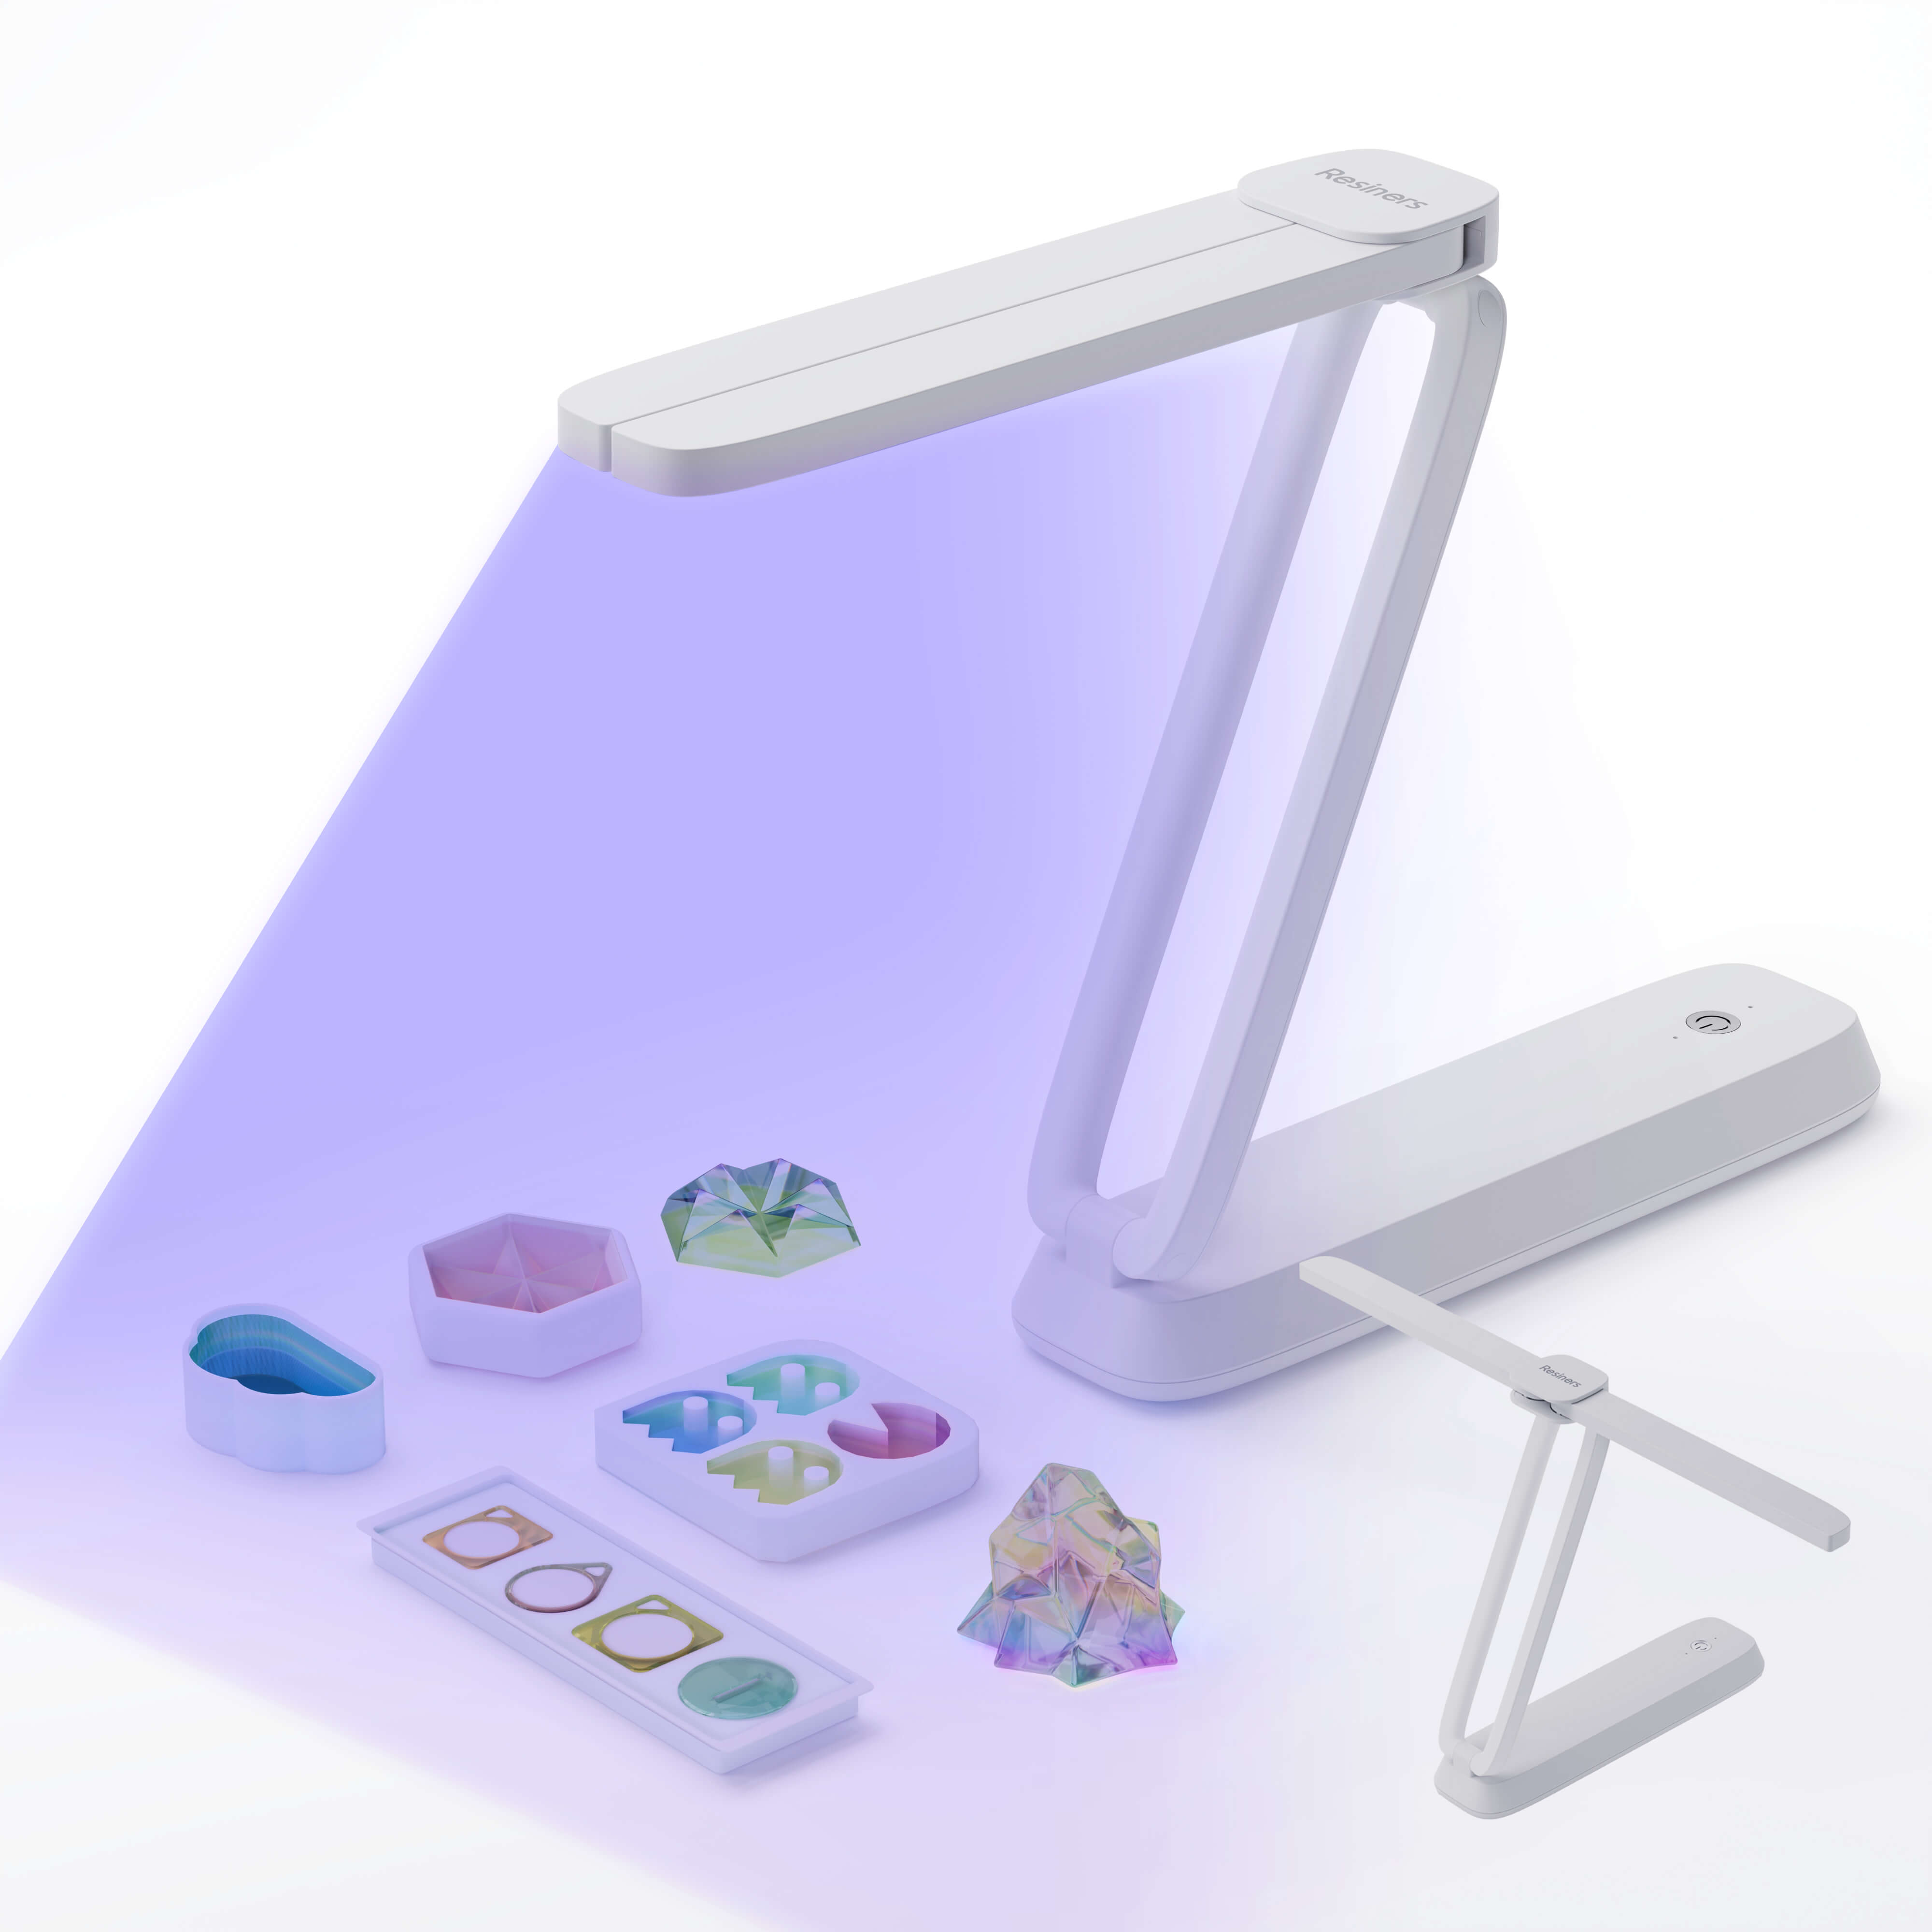
- UV樹脂:小さな部品の場合は、365~405nmのUVランプを片面2~3分間照射してください。
- エポキシ樹脂:完全に硬化するまで24~48時間かかります。辛抱強く待つことで、より硬く、より透明なジュエリーに仕上がります。
作品の型抜き
ジュエリーを型から取り出す前に、完全に硬化するまで待ってください。
- 目立たない場所に爪を押し当ててテストし、跡が残らなければ準備完了です。
- シリコンモールドは、まっすぐ上に引っ張るのではなく、端からゆっくりと剥がしてください。
- 型から外しにくい場合は、型を冷凍庫で5~10分間冷やしてわずかに収縮させる。
- つまようじを使って、複雑なパーツの端を慎重に剥がしてください。
- 使用後は型をイソプロピルアルコールで洗浄して状態を維持してください。
研磨と艶出しの技術
まず、粗目のサンドペーパー(400番程度)を使って、ペンダントやリングの大きな傷や余分な樹脂を取り除きます。その後、600番、800番、1000番、そして2000番まで、徐々に目の細かいサンドペーパーを使って表面を滑らかに仕上げていきます。
樹脂の粉塵を防ぎ、より良い仕上がりを得るためには、必ず湿らせた状態で研磨してください。これは、着け心地が重要なバングルやビーズの製作において特に重要です。
研磨のヒント:
- 円を描くように動かす
- 頻繁にすすいで進行状況を確認してください
- 均一な光沢を得るために、すべての表面を均等に研磨してください。
研磨には、専用の樹脂研磨剤またはコンパウンドを柔らかい布につけて使用してください。一方、チャームやイヤリングなどの小さな部品には、フェルト製の研磨チップを取り付けたドレメルが適しています。
ペンダントやネックレスにガラスのような光沢を与えるには、研磨後に最後に樹脂を薄く塗布して「ドームコート」として仕上げてください。
調査結果とハードウェアの追加

ジュエリーの種類に合わせて適切な金具を選びましょう。ペンダントやネックレスには、バチカンキャップや丸カンが適しています。イヤリングには通常、イヤーフックやポストが必要です。
調査結果を添付する場合 樹脂製の部品瞬間接着剤ではなく、E6000などのジュエリー用接着剤を使用してください。完全に接着するまで24時間置いてから着用してください。
樹脂に金具を埋め込む場合は、樹脂がまだ液状のうちに、ピアスポストなどの金具を注ぎ込んでください。金具が希望の位置に正確に配置されていることを確認してください。
ジュエリーの種類別の一般的な発見例:
- ネックレスジャンプリング、チェーン、留め金
- イヤリングイヤリングの金具、ポスト、フック
- ブレスレットトグル式留め具、マグネット式留め具
- リング調節可能なリングベース
ジュエリーを贈ったり売ったりする前に、すべての接続部分を軽く引っ張ってテストしてください。耐久性はあなたの評判に直結します!
当社の必須アクセサリーで、あなたの技術を磨き上げましょう。 精密金型からプロ仕様の仕上げ工具まで。
レジンジュエリーに関する結論
これで、美しいレジンジュエリー作りに必要な知識はすべて揃いました!練習あるのみです。最初の作品は完璧ではないかもしれませんが、一つ一つの作品から貴重な学びが得られます。色、質感、埋め込み方法など、様々なテクニックを試しながら、あなただけのスタイルを確立していきましょう。
レジンジュエリーのコミュニティは、互いに支え合い、インスピレーションに満ち溢れています。このやりがいのあるクラフトを通して成長していく中で、ぜひ作品を共有したり、質問したりしてみてください。
ジュエリー以外にもレジンアートの幅を広げてみませんか? インスピレーションを刺激するレジンアートのアイデア次のクリエイティブな冒険に向けて!
レジンジュエリーに関するよくある質問
樹脂はジュエリー作りに適していますか?
レジンは汎用性が高く、軽量で、無限のカスタマイズが可能なため、ジュエリー作りに最適です。ドライフラワー、グリッター、写真など、事実上あらゆるものを埋め込むことができ、真にユニークなアクセサリーを作り出すことができます。適切な技術を用いれば、透明なガラスのようなペンダントから、鮮やかでカラフルなステートメントアクセサリーまで、幅広い作品が生まれます。
樹脂にUVライトは必要ですか? ジュエリー?
樹脂の種類によります。UV樹脂 硬化にはランプが必要ですが、エポキシ樹脂は特別な装置を必要とせず、化学反応によって硬化します。 UV樹脂 数分で硬化するため、小規模なプロジェクトに最適ですが、エポキシ樹脂は24~72時間かかりますが、複雑なデザインに対応できる作業時間が長くなっています。
レジン製のジュエリーは壊れやすいですか?
適切に硬化させた樹脂製のジュエリーは、日常使いにおいて驚くほど耐久性があり、傷にも強いです。着用するアイテムは、破損を防ぐため、デザインを適切な厚みに保つようにしましょう。石や金属ほど硬くはありませんが、高品質の樹脂製ジュエリーは通常の使用であれば問題なく耐えられます。
樹脂製のジュエリーは変色しますか?
樹脂は金属のように変色しませんが、紫外線にさらされると時間とともに黄ばむことがあります。紫外線に強い素材を使用し、着用しないときは直射日光を避けて保管してください。透明な紫外線防止トップコートを塗布することで、透明度と色を長期間維持できます。


コメントを書く
このサイトはhCaptchaによって保護されており、hCaptchaプライバシーポリシーおよび利用規約が適用されます。