
Inlärning hur man polerar harts till hög glans är ett måste om du vill att ditt resinkonstverk verkligen ska sticka ut. Oavsett om du gör resinkonst, smycken eller tar dig an andra gör-det-själv-projekt, kan en slät, blank finish förvandla ditt verk från matt till bländande.
Hemligheten bakom den där högblanka looken? Det handlar om noggrann rengöring, slipning och polering – att ta bort skavanker och öka klarheten, steg för steg.
Att polera resinkonst kräver tålamod och noggrannhet. Du behöver rätt tekniker för att undvika repor och grumlighet.
För att uppnå en högblank yta på harts, börja med att slipa ytan med successivt finare sandpapper, börja med en grövre kornstorlek (t.ex. 120) och arbeta dig upp till en mycket fin kornstorlek (2000 eller högre). Använd sedan ett polermedel avsett för epoxiharts och polera ytan med en mjuk trasa eller en polermaskin tills önskad glans uppnås.
Oavsett om det gäller smycken, bordsskivor eller dekorativ konst, är polering det steg som ger hartshantverk deras färdiga, glasliknande glans. Det är ärligt talat skillnaden mellan "hemlagat" och "wow, har du gjort det?".
Varför polera harts till högglans?

Att polera harts till hög glans gör att det bara ser bättre ut. Det hjälper också ytan att hålla längre. När du polerar färdas ljuset genom hartset renare, så färgerna framträder och finishen ser fylligare ut.
Polering åtgärdar de där irriterande problemen som dis och repor. Här är vad du får när du gör det rätt:
Fördelar: Klarhet, Djup, Skydd
Poleringsharts gör det tydligare. Ljus kan passera igenom utan att spridas, så du ser mer djup och detaljer. Färgerna ser ljusare ut och hela verket känns mer "färdigt".
En blank yta ser inte bara bra ut – den känns slät och förseglar ytan mot damm och fukt. Det hjälper till att förhindra gulning och skador med tiden. Folk märker när ett föremål känns professionellt, och ärligt talat är det helt enkelt mer tillfredsställande att röra vid det.
Åtgärdar vanliga problem som dis och repor
Harts torkar ofta med dis eller små repor som mattar ut glansen. Polermedel fyller dessa repor och jämnar ut dem. Det är så du förvandlar en matt yta till en klar, blank.
Dis kommer från små ytpartiklar. När du polerar bryts dessa partiklar ner och avlägsnas, vilket återställer transparensen. Noggrann slipning och polering tar bort defekter som gör att hartset ser slitet ut.
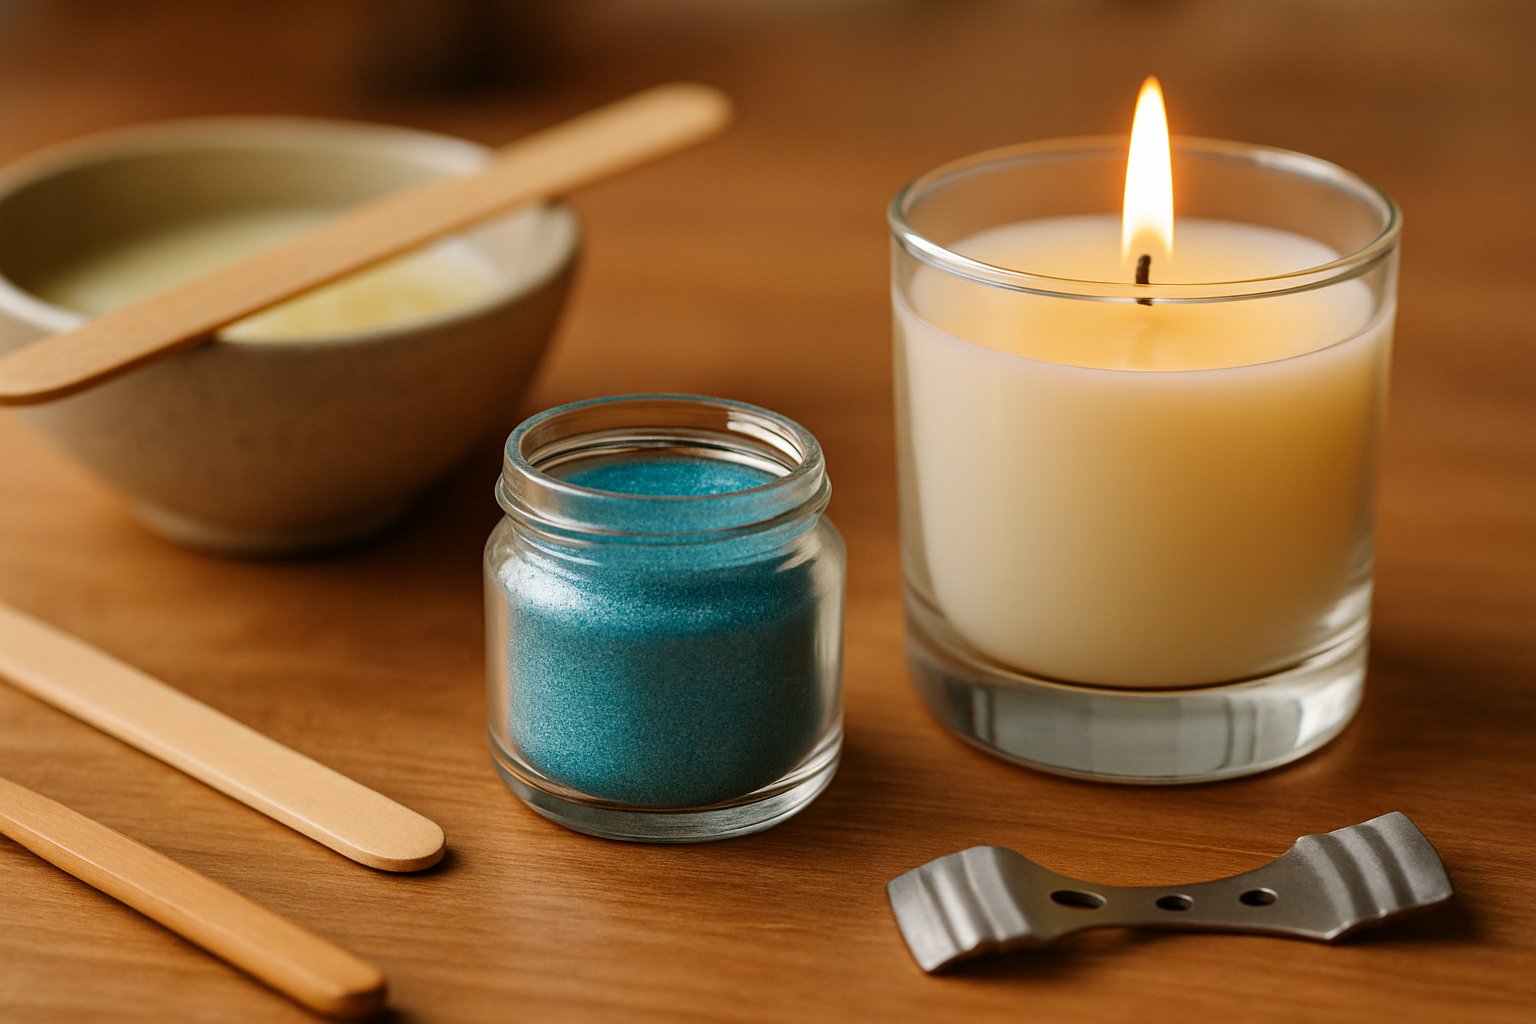
Sätt att förbereda ditt härdade harts

Innan du polerar behöver du förbereda ditt harts. Bra förberedelse innebär en jämnare och glansigare yta senare. Rengöring och inspektion nu sparar dig huvudvärk senare.
Rengör damm, fingeravtryck och mögelavlagringar med vatten/alkohol
Tvätta ditt härdade harts med varmt vatten och mild tvål. Använd en mjuk trasa eller svamp så att du inte repar något.
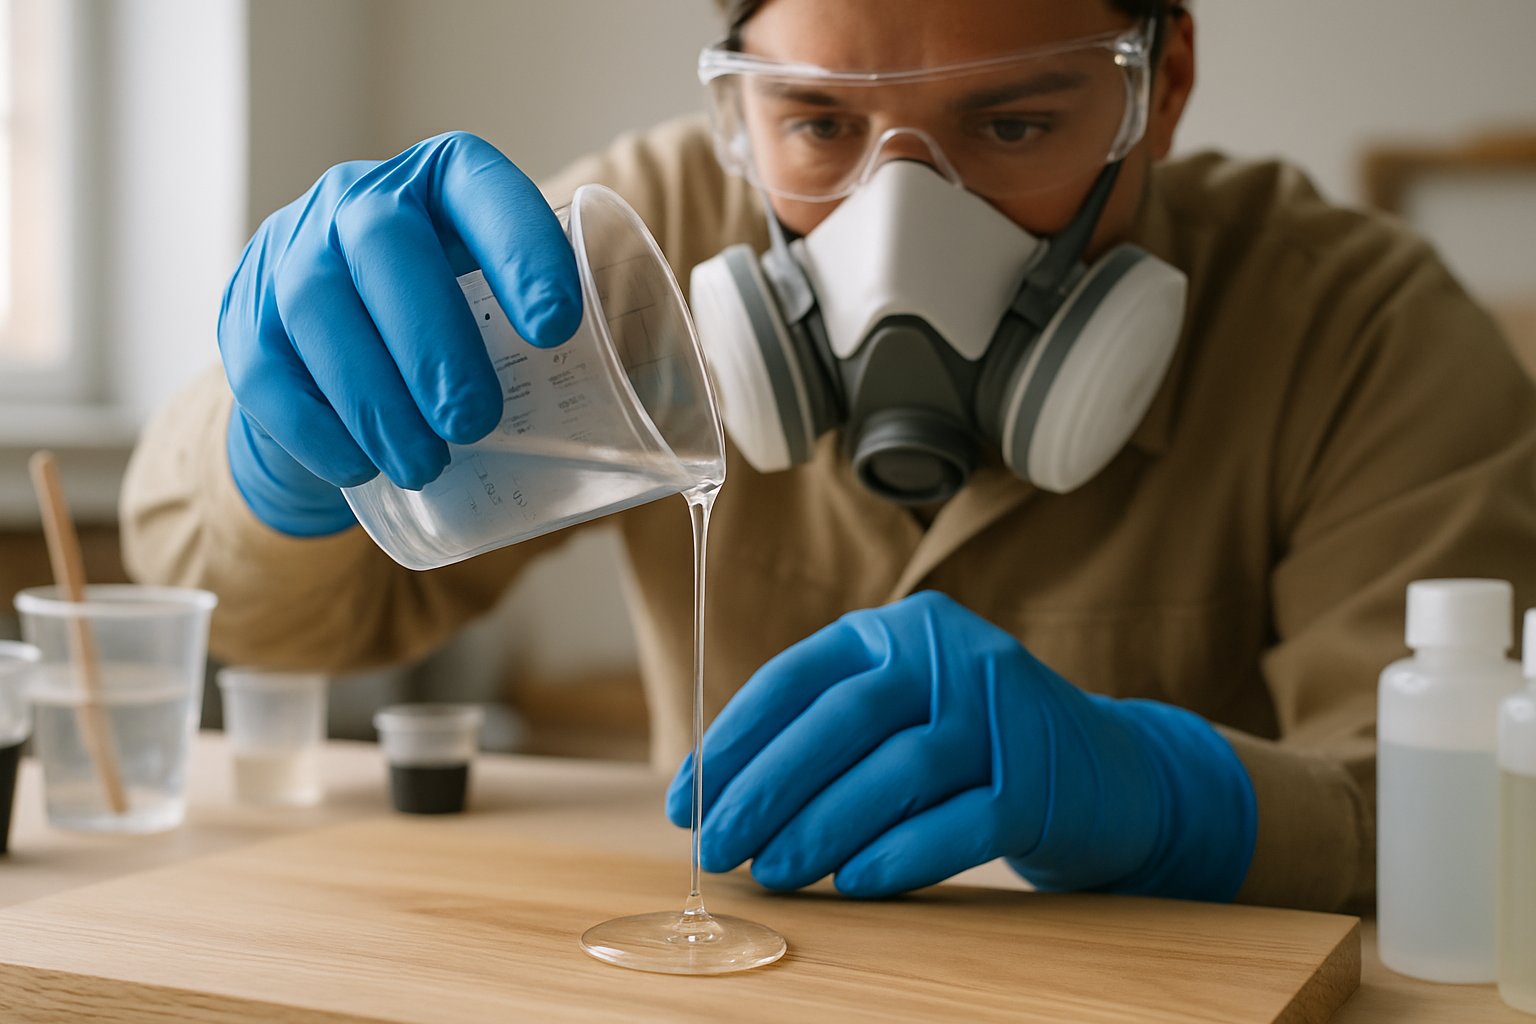
Om du använde släppmedel kan det lämna rester. Torka av hartset med isopropylalkohol och en luddfri trasa för att ta bort eventuella kvarvarande släppmedel eller oljiga fingeravtryck.
Torka hartset helt innan du slipar. Och glöm inte en dammmask när du slipar – hartsdamm är inte något du vill andas in.
Inspektera under gott ljus för att bedöma nödvändig slipning
Kontrollera ytan i starkt ljus eller solljus. Leta efter repor, stötar eller molniga fläckar. Det är det du ska slipa.
Om du arbetar på bänkskivor eller större epoxiprojekt, var extra uppmärksam på kanter och kurvor. Defekter där är svåra att åtgärda senare.
Börja slipa med grövre kornstorlek för att ta bort stora defekter, gå sedan vidare till finare kornstorlek. Kontrollera igen efter varje omgång för att se till att du har jämnat ut allt.
Skynda inte på den här delen – att upptäcka problem nu håller din slutliga finish klar och glansig.
Hur man använder våtslipning för att jämna ut ytan

Våtslipning jämnar ut grova märken och repor, vilket ger dig en fantastisk polering. Att använda rätt kornordning och en solid teknik gör stor skillnad.
Progressiva grits: Börja ~120–400, sedan 600→2000+
Börja med grovt sandpapper – ungefär 120 till 400 gritDetta tar snabbt bort djupa repor och ojämna fläckar, men lämnar ytan ojämn.
Gå över till finare kornstorlekar: 600, 1000, 1500, upp till 2000 eller merVarje steg raderar reporna från det förra. Att hoppa över grovkornighet kan lämna envisa märken som är svåra att laga senare.
Att slipa för hand eller använda ett slipkloss ger dig mer kontroll. Ärligt talat är det frestande att stressa, men tålamod lönar sig här.
Tips för våtslipning: Håll pappret fuktigt, ta bort slam, kontrollera om det finns repor
Håll både sandpapperet och hartset våta. Vatten hjälper till att minska värmen och förhindrar att sandpapperet täpps till.
Skölj bort slipmassan ofta så att du kan se vad du gör. Torka av hartset mellan kornbyten och kontrollera om det finns repor eller matta fläckar i bra ljus.
Om du fortfarande ser repor, gå tillbaka till en grövre kornstorlek. Använd jämnt och stadigt tryck när du slipar för att undvika ojämna fläckar. Våtslipning tar längre tid, men du får en jämnare och renare finish i slutändan.
Har du polerat din resin men undrar över sliptekniker? Lär dig de bästa sliptipsen i Kan man slipa epoxi? Tips för en slät ytaoch förfina dina projekt till perfektion.
Hur man väljer poleringsmetod och verktyg

Att välja rätt poleringsmetod och verktyg kan avgöra om din högblanka finish blir bra eller dålig. Det bästa alternativet beror på projektets storlek, vilka verktyg du har och hur mycket kontroll du vill ha.
För hand: Mikrofiberdyna + blandning
Att polera för hand ger dig stor kontroll, särskilt på små eller detaljerade föremål. Ta en mjuk mikrofiberrondell och ett fint polermedel avsett för harts.
Applicera preparatet och gnugga in det med små, cirkulära rörelser. Det är långsamt, men du kan fokusera på problemområden och undvika värme som kan skada hartset.
Använd lite vatten eller smörjmedel för att minska damm och friktion. Om din platta blir för smutsig eller sliten, byt ut den mot en ny.
Borr/Dremel: Filt- eller skumdyna, lågt varvtal
Att använda en borr eller Dremel med filt- eller skumdyna snabbar upp arbetet. Håll hastigheten låg – cirka 1 000 till 2 000 varv/min – för att undvika överhettning och att hartset blir matt.
Välj ett polermedel avsett för harts eller plast. Eller ännu bättre, skaffa ett polerkit. för att få allt du behöver. Applicera det på rondellen och arbeta i överlappande drag. Håll verktyget i rörelse, annars kan du få ojämn glans eller till och med skrapmärken.
Filtkuddar är fastare och bra för att ta itu med mindre repor. Skumkuddar är mjukare och fungerar bra för slutlig polering. Båda typerna är lätta att hitta som tillbehör till roterande verktyg.
Dubbelverkande polermaskin: Mjuka rondeller, kontrollerad hastighet
Om du arbetar med större föremål som bordsskivor är en dubbelverkande polermaskin din vän. Dess orbitala rörelse gör den säkrare för harts än roterande polermaskiner.
Använd mjuka, högkvalitativa klossar och kontrollera hastigheten – vanligtvis mellan 1 500 och 3 000 OPM. Börja med en medelstor gummiblandning och avsluta sedan med en fin för den där glasartade looken.
Dessa maskiner fördelar trycket jämnt, så att du undviker virvlar och repor. Polersvampar kan hjälpa dig att komma åt i trånga utrymmen.
Arbeta i ett rent område och torka av ytan mellan stegen för att hålla ordning och reda och undvika ansamlingar.
Applicera polermedel

För att få den där högblanka finishen på epoxiharts måste man använda rätt polermedel, i rätt ordning. Börja med en grov polermedel för att ta bort repor, byt sedan till en fin polermedel för jämnhet och glans.
Tekniken är viktig här – rör dig försiktigt för att undvika virvelmärken eller värmeskador. Det är ingen raketforskning, men lite fokus räcker långt.
Bred ut en liten mängd spackel jämnt innan du börjar. Detta hjälper till med täckning och förhindrar att spackeln torkar ut för fort.
Håll din dyna eller duk i rörelse i små, överlappande cirklar. Stanna inte på ett ställe, annars riskerar du att värmen byggs upp och att hartset mjuknar (eller till och med smälter).
Om du använder maskin, håll dig till låg till medelhastighet och använd lätt tryck. Kontrollera temperaturen ofta. Lite försiktighet gör stor skillnad för din slutliga glans.
Om du älskade det högblanka resultatet, gå djupare med 7 bästa polermedel för epoxihartsprojekt—ta reda på vilka ingredienser som ger den där spegelblanka glansen utan ansträngning.
Polera för att glänsa på spegeln
Polering av harts är där allt kommer samman. Du går från grovpolering till finpolering, håller värmen under kontroll och avslutar med en ren torkduk för att få den där glasiga looken.
Grovskärning → Finpolering
Börja med ett grovt polermedel för att ta itu med eventuella kvarvarande repor eller slipmärken. Använd en polerskiva med måttlig hastighet och applicera polermedlet jämnt.
Arbeta med långsamma, cirkulära rörelser för att hålla hartset kallt. Efter den grova skärningen, byt till finare spackel för varje svep. Varje steg tar bort dis från det förra.
Byt belägg eller hjul när de är fullpolerade. Smutsiga belägg kan repa ytan. Ta god tid på dig – tålamod lönar sig här med en verkligt slät, spegelblank yta.
Övervaka temperaturen; regelbunden inspektion
När du polerar värms hartsytan upp snabbt. För mycket värme kan mjukna eller skada finishen.
Håll polermaskinen inställd på låg eller medelhög effekt. Det förhindrar vanligtvis överhettning.
Stanna ofta och kontrollera ditt arbete i starkt ljus. Se upp för virvlar, repor eller andra grumliga fläckar.
Torka bort överflödig polish med en ren mikrofiberduk mellan varje drag. På så sätt får du en tydlig bild av ytan.
Om hartset känns varmt, pausa bara och låt det svalna. Att kontrollera hjälper dig ofta att upptäcka problem tidigt och hindrar dig från att överdriva.
Slutlig avtorkning med mikrofiber eller alkohol
När du har fått en blank yta, torka av hartset en sista gång. Använd en ren mikrofiberduk och torka försiktigt bort överbliven polish.
Vill du ha ett ännu renare utseende? Fukta trasan med lite isopropylalkohol. Det lyfter bort oljor och damm och ger glansen en liten boost utan att skada hartset.
Hur man åtgärdar vanliga problem + tips
Polerharts kommer med sina egna huvudvärk. Du kommer vanligtvis att stöta på problem med slipning, värme eller att hitta rätt polermedel.
Grumligt eller repigt? Troligtvis hoppade över grits – slipa mer
Om ditt harts blir grumligt eller repigt är det troligt att du hoppade över slipkornsslipning eller att du hastade fram processen. Du måste gradvis gå från grovt till fint sandpapper för att släta ut defekter.
Börja med kornstorlek 400 eller 600 och arbeta sedan upp till kornstorlek 1500 eller 2000. Våtslipning med vatten hjälper till att hålla saker svala och avlägsnar damm.
Håll kvar med varje kornstorlek tills reporna från den förra försvinner. Om du hoppar över stegen kommer du att se fina repor som polish inte kan laga.
När du slipar ordentligt ger polermedel den där klara, glansiga finishen.
Värmedis? Låt det svalna, polera om
Elverktyg kan värma upp harts snabbt, vilket orsakar en disig "värmedis" på ytan. Det händer eftersom hartset mjuknar lite och ytan blir ojämn.
Om du upptäcker dis, sluta omedelbart och låt föremålet svalna. När det har svalnat, ta fram en mjuk trasa och polera försiktigt för att polera bort diset.
Tryck inte för hårt och stanna inte på ett ställe för länge. Använd ett låghastighetsverktyg eller polera för hand om du behöver mer kontroll.
Ärligt talat, att hantera värme gör hela skillnaden för ett klart och glänsande resultat.
Kommer du inte åt polermedel? Använd bilpolering: ”När du tror att du är klar… är du halvvägs”
Hittar du ingen polish specifikt för harts? Bilpoleringsmedel fungerar förvånansvärt bra. De är gjorda för att fixera klarlacker – ungefär som harts.
Välj ett fint bilpoleringsmedel som är avsett för mikrorepor. Använd en mikrofiber- eller filtrondell på en dubbelverkande polermaskin och arbeta i små områden så att du inte överhettar hartset.
Även om ytan ser bra ut, polera den lite mer. Det är sant: "När du tror att du är klar, är du halvvägs."
Bilprodukter är vanligtvis icke-slipande och säkrare för miljön, så de skyddar ditt harts samtidigt som du får en spegelblank yta.
Vill du ha den där glansiga finishen utan extra verktyg? Kolla in Hur man gör harts glänsande utan polish: Snabbguideför enkla knep och resin gloss-tips som hoppar över armbågsfettet.
Valfria finishförstärkare
Efter polering kan du använda extra produkter för att öka glansen och hållbarheten. Dessa hjälper till att hålla ditt harts fräscht och glansigt längre.
Klarlack eller blank hartstäcklack
Genom att lägga på ett klarlack eller ett glansigt täcklack får du en stark, glasartad finish. Det fungerar som en sköld och skyddar ditt polerade harts från repor och solljus.
Välj ett harts som är avsett för tätning och glans. Applicera det tunt och jämnt med en pensel, eller häll det på – följ bara anvisningarna för härdningstid.
Blanda försiktigt för att undvika bubblor och arbeta på en varm, dammfri plats. Slipa lätt mellan lagren om du vill ha bättre vidhäftning och en jämnare yta.
Vax- eller hartsförseglare för varaktig glans
Vax- och hartsförseglare hjälper till att bevara glansen efter polering. Vax ger snabb glans och viss vattenavvisande effekt, men du behöver applicera det igen då och då.
Resinförseglare håller längre och skapar en starkare barriär. De tränger in lite för att motverka repor och blekning. Vanligtvis gnuggar man bara försiktigt in dem i cirklar med en mjuk trasa.
Det är värt att använda dessa glansförstärkare, särskilt om ditt resinmaterial hanteras mycket. En bra glansförseglare gör det inte bara glänsande – det hjälper det att hålla länge.
Slutliga tankar
Till polerharts För att snabbt och enkelt få hög glans, börja med att våtslipa den härdade ytan genom successivt finare kornstorlekar – 400, 800, 1200, 2000 – tills den känns silkeslen. Applicera sedan en polermedel av god kvalitet och polera med mjuka, cirkulära rörelser med en mjuk trasa eller polerplatta, antingen för hand eller med en borr.
Nyckeln är tålamod: ta god tid på dig vid varje kornstorlek, rengör noggrant mellan stegen och bygg upp glansen gradvis. Med rätt förberedelse och polering kommer ditt resinkonstverk att glänsa som glas på nolltid.
Sugen på mer resininspiration? Läs även vår artikel, Cool hartskonst att prova: Kreativa idéer och teknikernästa!
Vanliga frågor
Hur får man resin att glänsa igen?
Om ditt harts ser matt ut, börja med att tvätta det med varmt tvålvatten för att ta bort damm och oljor. Använd sedan finkornigt sandpapper – börja på kornstorlek 800 och arbeta dig upp till kornstorlek 2000 – för att släta ut repor eller matta fläckar.
Polera med en mjuk trasa och polera med ett polermedel avsett för epoxi eller plast. Det tar bort fina märken och ger klarhet tillbaka.
För lite mer glans, applicera ett hartsvax eller ett tunt lager klar epoxi och polera sedan försiktigt en gång till. Arbeta alltid på en ren plats för att undvika nytt damm eller fingeravtryck.
Varför är inte mitt harts glansigt?
Harts kanske inte ser glansigt ut om det inte härdat ordentligt, har repor på ytan eller samlat damm under torkning. Tunt eller halvhärdat harts förblir matt eller klibbigt.
Om du slipar för grovt eller hoppar över poleringen får du en matt finish. Damm och fingeravtryck minskar också glansen.
För att undvika dessa problem, härda hartset helt, slipa med finare kornstorlekar steg för steg och håll ditt utrymme rent. Polering och polering efter härdning är verkligen viktigt för den där glasartade glansen.
Vad ska man lägga på resin för att få det att glänsa?
Om du vill att ditt harts ska glänsa behöver du en blandning av slipning, polering och en bra efterbehandlingsprodukt.
Börja med våtslipning. Använd fina sandpapper och arbeta dig upp till kornstorlek 2000.
Efter slipning, ta fram ett polermedel eller en plastpolish. Arbeta in det med en mjuk trasa eller en polerskiva – undvik bara allt som är alltför slipande.
För att bevara glansen, avsluta med ett hartssäkert vax eller ett klart, UV-beständigt topplack. Detta steg hjälper till att bevara glansen och motverkar gulning med tiden.
Att förbereda ytan innan du polerar gör hela skillnaden om du vill att den där högblanka looken ska hålla länge.
För att uppnå en högblank yta på harts, börja med att slipa ytan med successivt finare sandpapper, börja med en grövre kornstorlek (t.ex. 120) och arbeta dig upp till en mycket fin kornstorlek (2000 eller högre). Använd sedan ett polermedel avsett för epoxiharts och polera ytan med en mjuk trasa eller en polermaskin tills önskad glans uppnås.


Lämna en kommentar
Denna webbplats är skyddad av hCaptcha och hCaptchas integritetspolicy . Användarvillkor gäller.