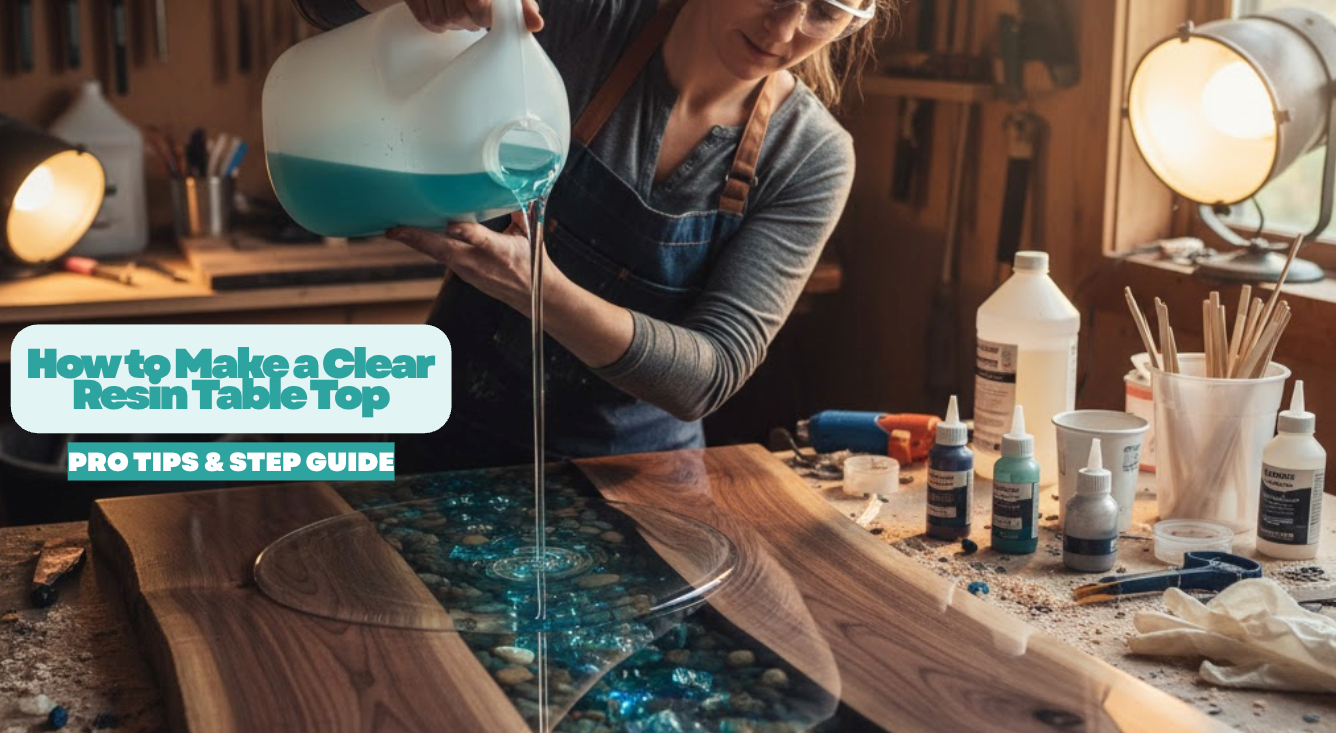
透明な樹脂製のテーブルトップは、木材を保護し、見事な仕上がりを実現する最も美しい方法の一つです。
ダイニングテーブル、バーカウンター、天然木の一枚板など、エポキシ樹脂を使えば、ありふれた表面を、耐久性と長持ち性に優れた、光沢のあるガラスのような作品に変えることができます。
しかし、樹脂はただ注いで待つだけの単純なものではありません。透明度の高い仕上がりを実現するには、適切な材料、準備手順、そして仕上げ技術を理解する必要があります。
このガイドでは、 透明な樹脂製テーブルトップの作り方 最初から最後まで。
クイックガイド💡:
- コーティングや深層注入には、密閉された表面、水平な作業台、そして適切なエポキシ樹脂を使用してください。
- 典型的な テーブルトップ用エポキシ樹脂 1層あたり1/8~1/4インチの厚さで注ぎます。 深注エポキシ より太いキャストや河川の河床に適しています。
- トーチで軽く炙るか、温度を調節して泡を消します。ゆっくりと作業し、炎を動かし続けてください。
- 食品接触面には、以下の条件を満たす樹脂のみを使用してください。 21 CFR 175.300 完全に硬化し、指示通りに塗布した場合。
- 手袋を着用し、皮膚への接触を避け、換気を十分に行ってください。エポキシ系材料は、長期間使用すると皮膚を敏感にする可能性があります。
透明な樹脂製テーブルトップを作るのに必要なもの

樹脂を流し込む前に、以下の必需品を準備してください。
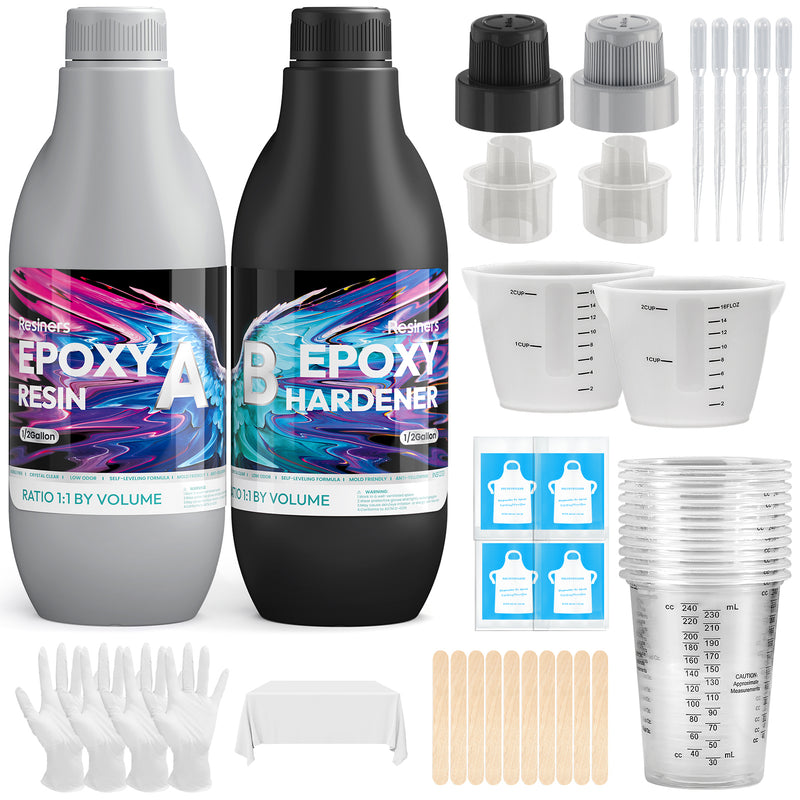
コア材料
- 食品安全、 紫外線耐性エポキシ樹脂
- ミキシングカップかき混ぜ棒/ヘラ、手袋
- 水平器とメジャー
- 垂れ防止用のマスキングテープとビニールシート
- 良質のヒートガンまたはトーチ
- エアレス式気泡除去機(厚みのある作品や深みのある作品向け)
- 220番から3000番までの粒度のサンドペーパー
- 研磨バッファーまたはマイクロファイバークロス
- 乾燥用の防塵テントまたはカバー
おすすめ商品のリンクはこちら:
関連商品を見る
 |
 |
 |
テーブルの準備:土台と木工
すっきりとしたテーブルを作るには、しっかりとした土台が不可欠です。まずは、清潔で乾燥した、水平なテーブルベースを用意しましょう。
- 木材をやすりで滑らかにし、ささくれを取り除き、ひび割れを埋める。
- 表面を徹底的に洗浄し、油分を取り除いてください。
- テーブルの端と裏側にテープを貼って、滴り落ちる液体を受け止めるようにする。
- 未加工で多孔質の木材の端面は、薄いエポキシ樹脂の「シーラーコート」で密封してください。
- 作業スペースとテーブルが完全に水平になっていることを再度確認してください。
この下準備を行うことで、樹脂が自然に水平になり、ガラスのような仕上がりになるとともに、樹脂の漏れや浸透を防ぐことができます。
透明なテーブルトップを作るための樹脂の混ぜ方
エポキシ樹脂は、樹脂と硬化剤の2液性システムです。製品に記載されている比率(通常は体積比1:1または2:1)で混合してください。
混合のヒント:
- 両方の材料を清潔なミキシングカップに注ぎ入れる。
- 側面と底をこそげながら、2~4分間、優しくかき混ぜます。
- より透明な仕上がりを求める場合は、別のカップに移し、再度かき混ぜてください。
- 泡立てすぎると泡が立つので避けてください。
- 15~30分以内に注げる量だけを混ぜてください。
プロのコツ:混合する前に樹脂を少し温める(ボトルをぬるま湯につけるなど)と、気泡を減らし、流れを良くすることができます。
樹脂を流し込む手順:ステップバイステップ
- テーブルの端から注ぎ始め、ゆっくりとジグザグに動かしながら注いでください。
- ヘラまたは手袋をはめた手を使って、樹脂を表面全体に優しく広げてください。
- 必ず薄く注いでください(ほとんどのブランドでは1/4インチ以下)。
- ヘラや棒を軽く滑らせて表面を平らにします。樹脂は自然に平らになるので、こねすぎないように注意してください。
厚みを出すために複数層に流し込む必要がある場合は、各層が完全に硬化してから次の層を流し込んでください。半硬化状態の表面に新しい樹脂を流し込むと、曇りやムラが生じる可能性があるため避けてください。
気泡を取り除き、ガラスのような仕上がりを実現する
- 注ぎ込んだ直後に、ヒートガンまたはプロパンバーナーを樹脂の表面に素早く当てて気泡を消してください。
- 工具を6~8インチ(約15~20センチ)離して持ち、同じ場所に留まらないようにしてください。
- 新しい泡が上がってくる最初の10~20分間は、これを数回繰り返してください。
- 厚みのある樹脂テーブルに気泡を残さずに仕上げるには、エアレス式気泡除去機を使用してください。
見落とした気泡がないか確認するために光源を用意しておくか、ホコリや浮遊物がないかピンセットで取り除いてください。
硬化:清潔で安全な状態を保つ
- テーブルをダストテント、箱、または逆さまにした容器で覆ってください。
- 樹脂を24~72時間硬化させてください(エポキシ樹脂のラベルを確認してください)。
- 乾燥中は、テーブルに触れたり、テーブルの上に物を置いたりしないでください。
- 重い物を使用する前に、端の部分に引っかき傷がないか確認してください。
樹脂の種類によっては硬化が速いものもありますが、完全に硬く、食品に安全な仕上がりになるまでには、特に厚みのある作品の場合は1週間ほどかかることがあります。
研磨と磨きでクリスタルのような輝きを実現
完全に治癒したら:
- 端からテープを剥がし、垂れや流れを滑らかにするために研磨する。
- より細かい番手へと段階的に進めていきましょう。最初は220番または400番から始め、1500番以上まで上げていきます。
- 湿式研磨は透明度を高め、傷を軽減します。
- 樹脂に安全な研磨剤とマイクロファイバークロスで磨いて、輝きを引き出してください。
- 鏡面仕上げにするには、プロ仕様の研磨機や研磨パッドを使用するのが最適です。
テーブルの脚と金具を取り付ける
天板が完全に硬化し、研磨され、磨き上げられてから、脚部または台座を取り付けてください。
- 傷を防ぐため、蓋をクッション性のある場所に置いてください。
- エポキシ樹脂に安全な丈夫なネジを使用し、必要に応じて下穴を開けてください。
- 金具を取り付けた後、テーブルの水平を調整してください。
- 仕上げとして、裏側の端をきれいに整えてください。
透明樹脂製テーブルトップのトラブルシューティング

よくある問題とその解決策:
- 樹脂が濁ったり乳白色になったりする場合:混合方法が不適切だったことが原因です。軽く研磨して、新しい透明な層を流し込んでください。
- 樹脂に気泡が残ってしまった場合:通常は樹脂を厚く注ぎすぎたり、ヒートガンで気泡を取り除かなかったりすることが原因です。エアレス気泡除去器を使用するか、研磨して再コーティングすることで修正できます。
- べたつきや柔らかい部分:混合が不十分なために発生します。削り取ってやすりで磨き、新しい材料を流し込んで補修してください。
- たわみやムラがある場合:次回はテーブルが完全に水平であることを確認し、樹脂をより均一に塗布してください。
- 表面の傷:目の細かい研磨剤または樹脂系研磨キットで軽く磨き、研磨してください。
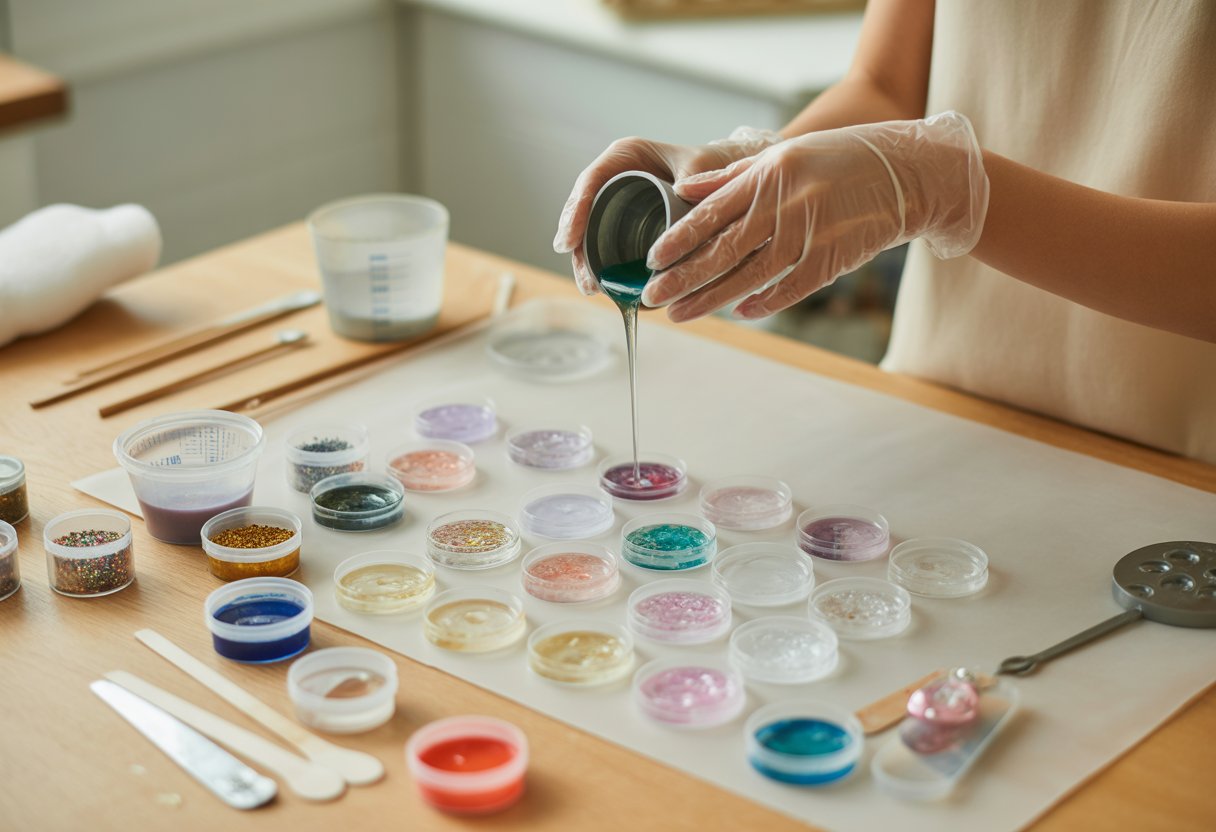
クリエイティブな透明樹脂製テーブルトップのアイデア
- ドライフラワー、貝殻、ボトルキャップ、写真などのアイテムを埋め込むことができます。
- 色付きの樹脂を混ぜて、「リバーテーブル」や独創的なエッジの注ぎ込みに使用しましょう。
- モダンな雰囲気を出すなら、蓄光樹脂やメタリック樹脂の粉末を使ってみてください。
- 樹脂の下に模様入りの木材を使用することで、印象的なコーヒーテーブルを作りましょう。
レジンテーブル製作における安全上のヒント
- 必ず手袋と保護メガネを着用してください。
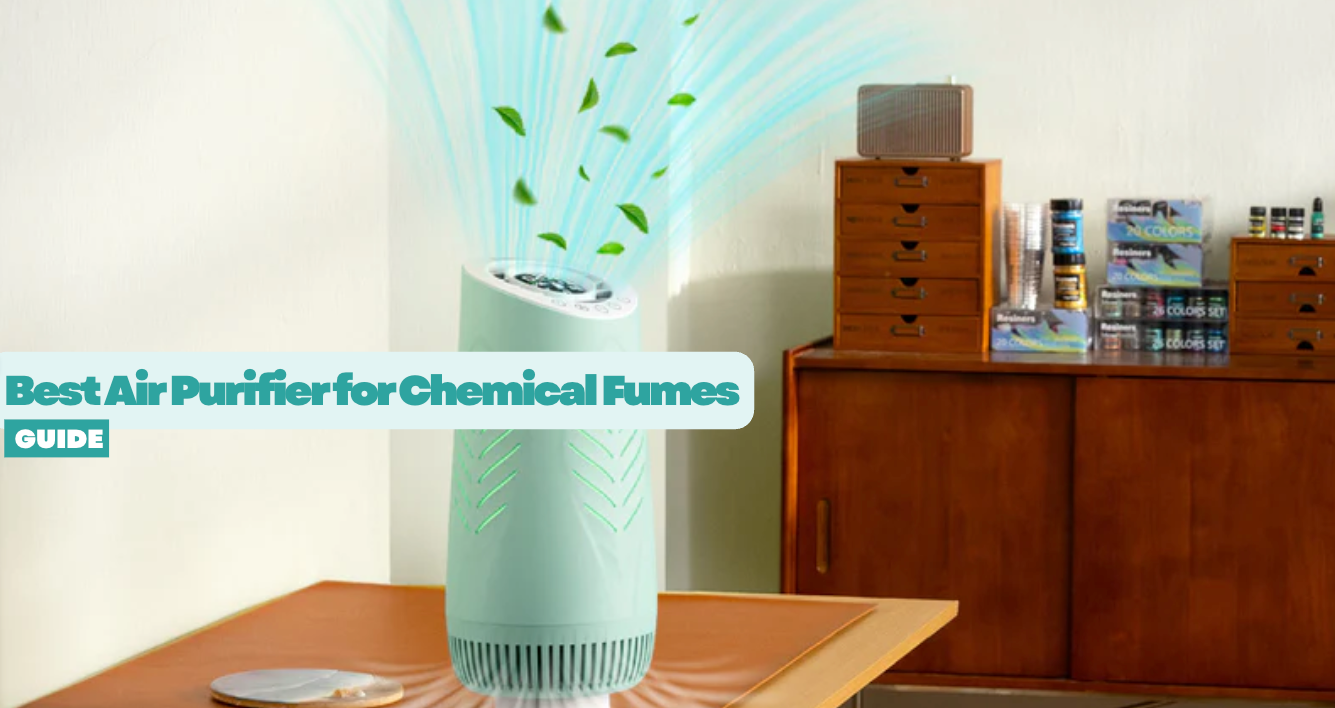
- 適切な換気を行い、化学物質の蒸気対策として空気清浄機を使用してください。
- 残ったエポキシ樹脂とカップは責任を持って処分してください(決して排水溝に流さないでください)。
- ダイニングテーブルやキッチンテーブルには、食品に安全で紫外線に強い樹脂のみを使用してください。
結論
透明な樹脂を使ったテーブルトップ作りは、難易度は高いものの、シンプルな表面を魅力的な作品に変身させる、やりがいのあるホームプロジェクトです。適切な樹脂を選び、入念な下準備を行い、層を重ねて硬化させる忍耐力があれば、あなたのテーブルはインテリアの主役となるでしょう。
必ず食品安全基準を満たした透明度の高い材料を使用し、各工程に時間をかけ、最後に研磨剤で仕上げれば、完璧な仕上がりになります。
よくある質問:透明な樹脂製テーブルトップの作り方
テーブルトップにはどんなエポキシ樹脂でも使えますか?
いいえ。テーブルトップや深型流し込み用のエポキシ樹脂のみを使用してください。通常のクラフト用樹脂は粘度が低く、ひび割れや変色を起こす可能性があります。耐久性のある光沢のある仕上がりを得るには、家具用としてラベル表示されている製品を選んでください。
エポキシ樹脂は一度にどれくらいの厚さまで流し込めますか?
テーブルトップ用エポキシ樹脂のほとんどは、1/8~1/4インチの薄い層で流し込む必要があります。より厚く流し込む必要がある場合は、1~2インチの厚さに対応できる深層流し込み用エポキシ樹脂を使用してください。一度に厚く流し込むと、気泡が閉じ込められたり、過熱の原因になったりする可能性があります。最良の結果を得るためには、必ずメーカーの指示に従ってください。
泡の発生を止めるにはどうすればいいですか?
まず木材の表面を密封し、次にエポキシ樹脂をゆっくりと混ぜて空気が入らないようにします。注いだ後は、トーチまたはヒートガンを使用して表面の気泡を取り除きます。小規模なプロジェクトには、次のようなツールを使用します。 レジナーズミニヒートガン うまく機能します。作業スペースを暖かく保つことは、空気の滞留を減らすのにも役立ちます。
樹脂製のテーブルトップは熱い鍋を置いても大丈夫ですか?
いいえ。エポキシ樹脂は高温下で軟化したり、跡が残ったりすることがあります。熱い鍋や皿を直接表面に置くと、輪染みや損傷の原因となります。樹脂製のテーブルを保護するため、必ず鍋敷きや耐熱パッドをご使用ください。
樹脂製のテーブルの傷を修復するにはどうすればいいですか?
軽い傷は、目の細かいサンドペーパーで研磨することで滑らかにすることができます。研磨後は、プラスチック用研磨剤またはコンパウンドで表面を磨いてください。深い傷の場合は、エポキシ樹脂を薄く塗り重ねる必要があるかもしれません。定期的なお手入れで、表面を清潔で光沢のある状態に保つことができます。
樹脂は食品に安全ですか?
エポキシ樹脂は、製品に食品安全表示があり、かつ完全に硬化している場合に限り、食品に安全です。硬化が不十分な場合、食品との接触に有害な化学物質が残る可能性があります。必ず製造元の情報を確認し、樹脂が完全に硬化するまで十分な時間を確保してください。
樹脂製のテーブルが黄ばむのを防ぐにはどうすればいいですか?
経年劣化による黄ばみを抑えるには、紫外線に強いエポキシ樹脂を選びましょう。紫外線は変色の主な原因となるため、テーブルはできる限り直射日光の当たらない場所に置いてください。コースターやテーブルクロスを使用することも、表面の保護に役立ちます。刺激の少ない洗剤で定期的に清掃することで、表面を常に清潔に保つことができます。


コメントを書く
このサイトはhCaptchaによって保護されており、hCaptchaプライバシーポリシーおよび利用規約が適用されます。