アルコールインクの使い方は、レジンアーティストが最初に学びたいことの一つであり、それにはもっともな理由があります。これらのインクは、鮮やかな色彩、流れるような模様、そして絵の具だけでは得られない効果を生み出すことができるからです。
アルコールインクと樹脂を組み合わせることで、鮮やかで個性的なコースター、トレイ、ジュエリー、アート作品を作ることができます。ほんの数ステップで、平凡な作品が驚くほど魅力的なものへと生まれ変わります。
以下に、それらのコレクションへのリンクとなる、短く自然なCTA(行動喚起)を3つご紹介します。これらは、売り込み臭さを感じさせずにブログに掲載できるよう作成されています。
アルコールインクを使用する際に最も鮮明な結果を得るには、 アクリル絵具用樹脂をご覧ください。 。
レジンアートにアルコールインクを使う理由

アルコールインクを使うと、他の着色剤ではなかなか得られない奥行きと動きのある質感をレジンアートに与えることができます。色の広がり方、混ざり具合、鮮やかさを自在にコントロールできるため、繊細な表現や有機的な効果を容易に実現できます。
鮮やかな色彩とユニークな効果
アルコールインクは、 鮮やかで強烈な色彩それらを樹脂に落とすと、顔料が奔放で美しい動きを見せ、自然なグラデーションや大理石のような模様を作り出します。
これは通常の樹脂染料やアクリル絵具ではなかなか実現できません。さらに、これらのインクは発色が非常に良いため、少量で大きな効果が得られます。コスト削減にもなり、樹脂の過飽和も防げます。
重ね塗りも試してみてください。例えば:
- 光が最初に落ちる―さらに深みを出すために、より濃い色を重ねてください。
- 同じ色の複数の色合い物事を混乱させることなく、スムーズな移行を実現します。
- メタリックインク―きらめきと反射光をプラスします。
これらの微調整によって、レジンアート作品がくっきりとした線と大胆なコントラストで際立ちます。
無限の創造的可能性
アルコールインクは、さまざまなスタイルを可能にします。 柔らかく、流れるようなブレンド抽象的な作品や シャープで明確なエッジジュエリーやコースター用。
ツールは違いを生む。 つまようじ、ブラシ、またはヒートガンインクの動き方を変えるため、熱を加えることでインクを外側に押し出すことができ、また、細い道具を使うことで樹脂内部に絵を描いたり模様を付けたりすることができる。
この柔軟性のおかげで、シンプルなカラーウォッシュから、レイヤーを重ねた複雑なデザインまで、あらゆるものを作り出すことができます。大胆なステートメントアートや繊細なアクセントを加えたいですか?アルコールインクを使えば、納得のいく仕上がりになるまで、テクニックを微調整できます。
当社のレジンミキサーパドルを使えば、レジンをスムーズに混ぜることができ、気泡も少なくなります。 。
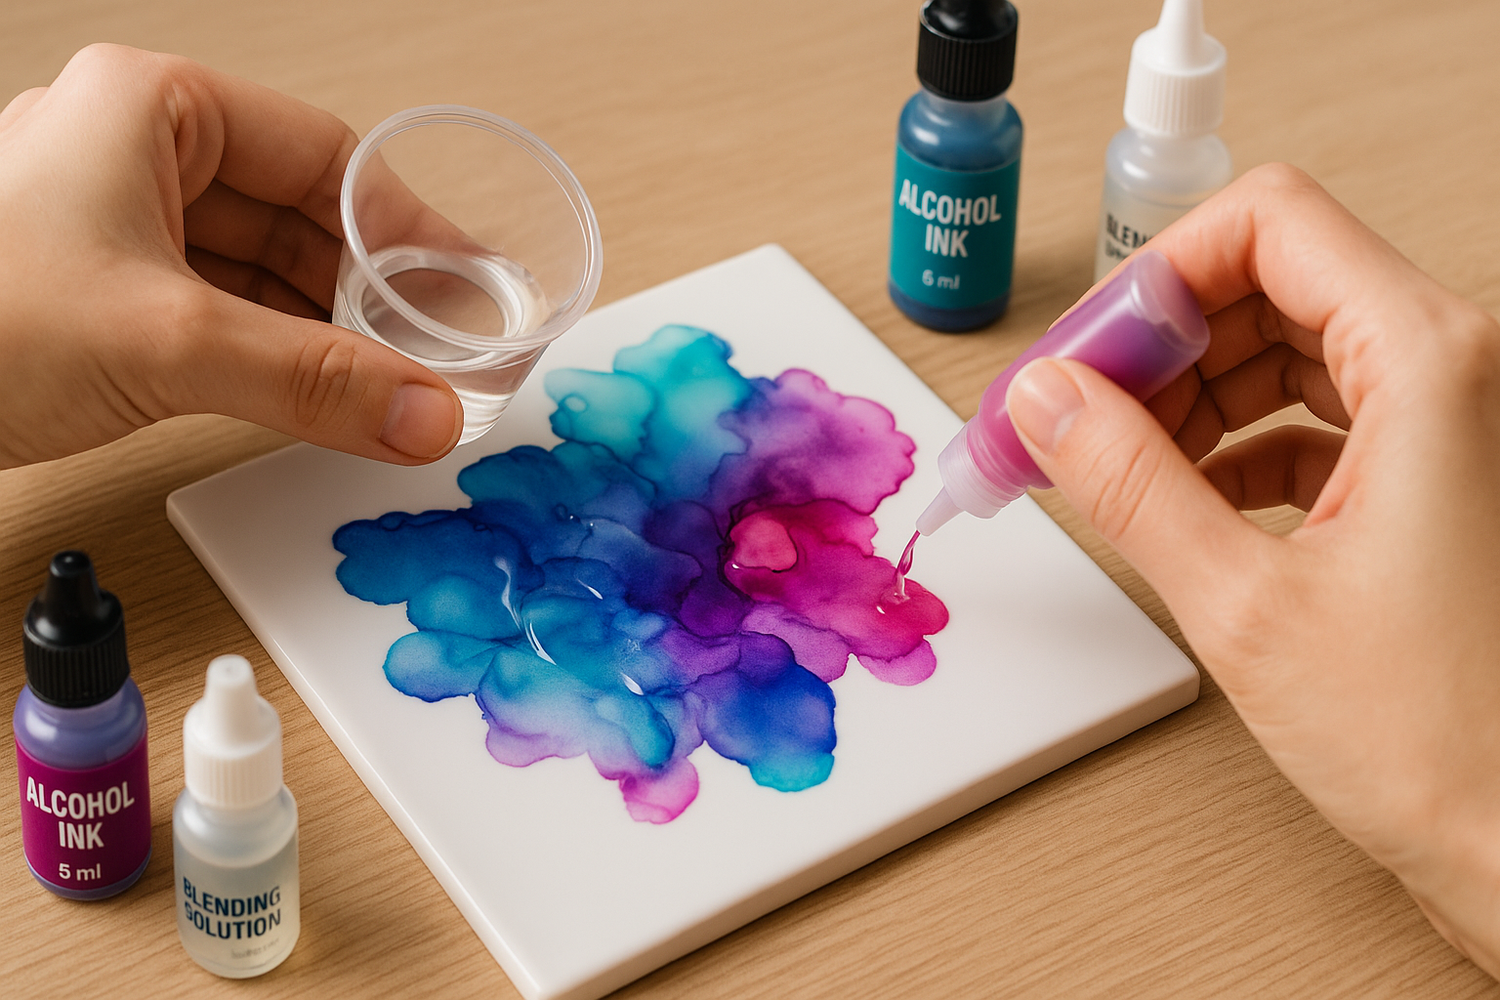
ステップバイステップ:アルコールインクを樹脂に使う方法

レジンとアルコールインクを使った作品作りには、準備、丁寧な混合、そして少しの忍耐が必要です。しかし、適切な道具といくつかの簡単なコツさえあれば、透明で色鮮やか、そして長持ちするレジンアート作品が完成します。
作業スペースと必要な材料を準備してください。
清潔で換気の良い場所を選んでください。樹脂インクとアルコールインクはどちらも蒸気を発するため、十分な換気が重要です。こぼれを防ぐため、作業スペースを紙やビニールで覆ってください。
着る ニトリル手袋樹脂が肌に付着しないように。 掃除用品イソプロピルアルコールやペーパータオルなどは、ちょっとした掃除に便利です。
混ぜ始める前に、必要なものをすべて揃えてください。必要なものは以下のとおりです。
樹脂は混ぜ合わせるとすぐに硬化が始まるため、混合する前にすべての材料を準備しておくと良いでしょう。
レジンを混ぜてアルコールインクを加える
樹脂と硬化剤は、メーカーの指示通りに正確に計量してください。適切な比率が、正しい硬化の鍵となります。使い捨てカップまたはシリコンカップに入れ、透明で均一になるまで数分間ゆっくりとかき混ぜてください。
混ぜ合わせたら、 透明樹脂型に流し込むか、表面に塗布してください。インクが広がり、樹脂が動いてしまうので、入れすぎないようにしてください。
使用 ピペットまたはスポイトでアルコールインクを加えます。最初は数滴から始めます。インクが多すぎると樹脂が弱くなったり、曇ったりすることがあります。 クラウド技術少量の樹脂に数滴の白いアルコールインクを混ぜ、それを透明な樹脂の中に優しく混ぜ込む。
色や配置をコントロールするために、少量ずつ作業を進めてください。
パターンとエフェクトを作成する
インクの加え方によって、さまざまな仕上がりになります。まず色付きのインクを垂らし、その上に白いインクを重ねると、色が沈み込み、奥行きが生まれます。
これを繰り返してさらにレイヤーを重ねます。より柔らかいブレンドにするには、優しくかき混ぜます。 爪楊枝または シリコンロッド混ぜすぎると色が濁ってしまうので注意してください。
試してみると楽しいテクニックをいくつかご紹介します。
- 逆インク滴樹脂にインクを数滴垂らし、その上に透明な樹脂を薄く流し込む。
- 3Dフラワーエフェクト白い樹脂を細く使って花びらの輪郭を描く。
- クラウドテクニック白い着色樹脂を透明な樹脂に混ぜ込むと、曇ったような見た目になります。
タイミングと間隔を調整してみてください。インクは、混ぜ合わせた後に加えるタイミングによって広がり方が異なります。
作品を硬化させて仕上げる
樹脂が硬化するまで、そのまま放置してください。ほとんどの透明樹脂は室温で約24時間かかりますが、ご使用のメーカーの説明書を必ずご確認ください。埃が付かないように、作品を箱や容器で覆ってください。
硬化中は型を動かしたりぶつけたりしないでください。インクの模様が崩れる原因になります。さらに層を重ねる場合は、最初の層が完全に固まるまで待ってから次の層を流し込んでください。
硬化したら、型から取り出します。細かいサンドペーパーで表面の粗い部分を研磨します。イソプロピルアルコールで残留物を拭き取ります。
表面を磨いたり、透明のトップコートを塗ったりすることで、さらに光沢を出すことができます。適切な硬化と仕上げを行うことで、アルコールインクを使ったレジンアートは丈夫で透明度の高い状態を保つことができます。
アルコールインクで最良の結果を得るためのヒント
色の動き方、層同士の相互作用、そして使用する樹脂の種類に注意を払いましょう。樹脂の配合比率、硬化条件、表面処理といった些細なことが、作品の仕上がりを大きく左右するのです。
色の動きを制御する
アルコールインクは樹脂の中で急速に広がります。色が濁らないように、流れを調整する必要があります。 非多孔質表面樹脂や ユポ紙より詳細な制御が可能になる。
消毒用アルコールより柔らかいブレンドにするために、顔料を薄めたり移動させたりすることができます。 ヒートガンまたは トーチインクを動かして気泡を飛ばす。熱源を樹脂に素早く当てる。ただし、加熱しすぎると硬化に悪影響を与える可能性があるので注意。
追加 白色アルコールインク他の色の上に重ねると色が沈み込み、曇ったような仕上がりになります。インクの量を少なくすることで、色を鮮やかに保つことができます。アルコールが多すぎると、硬化に悪影響を与える可能性があります。
奥行きと立体感を出すためのレイヤリング
の レイヤリング技法レジンアートに深みを与えます。最初の注ぎ込みが 部分的に治癒しっかりしているが少しべたつくので、樹脂とアルコールインクをもう一層重ねても良いでしょう。
これにより、異なるレベルで色が閉じ込められ、3D効果が生まれます。 樹脂着色剤コントラストをつけるためにアルコールインクも使用します。例えば、半透明の樹脂系着色剤は繊細なぼかし効果を与え、不透明または白色のアルコールインクは形状や輪郭を際立たせます。
空気が閉じ込められないように、層は薄くしてください。各層を ほこりのない、70~75°Fの空間前の層が完全に乾いてから次の層を重ねてください。そうしないと、色が混ざり合わなかったり、仕上がりがムラになったりする可能性があります。
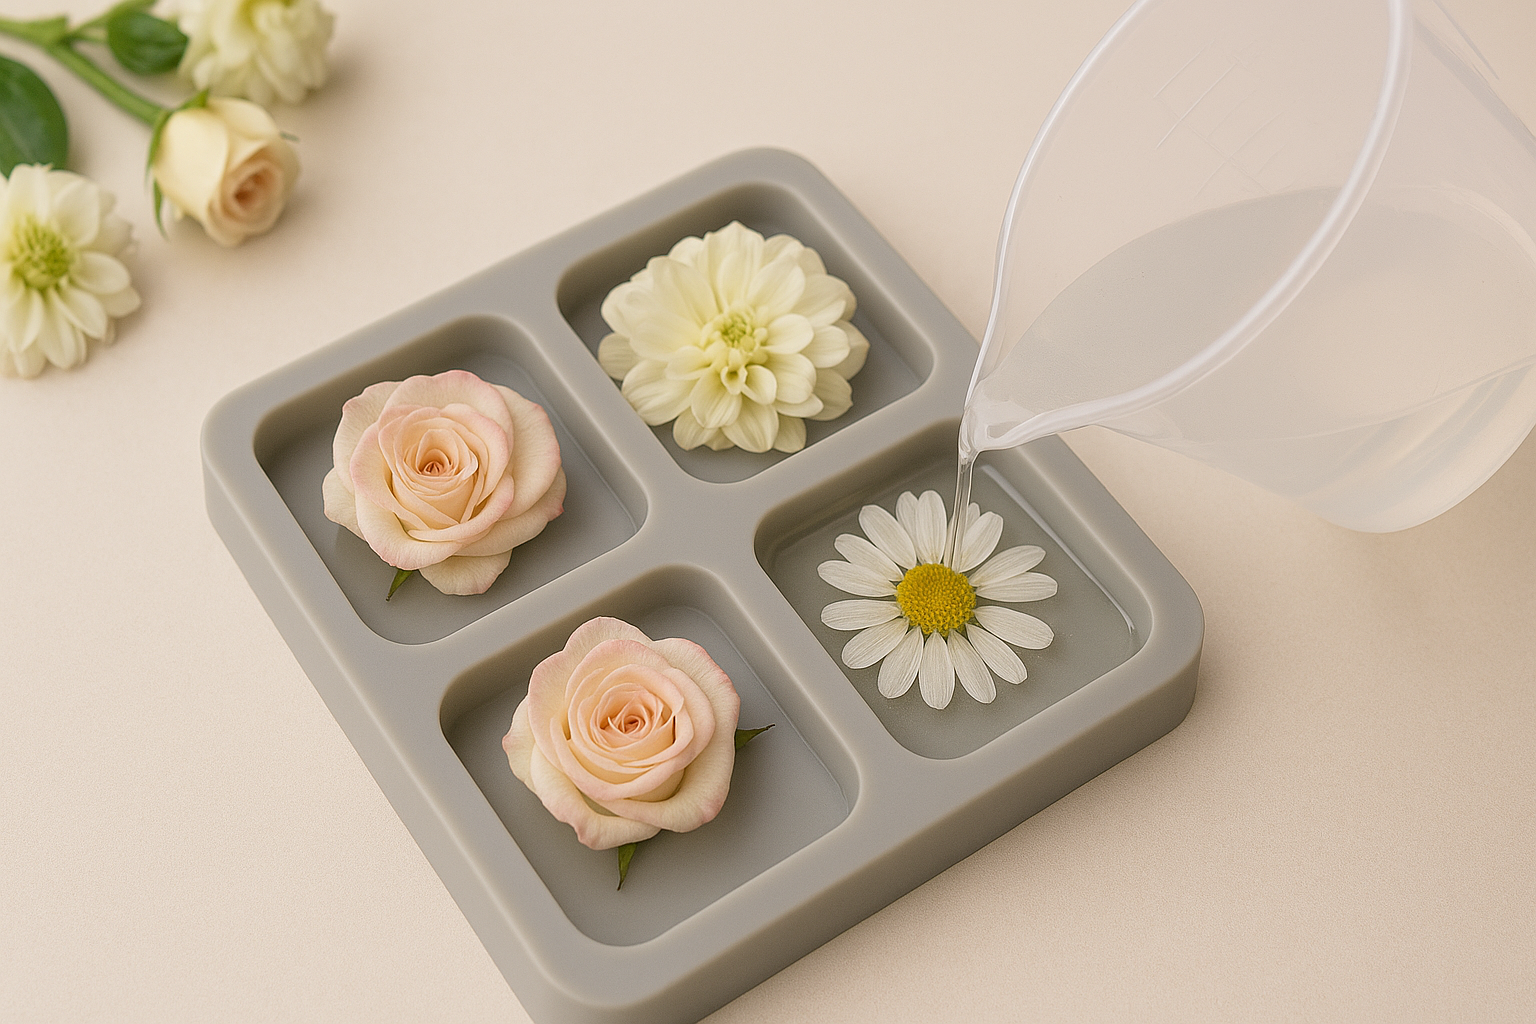
適切な樹脂材料の選び方
結果は使用する材料に大きく左右されます。 高品質エポキシ樹脂透明で紫外線に強く、鮮やかな色を保ち、黄ばみを防ぎます。
右に進んでください 樹脂と硬化剤の比率通常は1:1ですが、必ずラベルを確認してください。型を準備します。 型離型剤型から外しやすくし、型を良好な状態に保つため。
アルコールインクを封じる場合 多孔質表面紙のようにスプレーして カマルニス樹脂に埋め込む前に塗布してください。これにより、にじみを防ぎ、デザインの鮮明さを保つことができます。
樹脂をゆっくりかき混ぜて気泡を減らします。 ヒートガンまたは トーチ表面をきれいにします。樹脂の種類や厚さにもよりますが、完全に硬化するまで24時間から72時間放置してください。
こぼれや汚れから作業スペースを守りましょう 特大デスクマット。
結論:アルコールインクの使い方
アルコールインクを樹脂と混ぜて使うと、作品に鮮やかな色彩と動きを簡単に取り入れることができます。ほんの数滴で、鮮やかで個性的な効果を生み出すことが可能です。
コースター、ジュエリー、ディスプレイ作品など、何を作る場合でも、適切なテクニックを使えば作品が際立ちます。重ね塗り、ブレンド、異なる素材の組み合わせなどを試して、自分らしいスタイルを見つけましょう。
スキルをさらに向上させたいですか?私たちのガイドをご覧ください。 アクリル絵の具でアルコールインクを作る方法(樹脂用)。
よくある質問:アルコールインクの使い方
アルコールインクは、適切な道具と非多孔質の表面で使用することで最高の効果を発揮します。乾燥時間、インクの混ぜ方、そして使用する表面の種類によって、最終的な仕上がりは大きく左右されます。
アルコールインクはどのように使いますか?
樹脂などの非多孔質の表面に、アルコールインクを数滴垂らすか、ブラシで塗ります。最初は数滴から始め、道具やエアブロワーを使って色を動かしたり混ぜ合わせたりしてください。
アルコールインクに水を加えることはありますか?
いいえ、絶対に水を加えないでください。顔料が劣化してしまいます。絵の具を薄めたり広げたりするには、イソプロピルアルコールかブレンディング液を使用してください。
アルコールインクはどのような表面に使用できますか?
樹脂、ガラス、金属、セラミック、光沢紙などの非多孔質表面に最適です。多孔質表面はインクを吸収し、発色を悪くします。
アルコールインクはどれくらい乾燥させるべきですか?
非多孔質の表面では、アルコールインクは数分以内に乾燥します。乾燥時間はインクの量、温度、湿度によって異なりますので、樹脂で密封する前に必ず完全に乾燥させてください。


コメントを書く
このサイトはhCaptchaによって保護されており、hCaptchaプライバシーポリシーおよび利用規約が適用されます。