
Transparent resin casting is a creative way to produce crystal-clear art pieces, jewelry, and decorative items that look professionally made. It’s perfect for beginners who want to explore resin crafting with stunning, glass-like results.
The process may look complex, but with the right materials and techniques, anyone can create flawless transparent resin pieces.
In this guide, we’ll walk you through the essential tools, casting steps, and finishing tips to help you achieve perfect clarity and shine every time.
For a crystal-clear, professional finish, try our Clear Coat Epoxy Collection — perfect for transparent resin casting projects.
Materials And Tools For Transparent Resin Casting

You’ll want accurate measuring tools, clean molds, and a stable workspace to get clear, bubble-free results. The quality of your materials and your handling make a huge difference in the clarity and strength of the finished piece.
Essential Supplies And Mixing Equipment
Pick a clear epoxy or urethane resin meant for casting. These resins cure with little color and hold up against yellowing. Go for a brand that gives you a straightforward mix ratio by weight or volume so you can get a proper cure.
Here’s what you’ll need:
- Graduated mixing cups (skip the wax-coated ones)
- Stir sticks for slow, thorough blending
- A digital scale for spot-on measurements
- Vacuum chamber or pressure pot to deal with air bubbles
Mix slowly. If you stir too fast, you’ll just trap more air and end up with cloudy resin. Warming the resin a bit can help lower its viscosity and let bubbles escape more easily.
Always wear gloves and eye protection, and make sure you’ve got decent ventilation. Some resins put off fumes, especially if you add heat. Clean your tools right after using them so you don’t end up scraping off hardened gunk next time.
Choosing The Right Mold And Workspace Setup
For most clear resin projects, silicone molds are your best bet. Silicone releases easily and doesn’t react with the resin, so you avoid tacky surfaces or bad cures. Stay away from latex molds—they can mess with the resin chemistry.
Check molds for dust or leftover bits before each pour. Even tiny particles will show up in clear resin. A PVA release agent can help protect the mold and give you a better finish.
Set up on a level, dust-free surface. Keep the temperature steady—70–75°F (21–24°C) is the sweet spot. Cover your work to keep out dust and moisture while things cure.
Step-By-Step Transparent Resin Casting Process

Accurate measuring and careful mixing really do make a difference for strong, clear castings. Getting rid of trapped air before curing helps prevent cloudiness and those annoying surface defects.
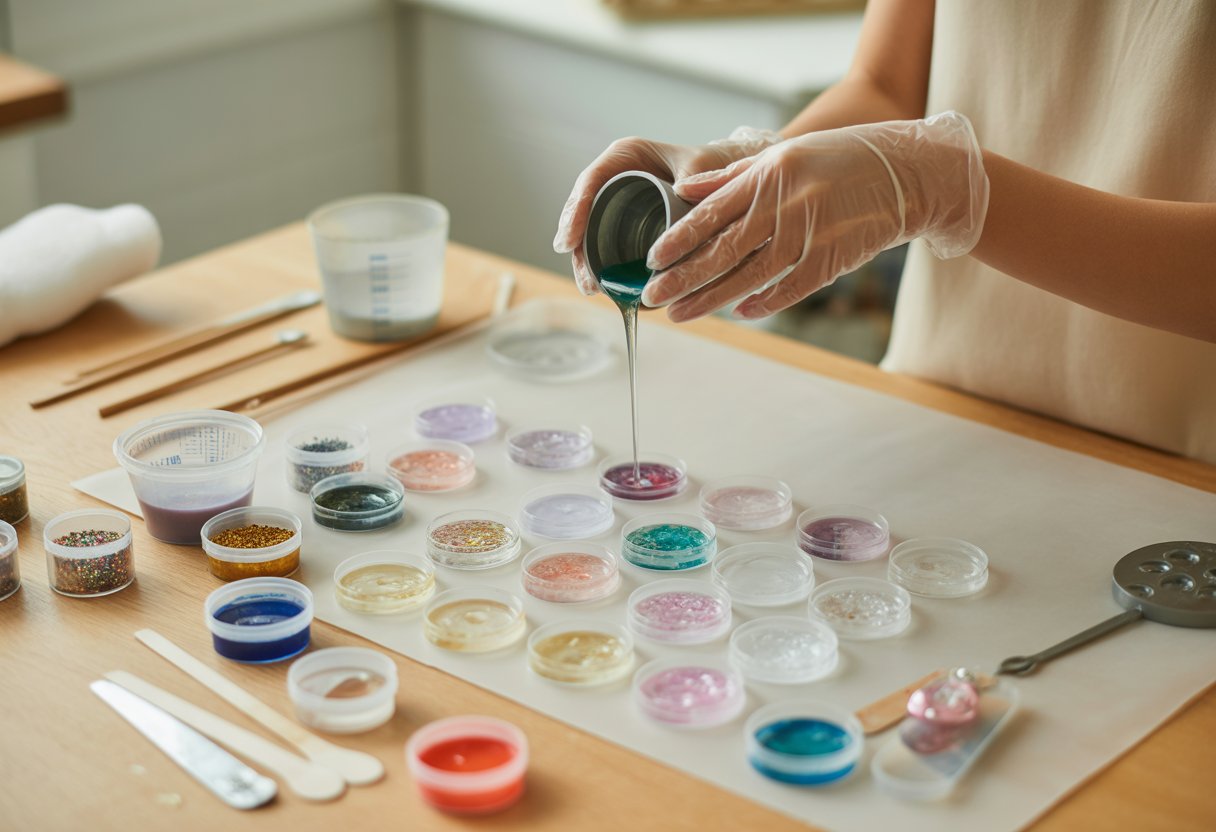
Measuring, Mixing, And Pouring The Resin
Grab a clear casting resin made for transparent projects. Double-check the mix ratio—most are 1:1 or 2:1 by volume or weight. Measure both parts carefully with clean cups. Even small mistakes can leave you with soft or cloudy casts.
Stir the resin and hardener slowly for a good 2–3 minutes. Scrape the sides and bottom so you get a uniform mix, but don’t whip in air.
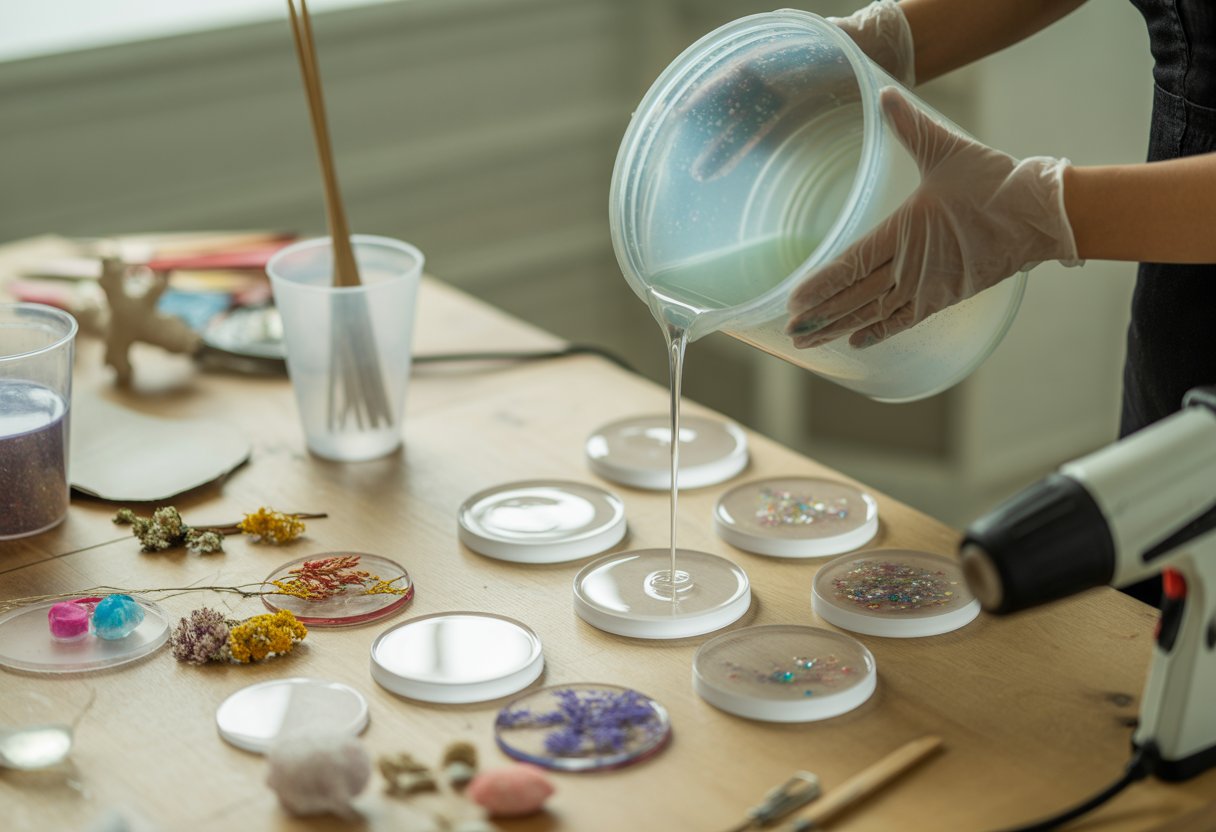
Before you pour, make sure the mold’s clean and dry. Use a PVA release agent or RTV silicone molds to avoid sticking. Pour the resin in a thin stream from one side—this helps keep air out. If you’re embedding objects, lower them in gently so you don’t mess up the surface.
Keep your workspace at a steady 70–75°F (21–24°C). Cover the mold while it cures to keep dust off.
Removing Bubbles For A Crystal-Clear Finish
Air bubbles are the main culprit behind cloudy resin. Thankfully, you’ve got a few ways to deal with them.
A vacuum chamber pulls air out of the liquid resin before you pour. A pressure pot squeezes bubbles down during curing so they’re basically invisible. Both are great, especially for detailed work.
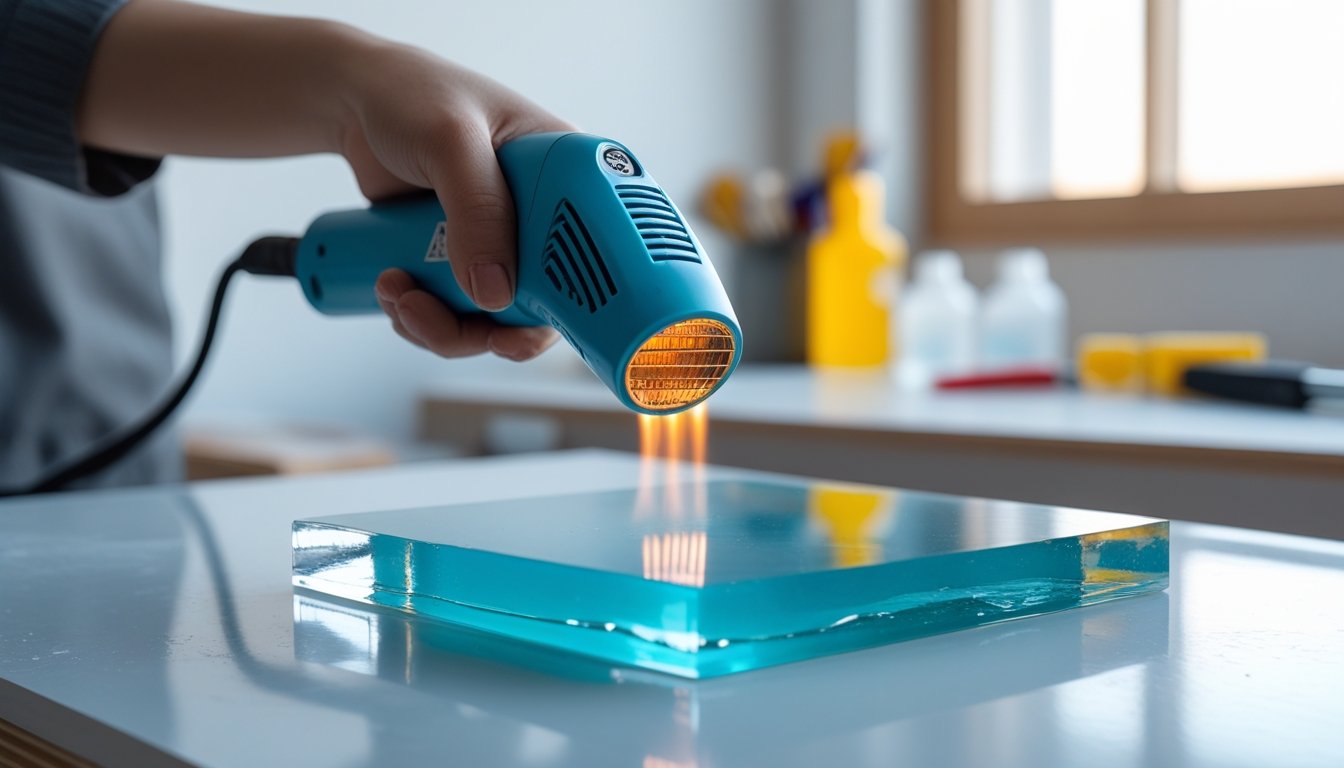
If you don’t have that gear, try warming the resin a little before mixing—it lowers viscosity so bubbles escape faster. After pouring, use a heat gun or small torch a few inches above the surface to pop surface bubbles. Don’t overdo it, or you’ll risk overheating or yellowing.
Let the resin cure completely before demolding. Then, if you need to, polish the surface with a fine compound for extra clarity.
New to resin crafting? Get everything you need in one box with our UV Resin Starter Kit Collection and start creating today.
Finishing And Perfecting Your Resin Piece
Getting a polished resin piece comes down to how you handle it after curing and how well you protect it from yellowing. Careful demolding, sanding, and polishing bring back the shine, while temperature and UV protection keep things clear in the long run.
Demolding And Polishing Techniques
Wait until the resin is totally cured before you take it out of the mold. If you rush, you might get warping or dents. If it’s still tacky, give it more time. Using a mold release before casting makes removal easier and helps your mold last longer.
Once you’ve demolded, check for rough spots or surface flaws. Start sanding with 400-grit wet sandpaper, then work your way up to 800–2000 for a smooth finish. Keep the surface wet while sanding to avoid heat and scratches.
After sanding, use a resin polish or plastic buffing compound with a soft cloth or rotary tool. Go in circles until you see a nice gloss. For a deeper shine, finish with a microfiber cloth and a little polishing paste.
|
Step |
Tool |
Purpose |
|
1 |
Mold release |
Easier demolding |
|
2 |
Fine-grit sandpaper |
Smooth surface |
|
3 |
Polishing compound |
Add shine |
Tips To Prevent Yellowing And Maintain Clarity
Resin can yellow over time from sunlight, heat, or contamination. Use a UV-resistant resin and keep finished pieces out of direct sunlight. If you can, add a clear topcoat or UV resin layer for extra protection.
Keep things clean and dry. Dust, moisture, or leftover oil from molds will cause haze. Wipe molds with isopropyl alcohol before each use.
Don’t overheat the resin while curing or polishing. High temps can break down stabilizers and cause yellowing. Try to keep the room between 70°F and 77°F (21°C–25°C) for best results.
If your piece starts to lose clarity, a light sanding and polish can bring back transparency. A little regular care goes a long way.
Achieve a flawless shine on your resin pieces with our Jewelry Rotary Tool Collection — ideal for sanding and polishing details.
Conclusion: Transparent Resin Casting
Transparent resin casting opens up endless possibilities for creating clear, glossy pieces that highlight your creativity. With careful mixing, bubble removal, and proper curing, you can achieve a flawless, glass-like finish every time.
As you gain confidence, try experimenting with colors, inclusions, and different mold shapes to make each project unique.
Having trouble getting that perfect clarity? Read our guide on why your resin might be cloudy to learn how to fix and prevent common casting issues.
Frequently Asked Questions: Transparent Resin Casting
Clear resin lets you make tough, glass-like pieces that show off details. The trick is picking the right resin, prepping your mold, and managing bubbles for a smooth finish.
What is clear casting resin used for?
You can use clear casting resin for transparent parts, art, jewelry, and decorative pieces. It’s handy in model making and crafts, especially if you want to see details inside or embed small objects.
How to cast in clear resin?
Mix the resin and hardener by the manufacturer’s ratio. Degas or pressure-cast to get rid of bubbles. Pour slowly into a clean mold, then cure it in a dust-free spot. Polishing at the end helps with clarity and smoothness.
What is the best resin for clear casting?
Epoxy and aliphatic urethane resins both work well for clear casting. Epoxy cures glossy and resists yellowing. Urethane can cure faster and is great when you want high clarity and durability.
What is the use of transparent resin?
People turn to transparent resin when they want a tough, clear material that really shows off whatever’s inside or brings out tiny details. It comes in handy for things like coatings, quick prototypes, or art pieces where you want that crisp, almost glassy look.


Lämna en kommentar
Denna webbplats är skyddad av hCaptcha och hCaptchas integritetspolicy . Användarvillkor gäller.