




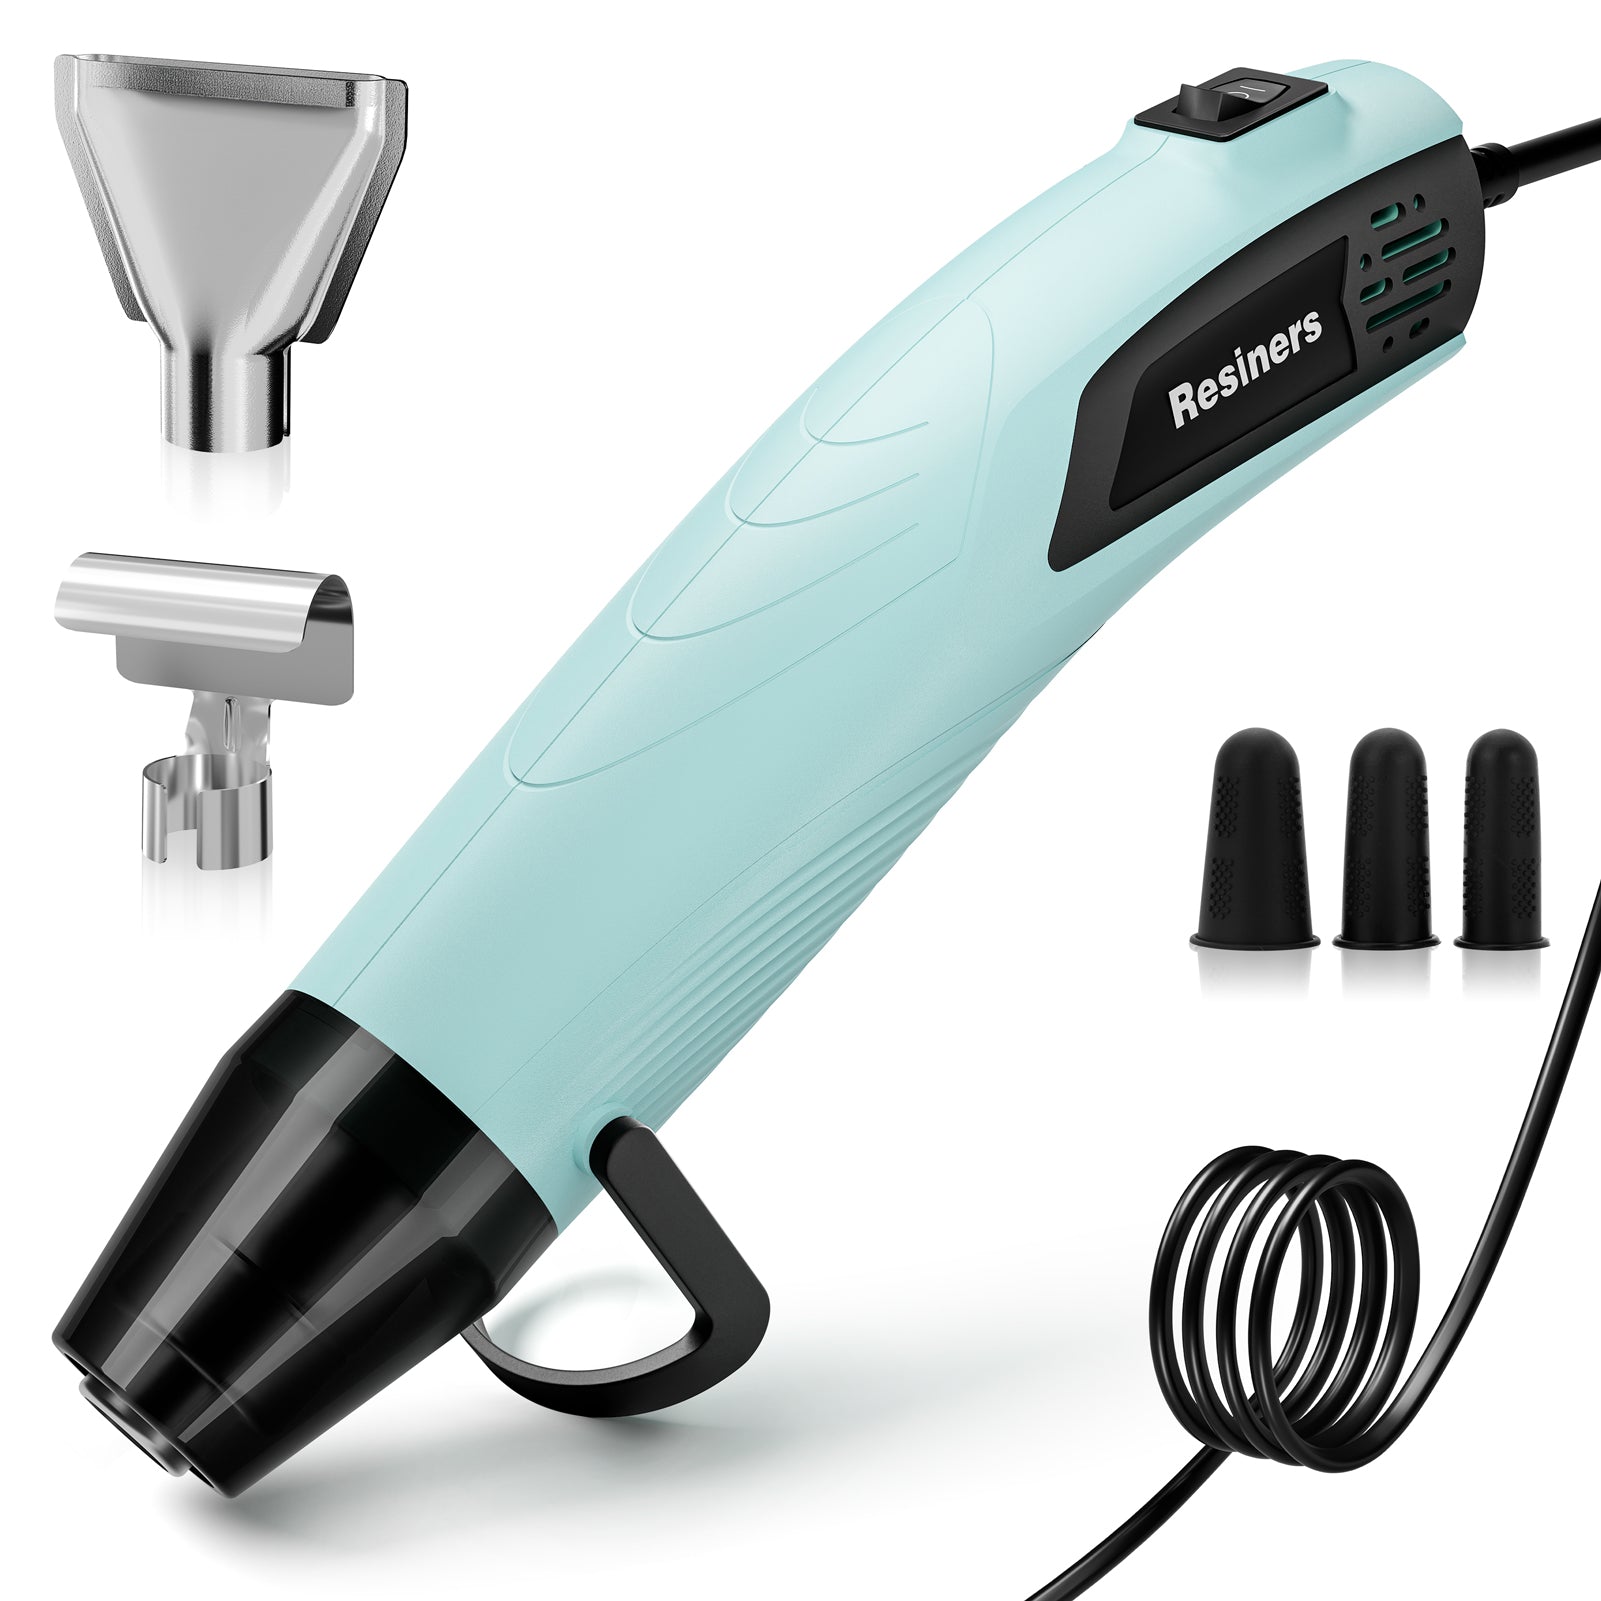


Sticky resin, trapped bubbles and cloudy sanding marks may look like separate problems, but they often begin earlier in the workflow. The best fix is to identify whether the issue started during mixing, bubble removal, pouring, curing or finishing—then correct that stage instead of adding more heat, speed or pressure.
Why Are There Still Bubbles in My Resin?
Bubbles can be introduced while mixing, remain suspended in thicker resin or return while the resin is poured. The right solution depends on whether the bubbles are on the surface, trapped inside the mixture or sitting around small mold details.
Try this first
- Mix slowly while scraping the sides and bottom of the cup.
- Allow the mixed resin to rest briefly so larger bubbles can rise.
- For bubble-prone batches, remove trapped air before pouring.
- Pour slowly along one side of the mold instead of pouring from high above it.
- Brush a thin first layer into detailed areas before filling the rest of the mold.
Bubble-removal support For resin that still holds many fine bubbles after careful mixing, a Resiners Bubble Remover can be added before pouring. It helps remove trapped air from mixed resin, while a slow pour remains important for keeping bubbles from returning.


Why Is My Resin Still Sticky or Soft?
Resin may remain sticky because of an incorrect mixing ratio, incomplete mixing, low temperature, excessive additives or insufficient curing time. Additional heat may support properly measured and mixed resin, but it cannot reliably repair resin that was mixed incorrectly.
Check these factors before adding more heat
- Confirm the resin-to-hardener ratio in the manufacturer’s instructions.
- Make sure the sides and bottom of the mixing cup were scraped thoroughly.
- Check the recommended room temperature, casting depth and full cure time.
- Consider whether too much pigment or another additive was used.
- Wait for a full cure before demolding, sanding or polishing.
Curing support Once the mixing ratio and resin instructions have been checked, the Resiners G3 Curing Machine can provide more controlled time and temperature conditions for different mold heights. It supports a more consistent curing workflow, but it cannot correct an inaccurate ratio or unmixed material.

How Do You Sand Resin Without Damaging It?
Sand only fully cured resin. Before choosing a grit or attachment, inspect the piece and decide whether you are correcting a sharp edge, raised overflow, a broad uneven surface or a small detail.
Use gradual correction
- Begin at a low speed with light pressure.
- Keep the sanding attachment moving instead of holding it in one place.
- Use a coarse grit only when a noticeable amount of material must be removed.
- Stop regularly to clean the surface and check the shape.
- Move through finer grits to reduce the scratches from the previous stage.
Finishing support When one project includes several finishing tasks, the Resiners AirFine makes it easier to move between edge sanding, broader surface refining and polishing. The important part is still choosing the right attachment and removing material gradually.

Why Does Resin Look Cloudy After Sanding?
A cloudy appearance after sanding is normal. Clarity returns only after the surface has been progressively refined and polished. If deep marks remain, polishing alone will not hide them.
Restore the surface step by step
- Identify the deepest remaining scratches.
- Return to the grit needed to refine those marks.
- Continue through progressively finer grits.
- Clean the piece between stages so dust does not hide scratches.
- Apply a small amount of polishing compound and keep the polishing wheel moving.
Sanding creates an even surface. Polishing restores clarity and gloss. Trying to achieve both in one pass usually leaves visible marks behind.

Quick Resin Troubleshooting Guide
| What You See | Likely Cause | First Step |
|---|---|---|
| Sticky or soft resin | Ratio, mixing, temperature or cure-time issue | Check the resin instructions before adding more heat |
| Many small bubbles | Fast mixing or high-viscosity resin | Mix slowly and allow trapped air to rise or be removed |
| Bubbles after degassing | Air reintroduced while pouring | Pour slowly along one side of the mold |
| Sharp or raised edges | Overflow or an uneven demolding area | Sand lightly after the resin has fully cured |
| Cloudy surface | Normal sanding marks or skipped grit stages | Continue through finer grits before polishing |
| Heat during polishing | Excessive speed, pressure or dwell time | Reduce speed and keep the tool moving |
Safety Reminder
Wear suitable eye and respiratory protection when sanding resin, and keep the workspace ventilated. Dust collection and air purification can support a cleaner setup, but they do not replace ventilation, personal protection or the resin manufacturer’s safety instructions.
For indoor crafting spaces, the Resiners Purair Series can be used as one part of the workspace setup—not as a replacement for proper ventilation or PPE.

Frequently Asked Questions
Can sticky resin be fixed with heat?
Heat may support resin that was measured and mixed correctly, but it cannot reliably repair an incorrect ratio or significant areas of unmixed material.
Can I sand resin before it is fully cured?
No. Soft resin may deform, clog the sanding attachment and expose you to uncured material. Wait for the full cure recommended by the resin manufacturer.
Why is my resin still cloudy after polishing?
Deep scratches may remain from an earlier sanding stage. Return to the grit needed to refine those marks, then move through finer stages before polishing again.
Does a bubble remover prevent every bubble?
No. Air can return during pouring or remain trapped around mold details. Careful mixing, suitable degassing and slow pouring all work together.
Find the Right Tool for Your Resin Problem
Save on selected tools for bubble removal, curing, sanding and finishing while the Black Friday offers last.
Shop Black Friday Sale









コメントを書く
このサイトはhCaptchaによって保護されており、hCaptchaプライバシーポリシーおよび利用規約が適用されます。