
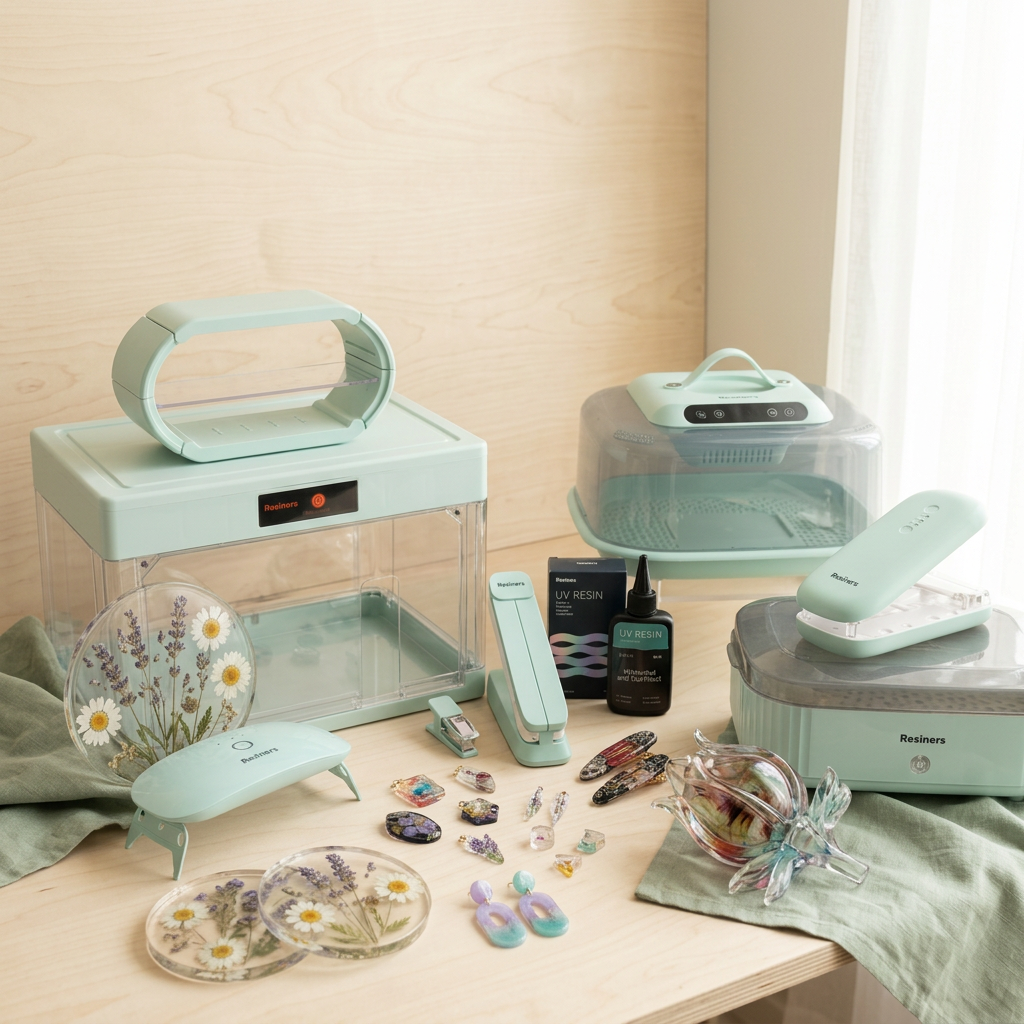
まだ一晩待っている状態ですか?それとも、どの硬化設定が自分のプロジェクトに最適か迷っていますか?Resinersの実際のクリエイターたちが、エポキシ樹脂作品、UVジュエリー、バッチ、タンブラーなどをどのように硬化させているかを見て、自分の作品に合った設定を選びましょう。
7月、#ResinersCuringMoment では、実際の作業台、喜びあふれる作品の披露、そして個性あふれる作品の数々がコミュニティを彩りました。作品を共有してくださった皆様への感謝の気持ちを込めて、皆様の創作活動からインスピレーションを得た実用的なガイドを作成しました。
簡単な回答:硬化方法を樹脂に合わせてください
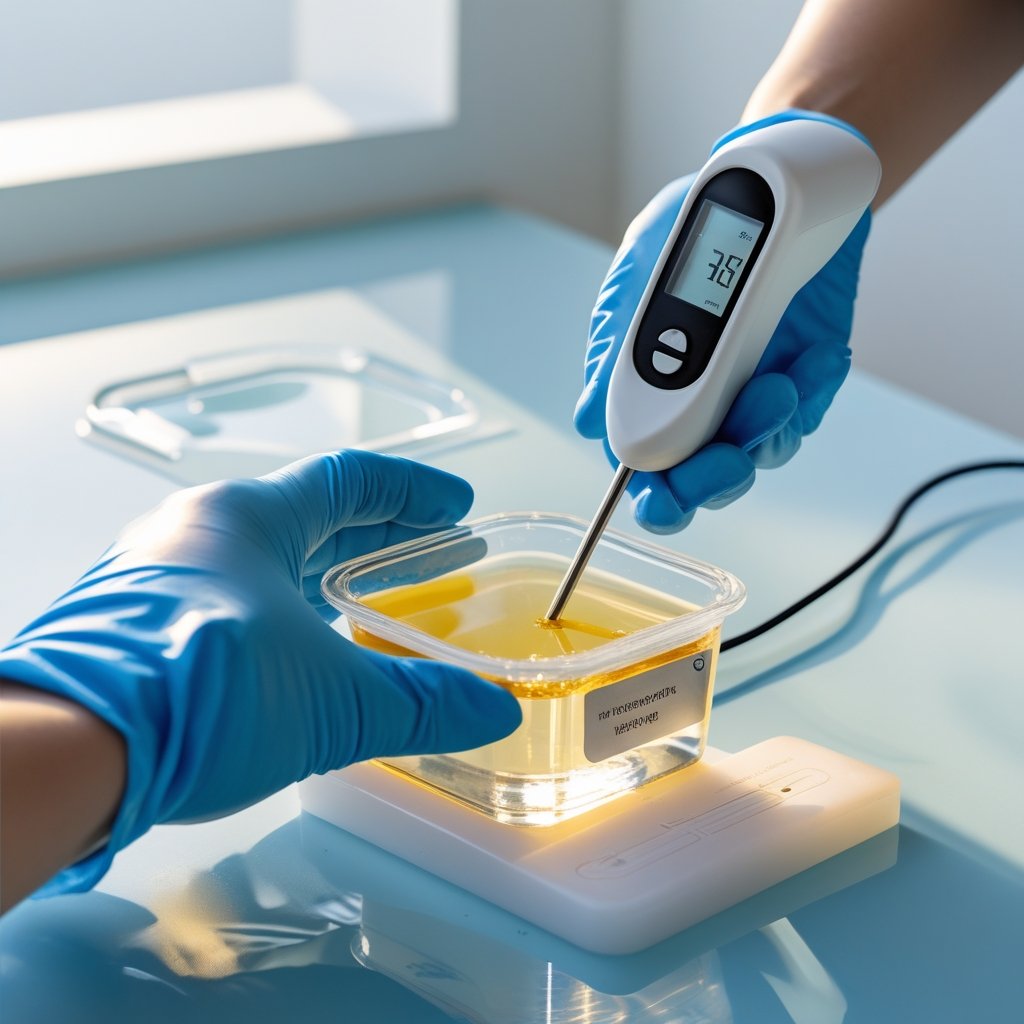
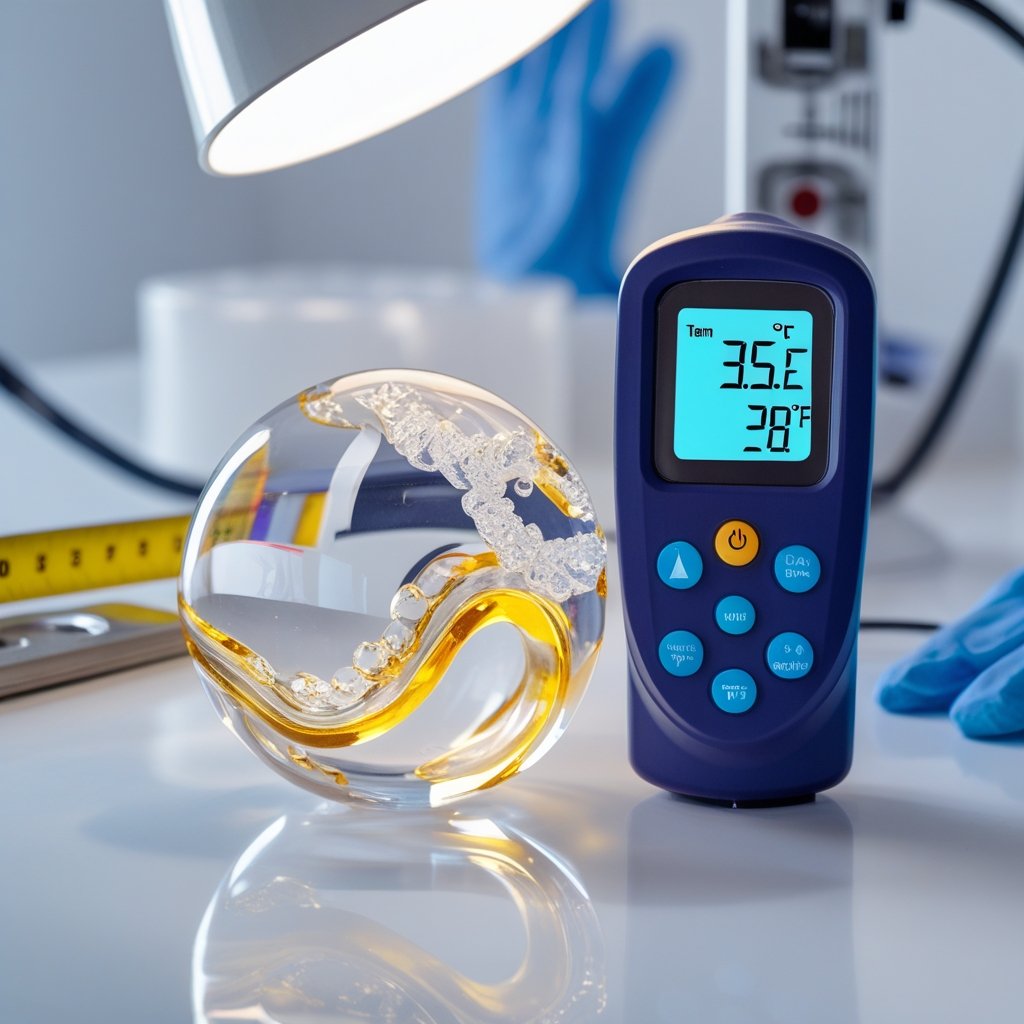
エポキシ樹脂とUV硬化樹脂は、それぞれ異なる硬化方法を必要とします。エポキシ樹脂を用いたプロジェクトでは、温度管理された環境下での硬化が有効な場合がありますが、UV硬化樹脂の場合は、十分な照射範囲を持つ専用のUVライトが必要です。
完璧なプロジェクトは一つではなく、数々のリアルな瞬間が詰まっている
印象に残ったのは、完璧な最終写真一枚ではなく、それぞれの投稿がどれほど異なっていたかということだった。小さな部品の束、精巧な型、磨き上げられた完成品、あるいは単に蓋が開いた瞬間など。
だからこそ、私たちは最終的な仕上がりだけでなく、プロセス全体のためのツールを開発するのです。硬化プロセスがより予測可能になれば、好奇心や自信、そして次のアイデアを生み出す余地が広がります。
樹脂をより速く硬化させるにはどうすればよいですか?
適合するエポキシ樹脂の場合、一定の加熱環境下では、室温よりも短い時間で硬化させる方が待ち時間を短縮できます。ただし、結果は配合、混合比、注入深さ、および周囲環境によって異なります。UV硬化樹脂は、適合する紫外線照射によって硬化します。薄く均一に塗布することで、光が樹脂に効果的に届きます。
自分で作るものを選ぶ
エポキシ樹脂 vs. UV硬化樹脂
| 樹脂タイプ | どのように治るのか | 最適な用途/重要なポイント |
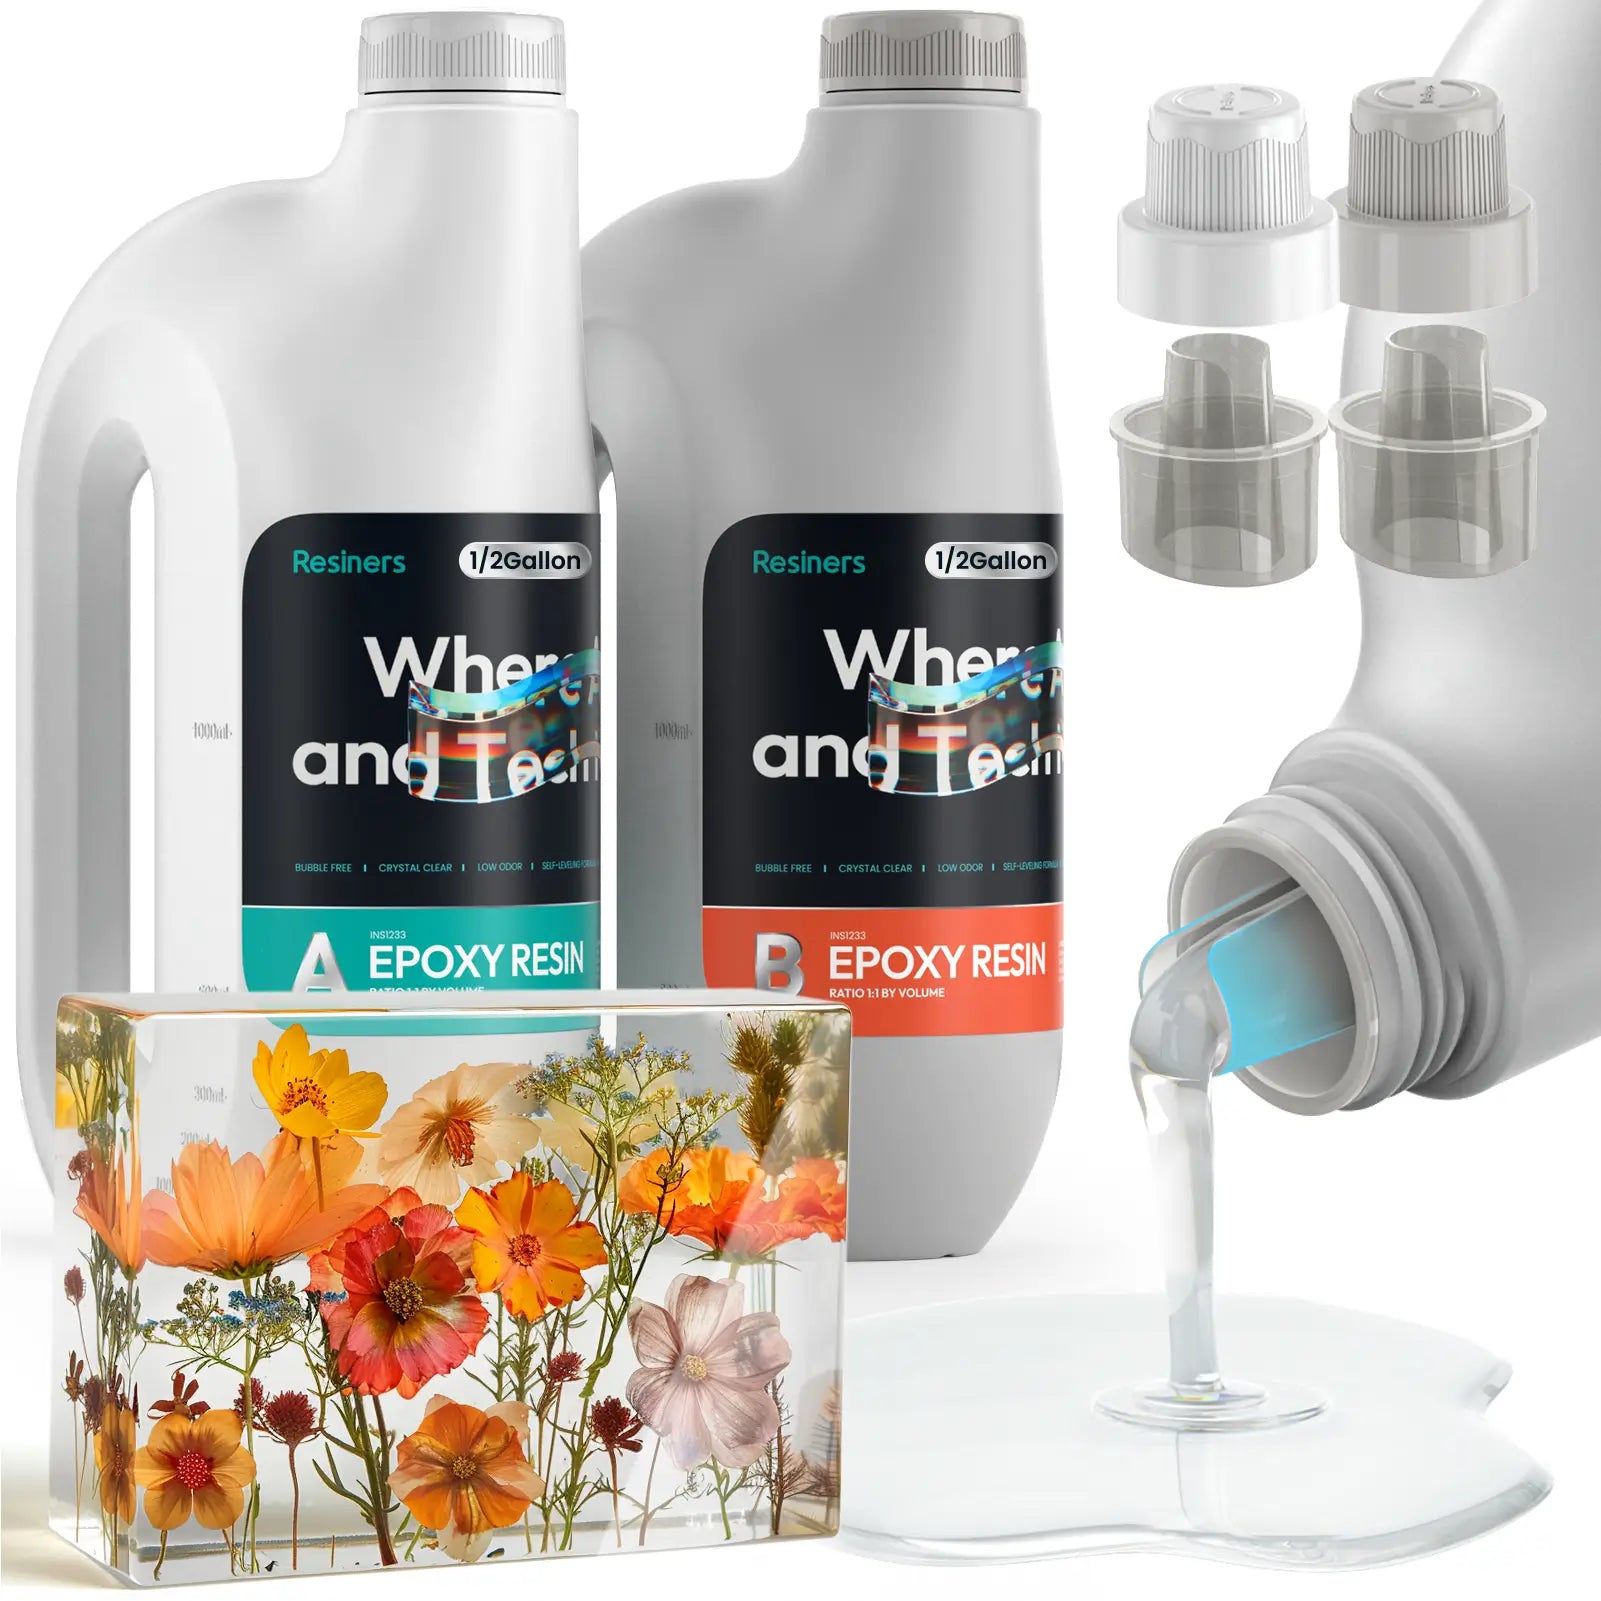
| エポキシ樹脂 | 二液性樹脂は化学反応によって硬化します。温度を一定に保つことで、互換性のある配合の樹脂の硬化を促進することができます。 | 型、コースター、トレイ、鋳造品、タンブラーなど。正確に計量して混ぜてください。紫外線照射では標準的なエポキシ樹脂は硬化しません。 |
| UV樹脂 | 一液型樹脂は、適切な波長の紫外線を十分な範囲に照射することで硬化します。 | ジュエリー、チャーム、小物、表面の補修、簡単な修理。厚みのある部分や不透明な部分は、薄い層を重ねたり、位置を調整したりする必要がある場合があります。 |

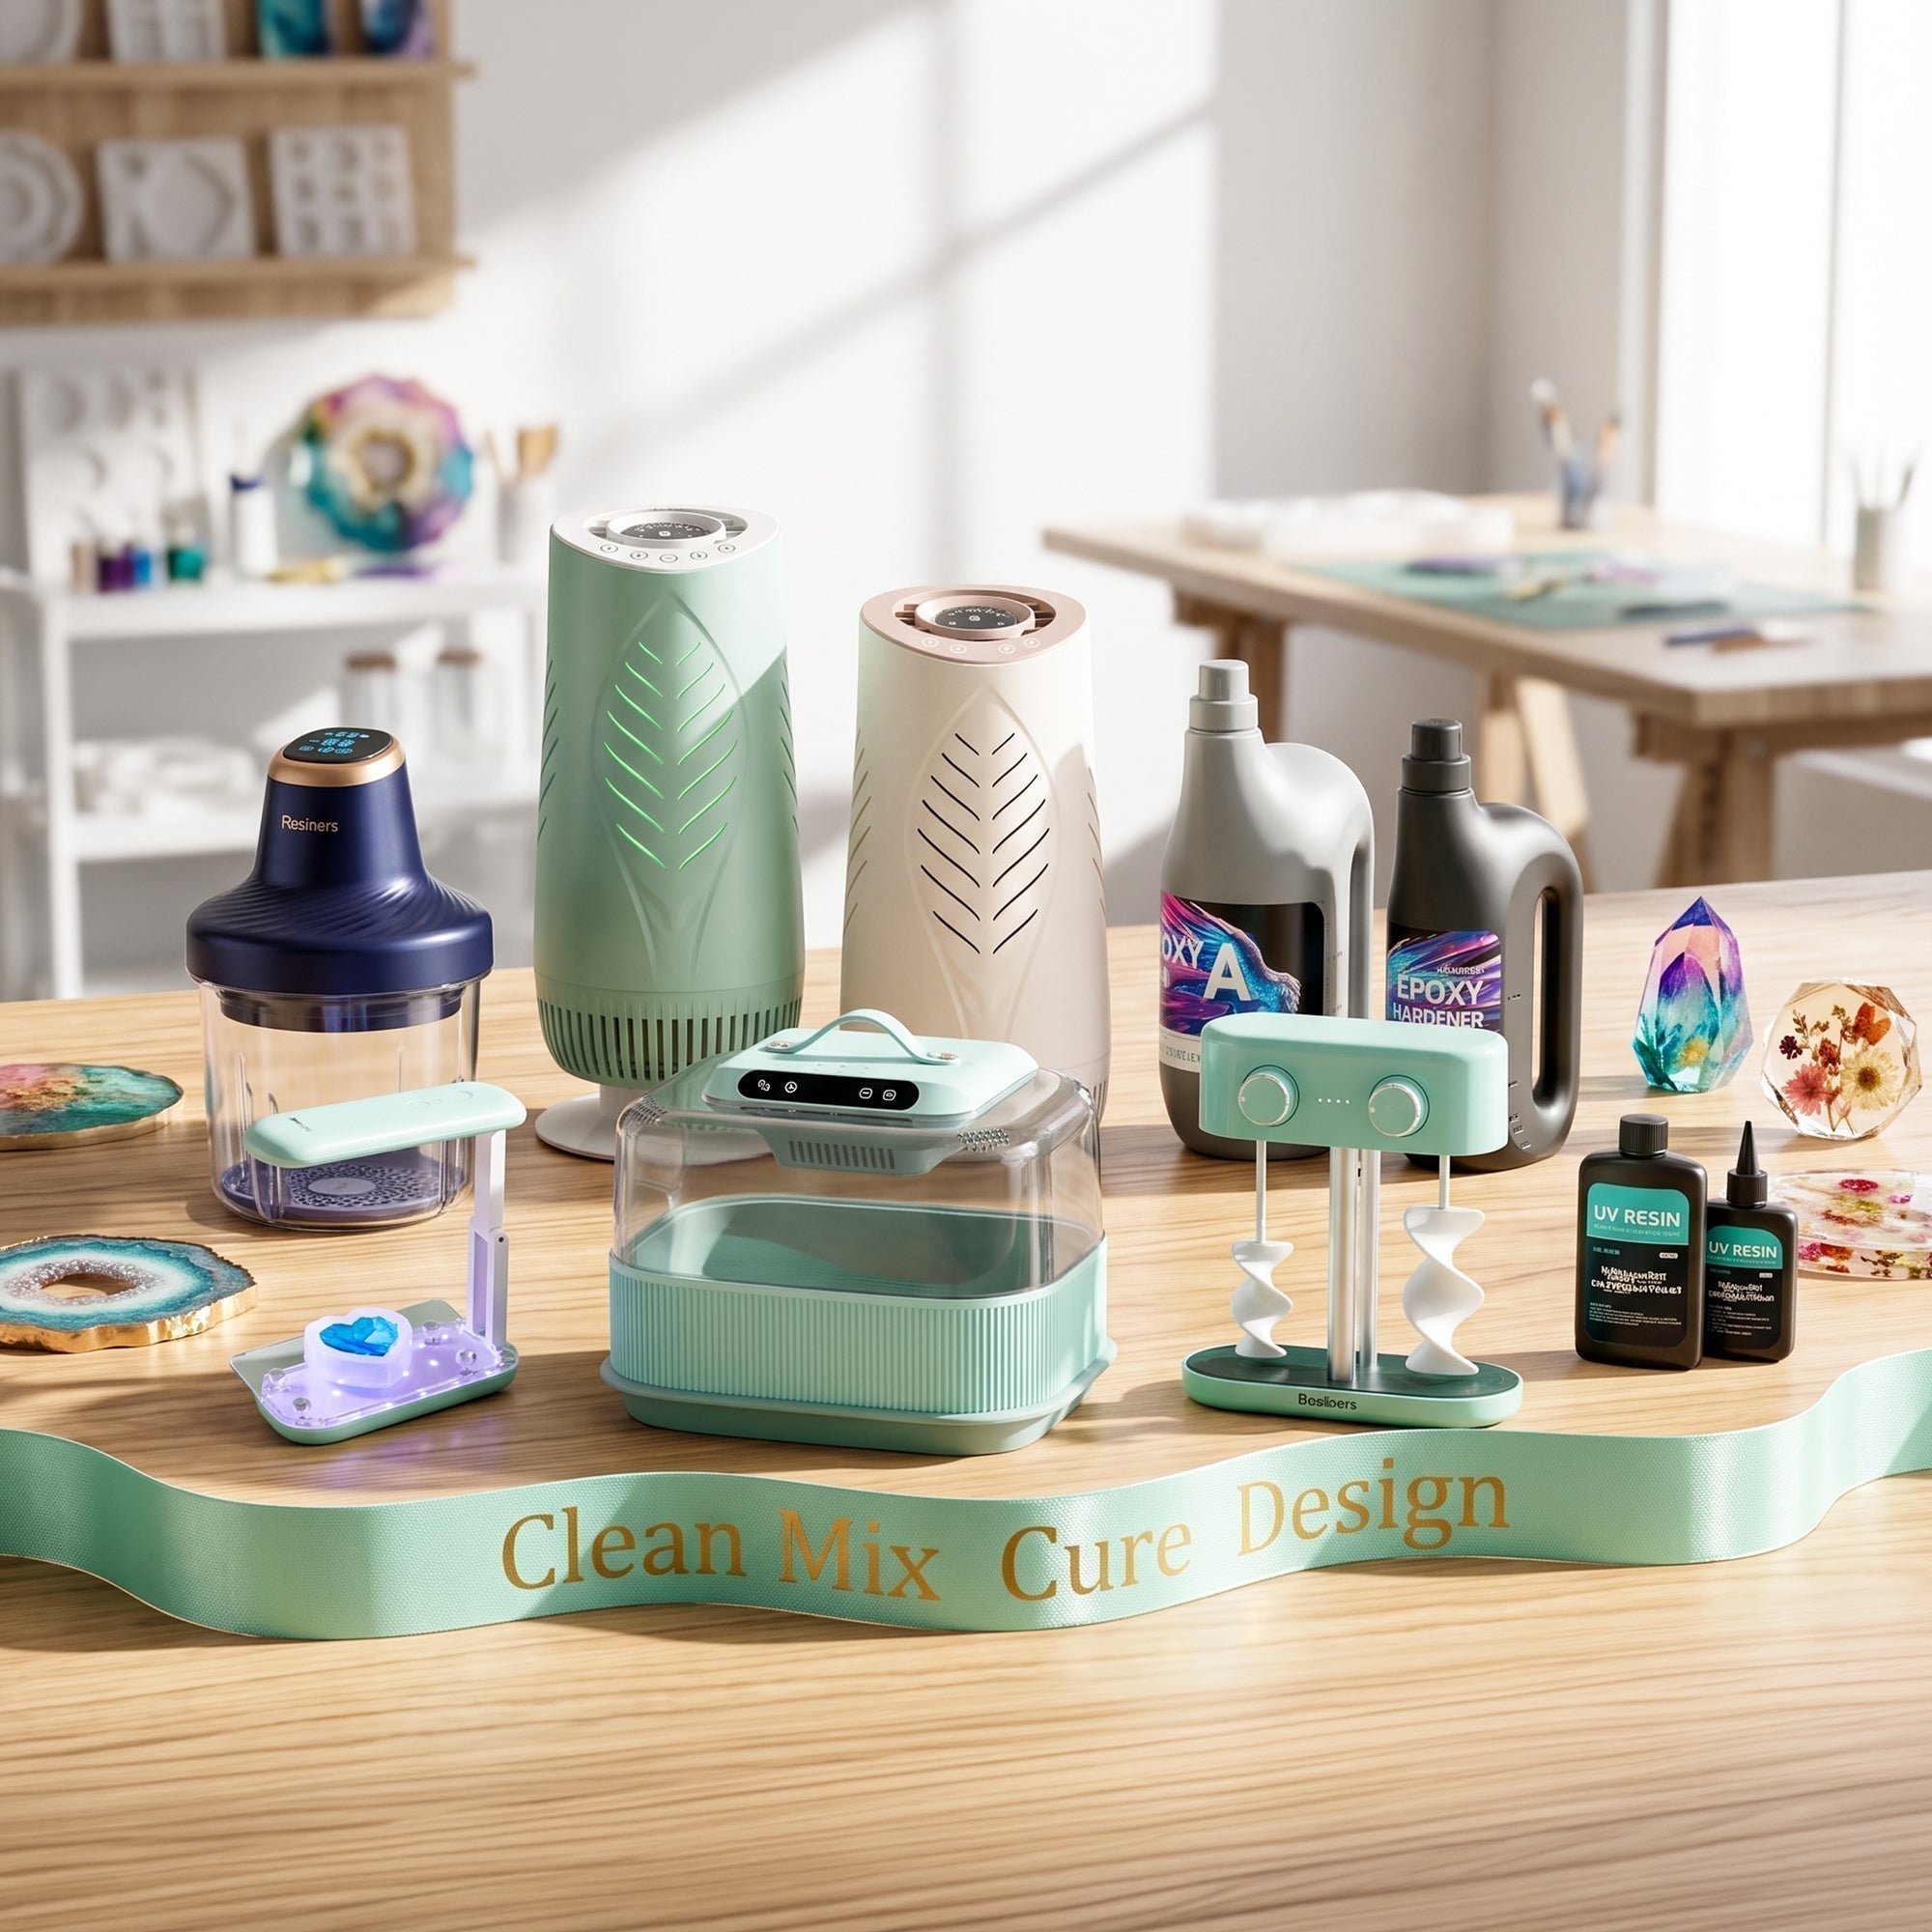
どのレジナー硬化ツールがあなたのプロジェクトに最適ですか?
| 道具 | に最適 |
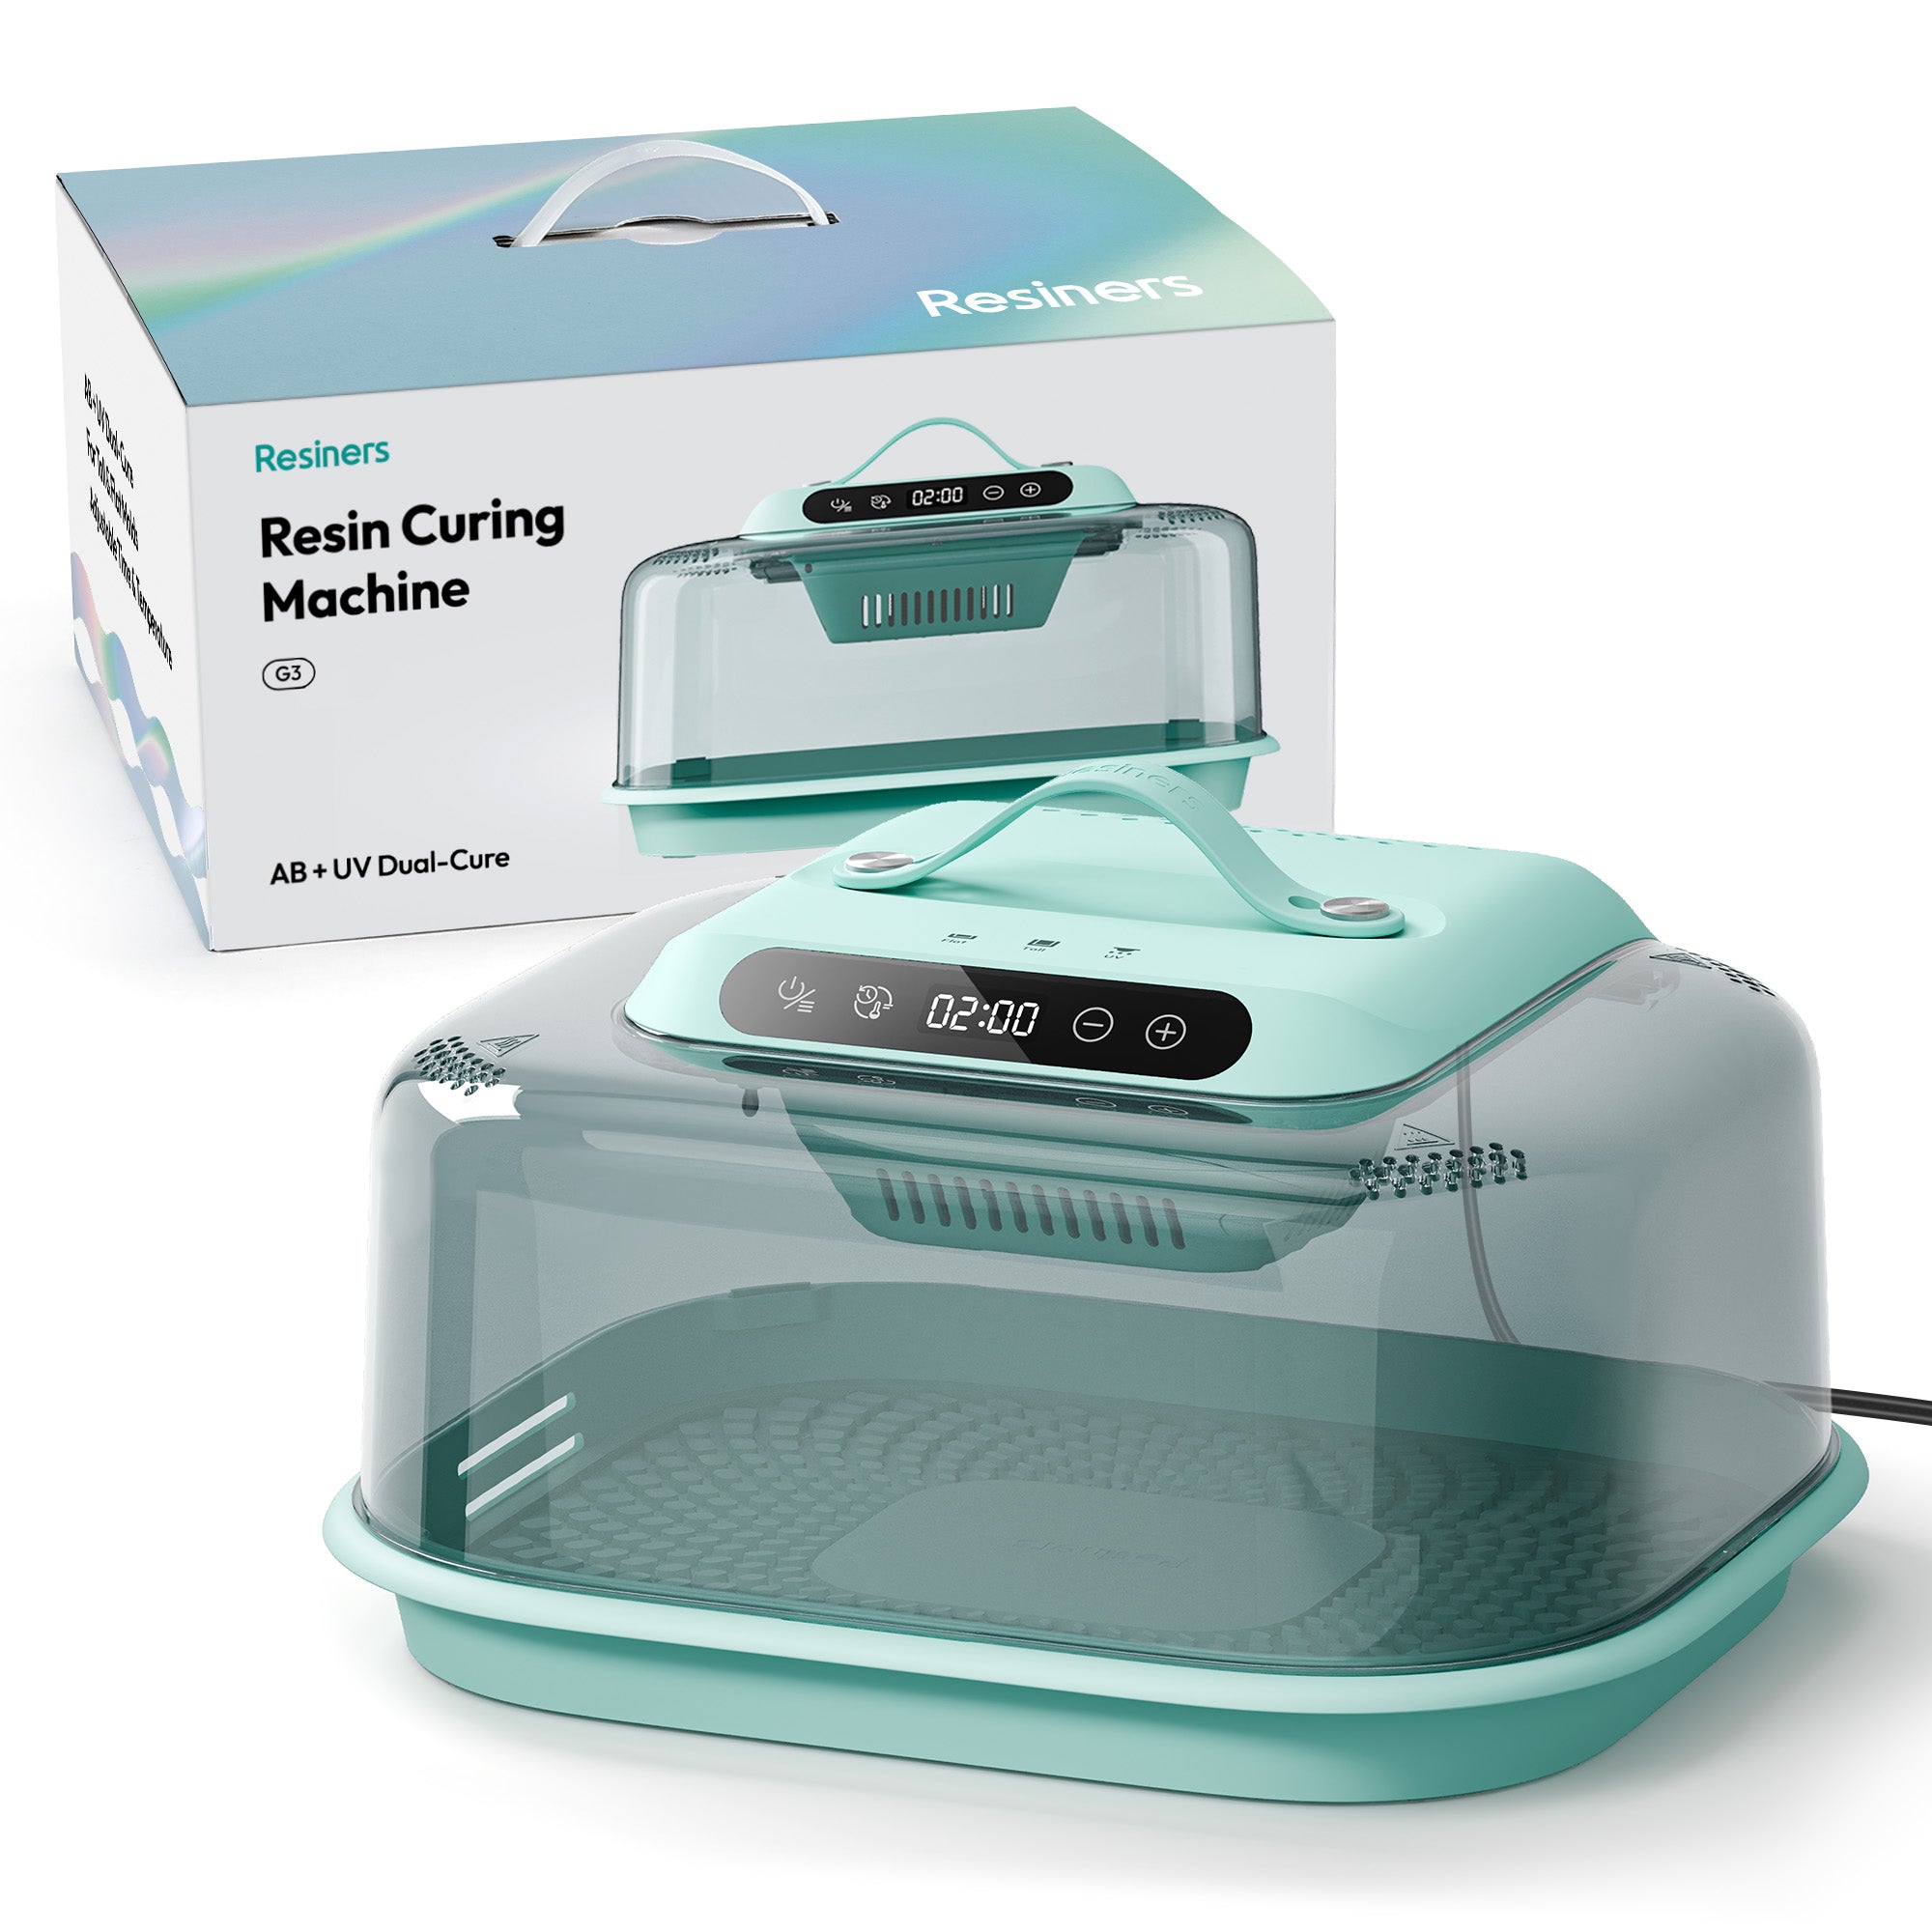
| G3 2-in-1硬化機 | エポキシ樹脂+UV硬化;混合ワークフローおよびバッチ処理 |
| キュアエア | エポキシ樹脂;自動加熱チャンバー |
| カップターナー用樹脂乾燥ボックス | エポキシ樹脂;回転するワークの周囲に熱を循環させる |
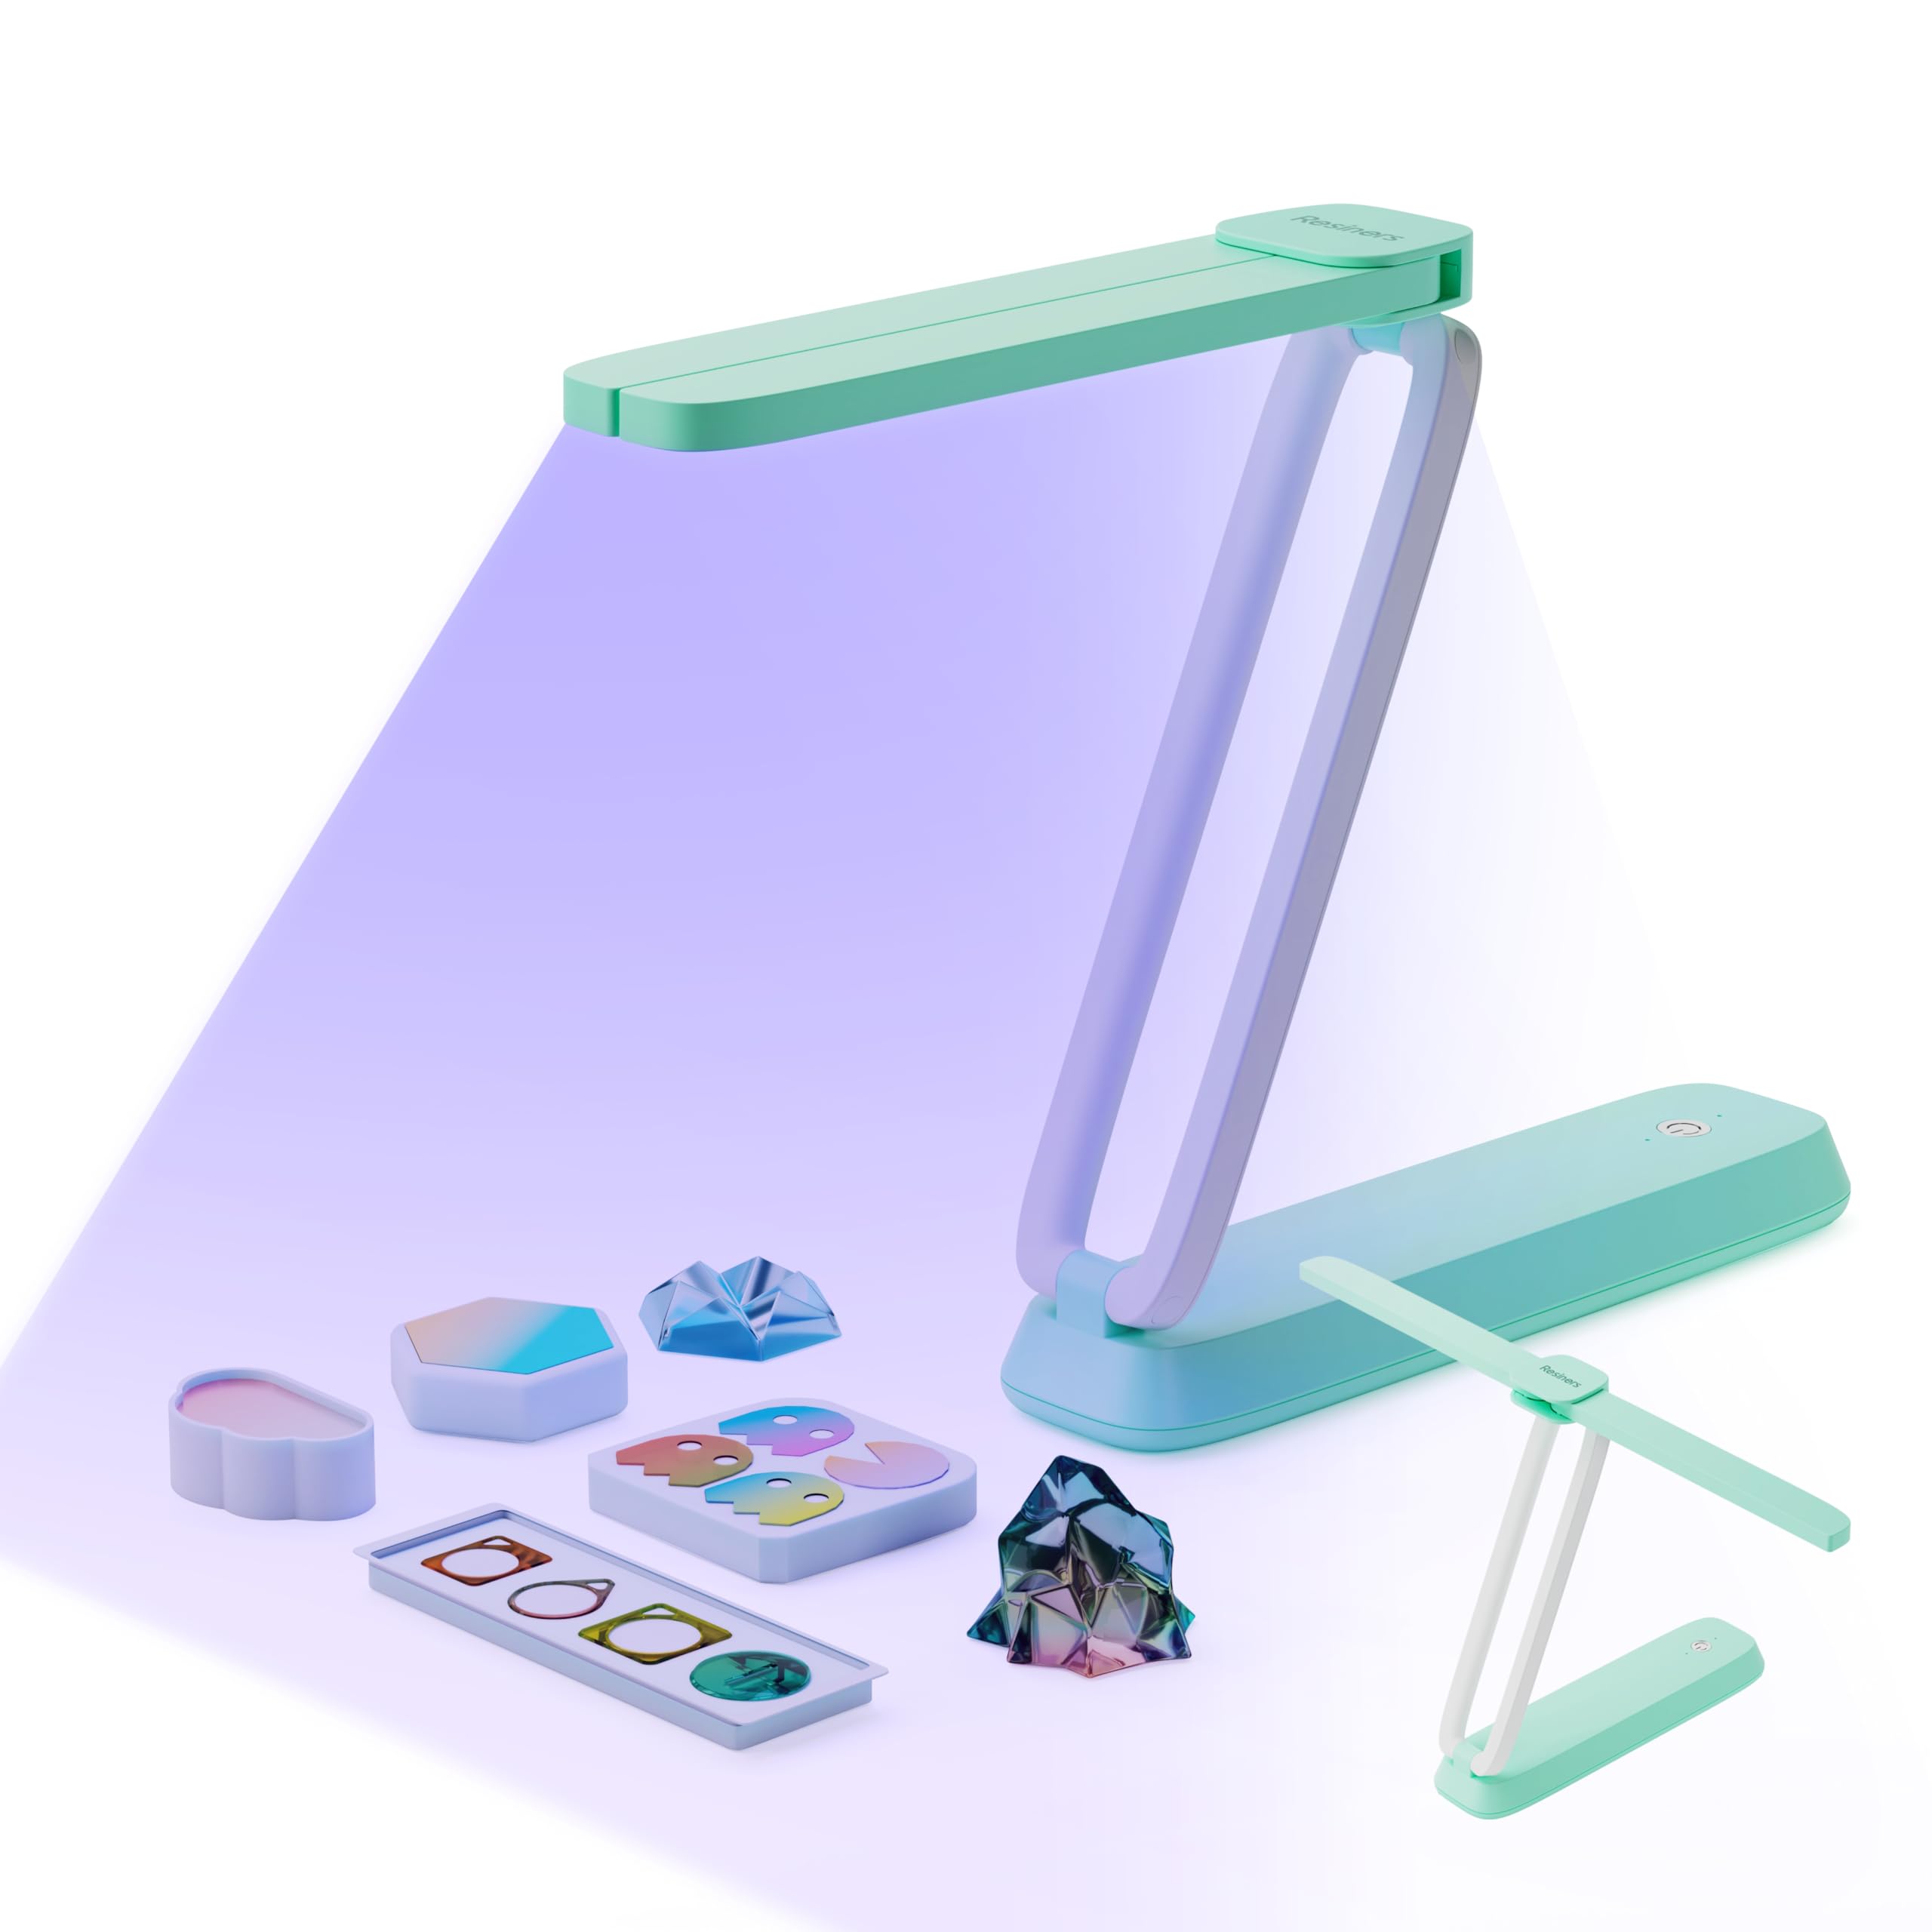
| 3-in-1 UVライト | 紫外線; 調整可能な一方向ライト |
| 両面折りたたみ式UVライト | 紫外線; 上からと下からの光 |
| 片面式ポータブルUVライト | 紫外線; コンパクトなトップダウンカバレッジ |
| マグネット式360°全方位UVライト | 紫外線照射装置、360°照射チャンバーまたは2つの分割照明 |
| 携帯用UV懐中電灯 | 紫外線照射; 手持ち式スポット照射 |

いくつかの習慣は今でも重要だ
- エポキシ樹脂は指示通りに正確に計量・混合してください。機械では誤った配合比率を修正することはできません。
- 使用する樹脂が、加える熱やランプの紫外線波長に対応していることを確認してください。
- 型を水平に保ち、適切な層の厚さでUV樹脂を硬化させて、光が十分に届くようにしてください。
-
樹脂メーカーが提供する換気、個人用保護具(PPE)、および取り扱いに関する指示を引き続き遵守してください。
創作過程を拝見させていただき、ありがとうございました。
#ResinersCuringMoment を共有してくださった皆様へ:入念な準備、喜びあふれる仕上がり、予想外の実験、そして何気ないスマホ動画など、他のクリエイターが作業台で孤独を感じるのを少しでも和らげてくれたものに感謝します。
あなたの投稿は、ツールの機能以上のものを示してくれます。レジンアーティストが実際にどのように作品を制作しているのか、何がフラストレーションの原因になり、何がやりがいを感じさせ、どんな小さな改善が制作を続けるのに役立つのかを理解するのに役立ちます。私たちは、あなたと共に、一つ一つの注ぎ込み、一つ一つの硬化、そして誇らしげに開けられた蓋を通して、作品を作り上げていくことに感謝しています。

プロジェクトに必要な機材を揃えよう
樹脂硬化機 >>今すぐ購入
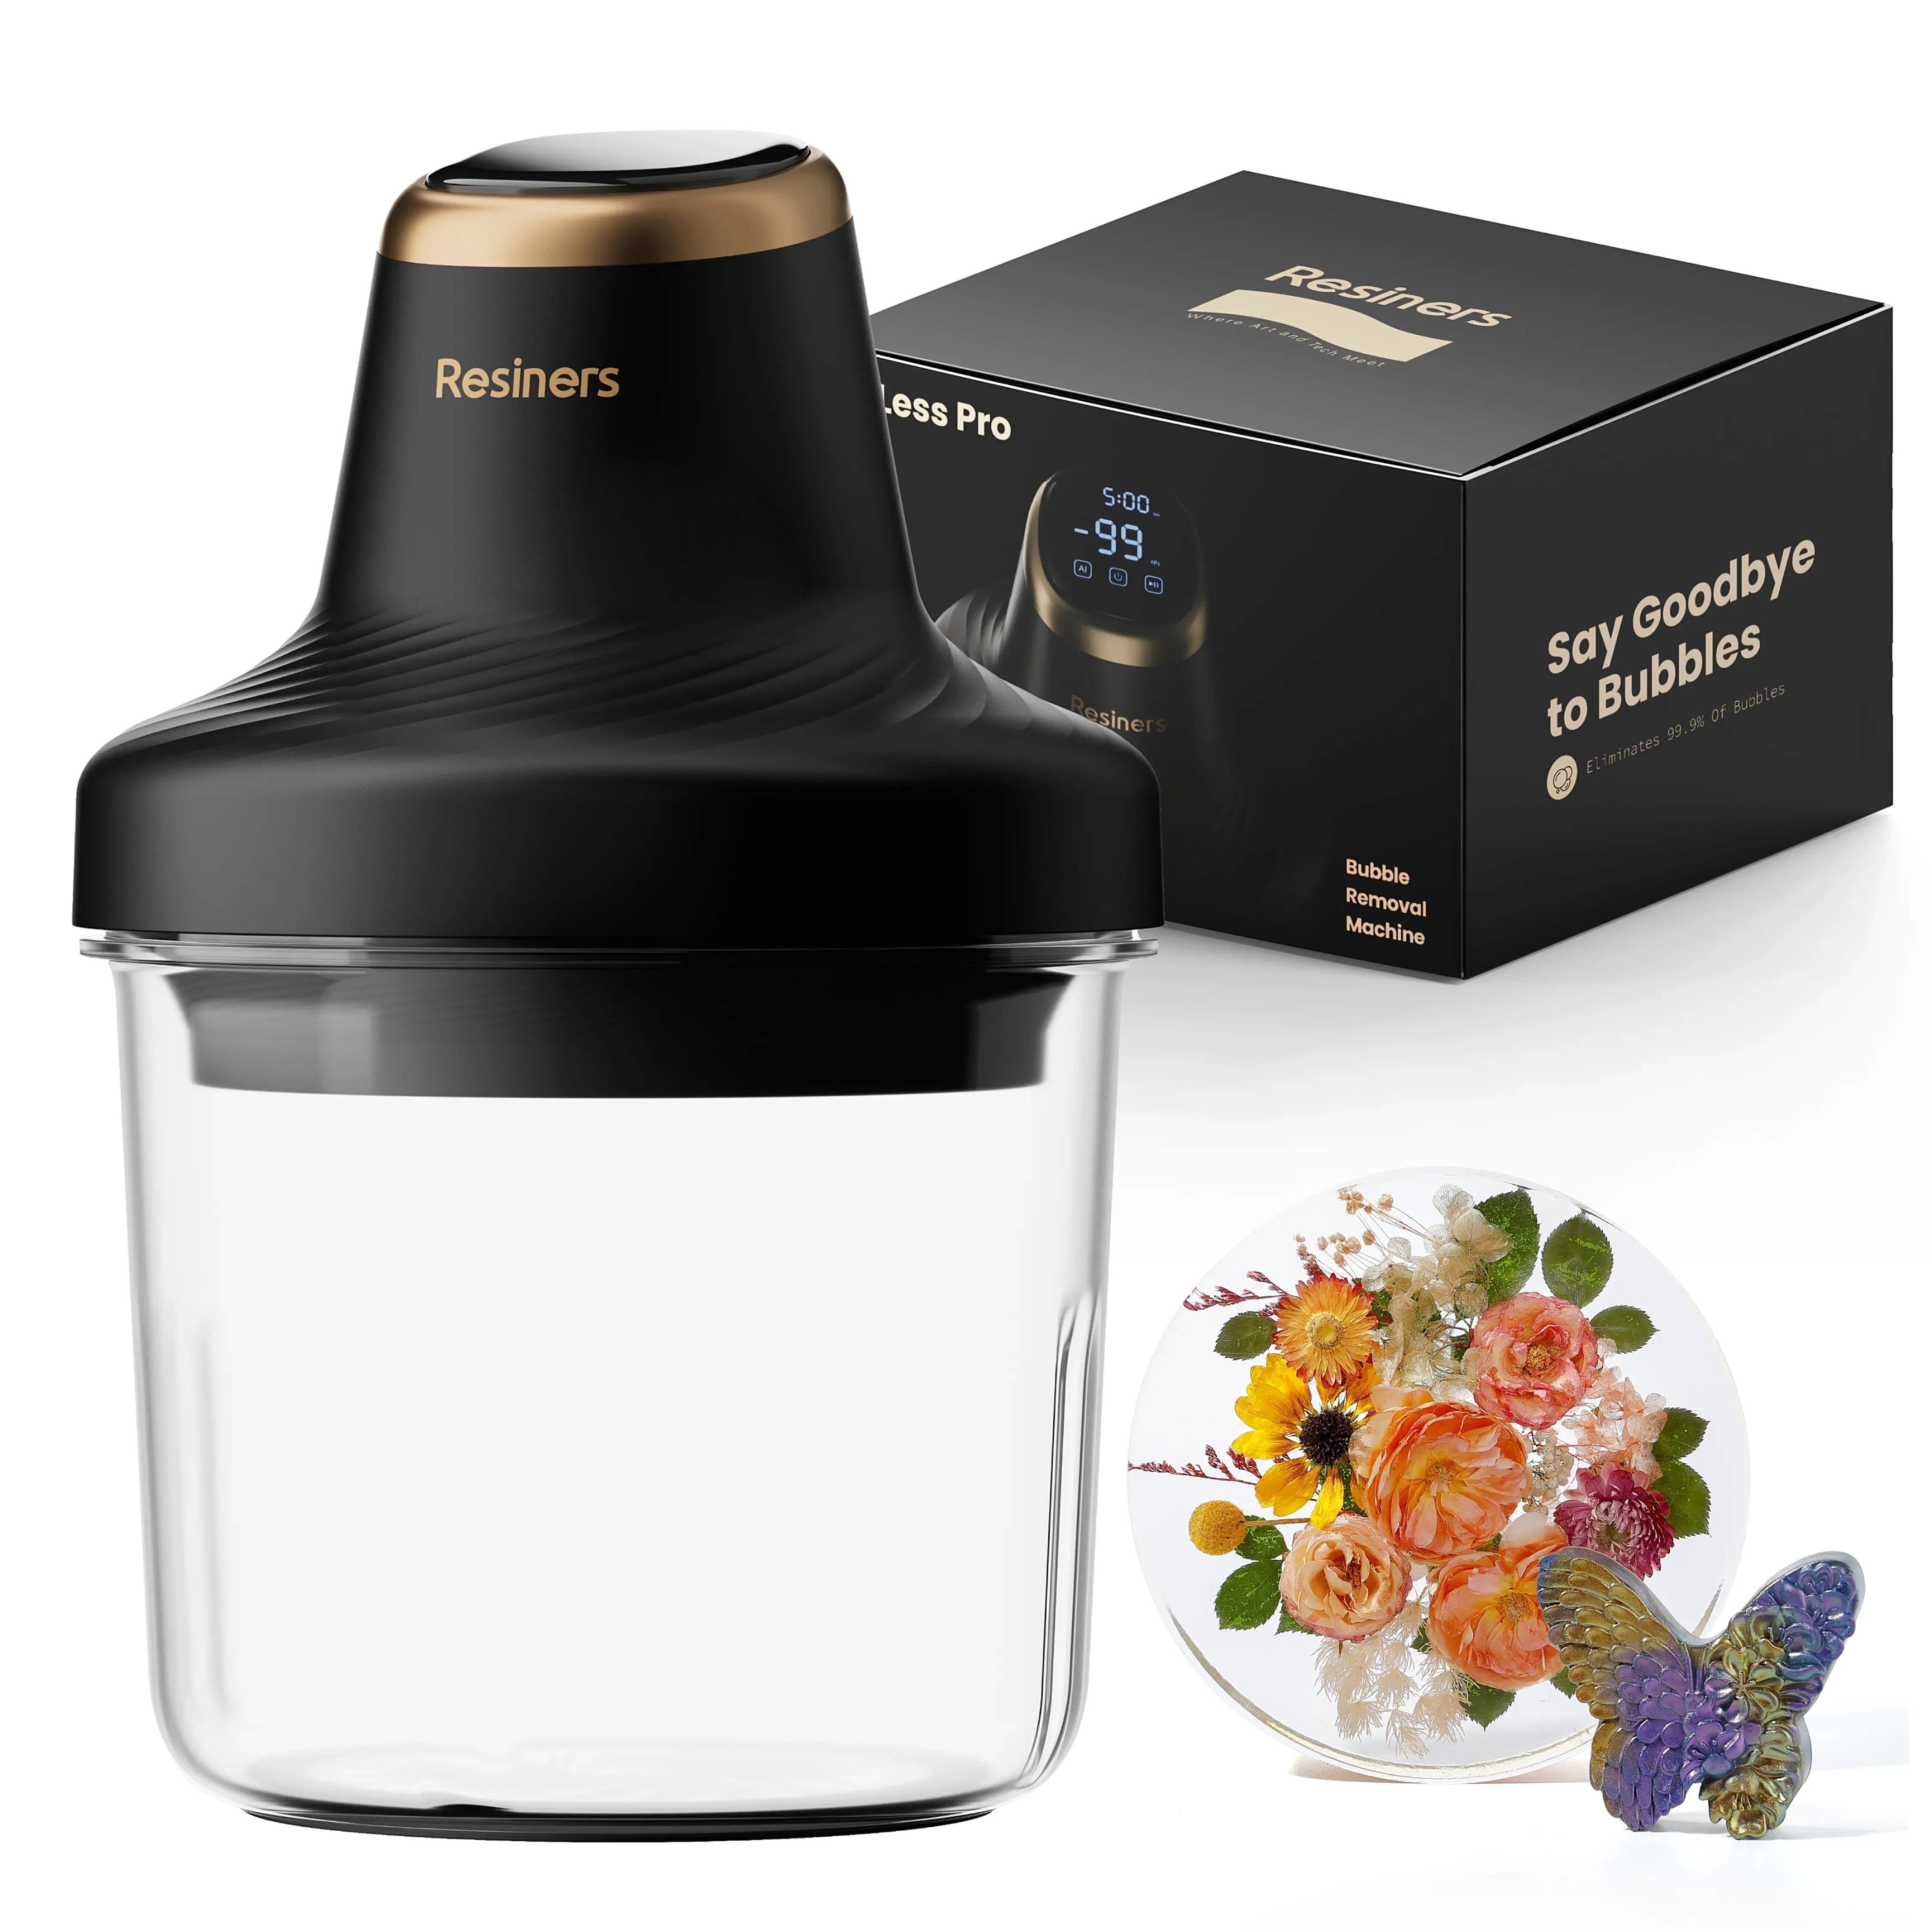
Resiners UV樹脂&UVライト >>今すぐ購入
※一部の画像はAIによる加工が施されています。正確な製品情報については、製品ページをご覧ください。




コメントを書く
このサイトはhCaptchaによって保護されており、hCaptchaプライバシーポリシーおよび利用規約が適用されます。