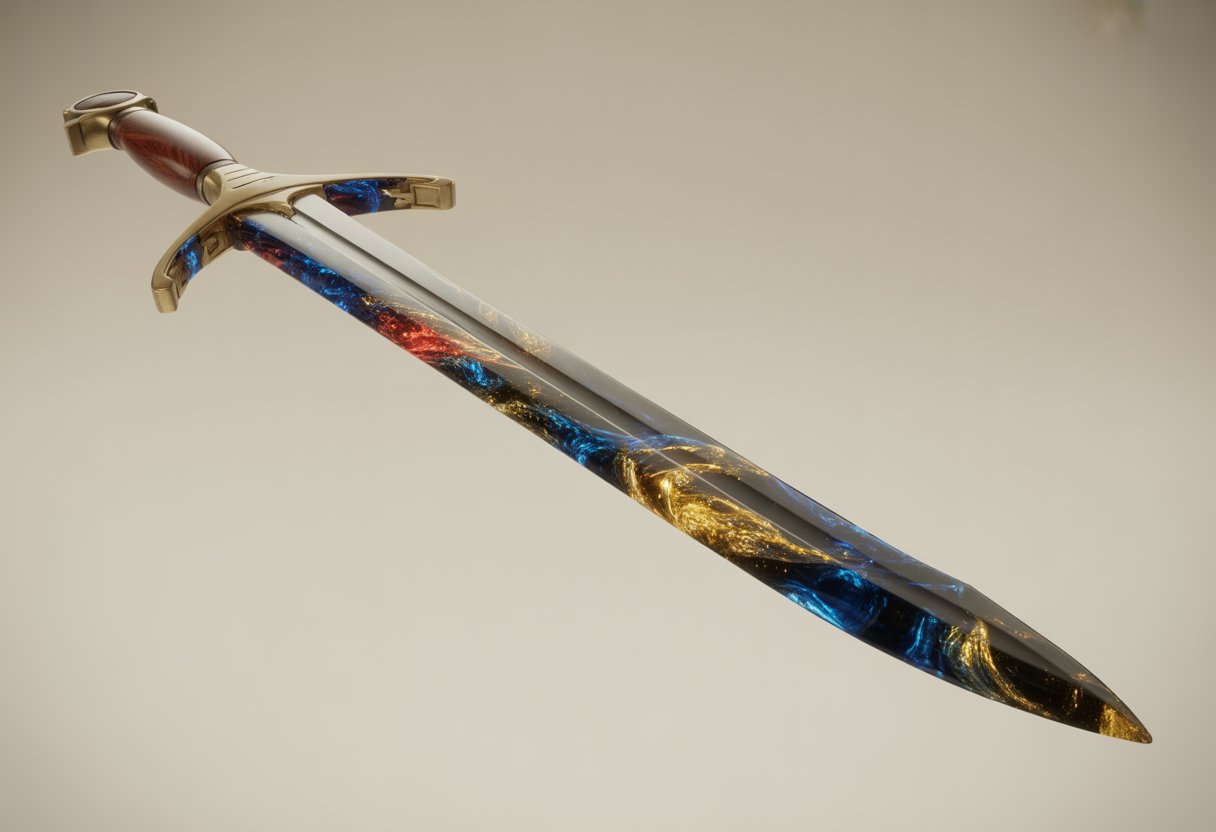
エポキシ樹脂製の剣は、創造性と実践的な技術を融合させた作品です。ディスプレイ用の小道具や衣装の一部として、他にはない個性的なデザインを生み出すことができます。
樹脂を型、顔料、そして色とディテールを引き出す仕上げのテクニックを駆使して剣を製作します。この種のプロジェクトでは、形状や質感を自由に組み合わせたり、刃の内部に装飾を施したりできるため、一つとして同じものがない、個性的な剣が生まれます。
始めるとき 樹脂を使った作業デザインの選択肢は無限大です。例えば、キラキラ光る透明な刃、ファンタジー風の柄、ゲームに登場する武器のレプリカなど、お好みのデザインをお選びいただけます。
忍耐と適切な道具は必要だが、あらゆる細部を自分でコントロールできる。
エポキシ樹脂製の剣とは何ですか?

エポキシ樹脂製の剣は、樹脂を刃と柄の形に流し込んで作る小道具や装飾品です。強度を高めたり、クールな効果を出すために、樹脂に木材、金属、LEDなどを混ぜることがよくあります。
主な特徴とメリット
エポキシ樹脂は、透明で丈夫な表面を作り出し、顔料、染料、粉末などを定着させることができます。クリスタルや氷、あるいは光り輝くエネルギーのようなブレードを作ることも可能です。
樹脂の中にラメや石、小さな小物などを簡単に入れて、さらに華やかにすることができます。これらの剣は本物の金属製の剣よりもはるかに軽量で、コスプレやディスプレイにも安全です。
刃をより頑丈にしたい場合は、グラスファイバー製の棒やアルミ製の管などの芯材を追加してください。こうすることで、持ち上げたときに刃が曲がったり折れたりするのを防ぐことができます。
メリットは以下のとおりです。
- カスタマイズ: 豊富なカラーと仕上げからお選びいただけます。
- 耐久性: 正しく硬化させれば、欠けや傷にも強い。
- 軽量: 重い金属製の小道具よりも持ち運びが楽だ。
- 汎用性: LEDライトや蓄光パウダーを追加すれば、素敵な効果が得られます。
エポキシ樹脂は磨き上げると光沢のある仕上がりになり、刀剣を鋭くプロフェッショナルな印象に仕上げます。
一般的な用途と展示アイデア
エポキシ樹脂製の剣は、ファンタジー世界の武器のような見た目でありながら、重くなく危険でもないため、コスプレに人気があります。ビデオゲームやアニメに登場する剣を再現したり、独自のスタイルを創造したりすることも可能です。
これらは素晴らしいディスプレイアイテムにもなります。壁掛けラックに掛ける人もいれば、スタンドを使って美術品のように飾る人もいます。
もっと工夫したいなら、刀身の内側に蓄光塗料やLEDストリップを仕込んでみましょう。そうすれば、暗い場所でも剣が光り輝き、コンベンションやパーティーに最適です。
樹脂を何層にも重ねて流し込むことで、刃の中に銀河や炎のような効果を生み出すことができます。エポキシ樹脂製の剣は、どのように使うにしても、あなたの技術と想像力を存分に発揮してくれるでしょう。
レジンを使った作業は難しそうに感じるかもしれませんが、基本はシンプルです。詳しくはガイドをご覧ください。 レジンキャストの基礎知識:初心者が知っておくべきことすべて。
必要な材料と道具

樹脂製の剣を作るには、適切なエポキシ樹脂を選び、良質な型を見つけ、剣を切断、研磨、仕上げるための道具を揃えることが重要です。これらの選択の一つ一つが、作品の強度、見た目の美しさ、そして安全性に大きく影響します。
適切なエポキシ樹脂の選び方
透明に硬化し、研磨や艶出しにも耐えられるエポキシ樹脂を選びましょう。樹脂と硬化剤が一体化した二液性エポキシ樹脂は、強度と耐久性に優れているため最適です。
顔料を加えたり、物体を埋め込んだりする場合は、作業時間の長い配合のものを選びましょう。速硬化性の樹脂は気泡が入り込みやすく、刃が曇ったように見えることがあるため、滑らかな仕上がりを求めるなら、ゆっくり硬化するタイプを選ぶのがおすすめです。
刀剣を作る際は、表面コーティング用の樹脂ではなく、必ず鋳造用樹脂を使用してください。鋳造用樹脂は、刀身に必要な厚みのある流し込みに適した素材です。
金型とブランクの選択
型は剣の形を作るためのものなので、丈夫で耐熱性のあるものでなければなりません。 シリコン型 曲げて剣を抜き出すことができるので、うまく機能します。
特殊な形状を作る場合は、発泡材、木材、または3Dプリント部品でブランクを作り、樹脂を流し込む前にそれを覆います。まっすぐな刃が必要な場合は、型が反らないように補強してください。クランプやサポートフレームを使うと効果的です。
より厚く重厚な刀身を作るために、樹脂にボディフィラー(「ロンド」と呼ばれる)を混ぜる人もいる。こうすることで、刀身にしっかりとした感触が生まれる。
工作におすすめの道具
樹脂が硬化したら、剣を仕上げるための道具が必要になります。回転工具は、研磨、細部の切削、そして磨き上げに最適です。
やすり、サンドペーパー、クランプも重要です。やすりはエッジを整形するのに役立ち、クランプは接着や硬化の際に部品をしっかりと固定します。
持ち手やガード用にエポキシ接着剤を常備しておきましょう。ピンや装飾用の穴を開けるにはドリルを使用してください。樹脂の粉塵や蒸気から身を守るため、必ず手袋、ゴーグル、マスクを着用してください。
色は樹脂を真にユニークなものへと変貌させます。楽しいテクニックを探求するには、こちらの記事をお見逃しなく。 樹脂の着色:鮮やかなDIYクラフトのためのテクニック。
剣のデザイン
エポキシ樹脂製の剣をデザインする際は、見た目と手触りの両方を考慮しましょう。刃の形状はバランスとスタイルに影響を与え、柄と鍔は手に馴染む感覚に影響します。
刃の形状とサイズ
まず、刃の形状を紙かコンピューターにスケッチしておきましょう。こうすることで、切断時や型に流し込む際のミスを防ぐことができます。
まっすぐな両刃の刃か、湾曲した片刃の刃かを選びましょう。刃の長さにも注意してください。長い刃は見た目はかっこいいですが、重くて扱いづらいです。短い刃の方が扱いやすく安全です。
簡単な測定値を参考にしてください。例えば:
|
ブレードタイプ |
平均長さ |
注記 |
|
ショートソード |
18~24インチ |
成形や研磨が容易 |
|
ロングソード |
28~36インチ |
より強力な金型サポートが必要 |
|
ファンタジーブレード |
様々 |
視覚的なインパクトに焦点を当てる |
型の縁を少し厚めにしてください。樹脂の縁が薄いと割れやすくなります。成形後に形を削ることもできます。 レジンセット。
柄と鍔のカスタマイズ
柄の部分は、快適さとスタイルを両立させる絶好の機会です。シンプルなグリップにするか、模様や色、装飾などを施した凝ったデザインにするか、お好みに合わせてお選びください。
グリップを紐、革、あるいは樹脂コーティングされた布で巻くと、握りやすくなります。ガードは手を保護するだけでなく、見た目にもスタイリッシュさを添えます。
ガードは樹脂で鋳造したり、木材から彫り出したり、粘土で形作ったりできます。幅広のガードは力強い印象を与えますが、細身のガードは洗練された印象を与えます。
バランスは重要だ。重い柄は長い刀身のバランスを整えるのに役立つ。短い刀身の場合は、軽い柄の方がバランスを保つことができる。
柄の部分に蓄光パウダーやメタリックフレーク、着色樹脂などを加えて、より印象的なデザインにしてみましょう。時には、ちょっとした工夫が大きな違いを生むものです。
時には、穴や金具を追加したい場合があります 樹脂製の部品安全な方法については、こちらの記事をご覧ください。 エポキシ樹脂に安全かつ簡単に穴を開けることはできますか?
段階的な製作プロセス
清潔な型を用意し、樹脂を適切に混ぜ合わせ、十分に硬化させる。これらの各工程が、剣の強度と滑らかさを左右する。
金型と作業スペースの準備
剣のサイズと形状に合った型を選びましょう。シリコン製の型は樹脂が簡単に取り出せるので、最も使いやすいです。
オリジナルデザインの場合は、3Dプリンターで型を製作するか、木材で型を作り、内側に非粘着性の素材を敷いてください。作業を始める前に型をきれいに掃除してください。ほこりや汚れが樹脂に付着すると、仕上がりが悪くなります。
糸くずの出ない布で型を拭き、乾燥させてください。エポキシ樹脂は硬化中に強い臭いを発することがあるため、風通しの良い場所で作業してください。
手袋、安全メガネ、マスクを着用してください。テーブルをこぼれから守るため、プラスチックシートまたはクッキングシートを敷いてください。
必要な道具はすべて手元に置いておきましょう。計量カップ、かき混ぜ棒、クランプ、計量用のはかりなどが必要です。整理整頓しておくと、作業がずっと楽になります。
エポキシ樹脂の混合と注ぎ込み
樹脂を測定し、 硬化剤 製品の説明書に従ってください。ほとんどの製品は1:1または2:1の比率で混合します。正しい比率で混合してください。比率を間違えると、樹脂がべたついたり、柔らかすぎたりする可能性があります。
両方の材料をカップに注ぎ、少なくとも3分間ゆっくりとかき混ぜます。側面と底をこそげながら、全体がよく混ざるようにします。かき混ぜるスピードが速すぎると泡が出てしまい、剣に泡が入ると大変です。
お好みで着色料や蓄光パウダーを加えてください。色が均一になるまでよく混ぜてください。
樹脂を細くゆっくりと型に注ぎ入れます。気泡が入らないように注意してください。注ぎ入れた後、ヒートガンやトーチを使って表面の気泡を取り除きます。型の隅々まで樹脂が行き渡るように、型全体に樹脂を充填してください。
硬化と脱型
硬化中は型を平らな場所に置き、触らないでください。ほとんどの樹脂は、ブランドや室温にもよりますが、硬化に24~72時間かかります。
推奨時間経過後、表面の状態を確認してください。べたつくようなら、さらに時間を置いてください。焦ってはいけません。焦ると、刀身にへこみができたり、強度が弱くなったりする可能性があります。
固まったら、剣を型から慎重に取り出してください。シリコン製の場合は、曲げて型から外しやすくしてください。固い型の場合は、流し込む前に離型剤を使用してください。
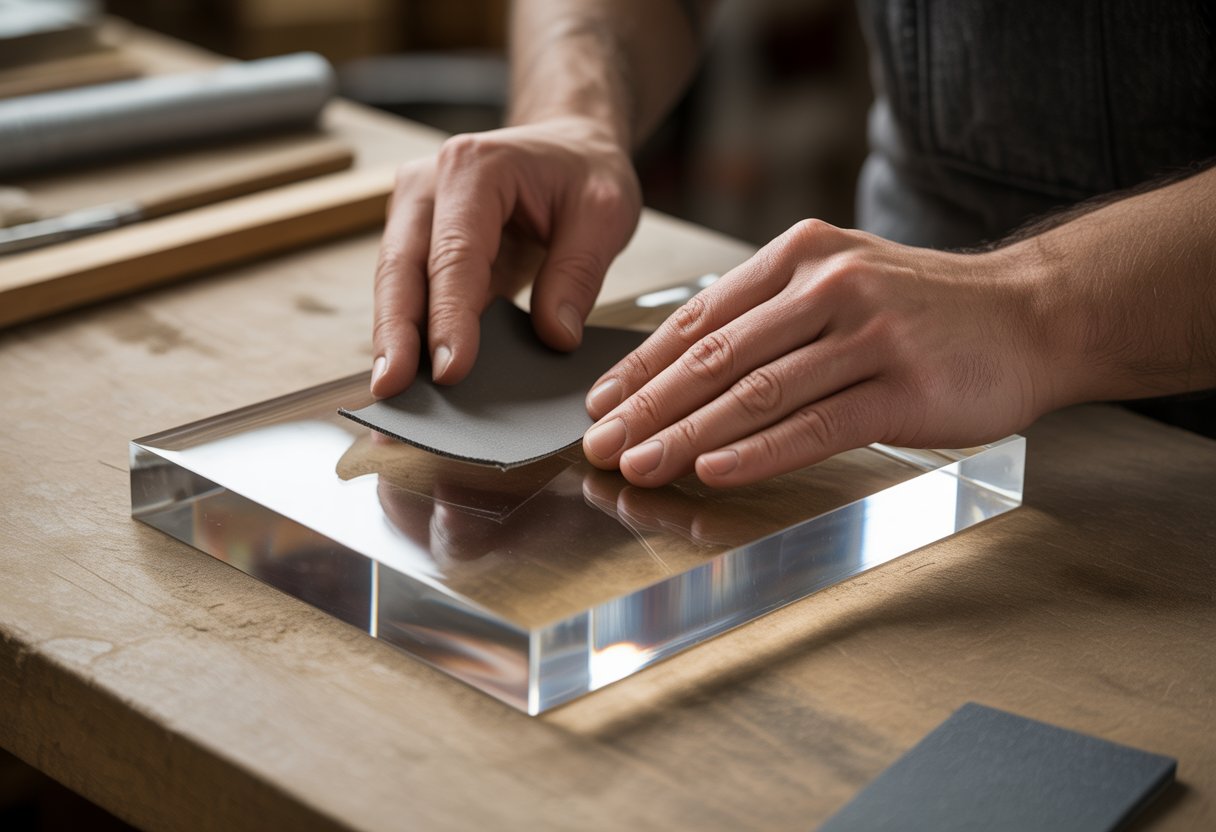
細かいサンドペーパーで縁を研磨して滑らかにします。樹脂系研磨剤またはクリアコートスプレーで磨いて、光沢のある仕上がりにします。この最後の工程で、剣は清潔で完成された印象になります。
ヒートツールは、樹脂に関する一般的な問題を解決し、創造性を高めることができます。この記事を読んで、賢いテクニックを発見してください。 ヒートガンの活用法:DIY、修理、工作のためのヒント。
仕上げとディテール技術
滑らかな表面とシャープなディテールにより、樹脂製の剣はリアルな外観と耐久性を実現します。研磨、艶出し、塗装を施すことで、最終的な仕上がりが引き立ち、傷からも保護されます。
ドレメルを使った研磨と磨き
まず、鋳造工程で生じた凹凸や鋭利な部分をやすりで削り落とします。ドレメル社の回転工具は、細かい部分の作業にも適しており、非常に便利です。
サンドペーパーや細かい研磨ビットを使って、凹凸を取り除きます。深く削りすぎないように、ざらついた部分を滑らかにするだけで十分です。
形を整えたら、400番から2000番までの目の細かい耐水サンドペーパーを用意します。段階的に作業を進め、表面を湿らせた状態に保ちましょう。そうすることで、粉塵や傷を防ぐことができます。
この工程で、研磨のための滑らかな下地ができます。
研磨が終わったら、ドレメルにフェルト製の研磨ホイールを取り付けます。少量のプラスチックまたは樹脂用研磨剤を塗布し、中速でツールを回転させます。
樹脂が焦げ付かないように、ホイールを常に回転させてください。
最後にマイクロファイバークロスで表面を手で磨き上げてください。こうすることで曇りが取れ、透明感のあるガラスのような輝きが得られます。
ペイントとエフェクトの追加
研磨後、剣に塗装を施して細部を際立たせ、よりリアルに見せることができます。まずは下地塗料を塗布して、塗料が樹脂にしっかりと密着するようにしましょう。塗料の密着性を高めるため、下地塗料を塗布する前に目の細かいサンドペーパーで軽く研磨してください。
金属製の刃にする場合は、銀色のスプレー塗料またはクロム調塗料を使用してください。液だれを防ぐため、一度に厚く塗るのではなく、薄く何回かに分けて塗ってください。
柄の部分やその他の箇所をマスキングして、線がシャープになるようにします。黒または茶色のウォッシュで、風化効果を加えます。溝に軽くブラシやスポンジで塗り込むことで、陰影と奥行きを表現できます。
縁にメタリックなハイライトを入れると、使い込まれたような、まるで実戦を経験したかのような印象を与えることができます。
仕上げには、マット仕上げでも光沢仕上げでも、お好みでクリアコートを塗布してください。これにより、塗装面を保護し、美しい仕上がりを維持できます。
最後に
エポキシ樹脂で剣を作ることは、単なる工芸品作り以上のものです。それは、あなたの想像力を形にする手段なのです。樹脂、型、そして少しの創造力があれば、透明なもの、カラフルなもの、あるいは他に類を見ないディテールを施した、世界に一つだけの剣をデザインすることができます。
武器にはならないものの、会話のきっかけとなり、コスプレやディスプレイ棚に彩りを添える、まさに目を引く逸品となるでしょう。手順さえ分かれば作り方は簡単で、出来上がりはいつも素晴らしいものです。
自分だけのファンタジーソードを作ってみませんか? 材料を揃えて、あなたの創造性を発揮しましょう。そして、忘れずにチェックしてください。 樹脂製造業者 透明エポキシ樹脂、 樹脂装置、 そして 顔料粉末あなたのプロジェクトを真に際立たせるために!
レジン作品にライトを加えると、魔法のような効果が生まれます。こちらの記事を読んで、インスピレーションを得てください。 エポキシ樹脂を使った作品にLEDライトを取り付けることはできますか?
よくある質問
一番良いのは何ですか? 樹脂の種類 剣を作るために?
透明な鋳造用エポキシ樹脂を使用してください。硬化がゆっくりなので、気泡が少なく、ガラスのような仕上がりになります。
剣の型に合うように、樹脂は粘度の高いものを流し込むのに適したものであることを確認してください。
実物大の剣の型を作るにはどうすればいいですか?
シリコーンゴムまたは二液性シリコーンキットを使用して型を作ります。まず、木材、発泡スチロール、または粘土から剣の模型を彫り出します。
それから、 シリコンを流し込む その形状を捉えるために、頑丈な箱型のフレームで囲む。
透明な樹脂で剣を鋳造する際のコツをいくつか教えていただけますか?
清潔で埃のない場所で作業し、気泡が入らないように樹脂をゆっくりと混ぜてください。注いだ後、表面の気泡はヒートガンまたはトーチで軽く炙って消してください。
剣が大きい場合は、層状に流し込み、各層が部分的に硬化してから次の層を流し込むようにしてください。
エポキシ樹脂を使った自作の剣を作るには、どのような材料が必要ですか?
透明な鋳造用エポキシ樹脂、シリコン型、ミキシングカップ、攪拌棒、顔料または染料、そして手袋やゴーグルなどの安全装備が必要です。
ヒートガンやトーチを使うと気泡を取り除くのに役立ちます。強度を高めたい場合は、型の中に金属製または木製の芯材を入れてください。
エポキシ樹脂製の剣を作るための包括的なキットはどこで入手できますか?
レジンを使ったスターターキットは手芸店などのオンラインショップで購入できますが、ほとんどのキットには剣の型は付属していません。
完全な剣を作りたい場合は、おそらく レジンキット 特注のシリコン型を使用。
型作りのフォーラムに型のデザインを投稿したり、マーケットプレイスで販売したりしているメーカーもあります。ユニークなものを探しているなら、そういったサイトをチェックしてみる価値はあります。


コメントを書く
このサイトはhCaptchaによって保護されており、hCaptchaプライバシーポリシーおよび利用規約が適用されます。