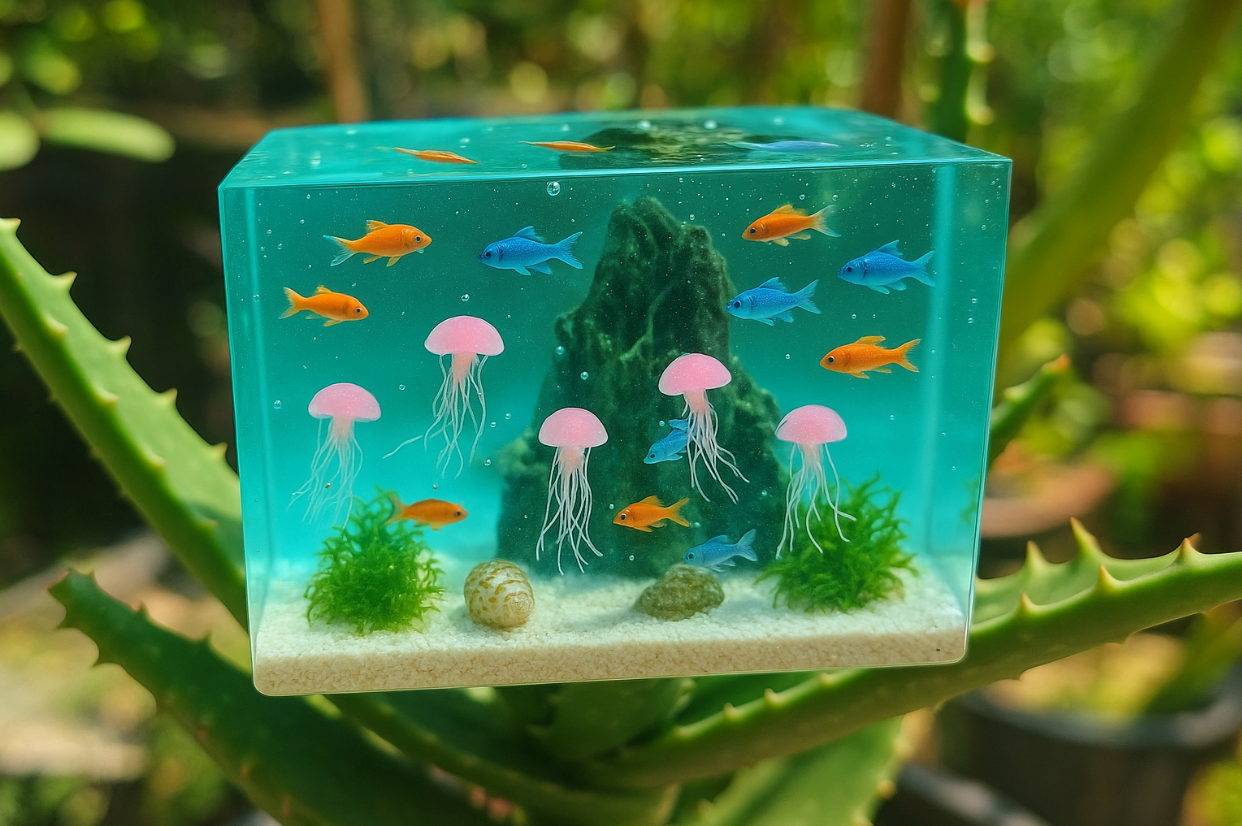
樹脂製のジオラマは、ガラスのような美しい効果でミニチュアの世界を生き生きと表現する創造的な方法です。
小さな海、森、ファンタジーシーンを作ることを夢見ているなら、レジンを使えば他の素材では得られない深みとリアリティを加えることができます。初心者でも 印象的なジオラマを制作するいくつかの基本的な道具と少しの想像力があれば。
目を引くレジン製ジオラマの作り方を学びたいですか?続きを読んで、簡単な手順、役立つヒント、そしてインスピレーションを刺激するアイデアを見つけてください!
レジンジオラマとは何ですか?
レジンジオラマとは、透明または着色されたレジンを用いて、水、氷、ガラスなどのリアルな効果を再現した、小さくて精巧な情景模型のことです。
樹脂はジオラマに光沢のあるリアルな仕上がりを与え、小さな風景、海、都市などをより鮮やかで立体的に見せます。
なぜ樹脂製ジオラマを作るのか?
樹脂製のジオラマは、そのリアルな見た目と耐久性の高さが際立っています。樹脂は丈夫で防水性にも優れているため、ミニチュアの世界が色褪せたり、簡単に壊れたりすることはありません。
レジンを使ったジオラマ作りは楽しく、創造性を刺激し、絵画、彫刻、工作を一つの素敵なプロジェクトに組み合わせることができます。
樹脂、エポキシ樹脂、プラスチック:ジオラマに最適な素材はどれ?

youtube.com - Boylei Hobby Time からスクリーンショットを撮りました
レジンジオラマ製作に関しては、「樹脂「」エポキシ樹脂、" そして "プラスチックたくさんあります。知っておくべきことは次のとおりです。
-
樹脂: 一般的には、液体状でありながら透明で固まるプラスチックを指します。水の効果や光沢のある仕上がりに最適です。
-
エポキシ樹脂: A 樹脂の種類これは樹脂と硬化剤の2つの成分から構成されています。混合しやすく、透明に硬化し、経年劣化による黄変が少ないため人気があります。
-
プラスチック: 多くの模型キットやミニチュアに使用されています。丈夫ですが、樹脂のような透明感や水のような効果は得られません。
エポキシ樹脂は、ジオラマの水、氷、ガラスなどの効果を表現するのに最適な素材です。ただし、樹脂は硬化する前は粘着性があり、強い臭いを発することがあるため、必ず手袋を着用し、換気の良い場所で作業してください。
📌樹脂を混ぜて完璧な結果を得るための最適な方法を知りたいですか?このガイドをご覧ください。 デュアルヘッド式樹脂ミキサーとシングルヘッド式樹脂ミキサーの比較どのツールがあなたのプロジェクトに最適かを確認するため。
レジンジオラマを作るのに必要なもの
必須材料
- 樹脂: エポキシ樹脂、ポリエステル樹脂、またはUV樹脂エポキシ樹脂は初心者にとって最も扱いやすい素材です。
- 型またはベース: シリコン型プラスチック容器、または特注の発泡スチロール製ベース。
- ミニチュアと情景: 木、岩、人、動物、あるいはシーンに含めたいものなら何でも。
- 着色剤: 樹脂を着色するためのアルコールインク、マイカパウダー、染料。
- 彫刻材料: 地形を作るための材料としては、発泡スチロール、粘土、バルサ材、または段ボールなどが使えます。
- ツール: ミキシングカップかき混ぜ棒、手袋、マスク、ピンセット。

樹脂製造業者® 26色マイカパウダーセット - 0.175オンス(5g)/ボトル
📌すべてのツールを1か所で見たいですか?このコレクションをご覧ください 樹脂製のツールあなたのクラフト作業をよりスムーズかつ容易にします。
便利な追加機能
- ヒートガンまたはトーチ: 樹脂中の気泡を除去し、透明度の高い仕上がりを実現します。
- 気泡除去機: より大規模なプロジェクトの場合、 気泡除去機気泡を取り除くのに役立ちます。
- 保護具: 安全ゴーグル、エプロン、そして換気の良い作業スペース。

レジンジオラマの作り方:ステップバイステップ

youtube.com - 4THECRAFT からスクリーンショットを撮影しました
1. ジオラマの計画を立てる
水中、森、ファンタジー、都市景観など、テーマを選びましょう。次に、ミニチュアのサイズ(大きさ)を決め、レイアウトをスケッチします。計画を立てることで、必要な材料やミニチュアを把握しやすくなります。
2. ベースを準備する
発泡スチロール、木材、または型を使って土台を切り出し、形を整えます。粘土や発泡スチロールを使って、丘や岩などの地形を作り上げます。アクリル絵の具で土台を塗装すると、よりリアルな仕上がりになります。
3. ミニチュアと情景を配置する
木、人、動物、建物などを好きな場所に配置してください。樹脂を流し込む際に動かないように、接着剤で固定してください。
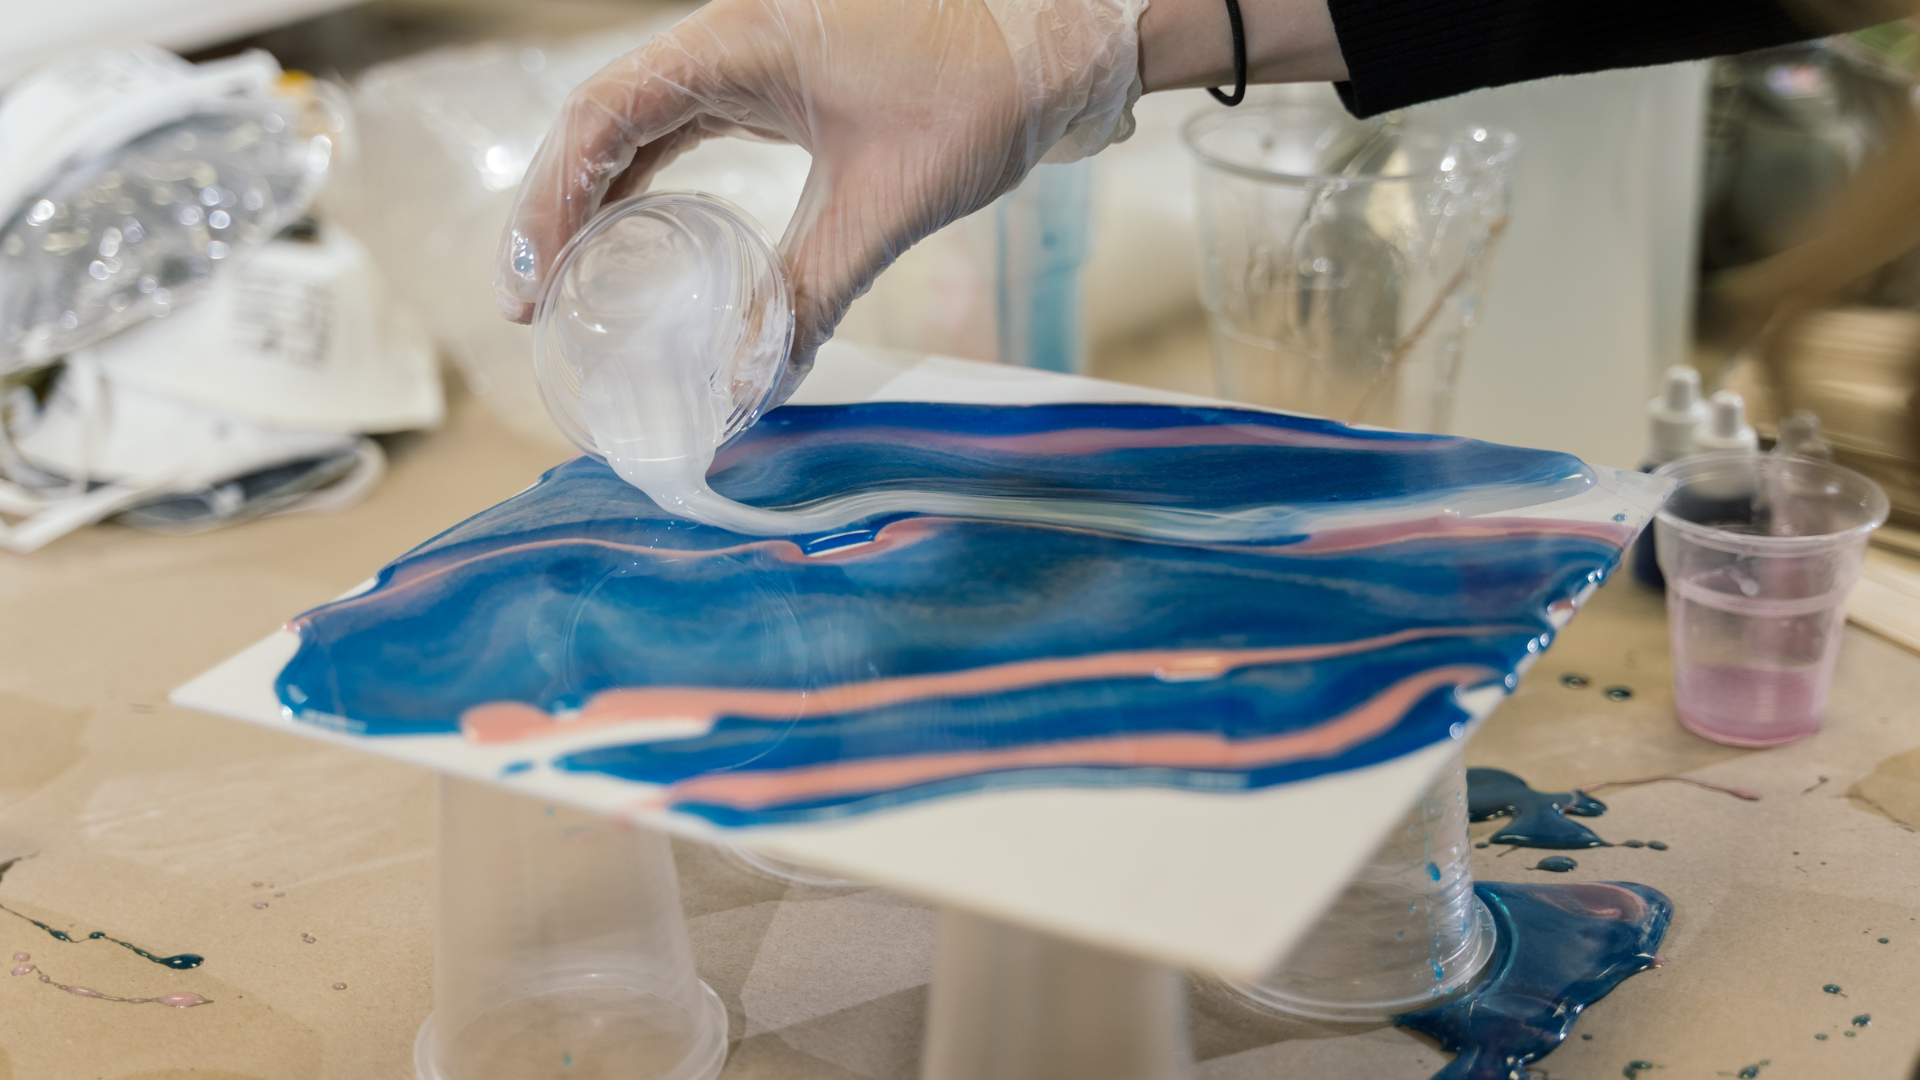
4. 樹脂を混ぜて注ぐ
説明書に従って、樹脂を慎重に計量し、よく混ぜてください。まず薄く一層流し込み、土台を密閉します。硬化したら、さらに層を重ねて奥行きを出します。水面のような効果を出したい場合は、樹脂を段階的に流し込み、層の間に色や物体を加えてください。
5. 詳細と効果を追加する
着色にはアルコールインクまたはマイカパウダーを使用してください。リアルさを出すために、小さな石、貝殻、または植物を加えてください。波や水しぶきを表現するには、樹脂が固まり始めたら、つまようじや筆を使って形を整えてください。
6. 気泡を取り除く
ヒートガンやトーチを使って表面の気泡を取り除きます。大規模なプロジェクトの場合は、エアレス式気泡除去機が役立ちます。
7. 自然に治癒するのを待つ
樹脂製のジオラマは、推奨時間(通常24~48時間)の間、埃のない場所で乾燥させてください。焦らず、早めに動かすと仕上がりが損なわれる可能性があります。

8.仕上げ
硬化したら、ジオラマを型から取り出すか、必要に応じて端をトリミングします。さらに細部を描き加えたり、草の束を追加したり、ドライブラシでハイライトを入れたりして、よりリアルに仕上げましょう。
📌素晴らしいチュートリアルを完全ご希望ですか? ミニチュア塩湖ジオラマインスピレーションやプロのヒントを得るには、こちらのステップバイステップガイドをご覧ください。
創造的なレジンジオラマのアイデアとインスピレーション
- 海と水中風景: ビーチやサンゴ礁を作るには、青い樹脂、小さな魚、そして本物の砂を使用してください。
- 森林風景: 緑と茶色を重ね、木々、苔、そして小さな動物たちを加えましょう。
- ファンタジーの世界: 色付き樹脂とLEDライトを使った、ドラゴン、城、光るクリスタルなど。
- ミニチュア都市: 透明な樹脂でできた「空」の下に、高層ビル、車、道路が立ち並ぶ。
- 季節のテーマ: 秋の紅葉、雪景色、あるいは春の庭園。
💡 蓄光パウダーを混ぜたり、LEDライトを加えたりして、夜間の効果を演出してみましょう。可能性は無限大です!
樹脂製ジオラマによくある問題の解決方法

youtube.com - 4THECRAFT からスクリーンショットを撮影しました
濁った樹脂または粘着性のある樹脂
これは通常、樹脂の混合が不十分だったか、温度が低すぎたことを意味します。常にゆっくりと丁寧に混ぜ合わせ、暖かい部屋で作業してください。
泡
気泡はよくあることですが、簡単に解消できます。樹脂を混ぜる前にボトルを温め、注いだ直後にヒートガンやトーチで加熱してください。
色の問題
色が褪せたり、にじんだりする場合は、樹脂に安全な顔料を使用し、入れすぎないようにしてください。不安な場合は、まず少量でテストしてください。
樹脂が硬化しない
樹脂がべたつく場合は、計量が間違っていたか、十分に混ぜなかった可能性があります。べたついた部分をこそぎ落とし、新たに十分に混ぜた樹脂を流し込んでください。
修理
小さなミスは、ざらついた部分をやすりで磨き、薄い樹脂の層をもう一層重ねることで修正できます。
安全に関するヒント 樹脂を使った作業
✅ 皮膚と肺を守るため、必ず手袋とマスクを着用してください。
✅ 換気の良い場所で作業するか、扇風機を使って煙を排出してください。
✅ 作業スペースの近くには食べ物や飲み物を置かないでください。
✅ こぼれたものはすぐにペーパータオルと消毒用アルコールで拭き取ってください。
✅ 皮膚に樹脂が付着した場合は、すぐに石鹸と水で洗い流してください。
結論
レジンジオラマは、想像力を掻き立てる、息を呑むほどリアルな情景を作り出す楽しい方法です。海の波、ファンタジーの世界、小さな街など、どんなものを作りたい場合でも、レジンはあなたのアイデアを驚くほどの奥行きと輝きで形にしてくれます。
もっと詳しく知りたいですか?ぜひ他のガイドも読んで、最新のレジンジオラマ製品をご覧ください。 樹脂製造業者あなたのクラフトスキルを次のレベルへと引き上げましょう!
レジン製ジオラマに関するよくある質問
初心者でもできるレジンジオラマの作り方とは?
まずは小さなプロジェクトを選び、エポキシ樹脂、ベース、ミニチュア、着色剤などの材料を揃えましょう。シーンを計画し、ベースを作り、ミニチュアを配置します。樹脂を混ぜて薄く流し込み、次の層を加える前に各層が完全に硬化するのを待ちます。作業は必ず換気の良い場所で手袋を着用して行ってください。
樹脂とエポキシの違いは何ですか?
樹脂は硬化する液体プラスチックの総称であり、エポキシは特定の 樹脂の種類 2つの部分(樹脂と 硬化剤エポキシ樹脂は、透明に硬化し、使いやすく、丈夫でガラスのような仕上がりになるため、ジオラマによく使われます。
レジンを使った趣味は安価ですか?
レジンクラフトは、特に小規模な作品であれば、手頃な価格で始めることができます。主な費用はレジン、型、基本的な道具ですが、多くの材料は再利用できます。より大規模で複雑な作品に取り組むようになると費用は上がりますが、最初はシンプルなものから始めることで支出を抑えることができます。
ジオラマにはどのような素材が使われていますか?
ジオラマの土台や情景には、発泡スチロール、粘土、木材、プラスチック、紙などが一般的に用いられます。水、氷、ガラスなどの効果を出すには、透明なエポキシ樹脂が使用されます。細部を再現するために、ミニチュア、木、岩、草の束などがよく加えられます。
ジオラマに発泡スチロールを使うことはできますか?
はい、発泡スチロールはジオラマの地形、丘、山などを作るのに最適です。ただし、樹脂を使う際は注意が必要です。エポキシ樹脂は通常安全ですが、一部の樹脂は発泡スチロールを溶かすことがあるため、樹脂を流し込む前に目立たない場所でテストするか、発泡スチロールを密封してから流し込んでください。
関連記事:
15種類以上の素晴らしいレジンアートアイデア(初心者から上級者まで)


コメントを書く
このサイトはhCaptchaによって保護されており、hCaptchaプライバシーポリシーおよび利用規約が適用されます。