
樹脂研磨剤を使えば、くすんだり傷ついたりした作品が、プロ並みの輝きを放つ芸術作品へと生まれ変わります。
せっかく作った作品の輝きが失われてしまったら、適切な研磨剤を使えば、鏡のような光沢を瞬時に取り戻すことができます。エポキシ樹脂専用の研磨キットは、樹脂工芸品に特化したソリューションを提供します。小さな作品であれば、透明なマニキュアでも手軽に修復できます。
傷や曇りでせっかくの努力が無駄にならないように。適切な研磨を施せば、あなたのレジン作品は再び輝きを取り戻します。さあ、続きを読んで、あらゆる選択肢を見つけましょう!
樹脂とは何か 磨き上げと、それがあなたのプロジェクトに必要な理由
レジンポリッシュは、輝きを取り戻す特別な製品です。 樹脂製の部品 光沢が失われたり、傷がついたりしたもの。
レジン作品のためのローションのようなものだと考えてください!曇った表面を透明で光沢のある傑作へと変身させてくれます。
美しいレジンジュエリー、テーブル、装飾品を作るなら、それらは最高の状態であるべきです。時間が経つにつれて、 レジン製のアイテム 日常的な使用や化学物質への曝露により、光沢が失われる可能性があります。
樹脂を研磨する方法は主に2つあります。以下の方法で研磨できます。
- サンドアンドバフ表面
- 特別な研磨剤を塗布する樹脂用に設計されています
研磨は見た目を美しくするだけではありません。丁寧に研磨された樹脂製品は、実は長持ちするのです!研磨剤が表面を密閉し、将来の損傷から保護する役割を果たします。
ジュエリーなどの小さな作品には、先のとがった小さな綿棒が届きにくい場所の掃除に役立ちます。テーブルなどの大きな作品には、異なる技術や道具が必要になるかもしれません。
クラフト作家の中には、研磨痕を隠すために、薄く新しい樹脂を塗る人もいます。この方法は、作品の不完全な部分を修正する必要がある場合に効果的です。
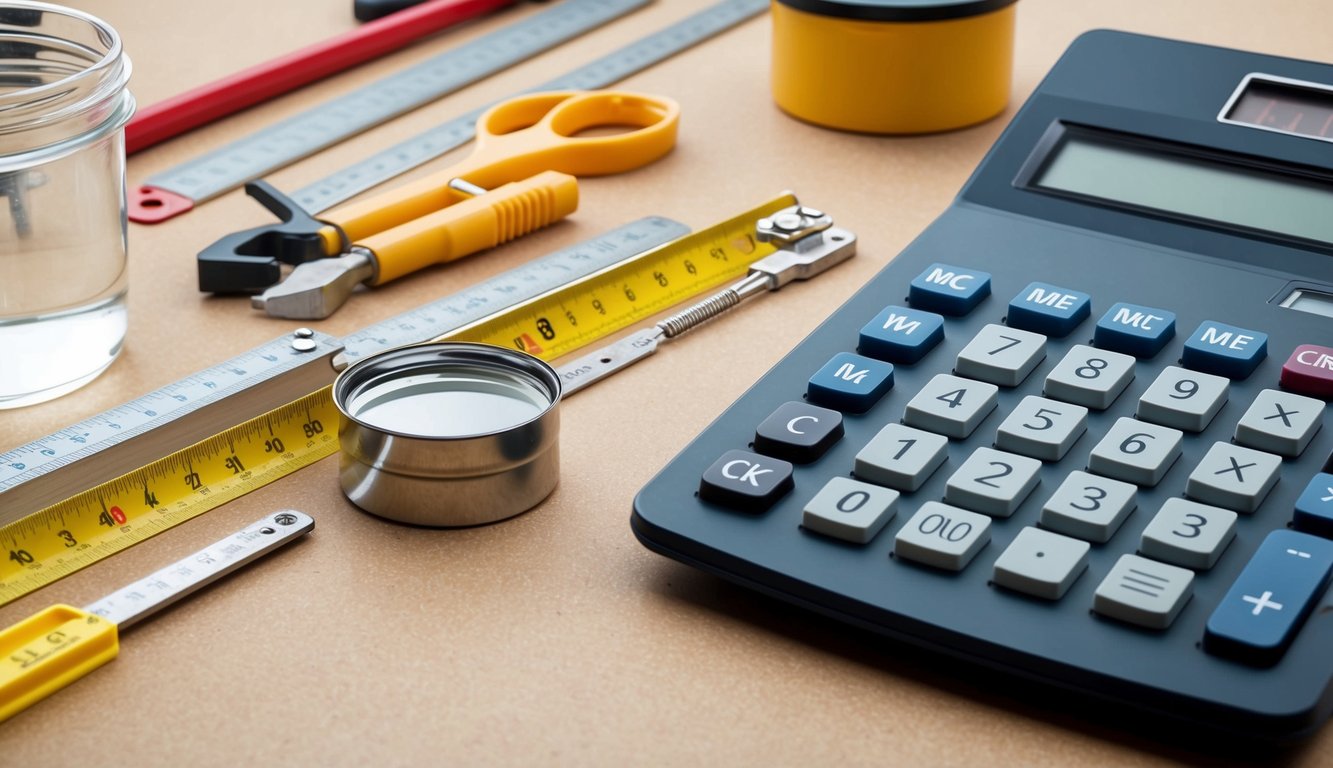
効果的な作業に必要なツールと材料 樹脂研磨

レジン作品に完璧な輝きを与えるには、適切な道具とテクニックが必要です。必要なものは以下のとおりです。
- 様々な粒度(400~3000番以上)の耐水サンドペーパー
- 高品質の研磨ペーストまたはコンパウンド
- 柔らかい研磨パッドまたはマイクロファイバークロス
- 清潔な水供給
- ペーパータオル
- 細かい部分に使用する綿棒
- オプション:より大きなプロジェクトには、ロータリーツールまたはバッファーを使用
樹脂を研磨する際は、熱による損傷を防ぎ、粉塵を最小限に抑えるため、必ず湿らせた状態で行ってください。電動工具を使えば作業効率は上がりますが、小さな部品であれば手作業での研磨が最適です。安全装備も忘れずに。手袋は手を保護し、マスクは粉塵の吸入を防ぎます。
樹脂作品を研磨する前に準備する
適切な準備が、美しい輝きの土台となる。
- 樹脂が完全に硬化していることを確認してください(通常24~48時間)。
- 清潔で埃のない環境で作業する
- 型跡やざらつきを取り除いてください。
- 各ステップの間に、作品を徹底的に洗浄してください。
- 最終研磨後、アルコールで拭いて油分や指紋を取り除いてください。
研磨作業を始める前に、作品に継ぎ目や不具合がないか時間をかけて確認してください。安全のため、換気の良い場所で保護メガネを着用して作業することが不可欠です。
樹脂の研磨手順(ステップバイステップ)

樹脂の研磨には根気が必要ですが、正しく行えば素晴らしい仕上がりになります。研磨工程では、目の粗い部分から滑らかな部分まで、様々な番手のサンドペーパーを使って仕上げていきます。
粗研磨:基礎(120~240番)
粗い表面の場合は、まず120番の目の細かいサンドペーパーを水で濡らし、小さな円を描くように、または一定の往復運動で研磨します。
軽く圧力をかけながら、表面を拭き取って頻繁に進捗状況を確認してください。作業を進める前に、作品全体が均一に艶消しになっていることを確認してください。
中目研磨:表面の仕上げ(320~600番)
320番から600番までのサンドペーパーを順に使い、湿式研磨の技術を維持してください。研磨する方向は、番手を変えるたびに変えて、前の傷が除去されたかどうかを簡単に確認してください。番手を変えるたびに十分にすすぎ、交差汚染を防いでください。
細かい研磨:仕上げ研磨の準備(800~2000番以上)
研磨工程は、800番、1000番、1500番、2000番以上と、徐々に目の細かいサンドペーパーを使って仕上げてください。この段階では、熱による損傷を防ぐため、非常に軽い力で研磨してください。
最終研磨後、樹脂の表面はガラスのように滑らかになりますが、見た目は均一に艶がなく、研磨の準備が整っている状態になります。
湿式研磨と乾式研磨、どちらが効果的か?
いつ 樹脂を使った作業研磨方法によって、最終的な仕上がりは大きく変わります。今回は、湿式研磨と乾式研磨の両方について見ていき、どちらがあなたのプロジェクトに最適かを判断するのに役立てましょう!
ドライサンディング樹脂
乾式研磨は材料をより速く除去できるため、樹脂作品の成形に最適です。次のような場合に最適な選択肢です。
- 全体の形状を素早く変更する
- 大きな欠陥を取り除く
- 初期の粘り強さの段階をこなす
欠点は?粉塵です。しかも大量に!乾式研磨では細かい粉塵が発生し、それが至る所に舞い上がります。肺を守るためにも、必ずマスクを着用してください。
ウェットサンディング樹脂
湿式研磨では、作業中に水を潤滑剤として使用します。水は次のような点で役立ちます。
- 粉塵を減らします(肺にとって大きなメリットです!)。
- サンドペーパーの目詰まりを防ぎます
- より細かい番手で研磨すると、より滑らかな仕上がりになります。
水は研磨中に樹脂を冷却する働きもあり、作品への熱による損傷を防ぐのに役立ちます。
サンドペーパーの中には水に濡らすことを想定していないものもあるので、この方法を使う場合は「乾湿両用」と表示されているものを選びましょう。
どちらの方が効果的ですか?
最良の結果を得るには、両方を試してみてください!
まず、乾式研磨で大まかな形を整えます(80~220番)。次に、湿式研磨に切り替えて、より細かい仕上げを行います(320番以上)。
2000番のサンドペーパーを使っても、濡れたようなツヤ感は得られないことを覚えておいてください。ガラスのような光沢を出すには、研磨後に磨き上げる必要があります。
作業環境によっても選択は変わってきます。もし汚れを気にせずに作業できる環境であれば、水研ぎが最適な選択肢となるでしょう。
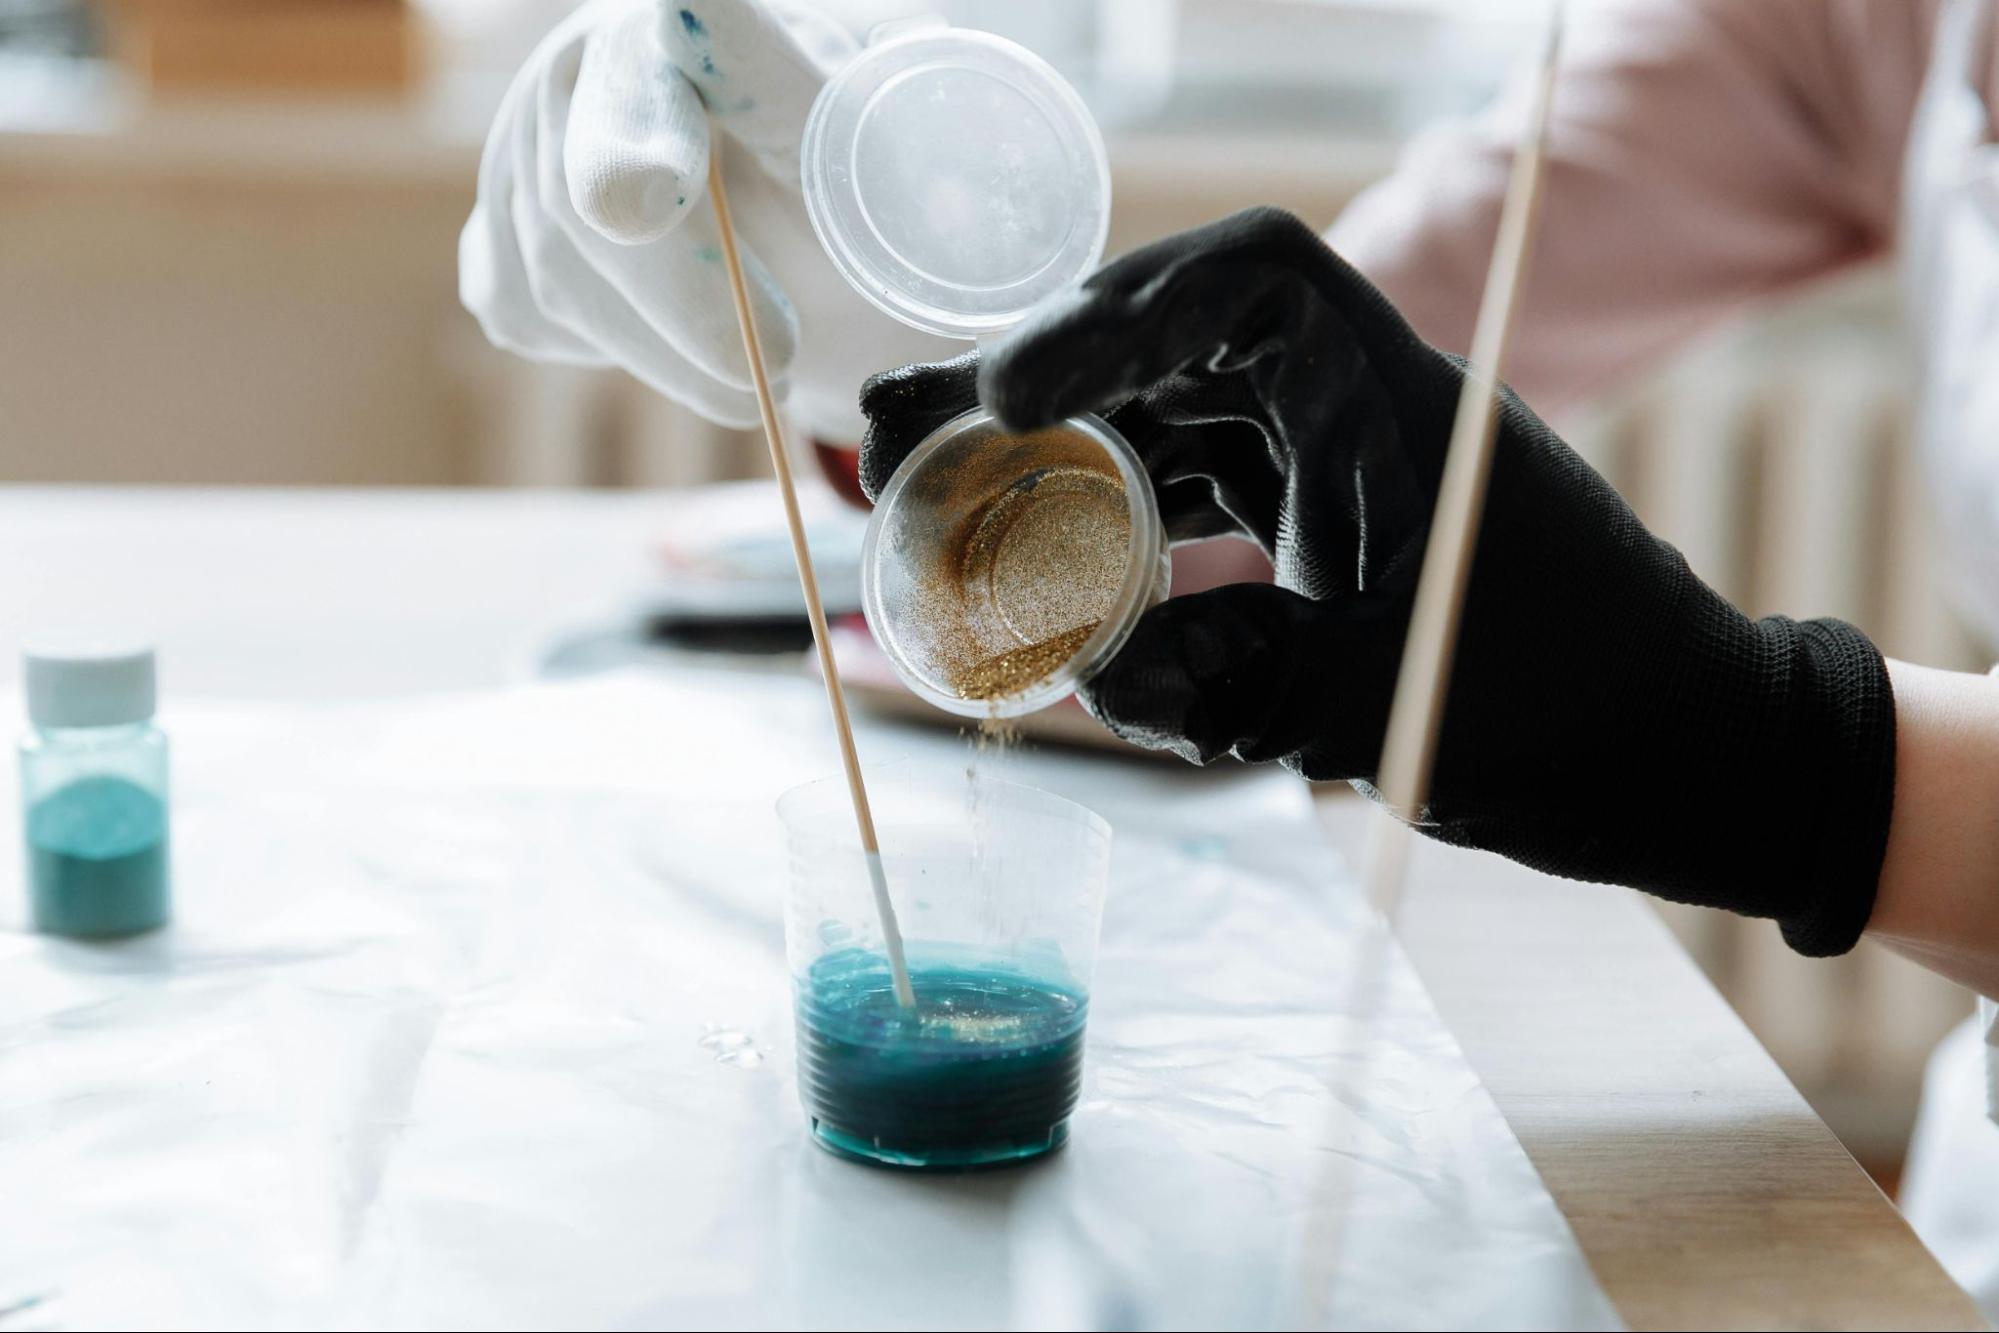
樹脂表面への研磨剤の使用
樹脂を輝かせるには、研磨剤が最高の味方です!これらの特殊なペーストは、微細な傷を取り除き、ガラスのような美しい仕上がりを実現するのに役立ちます。
まず、樹脂作品に少量の研磨剤を塗布してください。つけすぎないように。ほんの少しで十分です!
マニキュアを塗る方法はいくつかあります。
- で 柔らかい布優しく磨く
- 使用 研磨ボールアタッチメント付きドリルより速い結果を得るために
- で ハンドヘルドバッファー中規模プロジェクト向け
摩擦が強すぎないように注意してください!過度の熱は樹脂表面を汚損し、せっかくの作業を台無しにしてしまう可能性があります。
日常的なプロジェクトには、定期的に 金属研磨剤樹脂にも驚くほどよく馴染みます。価格もお手頃で入手しやすいです。
プロ並みの仕上がりを求めるなら、以下の人気オプションを試してみてください。
- スーパーレジンポリッシュ- 深い輝きに最適
- オートグリム- 元々は自動車用だが、樹脂にも驚くほど効果がある
- ルネッサンスワックス保護と輝きを与えます
磨き上げた後、職人の中には カルナバワックスさらなる保護のために。この天然ワックスは、傷や指紋を防ぐバリアを形成します。
研磨剤を使用する際は、換気の良い場所で作業するようにしてください。化学薬品は強力な場合があります。
研磨工程の合間に、エアコンプレッサーまたはエアダスターを使って粉塵を吹き飛ばしてください。こうすることで、より細かい番手の研磨剤を使用したり、研磨作業に移る際に傷がつくのを防ぐことができます。
樹脂研磨用電動工具:いつ、どのように使うべきか

電動工具を使えば、樹脂の研磨作業がはるかに速く簡単になります。この作業で最もよく使われる工具はドレメルで、小さな部品や細かい作業に最適です。
少なくとも600番までの耐水サンドペーパーで手作業で研磨した後、電動工具を使用することをお勧めします。こうすることで、機械研磨の前に良好な下地が得られます。
電動工具を使うべき時:
- 手作業では時間がかかりすぎるような大規模なプロジェクトの場合
- 完璧な鏡面仕上げが必要な場合
- 手の届きにくい場所を磨くのに
- 磨くべきものがたくさんある場合
樹脂加工によく使われる電動工具:
- ドレメルまたは回転工具
- 研磨アタッチメント付きドリル
- バッファー/ポリッシャー(大きな平面用)
必ず低速設定で工具を始動してください。高速にすると過熱して樹脂を損傷する可能性があります。樹脂はしっかりと持ちますが、強く押し付けすぎないでください。
研磨剤をバフ研磨ホイールまたはパッドに塗布します。小さな範囲ずつ、軽い力で作業し、頻繁に作業を中断して進捗状況を確認してください。
最良の結果を得るには、工具を表面上で円を描くように動かしてください。同じ場所に長時間留まらないようにしてください。
電動工具を使用する際は、必ず安全メガネを着用してください。作業中に樹脂や研磨剤の微粒子が飛び散ることがあります。
小規模な樹脂作品のための手磨きテクニック

ジュエリーや小さな装飾品など、小さな樹脂製品を扱う場合は、手磨きが最適です。プロ並みの仕上がりを得るために、高価な道具は必要ありません!
まず、必要な道具を揃えましょう。目の粗さが異なるサンドペーパー(220、400、600、1000、2000番)、研磨剤、マイクロファイバークロス、そして水です。
基本的な研磨手順:
- まず、220番のサンドペーパーで大きな欠陥を取り除きます。
- 400番、次に600番の研磨剤に切り替えます。
- 1000番の研磨剤で研磨を続け、最後に2000番の研磨剤で仕上げます。
- 研磨中は必ず水を使って粉塵の発生を防いでください。
研磨剤の粒度を変えるたびに、必ず研磨材をすすいでください。こうすることで、粗い研磨剤が研磨材を傷つけるのを防ぐことができます。
仕上げに光沢を出すには、少量の研磨剤を柔らかいマイクロファイバークロスにつけます。円を描くようにして、樹脂製の作品に研磨剤を塗り込んでください。すると、まばゆいばかりの輝きが現れ始めます。
頑固な傷にお困りですか?ご安心ください!研磨した部分に薄く新しい樹脂を塗布することで、すべてをやり直すことなく傷を埋めることができます。
樹脂象嵌が施された木製製品の場合は、特に注意が必要です。仕上げ後は、ミネラルスピリットを使用して木材に残った研磨剤の残留物を取り除いてください。
各工程を丁寧に進めてください。急いで研磨すると、小さな傷が残ってしまい、最終作品に目立ってしまう可能性があります。
手が疲れるかもしれませんが、その美しい仕上がりはきっと満足させてくれるでしょう。手磨きなら、特別なレジン作品を完全にコントロールできます!
樹脂研磨における一般的な問題点
樹脂を研磨する作業は、経験豊富な職人にとっても難しい場合があります。ここでは、よくある問題点とその解決策をご紹介します。
曇りや頑固なシミ
曇りは、研磨工程を急いだり省略したりすると発生することがよくあります。研磨は、順番に適切な番手のサンドペーパーを使って、手順通りに進めてください。研磨後も曇りが残る場合は、細かい番手(1500~2000番)での研磨に戻り、最終段階をより慎重に進めてください。
耐擦傷性に関する課題
研磨後に目に見える傷がある場合は、下地処理が不十分であることを示しています。各研磨工程では、前の研磨剤でできた傷を完全に除去する必要があります。残った傷を見つけやすくするために、研磨方向を交互に変えながら研磨し、各工程を丁寧に行うことで最良の結果が得られます。
合併症の治療
硬化が不十分な樹脂は、適切に研磨することができません。説明書に従って、作品が完全に硬化していることを確認してください。ほとんどのエポキシ樹脂の場合、通常24~48時間かかります。部分的に硬化した樹脂を研磨しようとすると、期待外れの結果となり、労力が無駄になります。
その他の一般的な問題としては、表面に閉じ込められた気泡、指紋の油分による仕上がりへの影響、温度による研磨性能への影響などが挙げられます。異なる種類の樹脂 (エポキシ樹脂、UV硬化樹脂、ポリエステル樹脂など)によっては、若干異なるアプローチが必要になる場合があるので、それに応じて技術を調整してください。
仕上げ:研磨済み樹脂の密封
磨き上げたばかりの作品の輝きを保つために、適切なシーラントで保護してください。
適切な保護対策の選択
- 製品の用途に応じてシーラントを選択してください。
- 屋外用品用のUV耐性クリアコート
- キッチン用品用の食品安全シーラント
- ジュエリーや頻繁に触れる品物用の耐久性のあるトップコート
- 一般的な保護のための天然ワックス
柔らかく毛羽立ちのない布を使い、円を描くように優しく薄く均一に塗布してください。各層が完全に乾いてから次の層を塗布するか、作品を使用してください。樹脂との予期せぬ反応を防ぐため、新しいシーラントを使用する際は、必ず目立たない場所で事前にテストしてください。
この追加工程は任意に思えるかもしれませんが、研磨された樹脂を適切に密封することで、その美しさを長く保ち、時間と材料への投資を守ることができます。
結論
くすんだ樹脂が、まばゆいばかりの傑作へと変貌する様子をご覧になりたいですか?適切な研磨技術を用いれば、あなたの作品はまるで精巧なクリスタルのように光を捉えます!粗削りな鋳造から鏡面仕上げへと至る道のりは忍耐を要しますが、傷が消え去る魔法のような瞬間は、それまでの苦労をすべて報いてくれるでしょう。
プロの仕上がりは、粗研磨から最終仕上げのバフ研磨、そして保護シーリングまで、すべての工程を丁寧に行うことから生まれます。人目を引くジュエリーを作る場合でも、会話のきっかけとなるインテリアを作る場合でも、磨き上げられた作品はあなたの真の技術を際立たせてくれるでしょう。
ブラウズ 樹脂製造業者' プレミアムコレクション 樹脂硬化機、 エポキシ樹脂その他 bis_size='{"x":11,"y":7032,"w":557,"h":38,"abs_x":533,"abs_y":7292}'>樹脂製アクセサリーそして、あなたの作品を手作りからプロレベルへと引き上げましょう!これらの高品質なツールがあれば、完璧以外のものには決して満足しなくなるでしょう。
よくある質問
私の作品にガラスのような仕上がりを与えるには、どのような種類の化合物が最適でしょうか?
驚くほど美しいガラスのような輝きを得るには、樹脂専用のコンパウンドを使用するのがおすすめです。自動車用研磨剤、特に粒子の細かいものが最適です。これらのコンパウンドには、樹脂を傷つけることなく滑らかにする微細な粒子が含まれています。柔らかい布に少量ずつ取り、円を描くように塗布してください。
研磨剤を使わずに、レジン作品に光沢のある仕上がりを得る方法を教えていただけますか?
はい!市販の研磨剤を使わなくても、素晴らしい輝きが得られます。柔らかい布に歯磨き粉をつけて磨いてみてください。歯磨き粉に含まれる穏やかな研磨剤が、研磨剤のように作用します。別の方法としては、目の細かいサンドペーパーで徐々に研磨していく方法もあります(400番から始めて、1500番まで徐々に細かくしていくと良いでしょう)。
研磨中は常に対象物を濡らしておいてください。最も細かい番手の研磨剤を使用したら、マイクロファイバークロスで磨き上げてください。緊急時には、ミネラルオイルを薄く塗布することで光沢を出すこともできます。
経年劣化で光沢が失われてしまった樹脂作品の輝きを取り戻す秘訣は何ですか?
失われた輝きを取り戻す鍵は、段階的な研磨です。まず400番の耐水サンドペーパーから始め、徐々に600番、800番、1000番、1500番といった細かい番手のサンドペーパーへと移っていきます。研磨中は必ず水を使用し、熱による損傷を防ぎましょう。
研磨後、柔らかい布で良質の樹脂用ポリッシュを塗布してください。作品の表面がひどく曇っている場合は、仕上げに薄く新しい樹脂を塗布して、ドーム状に仕上げる必要があるかもしれません。
樹脂製品をプロ並みの仕上がりで磨くための、DIYの方法はありますか?
もちろんです!家庭にあるものを使った人気のDIY方法があります。重曹を水と混ぜてペースト状にします。これを柔らかい布に含ませ、円を描くようにして樹脂に塗布します。
もう一つのコツは、仕上げにカーワックスやワセリンを使うことです。どちらも美しい光沢を与えてくれます。深い傷には、まず水研ぎをしてから、綿布に歯磨き粉をつけて磨いてみてください。まるでプロが仕上げたような仕上がりになりますよ!


コメントを書く
このサイトはhCaptchaによって保護されており、hCaptchaプライバシーポリシーおよび利用規約が適用されます。